Updated: 26 January 2024 by Sylwia (MyCrochetory)
Looking for a lightweight crochet cardigan pattern that brings style and comfort to your summer wardrobe? Discover the versatile Nusa Cardigan – perfect for adventurous beginners and adaptable for various outfits.
Scroll down to see the Free Nusa Lightweight Crochet Cardigan pattern or you may choose to purchase the complete ad-free, printable PDF crochet pattern with the stitch chart HERE on ETSY or HERE on Ravelry.
Join my Facebook Group and Official Ravelry Group where you can find necessary support, you can ask questions or share your finished projects.
You can also follow my Instagram, Facebook page and Pinterest.

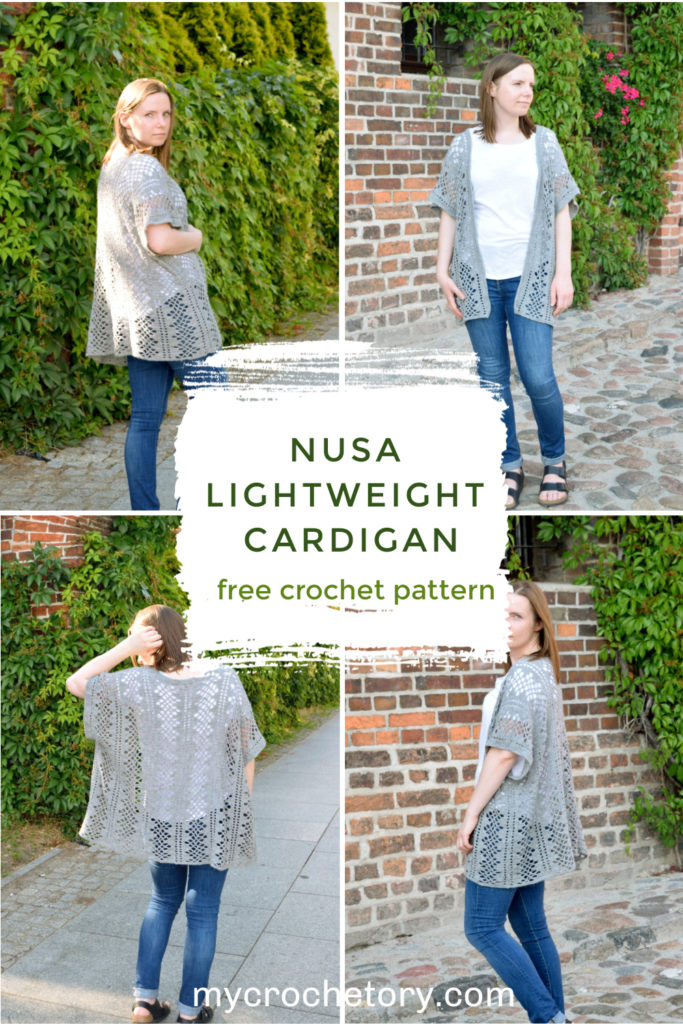
Lightweight Crochet Cardigan Pattern for Summer Adventures
Step into the world of summer crochet fashion with the Nusa Lightweight Crochet Cardigan pattern!
Designed for adventurous beginners, this free crochet pattern is your ticket to creating a fabulous lightweight cardigan that will accompany you on all your warm-weather escapades.
From beach days to backyard gatherings, the Nusa Cardigan brings together style and comfort in one delightful package.With its open and lacy design, the Nusa Cardigan is a true showstopper that will turn heads wherever you go.
And the best part? It’s surprisingly simple and quick to crochet, making it perfect for beginners eager to take on a fun and rewarding challenge.
The Perfect Summer Wardrobe Essential
Picture this: you’re strolling down the beach, the sun kissing your skin, and you’re wearing the Nusa Cardigan.
This lightweight crochet garment is not just any ordinary cardigan—it’s a statement piece that adds a touch of elegance to your summer outfits. Its versatility knows no bounds, allowing you to style it in countless ways for various occasions.
Whether you’re heading to a casual brunch with friends, exploring a vibrant local market, or enjoying a sunset picnic, the Nusa Cardigan effortlessly elevates your look.
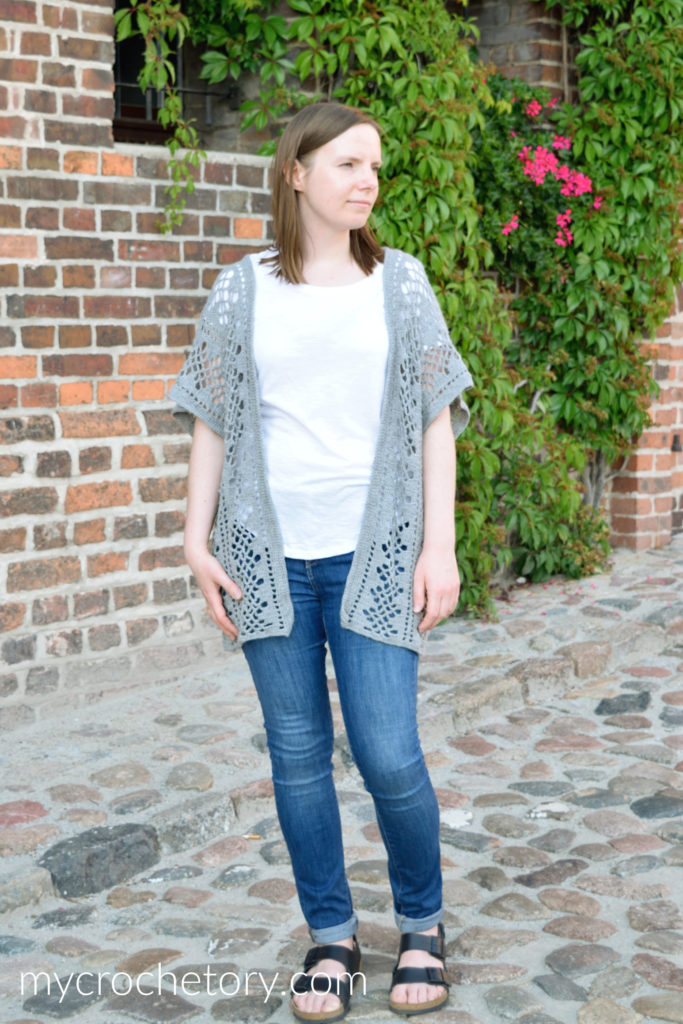
Pair it with a simple white t-shirt and jeans for a relaxed and bohemian vibe. Or drape it over a sundress for an extra layer of charm and sophistication.
The possibilities are endless, and your creativity is the only limit.
The Joy of Creating
Get ready to start a crochet adventure with the Nusa Lightweight Crochet Cardigan pattern! It takes you through each step, guiding you with clear instructions and helpful stitch diagrams.
As you work up the lightweight cardigan, you’ll witness the magic of your crochet hook transforming yarn into a fashionable piece that reflects your unique style.
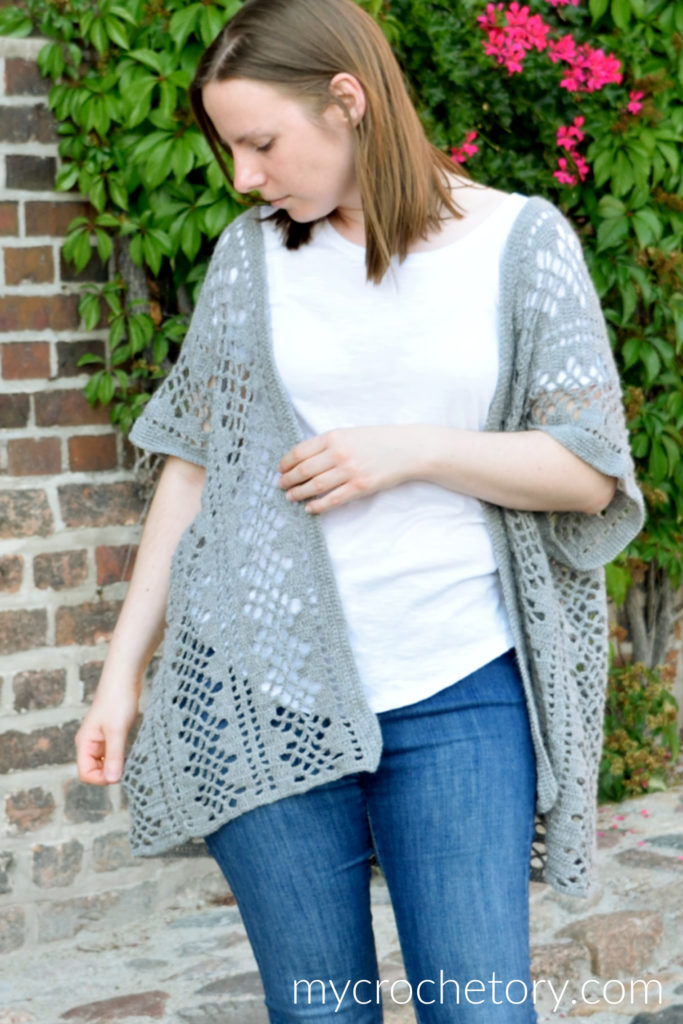
The construction of the Nusa Cardigan is a true testament to the beauty of crochet. Starting from the bottom, you’ll work your way up in a simple rectangle, adding delightful lace details along the way.
The short sleeves provide a perfect balance of coverage and breathability, ensuring that you stay comfortable even on the warmest summer days.

Timeless Appeal
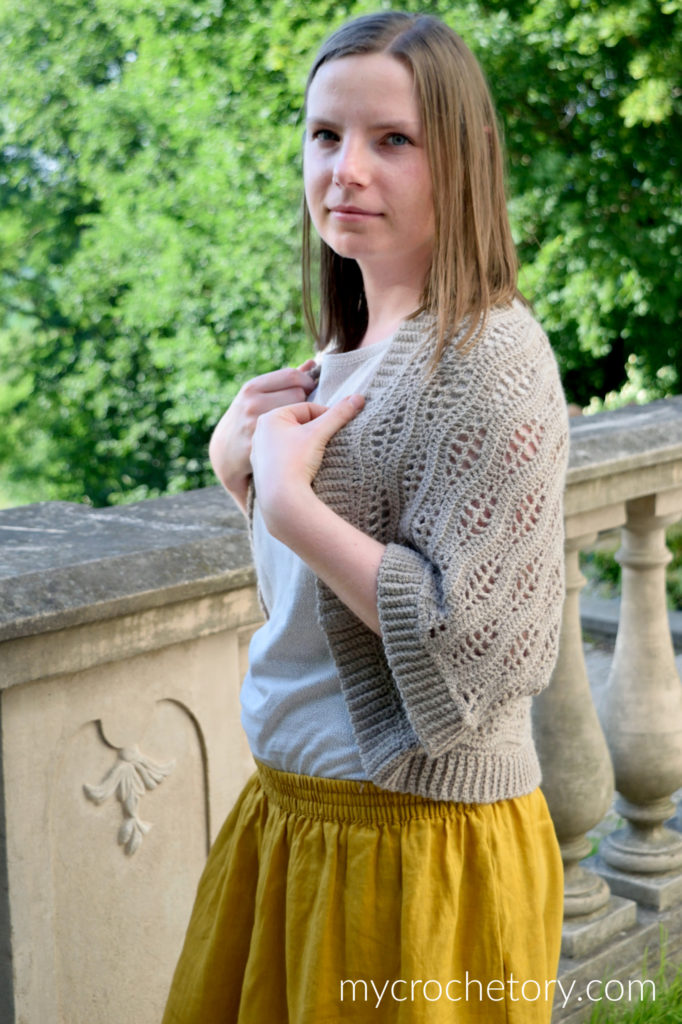
Grey cardigans have always been a classic choice, and the Nusa Cardigan is no exception. Its neutral hue perfectly complements a wide range of outfits and colors, making it a go-to piece in your summer wardrobe.
From vibrant patterns to earthy tones, this cardigan effortlessly adapts to your personal style.
Not only does the Nusa Cardigan ooze timeless appeal, but it also adds a touch of sophistication to your overall look.
Be prepared to receive compliments and inquiries about where you found such a stylish summer staple.

Your Summer Crochet Adventure Begins Now
It’s time to start a summer crochet adventure with the Nusa Lightweight Crochet Cardigan pattern.
So grab your crochet hook, select your favorite lightweight yarn, and let your creativity run wild. As you stitch each row and watch your cardigan take shape, you’ll feel a sense of accomplishment and pride.
Remember, this is more than just a crochet project—it’s an opportunity to express your personal style and embrace the joy of handmade fashion.
Whether you’re a crochet enthusiast or a beginner eager to explore the world of garment-making, the Nusa Cardigan is your perfect summer companion.
OTHER CROCHET GARMENTS FREE PATTERNS YOU MIGHT LOVE


NUSA LIGHTWEIGHT CROCHET CARDIGAN FREE PATTERN
- Purchase the ad-free, printable PDF with stitch charts here on ETSY or here on Ravelry.
- Add this pattern to your Ravelry Queue HERE.
- Pin it for later.
Copyright 2020 – 2024 MyCrochetory. All right reserved. This pattern is property of Sylwia Kawczyńska @MyCrochetory. Please DO NOT sell the pattern and claim this pattern as your own. The pattern is for personal use only and may not be translated or reproduced in another language. Please respect my rights, DO NOT share or publish this pattern anywhere without my permission.
The lightweight crochet cardigan you make following this pattern is yours you are free to sell it, as long as you credit MyCrochetory as original designer. For more information, please, read Terms Page.

As a bonus in the ad-free, printable PDF, I’ve provided stitch chart. If you’re a visual learner or if you just want to support my work you can purchase this crochet pattern HERE on ETSY or HERE on Ravelry. Thank you and I hope you find it useful!

Materials & Tools:
- Yarn DROPS Nord 50g = 170 m, 45% Alpaca, 30% Polyamide, 25% Wool, 7 skeins.
- Hook size 3mm and 3.5mm. Adjust hook size if necessary to obtain correct gauge.
- Tapestry needle (to weave and hide yarn ends).
- Scissors.
- Stitch marker.
Level: Adventurous beginner/ Intermediate
Size after blocking (one size):
Length from top of neck, to bottom of cardigan is 62cm/24.5” (it stretches slightly downward when worn).
You can make this cardigan as long as you like by adding or substracting pattern repeats before top of neck.
Width is 76cm/30” from end of sleeve to end of sleeve.
This pattern fits S-L. It’s a one size fits most pattern. However, if you want to get a larger or smaller fit, you can work this using smaller or larger crochet hook.
For a reference my measurements are 92cm/36” bust and I am 5’6” tall.

Gauge after blocking:
For a swatch of 34 chains and 12 rows the length is 10.5cm/4.1” and the width is 13.5cm/5.3”.
If necessary, adjust hook size to obtain the correct gauge.
Before you measure, please take the time to wash and block your swatch in the same manner that you will wash and block your cardigan.
Notes:
- The pattern uses US crochet terminology.
- First, the back is worked from the bottom up. When the desired length is reached, then both front panels are worked top down.
- Next, the sides are seamed to create armholes.
- You can also use yarn in different weights, but just know that the width will be different depending on your gauge.
- dc in last dc means work double crochet stitch in top of beginning chain3, unless otherwise stated.
- Stitch marker placement: When instructed to place your marker, place on the last st worked unless otherwise instructed. It should lie on a stitch, not between stitches.
- Instructions in square brackets […] are worked as many times as indicated.
- The pattern includes the stitch charts.
Stitches & Abbreviations (US terms):
st(s) – stitch(es)
yo – yarn over
dc2tog (double crochet 2 together) – [yo, insert hook in indicated st, yo, draw up a loop, yo, pull through 2 loops] twice, yo, pull through all 3 loops on hook.
dc3tog (double crochet 3 together) – [yo, insert hook in indicated st, yo, draw up a loop, yo, pull through 2 loops] three times, yo, pull through all 4 loops on hook.
sp – space
sk – skip
prev – previous
beg – beginning

PATTERN
Read the Notes, before you start.
With 3.5mm hook, ch179.
Setup Row 1: dc in 4th ch from hook*, dc in each ch to end. Turn. (176dcs)
*the first ch3 counts as dc.
Setup Row 2: ch3 (counts as dc), dc in next ch, [ch2, sk 2chs, dc in next 9dcs, ch5, sk 3dcs, sc in next dc, ch5, sk 3dcs, sc in next dc, ch5, sk 3dcs, dc in next 3dcs, ch2, sk 2dcs, dc in next 2dcs] rep to end. Turn.
Row 1: ch3 (counts as dc), dc in next dc, [ch2, sk ch-2sp, dc in next 3dcs, 3dc in first ch-5sp, ch5, sc in next ch-5sp, ch5, sc in next ch-5sp, ch5, sk 3dcs, dc in next 6dcs, ch2, sk ch-2sp, dc in next 2dcs] rep to end. Turn.
*the last double crochet stitch is worked in top of beginning chain3 here and throughout (unless otherwise stated).
Row 2: ch3 (counts as dc), dc in next dc, [ch2, sk ch-2sp, dc in next 3dcs, ch5, sk 3dcs, sc in first ch-5sp, ch5, sc in next ch-5sp, ch5, 3dcs in next ch-5sp, dc in next 6dcs, ch2, sk ch-2sp, dc in next 2dcs] rep to end. Turn.
Row 3: ch3 (counts as dc), dc in next dc, [ch2, sk ch-2sp, dc in next 6dcs, ch5, sk 3dcs, sc in first ch-5sp, ch5, sc in next ch-5sp, ch5, 3dcs in next ch-5sp, dc in next 3dcs, ch2, sk ch-2sp, dc in next 2dcs] rep to end. Turn.
Row 4: ch3 (counts as dc), dc in next dc, [ch2, sk ch-2sp, dc in next 6dcs, 3dc in first ch-5sp, ch5, sc in next ch-5sp, ch5, sc in next ch-5sp, ch5, sk 3dcs, dc in next 3dcs, ch2, sk ch-2sp, dc in next 2dcs] rep to end. Turn.
Repeat Rows 1 – 4 15 more times or until desired length.
Then, repeat Rows 1 – 3 one time.
Next Row: ch3 (counts as dc), dc in next dc, [ch2, sk ch-2sp, dc in next 6dcs, 3dc in first ch-5sp, ch5, sc in next ch-5sp, ch5, sc in next ch-5sp, ch5, sk 3dcs, dc in next 3dcs, ch2, sk ch-2sp, dc in next 2dcs] rep 2 times in total, ch2, sk ch-2sp, dc in next 6dcs, 2dc in first ch-5sp, PM, dc in same ch-5sp, dc2tog (first leg over first ch-5sp and second leg over next ch-5sp), 3dc in second ch-5sp, dc2tog (first leg over second ch-5sp and second leg over third ch-5sp), 3dc in last ch-5sp, dc in next 6dcs, ch2, sk ch-2sp, dc in next 2dcs, ch2, sk ch-2sp, dc in next 6dcs, 3dc in first ch-5sp, dc2tog (first leg over first ch-5sp and second leg over next ch-5sp), 3dc in second ch-5sp, dc2tog, 3dc in last ch-5sp, dc in next 6dcs, ch2, sk ch-2sp, dc in next 2dcs, [ch2, sk ch-2sp, dc in next 6dcs, 3dc in first ch-5sp, ch5, sc in next ch-5sp, ch5, sc in next ch-5sp, ch5, sk 3dcs, dc in next 3dcs, ch2, sk ch-2sp, dc in next 2dcs] rep 2 times in total. Turn.
Now, we will working first front panel.
Row 1a: ch3 (counts as dc), dc in next dc, [ch2, sk ch-2sp, dc in next 3dcs, 3dc in first ch-5sp, ch5, sc in next ch-5sp, ch5, sc in next ch-5sp, ch5, sk 3dcs, dc in next 6dcs, ch2, sk ch-2sp, dc in next 2dcs] rep 2 times in total, ch2, sk ch-2sp, dc in next 5dcs, dc3tog. Turn.
Row 2a: ch3 (doesn’t count as dc), dc3tog, dc in next 3dcs, ch2, sk ch-2sp, dc in next 2dcs, [ch2, sk ch-2sp, dc in next 3dcs, ch5, sk 3dcs, sc in first ch-5sp, ch5, sc in next ch-5sp, ch5, 3dcs in next ch-5sp, dc in next 6dcs, ch2, sk ch-2sp, dc in next 2dcs] rep to end. Turn.
Row 3a: ch3 (counts as dc), dc in next dc, [ch2, sk ch-2sp, dc in next 6dcs, ch5, sk 3dcs, sc in first ch-5sp, ch5, sc in next ch-5sp, ch5, 3dcs in next ch-5sp, dc in next 3dcs, ch2, sk ch-2sp, dc in next 2dcs] rep 2 times in total, ch2, sk ch-2sp, dc in next 1dc, dc3tog. Turn.
*the third leg of dc3tog is worked in top of beginning chain3.
Row 4a: ch3 (doesn’t count as dc), dc2tog, ch1, sk ch-2sp, dc in next 2dcs, [ch2, sk ch-2sp, dc in next 6dcs, 3dc in first ch-5sp, ch5, sc in next ch-5sp, ch5, sc in next ch-5sp, ch5, sk 3dcs, dc in next 3dcs, ch2, sk ch-2sp, dc in next 2dcs] rep to end. Turn.
Row 5a: ch3 (counts as a dc), dc in next dc, ch2, sk ch-2sp, dc in next 3dcs, 3dc in first ch-5sp, ch5, sc in next ch-5sp, ch5, sc in next ch-5sp, ch5, sk 3dcs, dc in next 6dcs, ch2, sk ch-2sp, dc in next 2dcs, ch2, sk ch-2sp, dc in next 3dcs, 3dc in first ch-5sp, ch5, sc in next ch-5sp, ch5, sc in next ch-5sp, ch5, sk 3dcs, dc in next 6dcs, ch2, sk ch-2sp, dc in next dc, dc3tog (first leg in next dc, second leg in ch-1sp and third leg in last st). Turn.
Next, repeat sequence of Rows 2, 3, 4, 1 16 times or until desired length.
Work one row of dc placing 1dc in each dc, 2dc in each ch-2sp, 3dcs in each ch-5sp and dc2tog between ch-5sps.
Fasten off yarn.
Now we will working second front panel.
Attach yarn in marked stitch.
Row 1b: ch3 (doesn’t count as dc), dc3tog (first leg in marked st), dc in next 5dcs, ch2, sk ch-2sp, dc in next 2dcs, [ch2, sk ch-2sp, dc in next 3dcs, 3dc in first ch-5sp, ch5, sc in next ch-5sp, ch5, sc in next ch-5sp, ch5, sk 3dcs, dc in next 6dcs, ch2, sk ch-2sp, dc in next 2dcs] rep to end. Turn.
Row 2b: ch3 (count as dc), dc in next dc, [ch2, sk ch-2sp, dc in next 3dcs, ch5, sk 3dcs, sc in first ch-5sp, ch5, sc in next ch-5sp, ch5, 3dcs in next ch-5sp, dc in next 6dcs, ch2, sk ch-2sp, dc in next 2dcs] rep 2 times in total, ch2, sk ch-2sp, dc in next 3dcs, dc3tog (last leg in last stitch). Turn.
Row 3b: ch3 (doesn’t count as st), dc3tog (first leg in first stitch), dc in next dc, ch2, sk ch-2sp, dc in next 2dcs, [ch2, sk ch-2sp, dc in next 6dcs, ch5, sk 3dcs, sc in first ch-5sp, ch5, sc in next ch-5sp, ch5, 3dcs in next ch-5sp, dc in next 3dcs, ch2, sk ch-2sp, dc in next 2dcs] rep to end. Turn.
Row 4b: ch3 (count as dc), dc in next dc, [ch2, sk ch-2sp, dc in next 6dcs, 3dc in first ch-5sp, ch5, sc in next ch-5sp, ch5, sc in next ch-5sp, ch5, sk 3dcs, dc in next 3dcs, ch2, sk ch-2sp, dc in next 2dcs] rep 2 times in total, ch1, sk ch-2sp, dc2tog. Turn.
Row 5b: ch3 (doesn’t count as st), dc3tog (first leg in first st, second leg in ch-1sp, third leg in next dc), dc in next dc, [ch2, sk ch-2sp, dc in next 3dcs, 3dc in first ch-5sp, ch5, sc in next ch-5sp, ch5, sc in next ch-5sp, ch5, sk 3dcs, dc in next 6dcs, ch2, sk ch-2sp, dc in next 2dcs] rep to end. Turn.
Next, repeat sequence of Rows 2, 3, 4, 1 16 times or until desired length.
Work one row of dc placing 1dc in each dc, 2dc in each ch-2sp, 3dcs in each ch-5sp and dc2tog between ch-5sps.
Don’t break the yarn.
Collar
Now we are going to add a collar to the opening of the cardigan.
Change to 3mm hook.
Turn a quarter, ch1 (dosn’t count as a st) and work with sc evenly along the length of the front panel, across the neck, and down the length of the other front panel.
Work 4 more rows of sc.
You can increase/decrease the width of your collar by adding more/less rows as you desire.
Fasten off yarn, weave in all ends and block the piece.
Creating arm holes:
Fold in half horizontally and using Mattress Stitch (or different joinig method you like) seam the sides together leaving arm openings (approx. 25cm/9.75”).
Tie off and weave in ends.
Sleeves (both worked the same)
Sleeves are worked in one continuous spiral of single crochet.
Use 3mm hook and attach the yarn with slip stitch in any place of armhole opening and work with sc evenly around.
Work 5 rounds in total.
Don’t join the rounds with slip stitch, except the last round.
Tie off and weave in ends.
If you have any suggestions or have detected any mistakes, please feel free to email me at mycrochetory@gmail.com
PROGRESS PICTURES


Leave a Reply