
Updated: 16 September 2026 by Sylwia (MyCrochetory)
Searching for what slst crochet means? Sl st, slst, however you see it written, it just means slip stitch.
This post was part of me building out a full set of beginner basics here on the blog. I’d already covered single crochet, double crochet, all the taller stitches, and slip stitch was the one still missing. It’s the shortest, simplest stitch out there, but somehow it’s also the one that trips people up the most when they spot it written in a pattern.
It’s not fancy at all. It barely adds any height to your work. But it shows up in almost every pattern you’ll ever pick up, joining rounds, finishing edges, moving your hook across stitches without adding bulk.
Below, I’ll show you exactly what it is, how to make one, and where you’ll actually use it, with step-by-step photos and a video walking you through the whole thing.
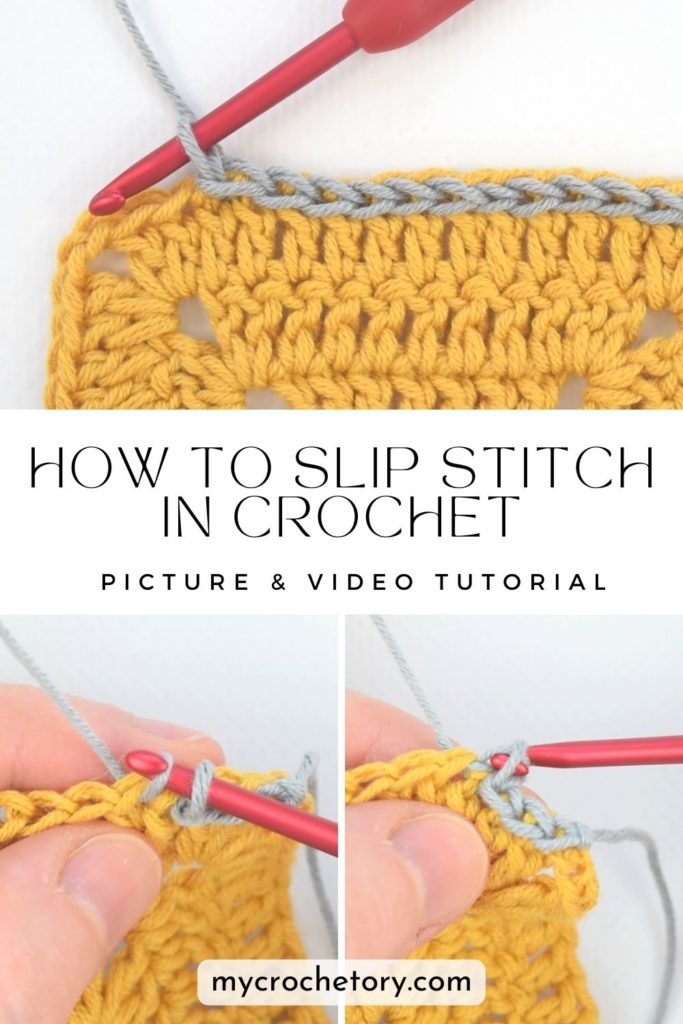
What is Slip Stitch in Crochet?
If you’ve spotted “sl st” or “slst” in a pattern and weren’t sure what it meant, here’s the short answer: it’s the slip stitch, the shortest and simplest stitch in crochet.
You make it by inserting your hook into a stitch, yarning over, and pulling through both loops in one motion. That’s it, no extra steps, no extra height added.
Anatomy
The slip stitch is the smallest stitch you’ll make in crochet. You insert your hook into a stitch, yarn over, and pull through both loops in one go. That’s really the whole thing.
Height and Abbreviation
You’ll see it written as “sl st” in most US patterns, though some shorten it to “slst” instead. Both mean the same stitch, just different habits from different designers.
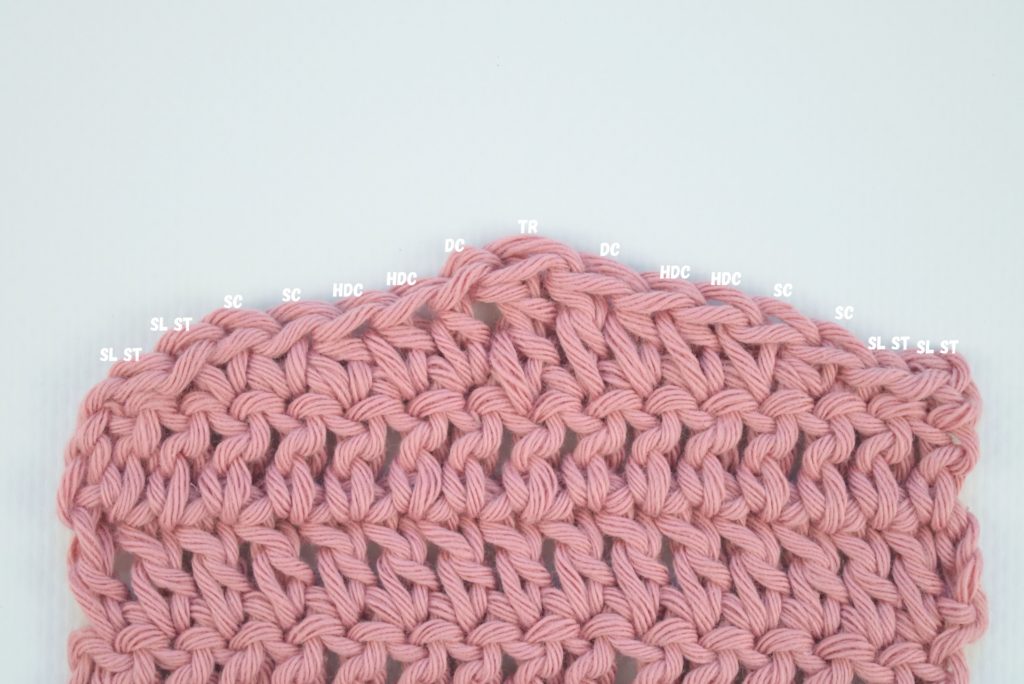
Symbol in the Chart
On a crochet chart, look for a small dot, that’s your slip stitch. Once you know what to look for, you’ll catch it every time.
How It’s Different from Other Stitches
Single crochet adds height. So does double, so does treble, every stitch you make usually builds your fabric up a little. Slip stitch is the odd one out, it’s made to add almost nothing, and that’s exactly the point. It’s why it works so well for joining pieces or closing up an edge without adding bulk.
Fabric it Creates
Since it barely adds any height, slip stitch makes a tight, dense little texture instead of open fabric. Good for anything that needs some structure, a firm edge, a snug join, that kind of thing.
Turning Chain
Sometimes a pattern tells you to start a row with a turning chain. It’s a simple way to set up a neat edge before you get into the next row.
One thing worth knowing: the turning chain doesn’t count as a stitch here. It’s just there to help the structure, not to add to your stitch count.
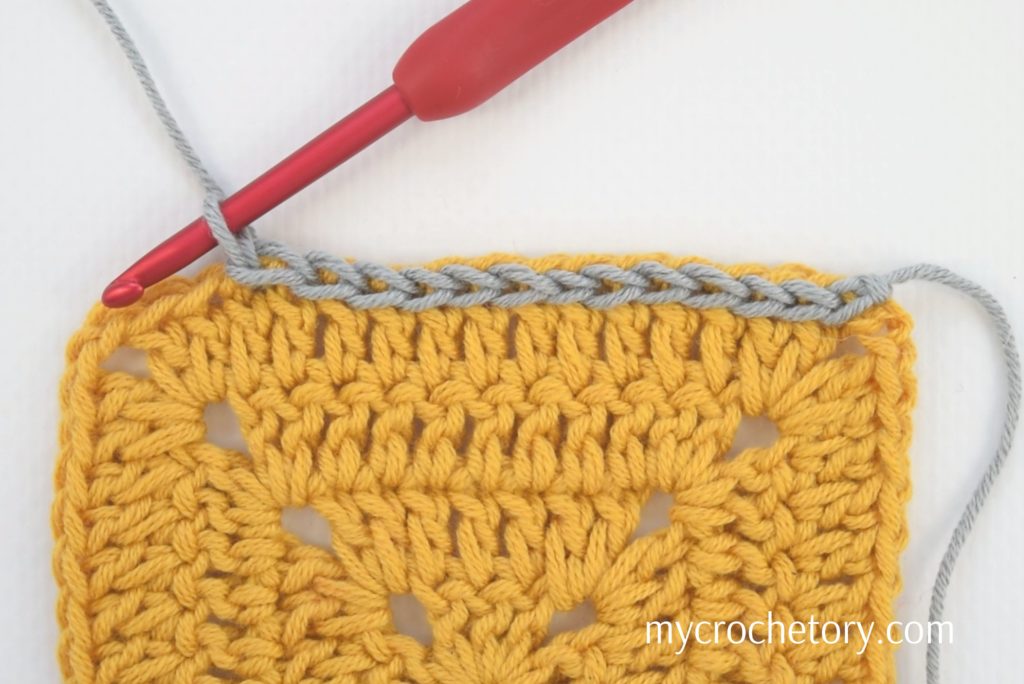
How to Slip Stitch In Crochet – Step-by-Step Guide
Once you know what to look for, this stitch takes about ten seconds to learn.
Step 1: Put your hook into the stitch where you want to make the slip stitch.
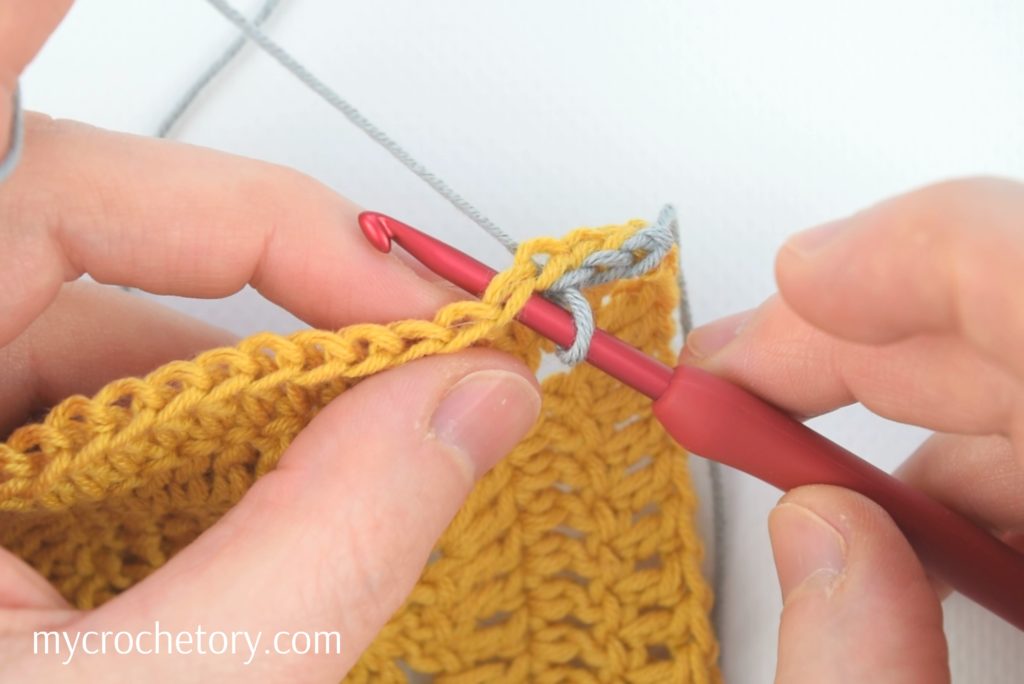
Step 2: Wrap the yarn around your hook, back to front, so you’ve got a small loop.
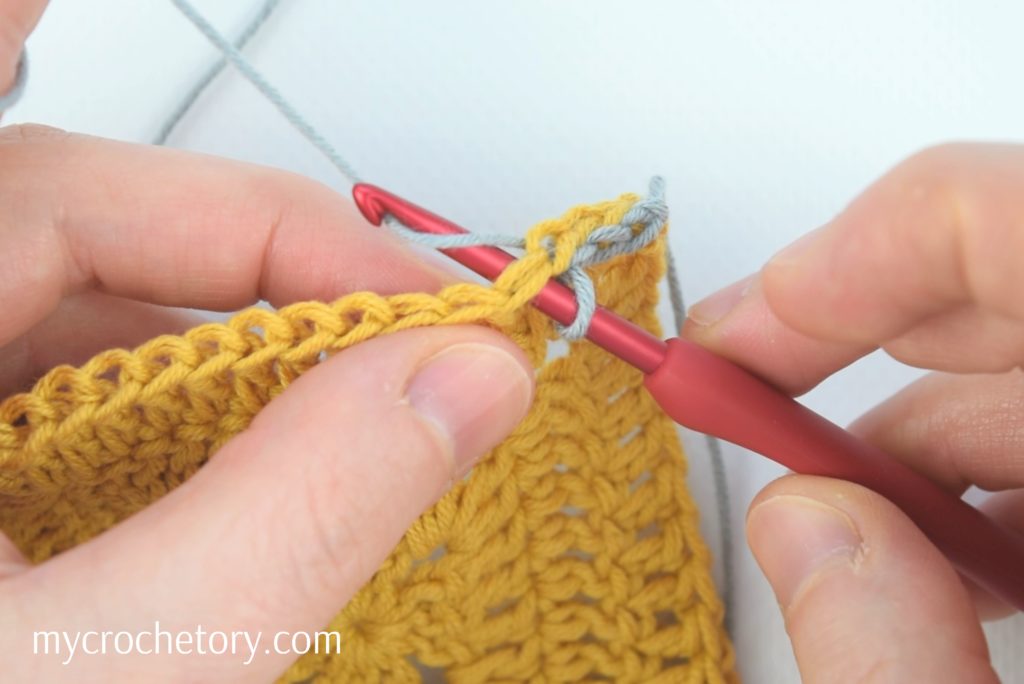
Step 3: Pull that wrapped yarn through the stitch and through the loop already on your hook, both at once.
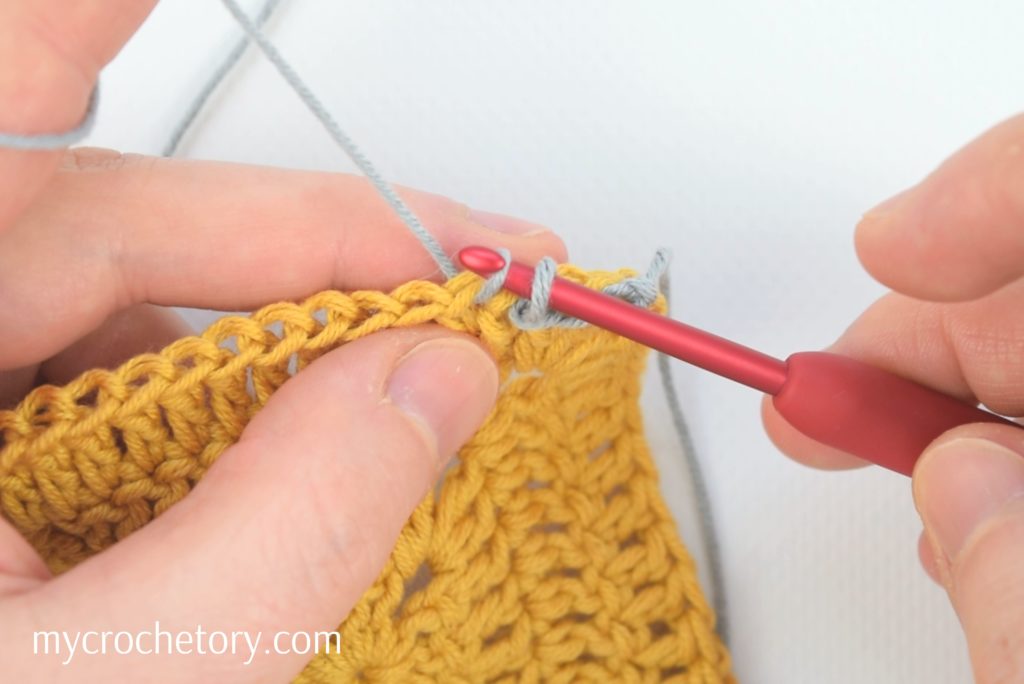
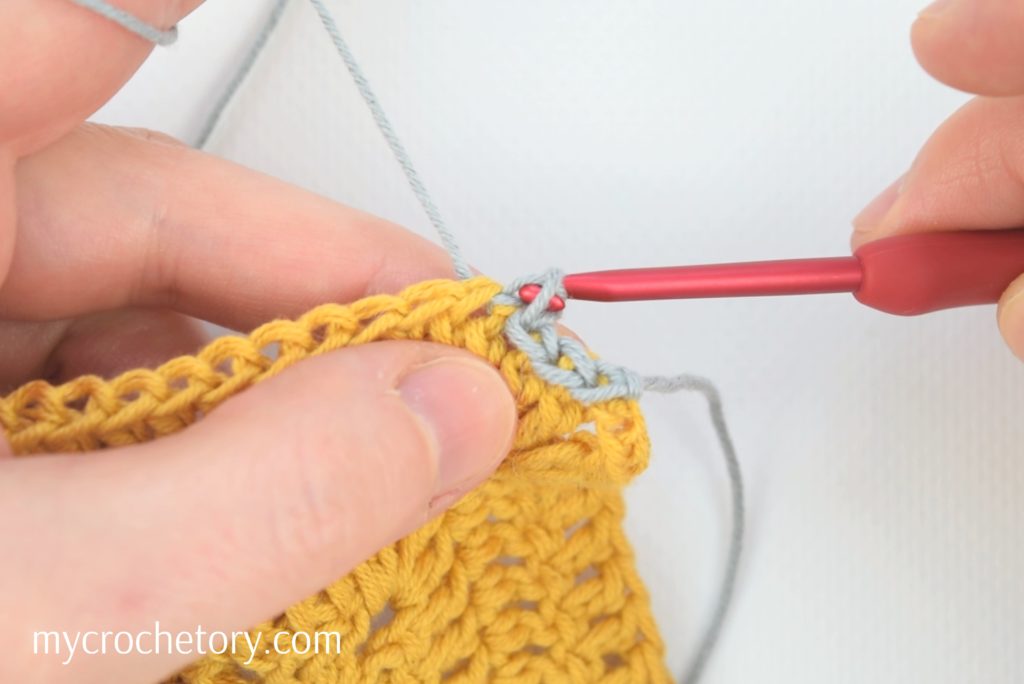
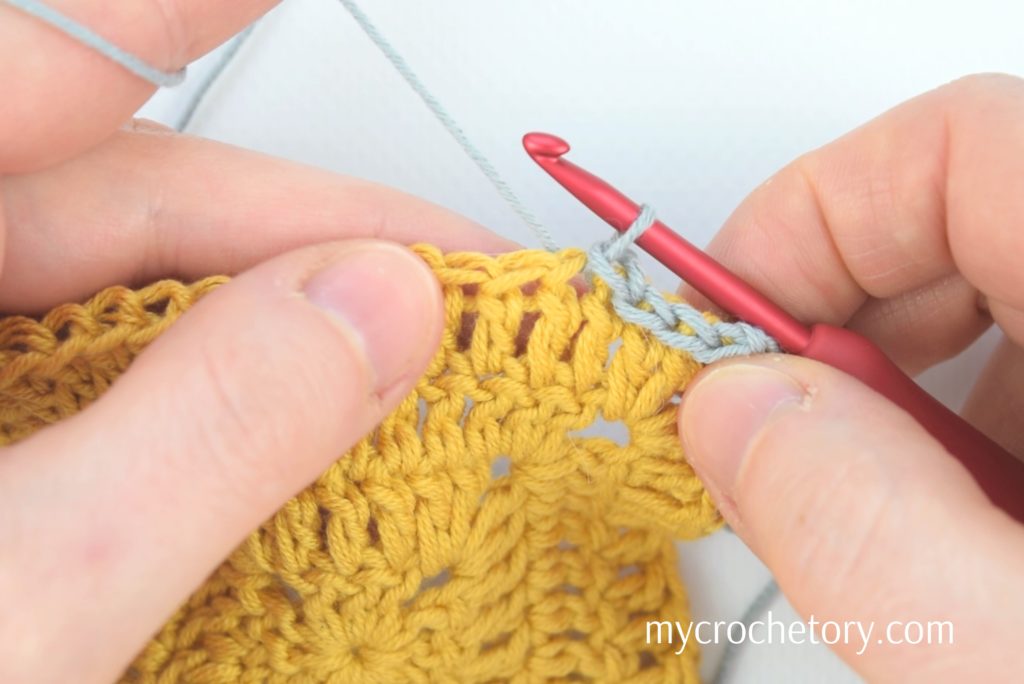
Step 4: Repeat for every stitch you want to slip stitch. Insert, yarn over, pull through.
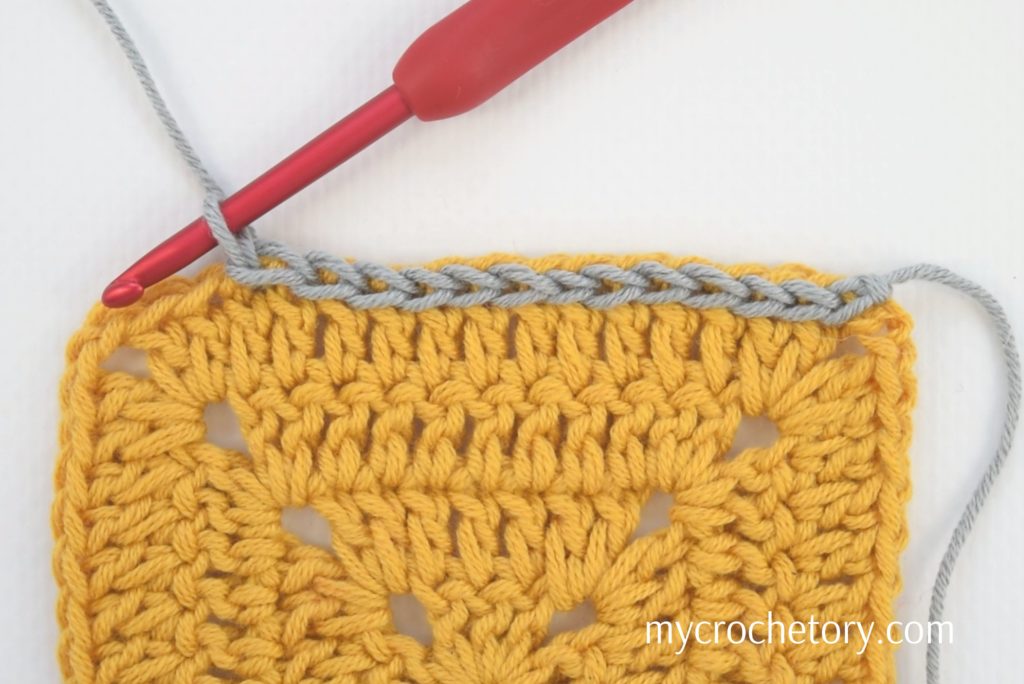
Try it on a small swatch first, a dishcloth or a simple square works fine. A few rows in, it’ll feel automatic.
Watch the Video Tutorial
If reading through steps isn’t your thing, the video below walks through everything hands-on.
It covers three ways you’ll actually use slip stitch: joining pieces together, joining rounds, and surface crochet.
Quick tip: if the video won’t load right, try turning off your ad blocker.
Where You’ll Actually Use Slip Stitch
Joining Pieces Together
If you’re working on a blanket or a garment made of separate parts, slip stitch is what connects them. Insert your hook, yarn over, and pull through, and you’ve got a seam that’s nearly invisible. No one looking at the finished piece will be able to tell where one section ends and the next begins.
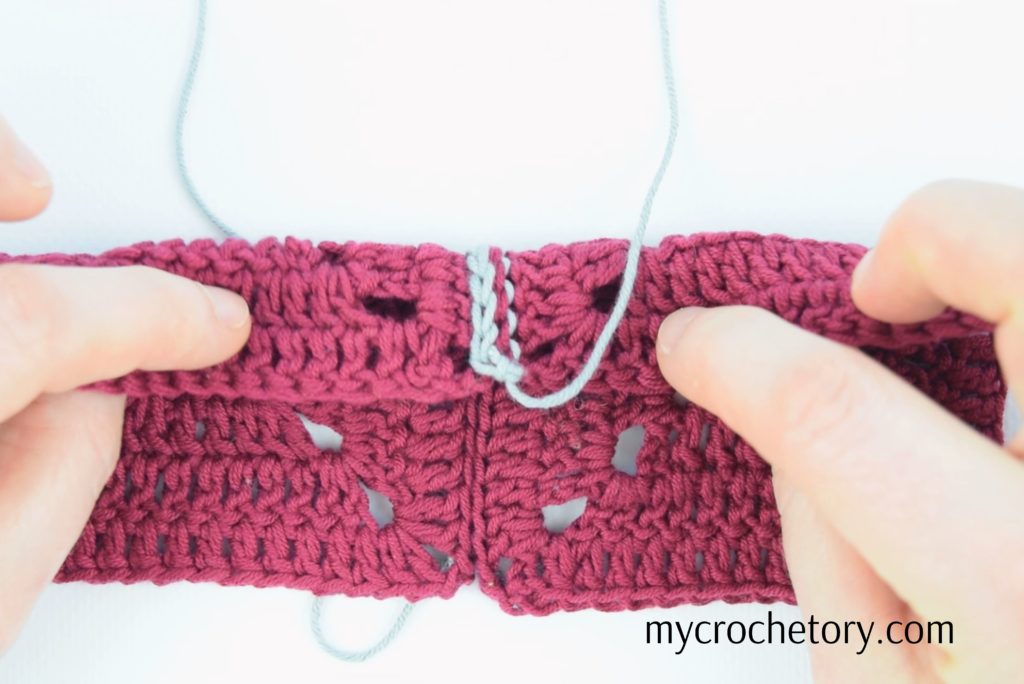
Neat Finishing
Slip stitch along a border to give it a clean, finished edge. It’s a small step that makes a noticeable difference in how polished the final piece looks.
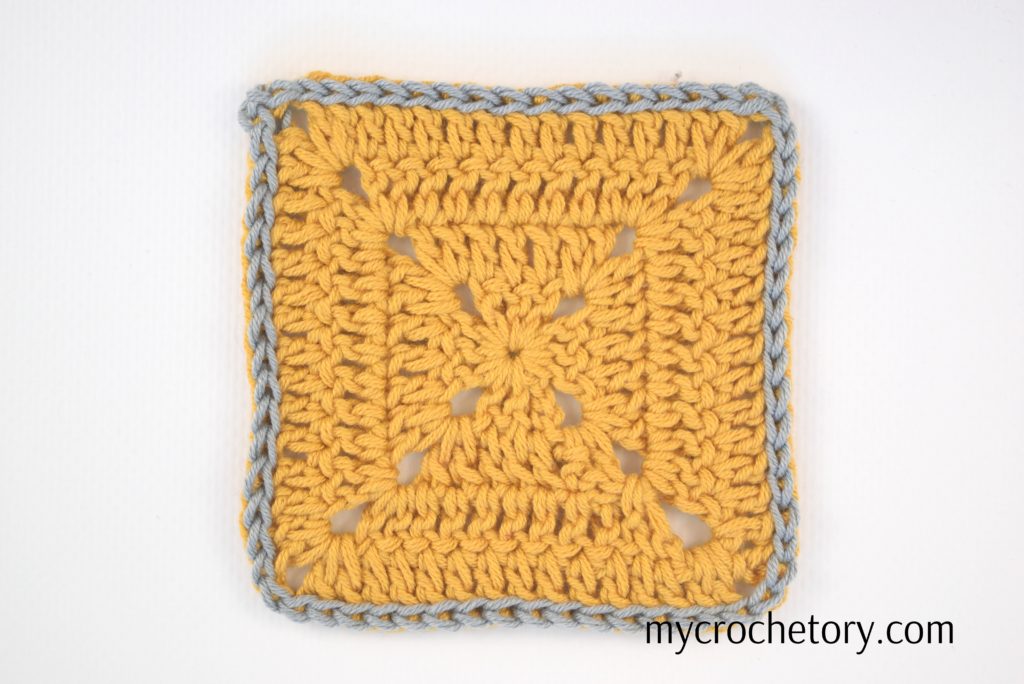
Surface Crochet
You can also work slip stitches directly on top of a finished piece to add decorative lines or patterns. Think of it as drawing with yarn, right on the surface of your fabric.
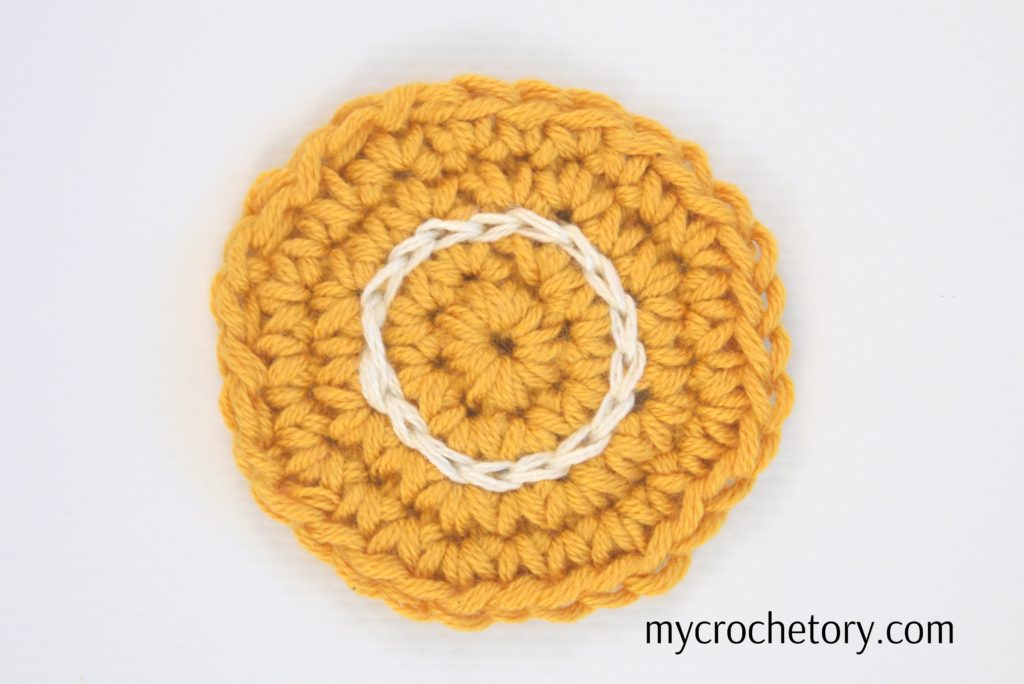
Joining Rounds
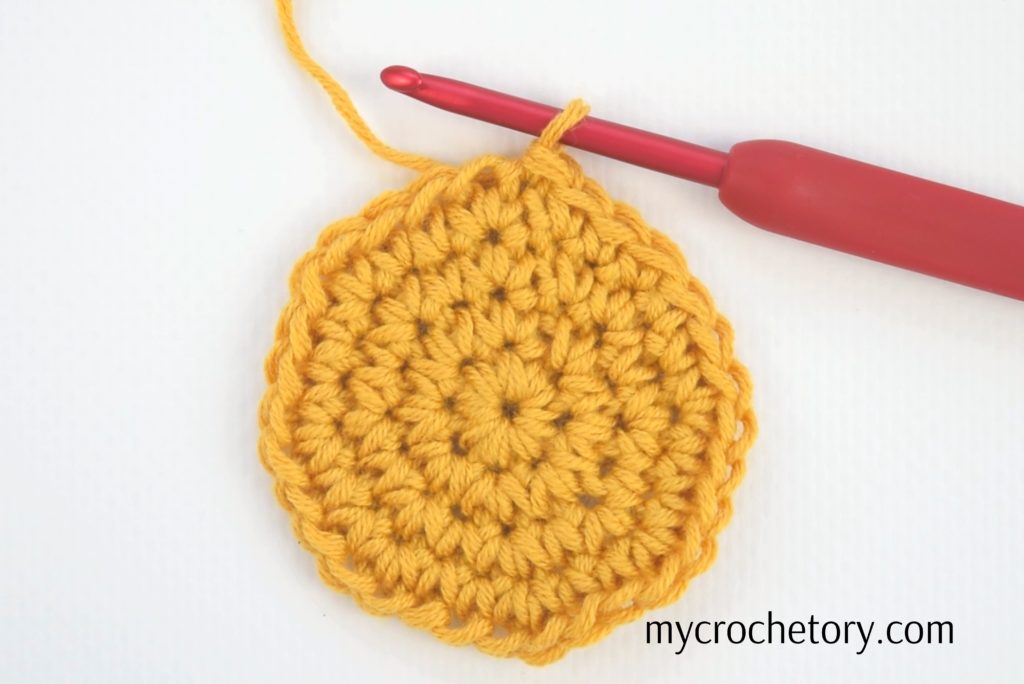
For anything worked in the round, hats, blankets, coasters, or a basic crochet circle, slip stitch gives you a smooth way to close each round before starting the next one. Insert, yarn over, pull through, and you’re ready to keep going.
Tips for Cleaner Slip Stitches
Keep your tension even. Not too tight, not too loose. That’s really what makes your stitches look uniform instead of all over the place.
Watch where your hook goes. Make sure you’re catching both loops, not just one, easy thing to miss when you’re moving fast.
Try a few different yarns. Some glide through slip stitch nice and easy, others give you more grip and texture. Worth testing a couple before you commit to a big project.
Slow down if you’re still learning. Speed comes on its own with practice. Rushing early usually just means redoing rows later anyway.
What You Can Build with Slip Stitch
Ribbing. Alternate slip stitches with other basic stitches, row by row, and you get a stretchy, ribbed texture. Great for cuffs or a hat brim. I’ve actually got a full tutorial on three different ribbing techniques if you want to go deeper on this one.
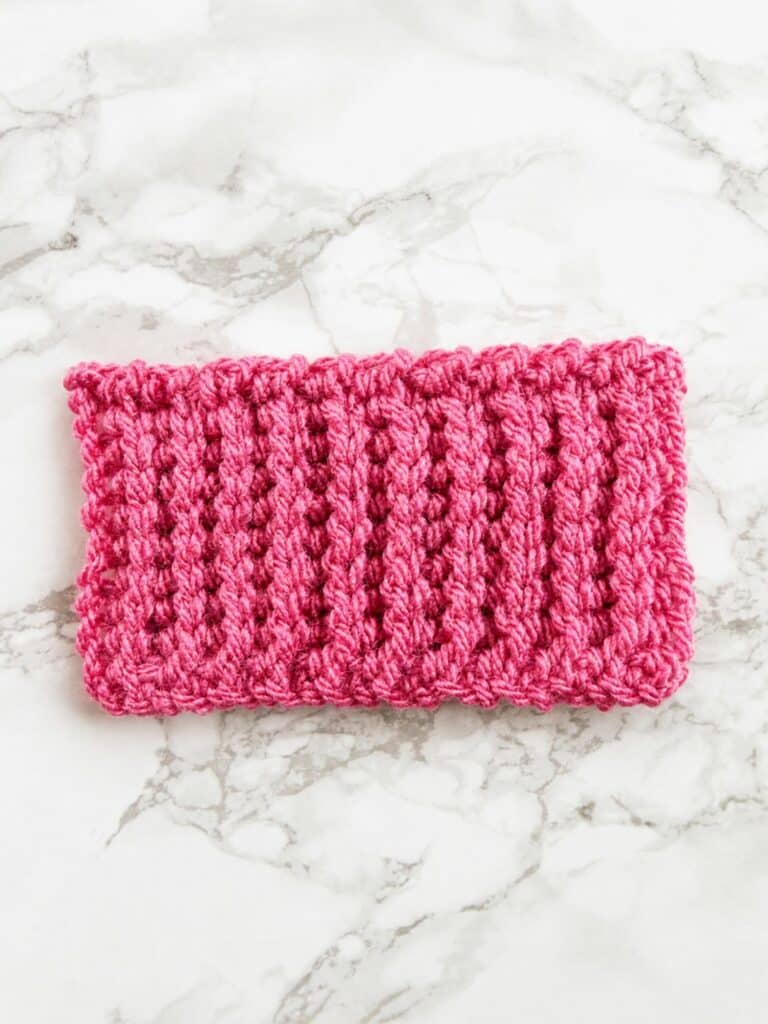
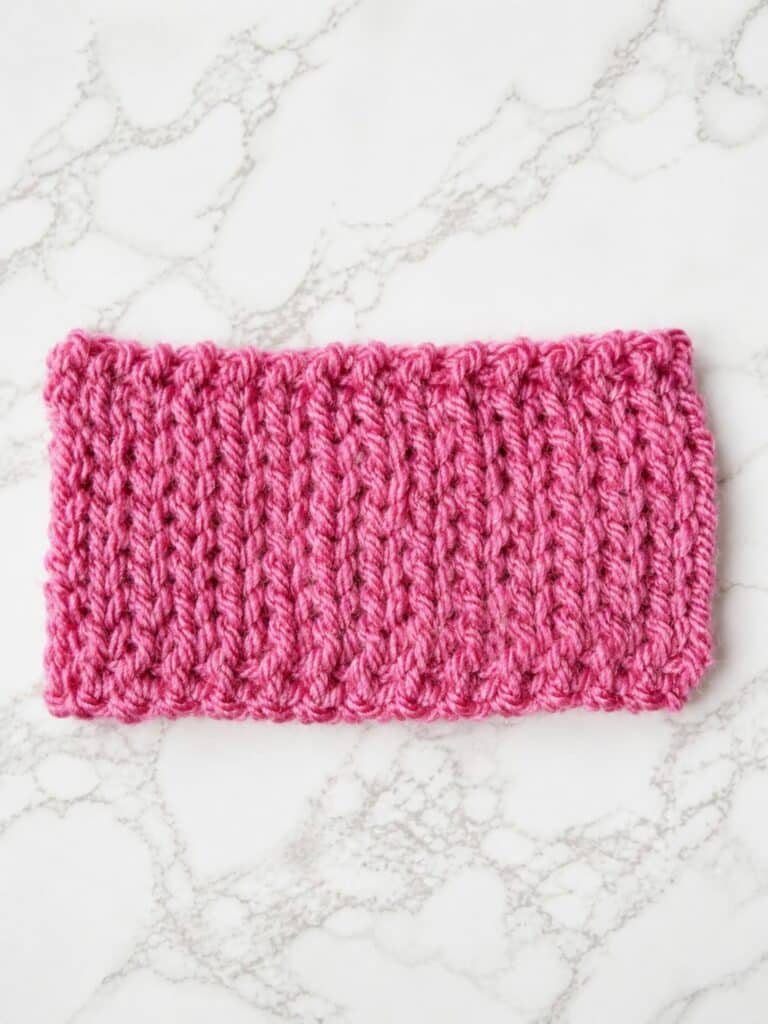
Texture. Work through the front loop only, or just the back loop, and you’ll get raised or sunken lines instead of flat fabric. Nice for adding some depth to scarves or blankets.
Decorative edging. A row of slip stitch along a border gives blankets, shawls, or pretty much anything a clean, framed-out look.
Common Slip Stitch Mistakes
Saggy stitches. Usually just loose tension. Give the yarn a gentle tug after each stitch and it’ll tighten right up.
Twisted stitches. Check that your hook’s going through both loops of the stitch below, not just catching one at an angle.
Uneven rows. Count your stitches at the end of each row. Takes two seconds and catches mistakes before they pile up on you.
Skipping the yarn over. Easy to forget when you’re moving fast. Miss it and you end up with an incomplete stitch, so double-check as you go.
Hook feels stuck. You’re probably crocheting a bit too tight. Loosen your grip a touch and it should glide through fine.
FAQ
What does “sl st” mean in crochet?
It stands for slip stitch, the shortest and simplest stitch in crochet. You’ll also see it written as “slst” in some patterns, both mean the same thing.
What does “slst” mean in crochet?
Same as “sl st,” just written without the space. Some designers write it one way, some the other. Either version means slip stitch.
Is slip stitch the same as a chain stitch?
No, they’re different. A chain stitch is worked without inserting your hook into an existing stitch, it just builds a chain. A slip stitch is worked into a stitch, so it connects to what’s already there.
Do I need to know slip stitch as a beginner?
Yes, pretty much every pattern uses it somewhere, joining rounds, finishing edges, or moving your yarn across stitches. It’s one of the first things worth learning.
MORE CROCHET TUTORIALS
If you found this slip stitch tutorial helpful, you might also like:
- How to foundation single crochet
- How to crochet a magic ring – 3 easy ways
- How to crochet ribbing
- Mattress stitch join tutorial
- How to do intarsia crochet
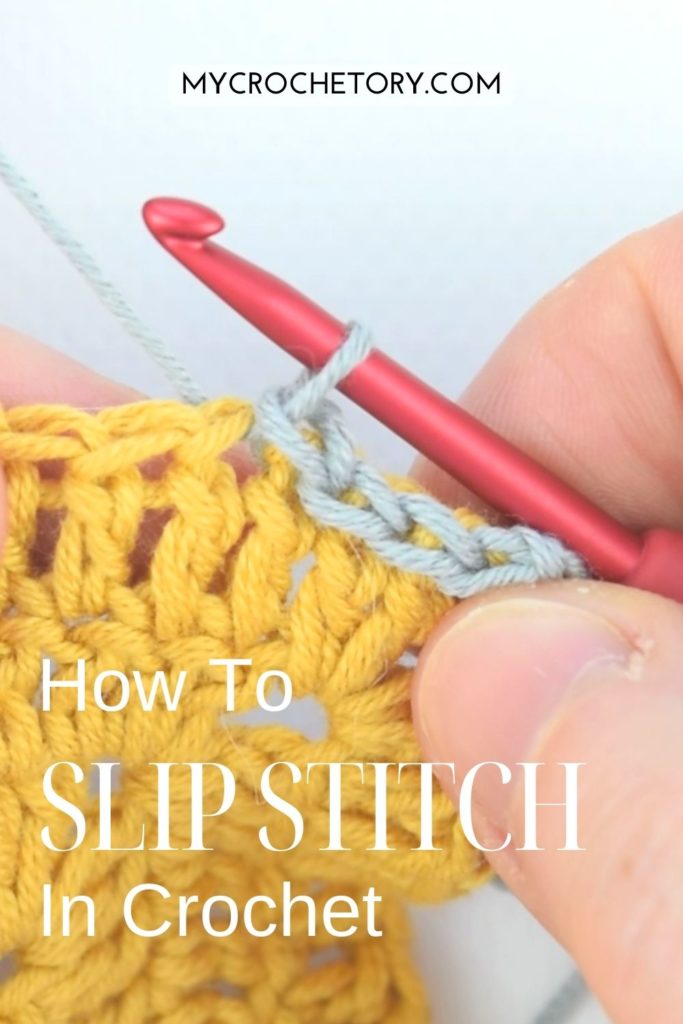
Don’t forget to save this Pin for easy reference: 📌
Made something using slip stitch? I’d love to see it, drop a photo in the comments or tag me on Pinterest.
Got a question about any of the techniques? Ask away, I read every comment.
If this helped, sharing it helps other crocheters find it too. There’s a share button right below.
Join my Facebook Group and Official Ravelry Group
Leave a Reply