
Updated: 15 September 2026 by Sylwia (MyCrochetory)
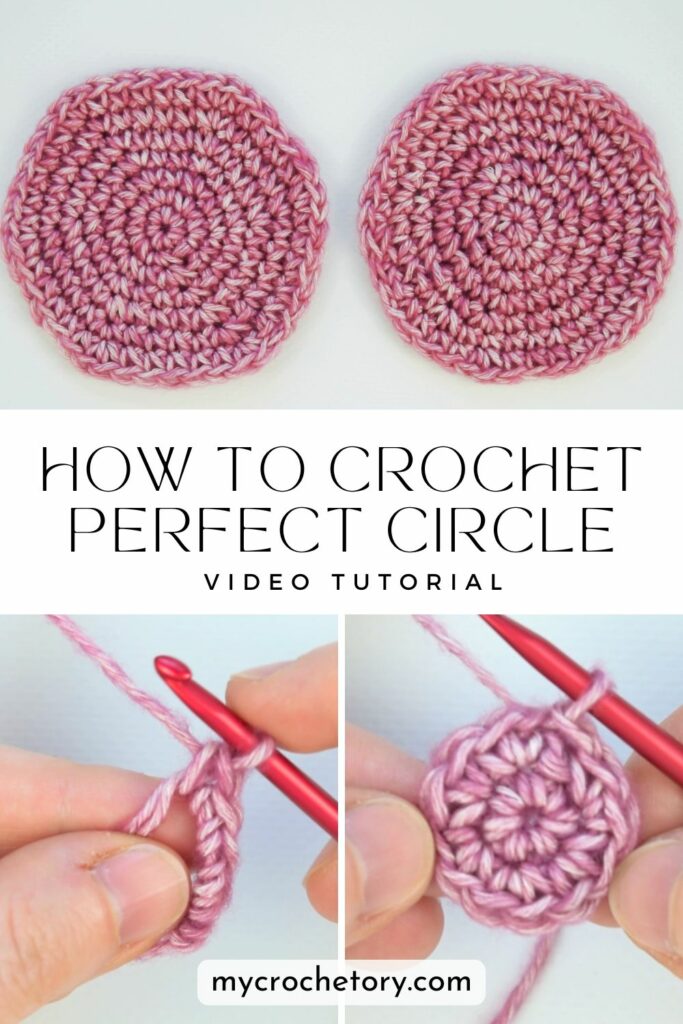
Crochet circle patterns sound simple until you actually try one, and then you’re staring at something wavy, bowl-shaped, or weirdly hexagon-ish, wondering what went wrong.
I wanted to write the tutorial I wish I’d had early on, the kind that actually explains why circles go sideways instead of just telling you what to do. Getting this right matters more than people think. A flat, even circle, not a hexagon, not a bowl, not a ruffled edge, is the difference between a project that actually looks good and one that just looks a little off, no matter how neat your stitches are otherwise.
Below, you’ll find everything you need to crochet a circle that actually stays flat: the basic formula, how to keep your stitch count under control, and the one small tweak that stops circles from turning into hexagons.
There’s a video tutorial too, if you’d rather watch than read.
Why Is This So Hard?
Crocheting a flat circle should be simple, right?
Ever ended up with a lumpy pancake or a ruffled donut instead? That happens to almost everyone starting out, myself included, frustrated, pulling out rows, trying to figure out what went wrong.
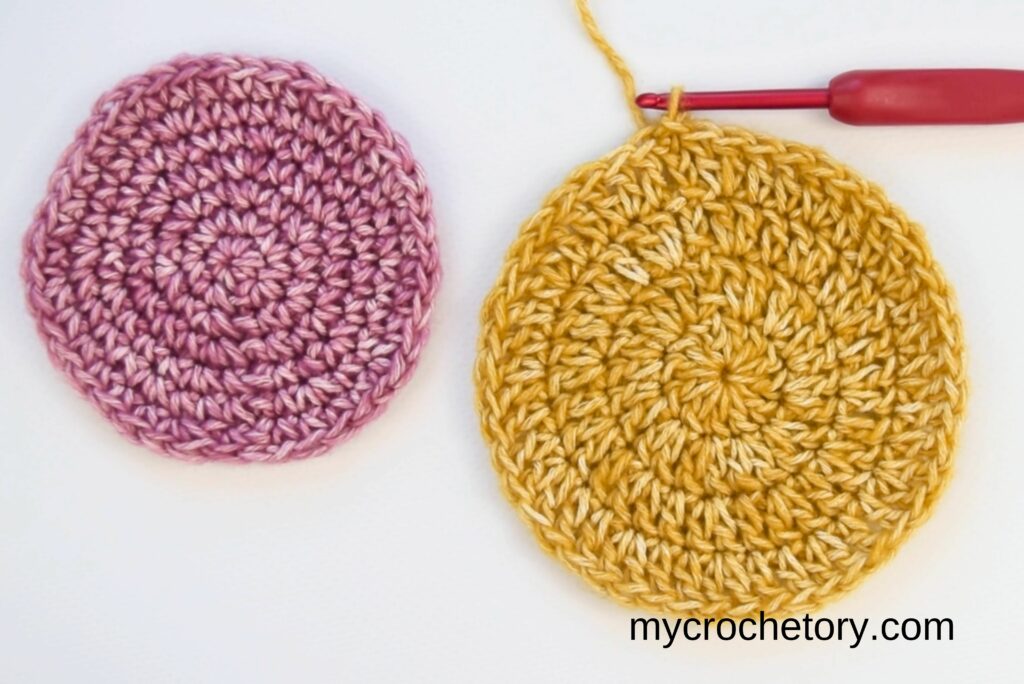
Here’s the thing about a crochet circle: it follows a basic formula, but it’s really all about balance. Where you place your increases, and how many stitches you add each round, makes a huge difference.
Too many stitches? It ripples. Too few? It curls up like a bowl. Both fixable, once you actually know why they happen.
What You’ll Need
Here’s what I use when I’m making a basic circle:
- A crochet hook (4 mm is a nice place to start).
- Some yarn (use whatever you have — nothing fancy needed).
- A stitch marker (or a bobby pin, scrap yarn, anything that works).
- Scissors.
- A tapestry needle for weaving in your yarn tail.
Optional but helpful: a snack, a cozy blanket, and a quiet moment to yourself.
New to Crochet? Let’s Get You Set Up First
If you’re just getting started, learning how to crochet a circle is an awesome first step. But there are a few other basics that will make your crochet life easier too.
I’ve written some beginner-friendly guides you might want to bookmark for later:
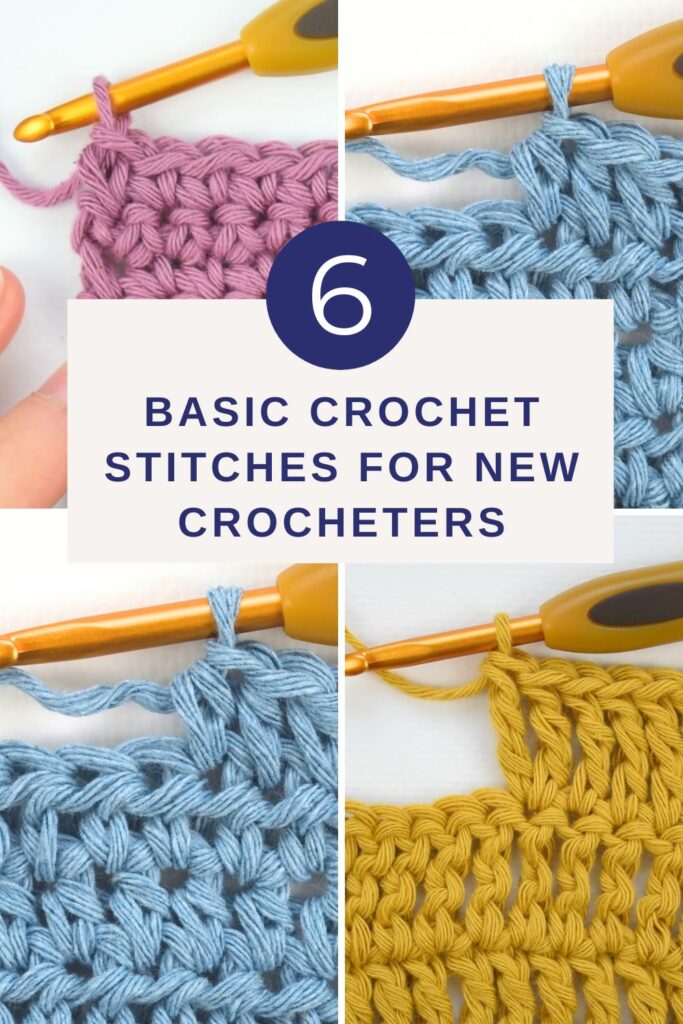
👉 The Six Basic Crochet Stitches You Need to Know
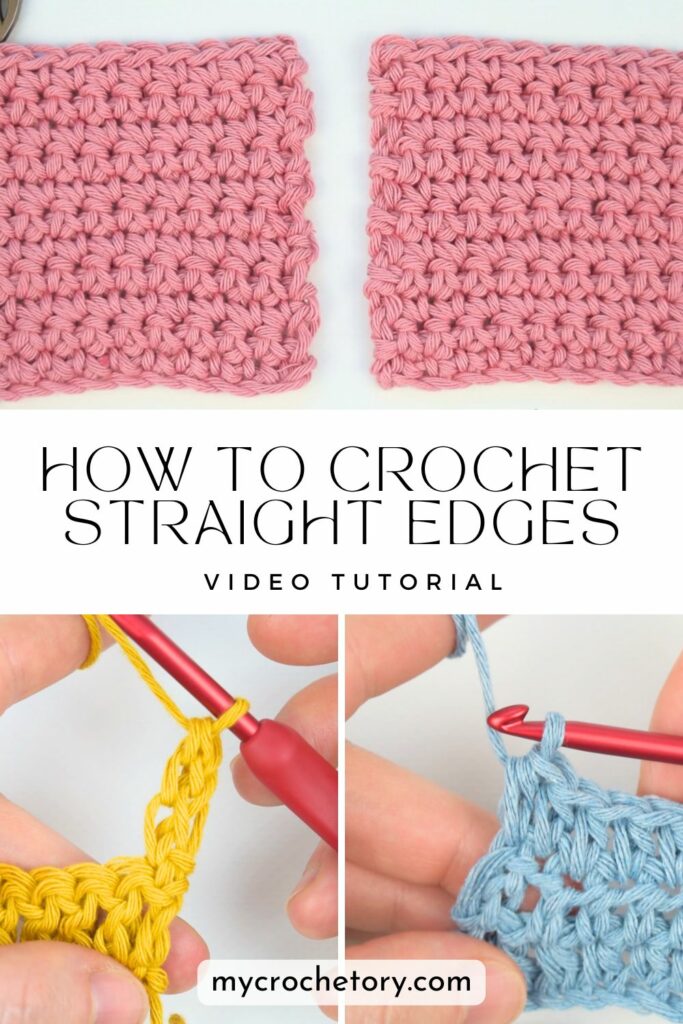
👉 How to Crochet Straight Edges (So Your Rows Don’t Lean)
👉 How to Change Colors in Crochet Without the Mess
Don’t feel like you have to know it all right away — we all start somewhere, and you’re already doing great by being here.
Starting with a Magic Ring (It’s Not Scary, I Promise)
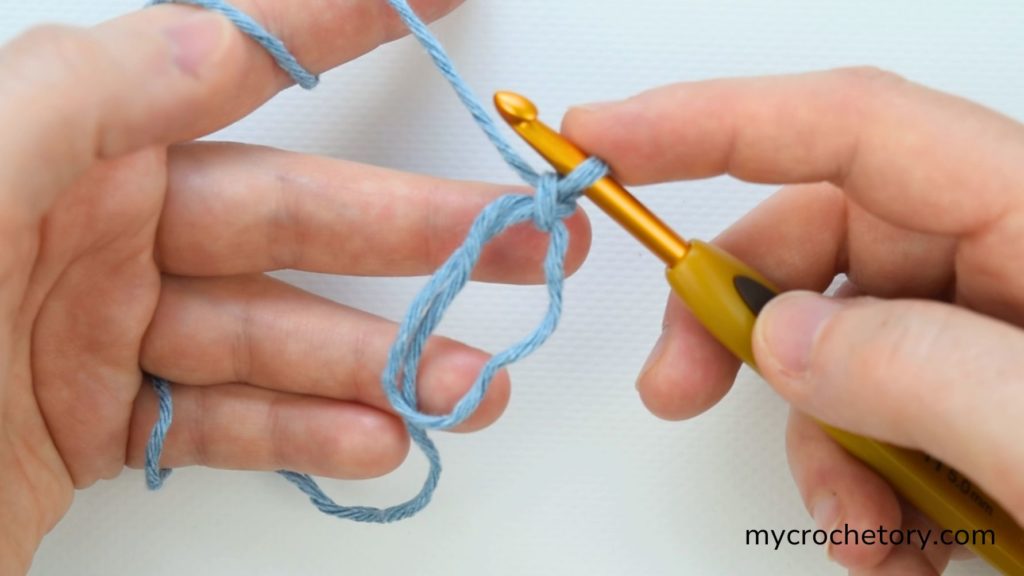
The magic ring (aka magic loop or adjustable loop) is honestly the easiest way to start a crochet circle, and it gives you a nice, tight center right from round one.
A foundation chain joined into a ring can leave a small hole in the middle, no matter how hard you pull. A magic ring skips that problem entirely, you pull the center closed completely once your first round is done.
Not sure how to make one yet? Don’t worry, it clicks with practice. If you want the full breakdown, I’ve got three different ways to make a magic ring in a separate tutorial. Otherwise, I wrap the yarn around my middle finger and guide it with my left hand, but you’ll figure out whatever grip feels natural for you.
Step-by-Step: Let’s Crochet Your First Circle
We’ll start with single crochet stitches. It’s the easiest to learn and great for practicing the rhythm of increases.
First Round (R1)
- Make a magic circle
- Ch 1 (this is your turning chain, it doesn’t count as a stitch)
- Work 6 single crochet stitches into the circle
- Pull the working yarn to close the loop
- Join with a sl st to the first stitch
That’s your first round done.
Second Round (R2)
- Ch 1
- Work 2 sc into each stitch around (you’ll have 12 at the end)
- Join with a sl st to the first sc
This is your basic pattern. Every round, you add stitches evenly to keep the circle flat.
If you want to understand how to crochet a circle that looks smooth and professional, pay close attention to where your increases go.
The Magic Formula for Growing Circles
Here’s the general rule of thumb:
Start with a number of stitches in your first round (like 6), and add that same number in each subsequent round.
So if you begin with 6:
- R1: 6 sts
- R2: 12 sts
- R3: 18 sts
- R4: 24 sts
…and so on.
That’s the basic idea behind a flat circle.
Once you get this pattern down, you’ll feel confident in how to crochet a circle for any project.
Preventing the Dreaded Seam
If you’re working in joined rounds (where you sl st at the end of each round), you might notice a visible seam running up the side. It’s not wrong — just noticeable.
There are two easy ways to fix that:
- Try the spiral technique — keep going in continuous rounds without joining.
- Use an invisible join — it’s a way to fasten off and weave in the yarn without a bump.
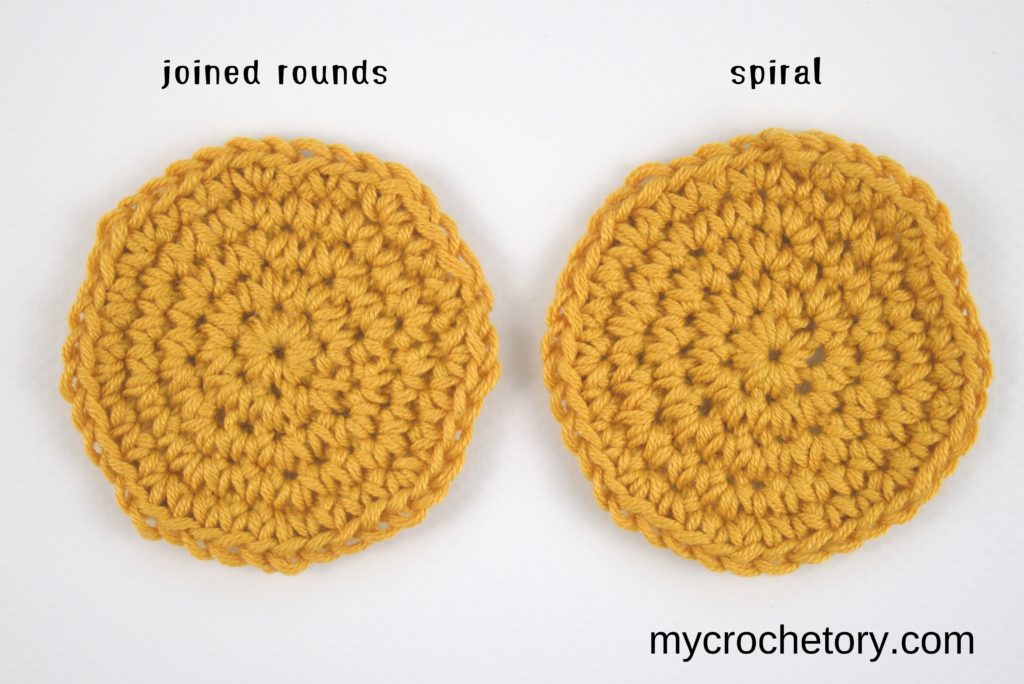
Either one works — give both a try and see what feels best.
Just don’t forget your st marker (aka your new best friend). Pop it into the first stitch of every round so you know where you started. Trust me, it saves so much guesswork.
Want Bigger Circles? Try Double Crochet
If you want your circles to grow faster — or if you’re making something like a storage pot, rug, or placemat — switch to double crochet stitches.
But here’s the thing: you’ll need to adjust your starting numbers.
Here’s a guide:
- Single crochet: start with 6–8 sts
- Half double crochet: start with 8–10
- Double crochet: start with 10–12
Also, use a taller turning chain:
- 2 chains for hdc
- 3 chains for dc
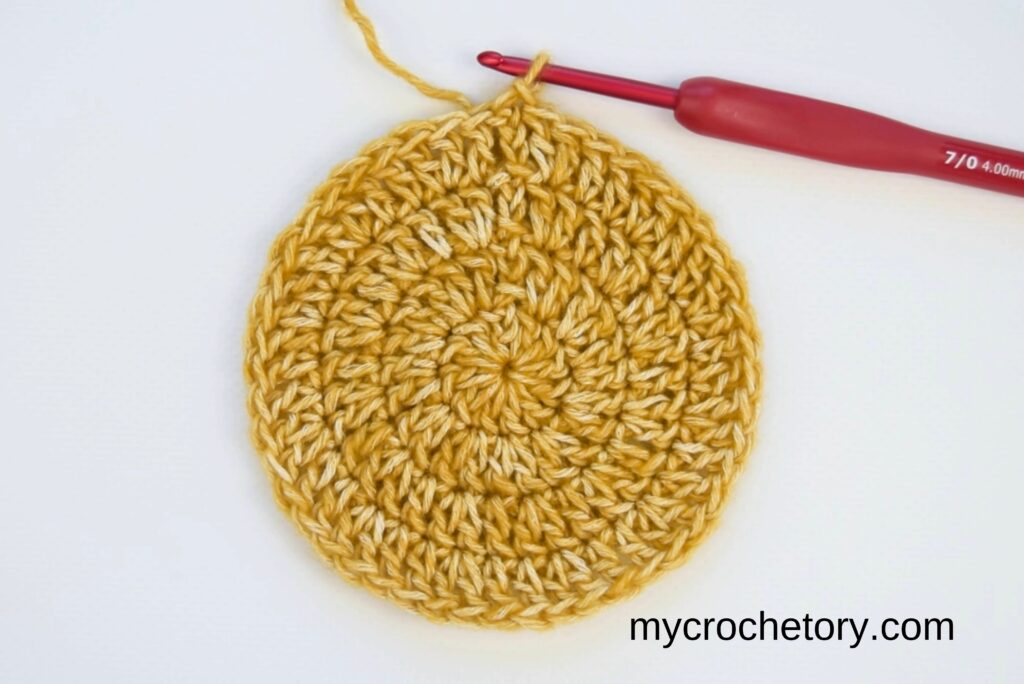
Don’t forget to size up your hook if needed! A 4 mm hook works for most worsted-weight yarns, but chunkier yarns need bigger hooks.
As you practice how to crochet a circle using different stitches, you’ll discover what works best for your yarn and project.
A Quick Pattern to Try
Let’s keep it simple and write out an example pattern:
R1: Magic circle, ch 1, 6 sc into the ring. Sl st to first stitch. (6)
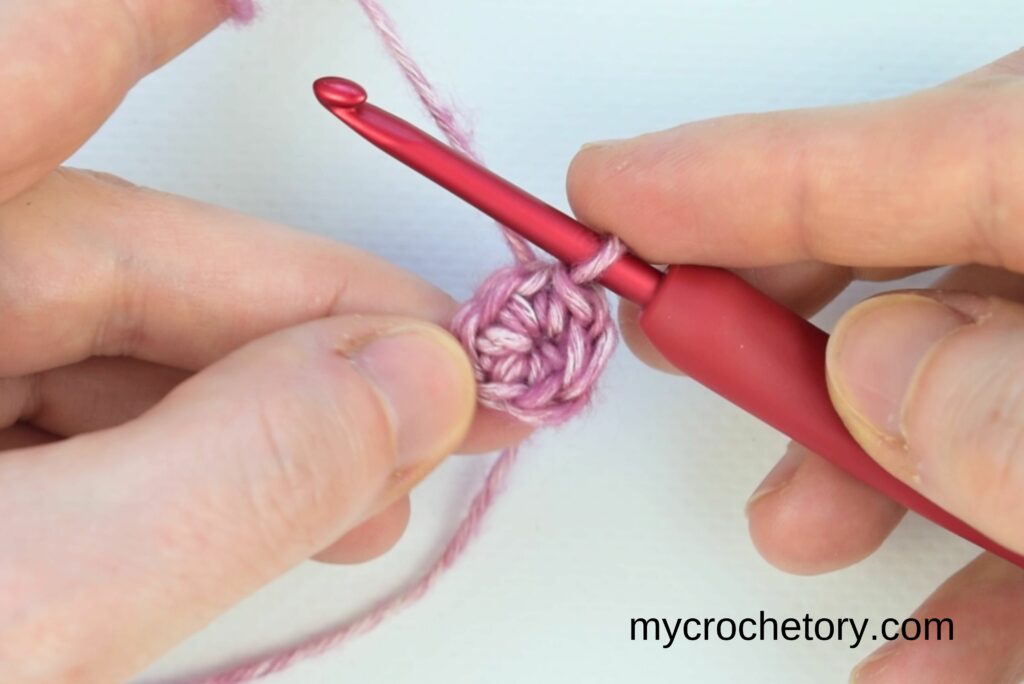
R2: Ch 1, 2 sc in each stitch. Sl st. (12)
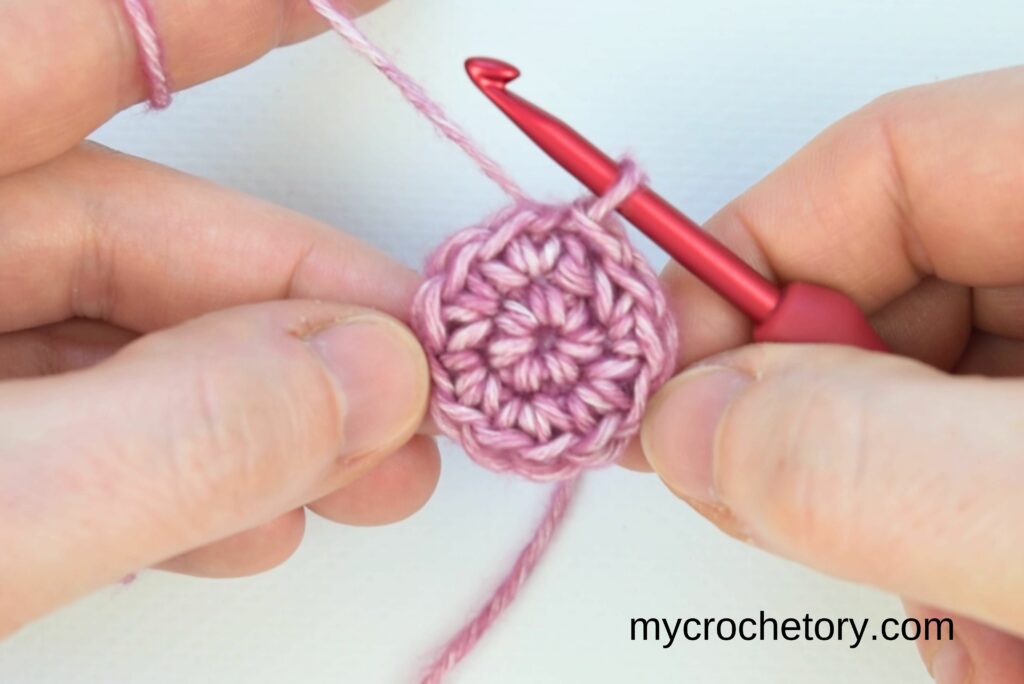
R3: Ch 1, 1 sc in next, 2 sc in next. Repeat. Sl st. (18)
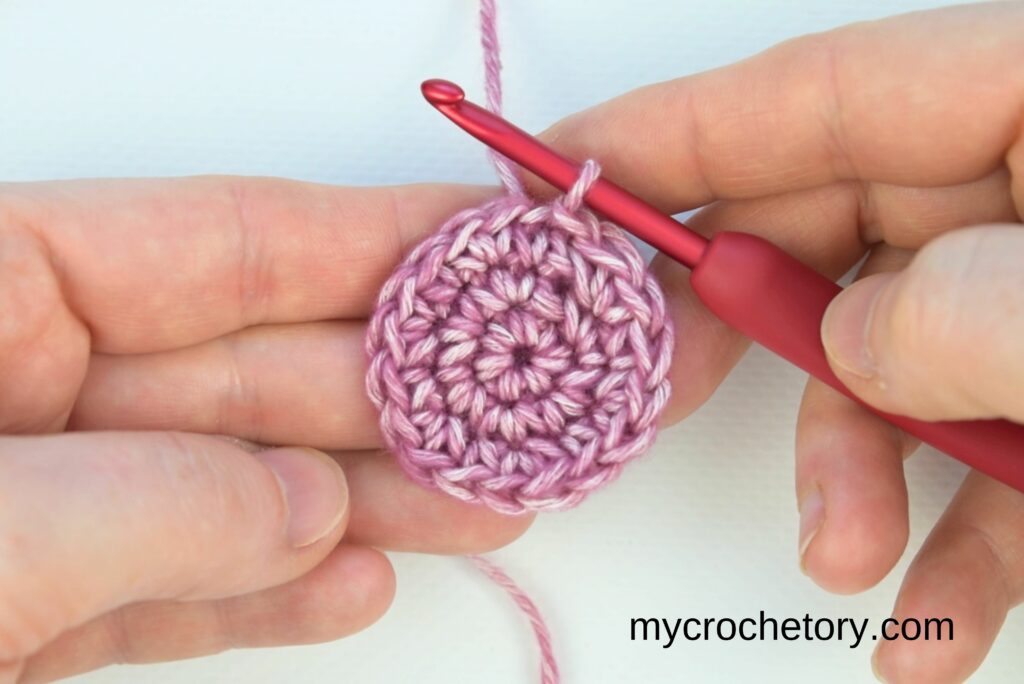
R4: Ch 1, 1 sc in next 2, 2 sc in next. Repeat. Sl st. (24)
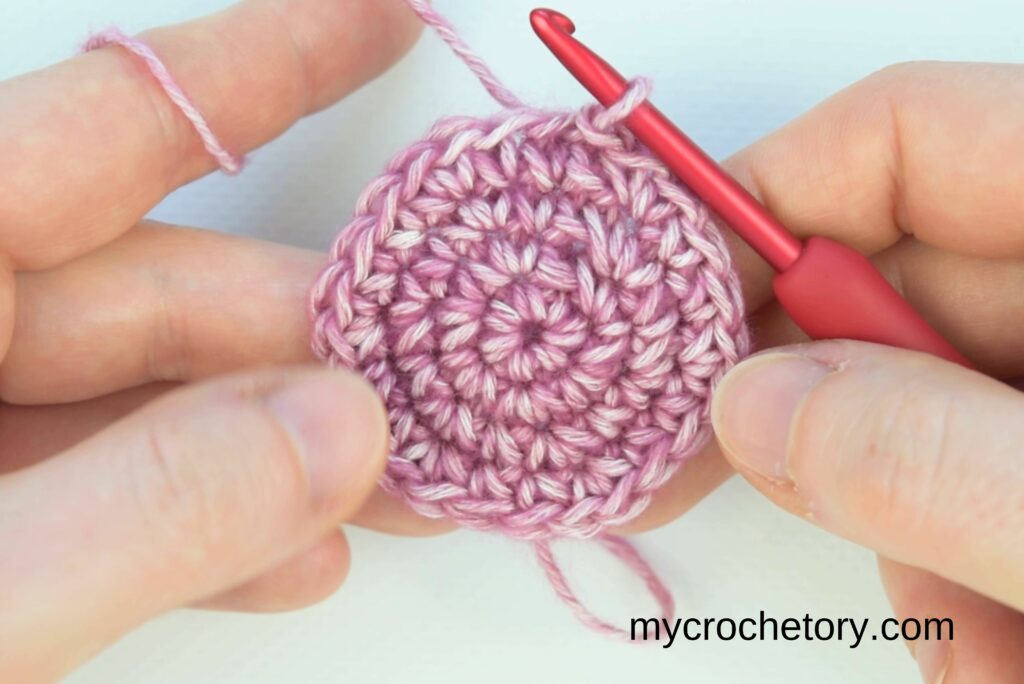
R5: Ch 1, 1 sc in next 3, 2 sc in next. Repeat. Sl st. (30)
Keep using this repeat pattern to really get the hang of how to crochet a circle — the chill, no-stress way to make it flat and fab.
How to Make Round Circles (Not Hexagons)
Okay, real talk — you might follow the pattern exactly and still end up with something that looks more like a stop sign than a circle. Been there. It happens.
Here’s why: when you always put your increases in the same places in each next round, they stack on top of each other. That stacking creates little corners, and suddenly your perfect circle isn’t so perfect.
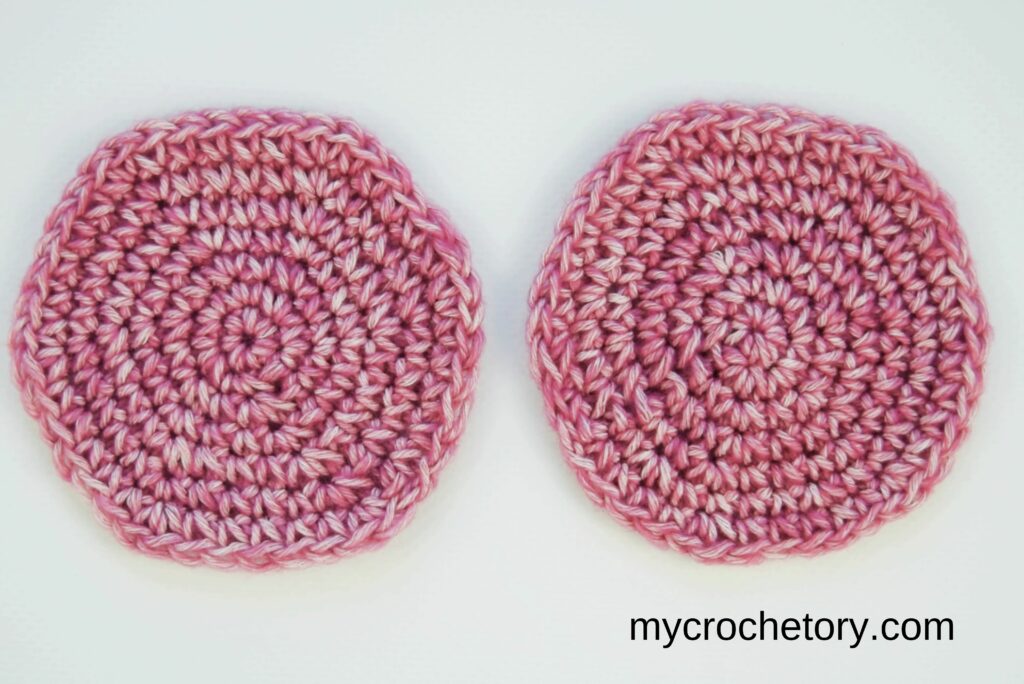
How do we fix that?
You shift your increases slightly in every round.
So instead of starting with the increase pattern right away, you offset it by a stitch or two.
For example:
- R3 might be: 1 sc, 2 sc in next (repeat)
- Then R4: start with 2 regular scs before you begin repeating 2 sc in next, 1 sc in next 3, etc.
This change in the position of the increases breaks up the stack and keeps your edges smooth and round. It works with double crochet stitches, too (which are taller and more likely to form corners).
You’ll really see the difference when you’re learning how to crochet a circle that’s truly round — not polygonal.
Watch the Video Tutorial
If you’re a visual learner, you’re going to love this one.
I filmed a step-by-step tutorial covering everything: creating a magic ring, placing your first single crochet, handling the yarn tail, and building out each round from there.
It’s especially helpful if you’re still figuring out how to crochet a circle and want to see the increases happen in real time.
Quick tip: if the video won’t load right, try turning off your ad blocker.
Most Asked Questions About Crocheting Circles
You’re not the only one with questions about crocheting circles. Here are five of the most common ones I hear all the time — along with answers that (hopefully!) make everything a little easier.
1. Why won’t my crochet circle lie flat?
This is probably the #1 question — and it’s usually about stitch count or placement of increases.
If your circle is wavy or ruffled, you might be increasing too much in each round. If it curls up like a bowl, you probably need more increases.
Try sticking to a consistent basic formula: increase by the same number of stitches in each next round. And check that you’re not accidentally adding extra stitches or skipping any by mistake.
2. Do I have to use a magic circle?
No, but it really helps.
You can start with a foundation chain and join it into a ring, but it leaves a hole in the center. If you’re making amigurumi toys or face scrubbies, that hole will be noticeable.
The magic ring (or magic loop) lets you pull the center tight, which just looks cleaner overall.
3. Can I use any type of stitch to crochet a circle?
Yes! You can make circles using single crochet stitches, half double crochet, or double crochet stitches. You just have to adjust your starting stitch count and how many increases you make per round.
The taller the stitch, the more stitches you’ll need to start with.
4. What’s the difference between joined rounds and spiral rounds?
Joined rounds mean you join with a sl st at the end of each round. This creates a clear round shape, but can leave a visible seam.
Spiral rounds (aka the spiral method) don’t have joins — you just keep crocheting in a continuous circle. It looks seamless, but you’ll need a stitch marker to keep track of the first stitch in each round.
5. How do I make my circle stop turning into a hexagon?
Ah yes — the classic “hexagon circle.”
This happens when your increases stack up in the same spots every round. It forms points instead of a smooth edge.
To fix it, shift the position of the increases in each round. Start in a slightly different spot so they don’t line up on top of each other. That one tiny adjustment will make your circle look much more… circular!
Final Thoughts
Crocheting a circle is one of those skills that shows up in more patterns than you’d expect, face scrubbies, amigurumi, rugs, mandalas, hats, the list goes on.
It might take a little practice and a few odd shapes along the way, but once it clicks, you’ll wonder how you ever struggled with it.
Play around with the spiral method, try different stitches, test different yarns, and find whatever approach actually works for your hands. There’s no single “right” way to crochet a circle, just the one that gets you a result you’re happy with.
MORE CROCHET INSPIRATIONS
If you found this crochet post helpful, you might also like posts:
- How to join yarn ends: 4 easy ways
- How to do a Russian Join
- How to crochet an invisible decrease
- How to crochet a magic ring
- How to foundation single crochet
Don’t forget to save this Pin for easy reference: 📌

Made a crochet circle you’re proud of? I’d love to see it, drop a photo in the comments or tag me on Pinterest.
Got a question about increases or shaping? Ask away, I read every comment.
If this helped, sharing it helps other crocheters find it too. There’s a share button right below.
Join my Facebook Group and Official Ravelry Group
Leave a Reply