
Updated: 14 September 2026 by Sylwia (MyCrochetory)
The Russian join fits right into that ongoing series of tips and tricks I keep coming back to, the small techniques that make a finished project look just a little more put together.
Ever wonder how some finished projects have zero visible knots, anywhere? This is usually how.
I started experimenting with different ways to join yarn a while back, mostly out of curiosity. Some methods leave a knot. Some leave a bump. Some just feel fiddly for no good reason. Russian join crochet stood out because of what it doesn’t leave behind.
No knot, no bulky lump where two colors meet. Just yarn woven back into itself until the join basically disappears into the strand. That’s really the whole appeal, and once you see it done, it’s hard not to want to try it yourself.
Below, you’ll find a step-by-step photo guide and a video walking through the technique from start to finish. I’m also including an honest look at how it compares to other joining methods like the magic knot, so you can figure out which one actually makes sense for what you’re working on.
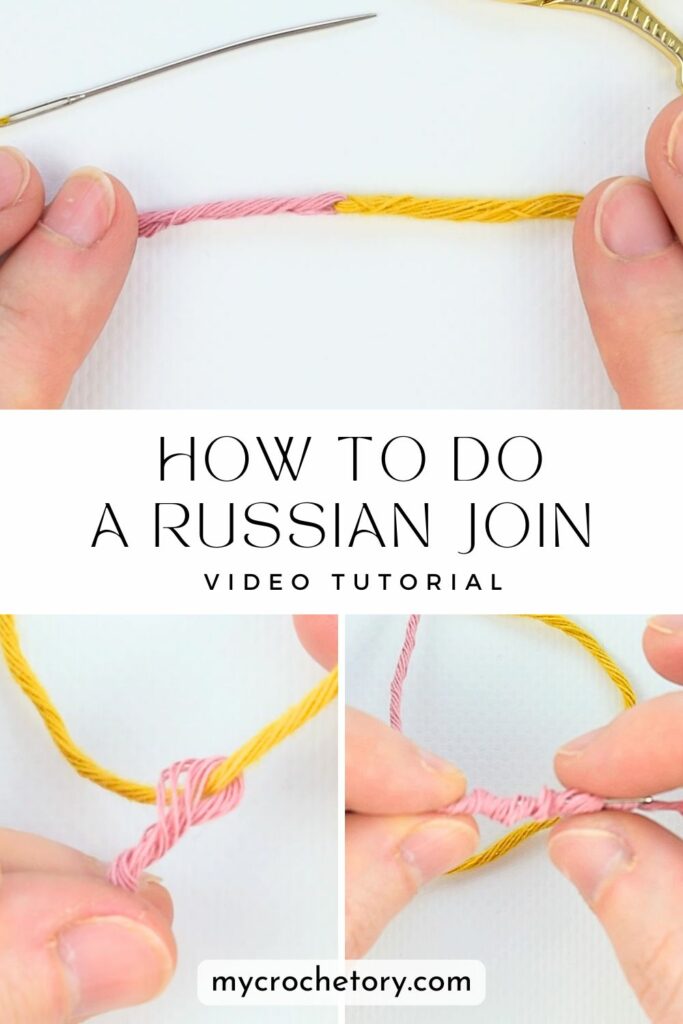
So, What Exactly Is the Russian Join?
Here’s the mechanic behind it. You thread each yarn end onto a needle, then literally sew it back through the core of the strand itself, the twisted fibers the yarn is made of. Both ends get woven in this way, pointing toward each other, so they overlap right in the middle.
Pull both strands snug, and the overlap locks together on its own. No glue, no extra step, just friction between the fibers holding everything in place.
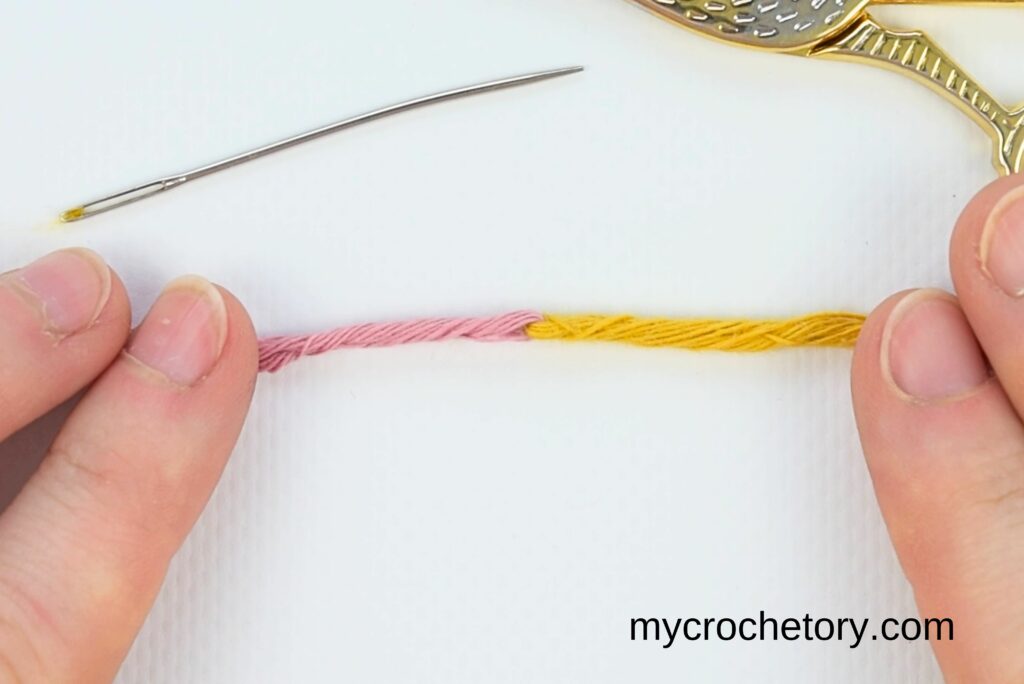
Why Learning How to Do a Russian Join Is Worth It
Here’s why this one’s worth adding to your toolkit, honestly.
- No extra ends. You join once, and that’s it, no pile of loose ends to weave in later.
- Strong and smooth. It holds up well without any knot, which matters a lot with slippery yarns that tend to slide right out of a regular knot.
- Great for color changes. Switching colors mid-project? The join blends right in, so it barely shows even in colorwork.
It works with pretty much any yarn too, acrylics, wool, cotton blends, you name it.
Materials Needed to Do a Russian Join
To give this a go, here’s what you’ll need (and I bet most of it’s already in your stash):
- Two pieces of yarn (your current and new skein)
- A blunt tapestry needle or yarn needle (a sharp one can catch on the yarn strands)
- A few extra inches of yarn at each end to work the join
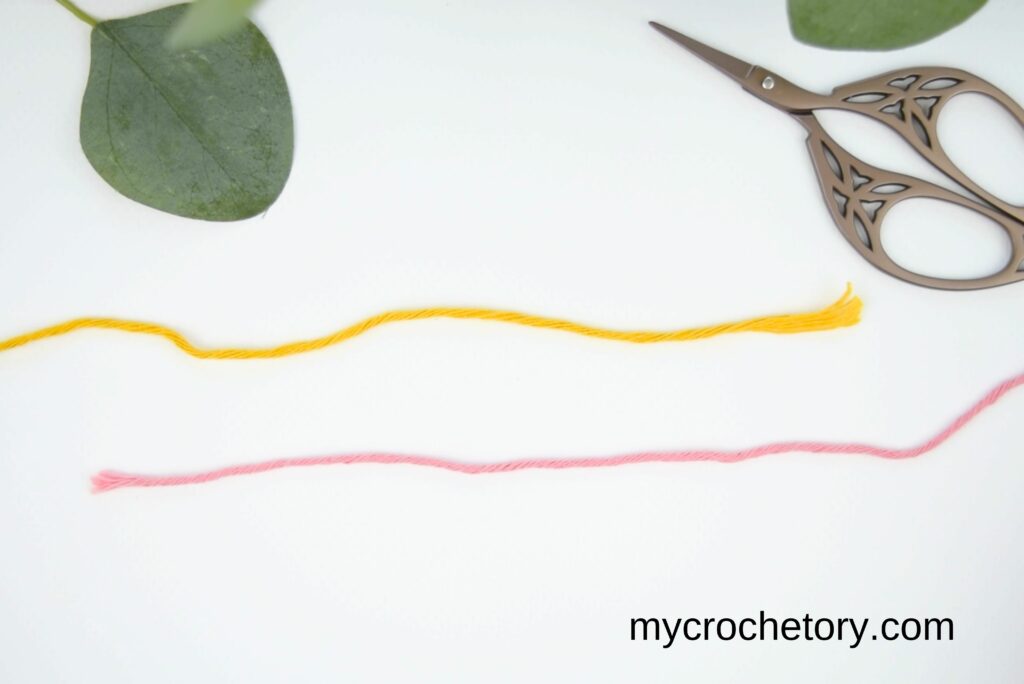
How to Do a Russian Join: Video Tutorial
Here’s a quick video walking through the whole process, step by step. It’s simple to follow, even if you’ve never tried this technique before.
You’ll see exactly how to thread the yarn needle and create a smooth, seamless join.
Quick tip: if the video won’t load right, try turning off your ad blocker.
How to Do a Russian Join: Step-by-Step Guide
Here’s the fun part! You’re just a few steps away from joining your yarn like a pro. Let’s go over how to do a Russian join:
- Thread Your Yarn Needle
Start with the end of your working yarn. Thread it through the yarn needle, leaving a little loop at the end.

2. Create a Loop in the Yarn
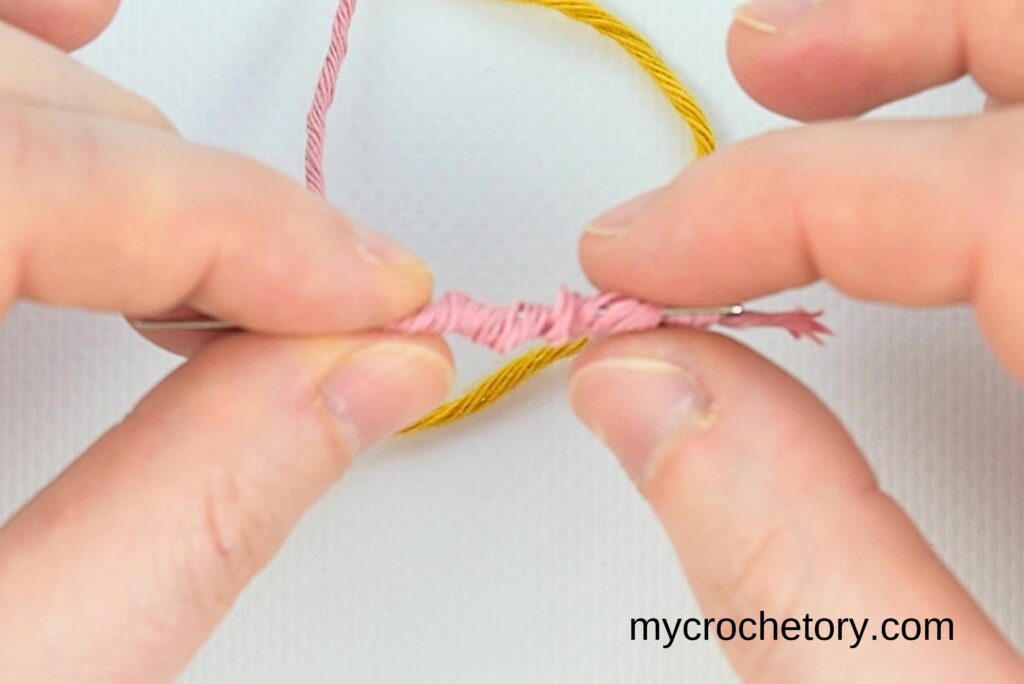
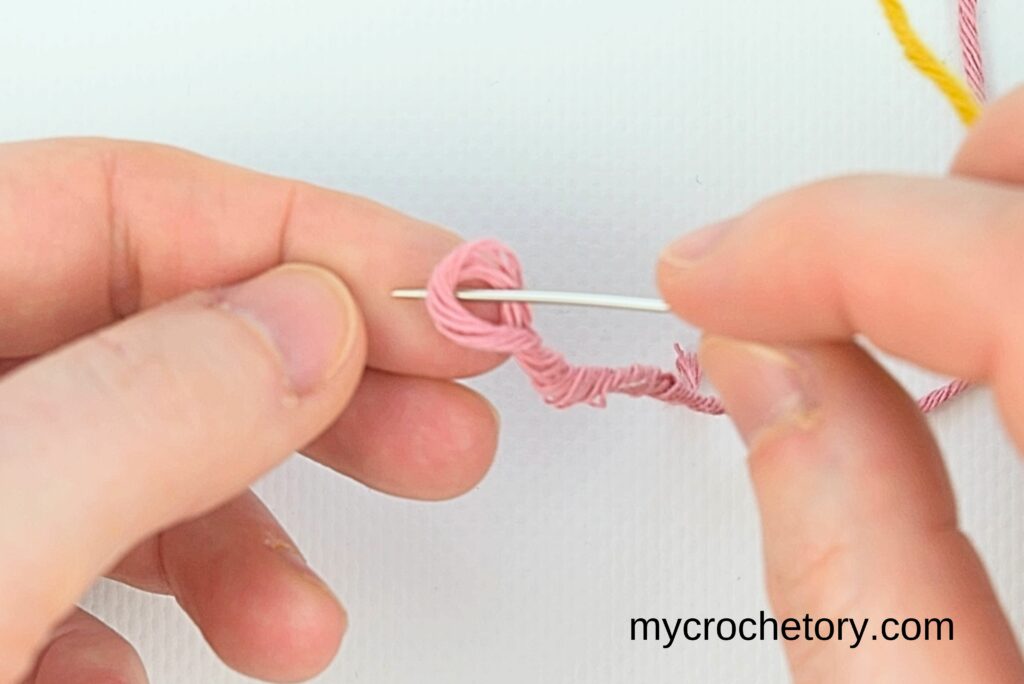
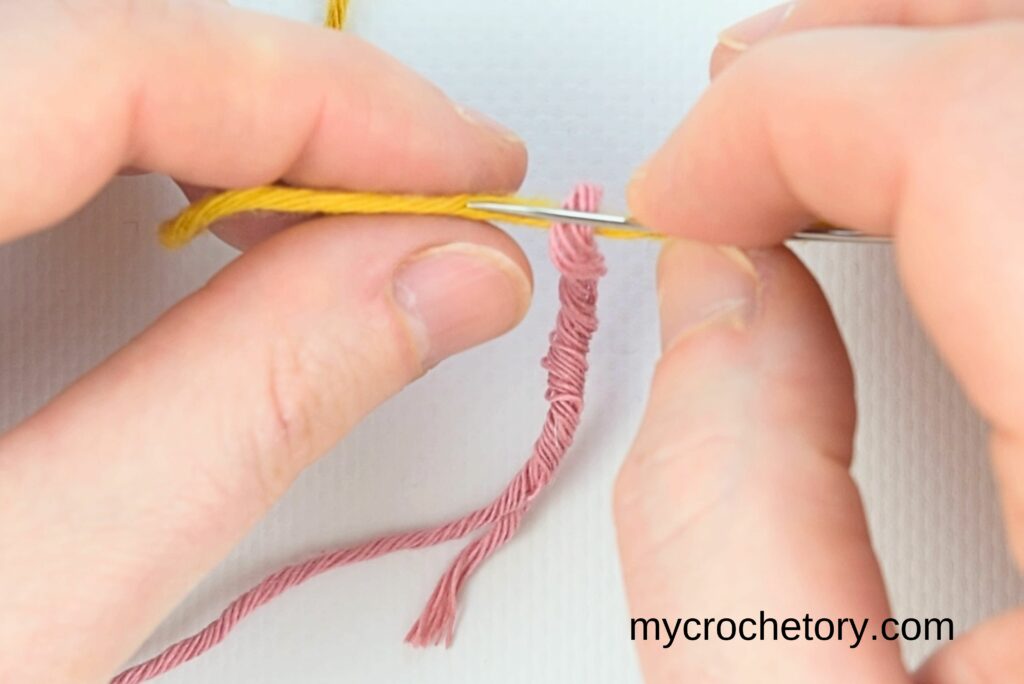
Insert the tip of the needle back through the center of the yarn (a.k.a. the yarn’s “core”) to make a small loop. Weave through a few inches, catching the yarn strands as you go.
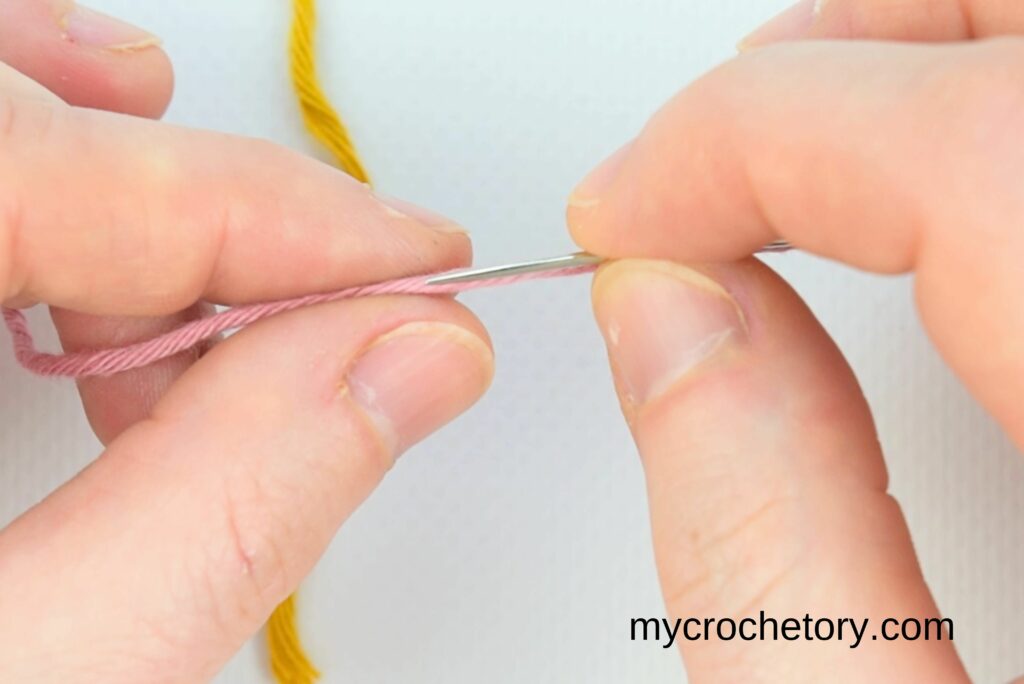
3. Add the Second Yarn
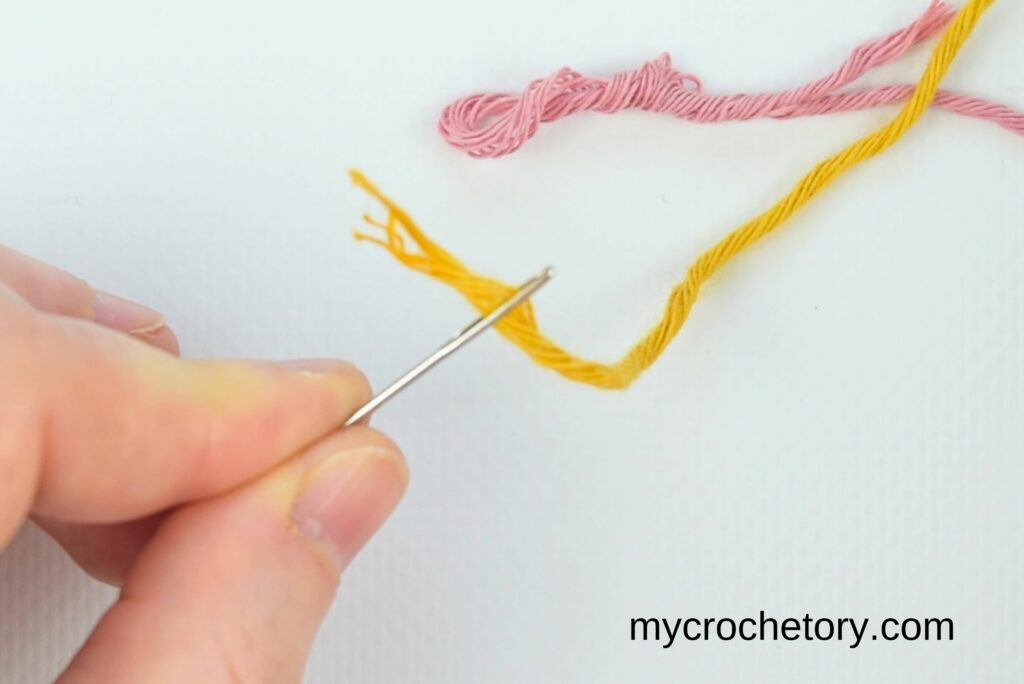
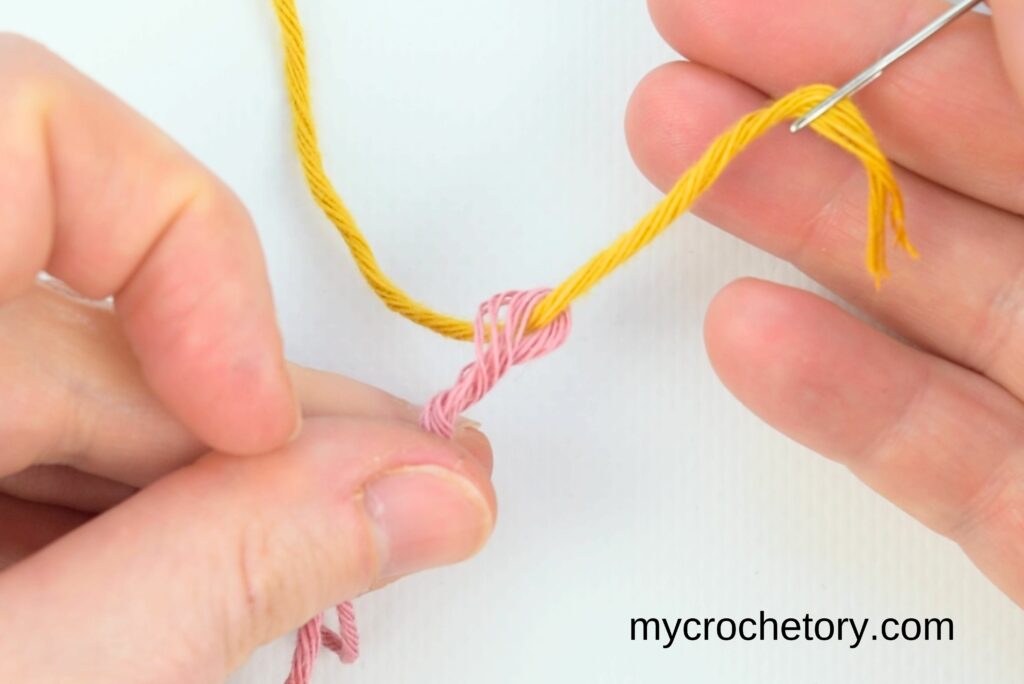
Take your second piece of yarn (your new yarn), and thread it through that little loop you made in step 2.
4. Weave the Second Yarn End
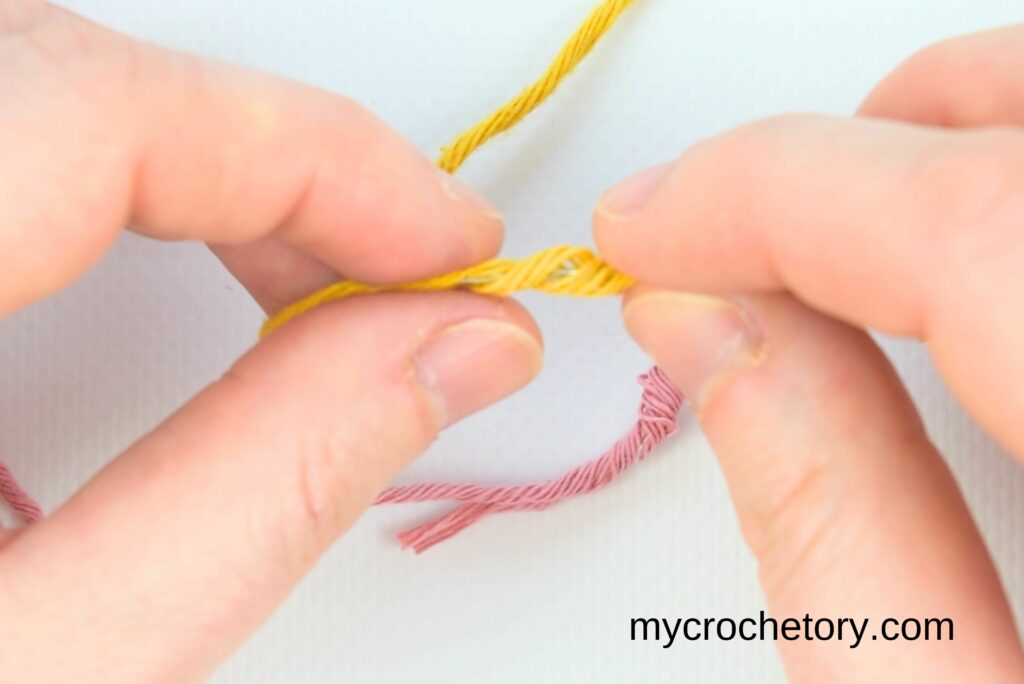
Just like with the first strand, weave the second yarn through itself for a few inches to secure it.
5. Tighten and Trim
Gently pull on each yarn to tighten the join. Trim any extra ends if needed, and you’re done.
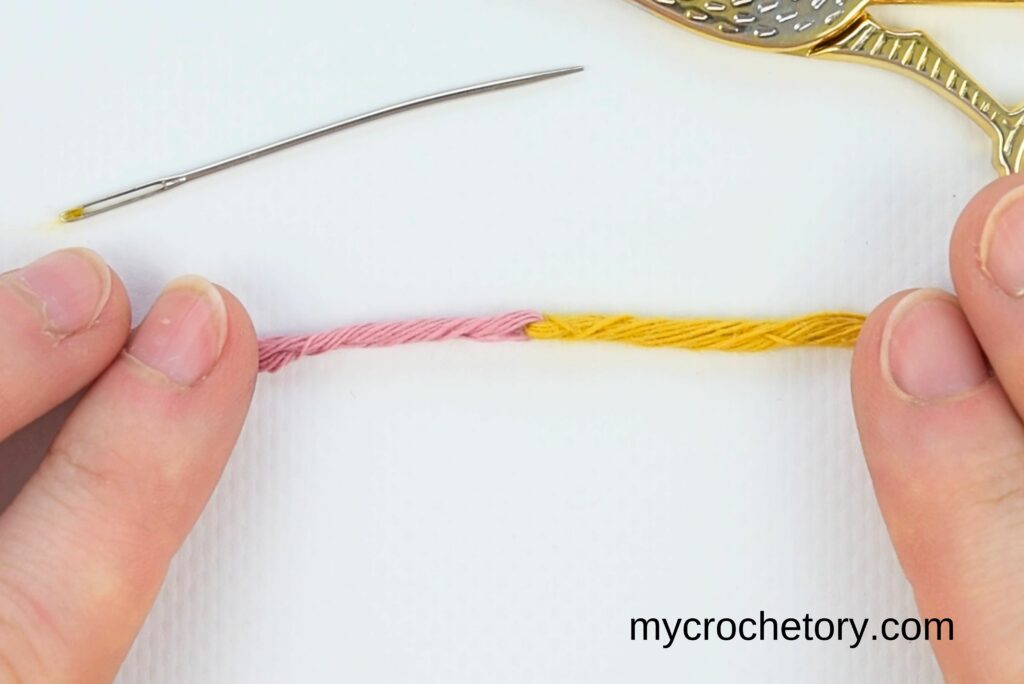
You’ve just learned how to do a Russian join for a smooth, seamless connection ready for more stitching.
Tips for Mastering How to Do a Russian Join
- Match Yarn Thickness: This technique works best when both strands are similar in thickness, so your join doesn’t show.
- Practice on Scrap Yarn First: I found this super helpful when I was starting out. Practicing how to do a Russian join on scrap yarn is a great way to feel confident with the technique!
- Take Your Time with Slippery Yarns: Acrylic and other slippery yarns might need a few more inches of weaving to be extra secure.
Russian Join vs. Magic Knot vs. Spit Splice
The Russian join isn’t the only way to connect two pieces of yarn. Here’s how it stacks up against the other methods I use.
Magic Knot: This one’s faster, just a couple of quick knots pulled tight. The tradeoff is that it does leave a small knot, which can show on thin or smooth yarns. I’ve got a full Magic Knot tutorial if you want to compare the two side by side.
Spit Splice: Works great for animal fibers like wool, since the fibers actually felt together when you add moisture and friction. It’s not a good fit for synthetics like acrylic, though, since those fibers won’t felt at all.
So which one wins? Honestly, it depends on your yarn and how much time you’ve got. Russian join takes a bit longer but leaves zero trace. Magic knot is quicker but leaves a tiny knot. Spit splice is nearly instant, but only works on natural fibers.
FAQ
Is Russian join the same as a magic knot?
No. A magic knot uses two small overhand knots pulled tight, quick, but you’ll feel a tiny knot in the yarn. A Russian join skips the knot entirely by weaving each strand back into itself instead.
Does Russian join work on any yarn?
It works best on yarns with multiple plies, since you need something to weave the needle through. Very thin or single-ply yarns can be trickier, a magic knot might work better there instead.
Will the join show on the finished project?
Done right, barely at all. The key is matching yarn thickness and weaving in enough length so the overlap sits flat instead of bunching up.
How much yarn do I need to leave for a Russian join?
A few inches on each end is usually enough, more if you’re working with slippery or synthetic yarn that needs extra length to hold securely.
MORE CROCHET PRO TECHNIQUES
If you found this Russin Join Yarn tutorial helpful, you might also like posts:
- How to foundation single crochet
- How to double crochet 2 row at once
- How to make a slip knot – 3 Easy Ways
- How to crochet standing stitches
- How to crochet ribbing
- Mattress stitch join tutorial
Don’t forget to save this Pin for easy reference: 📌
Made a Russian join on your latest project? I’d love to hear how it went, drop a comment below.
Got a question about the technique? Ask away, I read every comment.
If this helped, sharing it helps other crocheters find it too. There’s a share button right below.
Join my Facebook Group and Official Ravelry Group
Leave a Reply