
Updated: 5 August 2026 by Sylwia (MyCrochetory)
When I was teaching a mosaic crochet workshop at a Polish yarn festival last fall, I noticed something that really stuck with me. Many crocheters, even the really experienced ones, were joining new yarn by just tying it to the old one with a quick knot and a tug.
And honestly, that’s totally fine. We’ve all done it! But it made me realize how many crocheters never get shown easier, cleaner, and longer-lasting ways to join yarn.
So today I’m walking you through 4 of my favorite joining methods, step by step, with photos and a full video tutorial so you can watch exactly how each one works. This is one of those tutorials people keep coming back to, because it genuinely changes how your finished projects look.
And here’s a little secret: method 4 is my favorite. Stick around to see why.
Let’s get started!
Why It’s Important to Know How to Join Yarn Ends
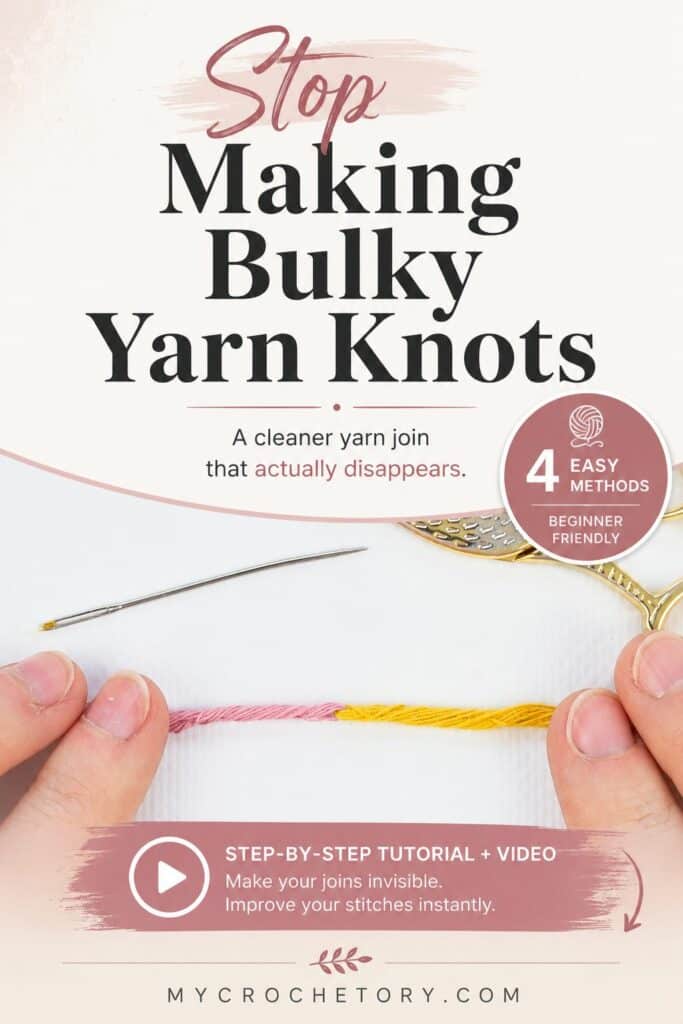
A quick knot feels like the easy way out. But that little knot can turn into a big problem later.
Loose ends can peek out of your stitches. Bulky knots can poke through and ruin a smooth line of stitches. And in the worst case, your yarn can just come undone while you work, or even after your project is done.
I don’t want that for you. That’s why I love sharing better ways to join yarn. Once you learn them, you’ll never want to go back to a plain old knot. Your stitches will look cleaner, your projects will hold up better, and you’ll feel proud every single time you switch colors.
Watch And Learn How to Join Yarn Ends
I know reading steps is not always enough. Sometimes you just need to see it with your own eyes.
That’s why I made a full video tutorial for you. It shows all 4 yarn joining methods, one by one, so you can watch my hands do the work in real time.
One small tip before you press play. If the video does not show up, check for an ad blocker running in your browser. Turn it off, and the video should load right away.
4 Easy Ways for How to Join Yarn Ends
There are a few different ways to join yarn, and each one has its own perks. Some are quick, some are seamless, and some just need a needle and a little patience. Try a few out and see which one feels right in your hands.
1. The Russian Join
This one is a favorite for a reason. There is no knot at all, just a smooth, seamless join that basically disappears into your work. It works great with acrylic, wool, or cotton, so it’s a safe pick no matter what yarn you’re using.
Steps:
- Take the yarn end from your existing yarn. Thread it onto a yarn needle or tapestry needle.

2. Insert the needle back into the yarn, going through the middle of the strands. This makes a loop.
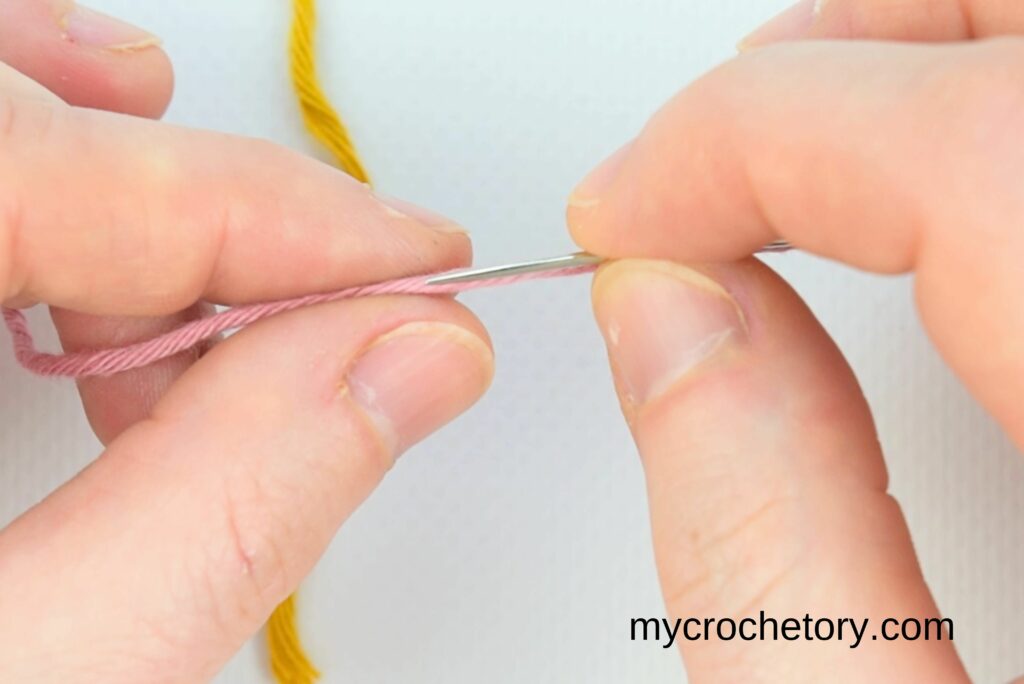
3. Pull the needle through about two inches of the yarn.
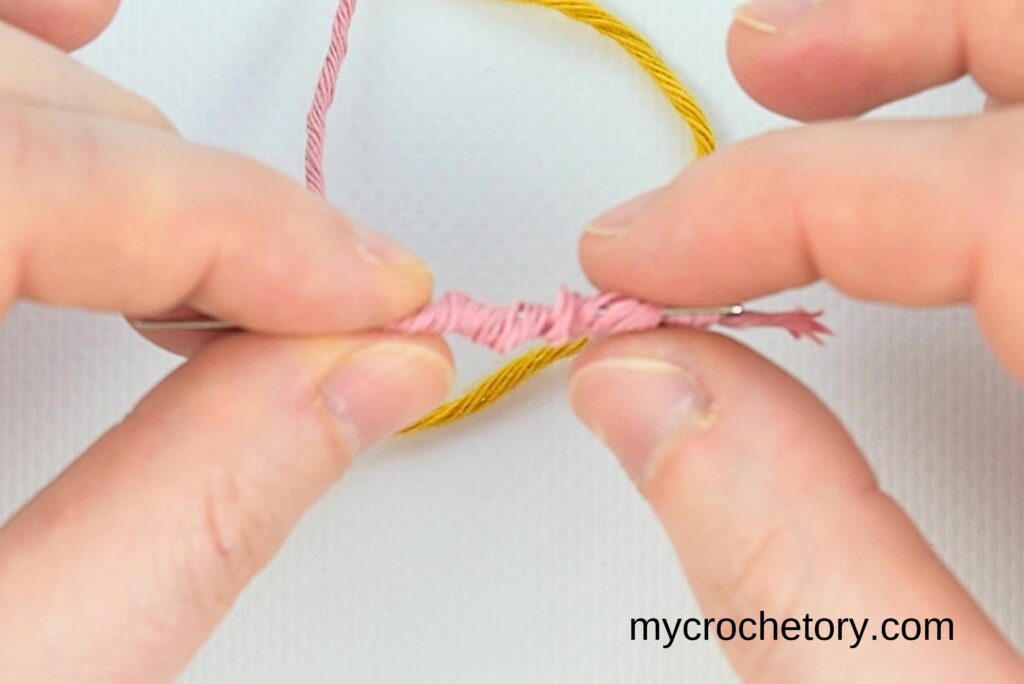
4. Do the same with the new yarn end.
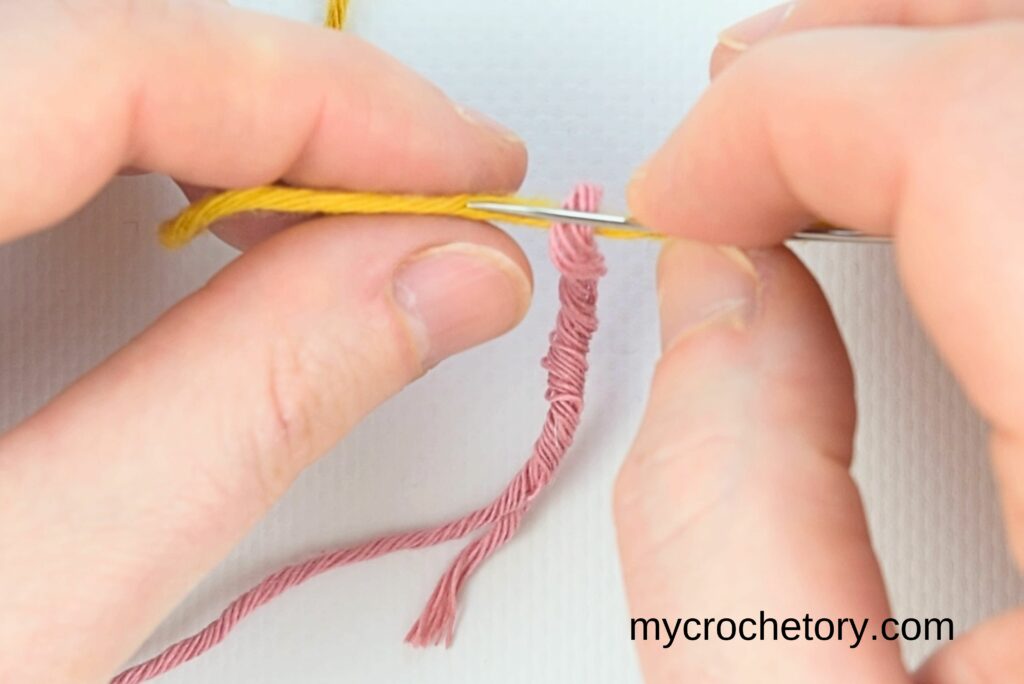
5. Pull both yarn ends tight and cut any excess yarn.
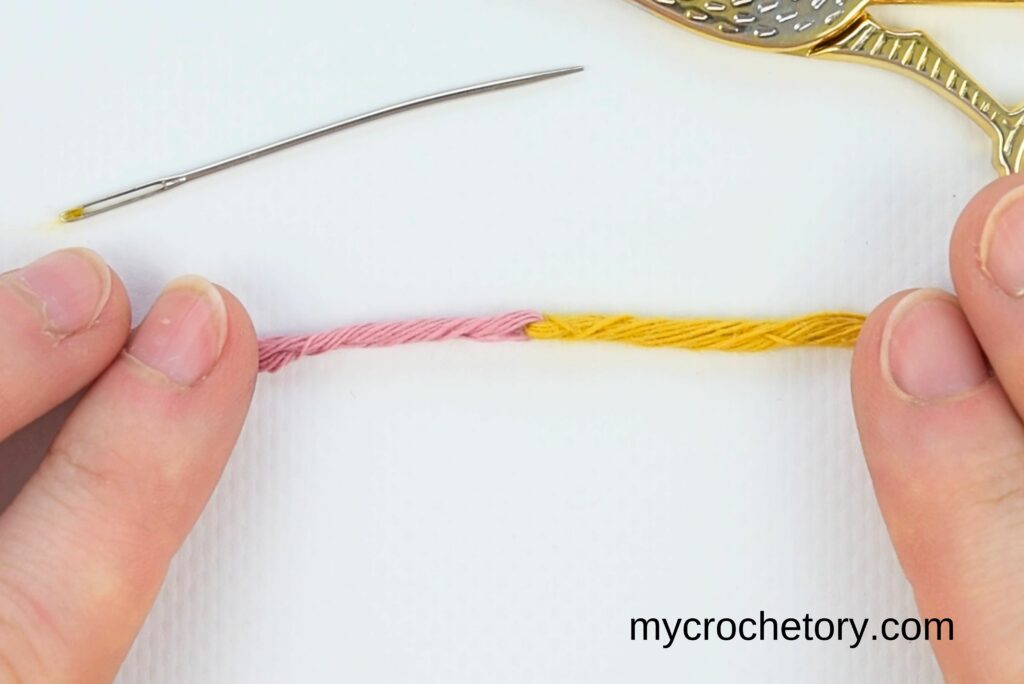
This method is especially useful when you need to join yarn in the middle of a row. It’s an effective way to join yarn without leaving loose ends.
Need a closer look at this method? I’ve got a detailed tutorial HERE.
2. The Magic Knot Technique
Short on time? This is probably the fastest join on this list. It’s a small double knot, but don’t let the word “knot” scare you, it’s strong, secure, and barely noticeable once it’s tucked in.
Steps:
- Take the yarn end from your existing yarn and the yarn end from the new yarn ball.
2. Tie the existing yarn around the new yarn with a simple knot.
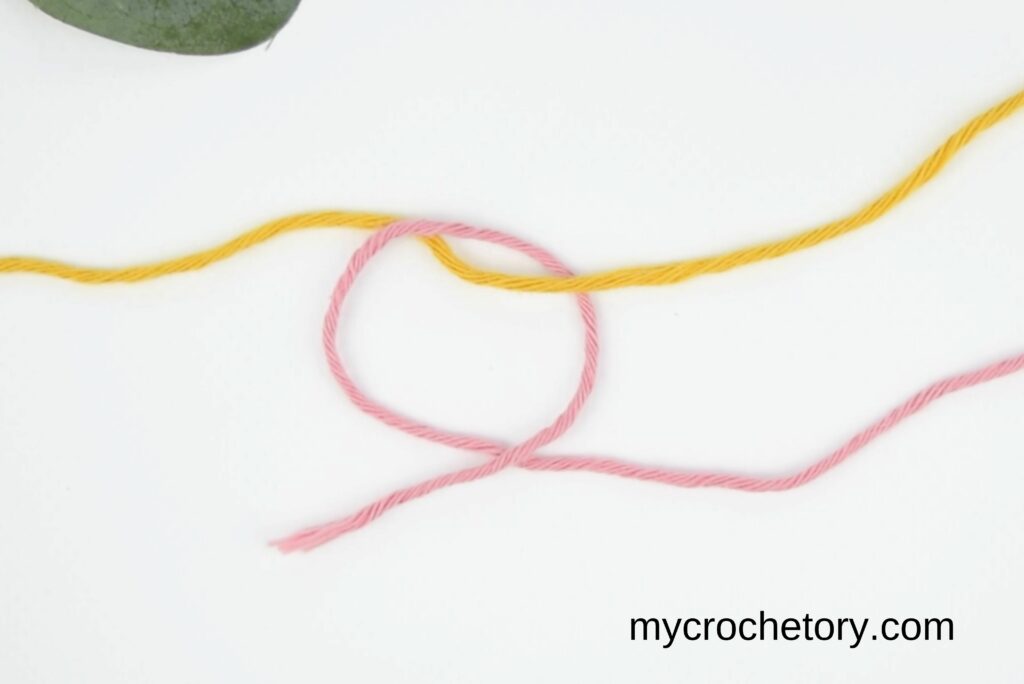
3. Then, tie the new yarn around the existing yarn in the same way.
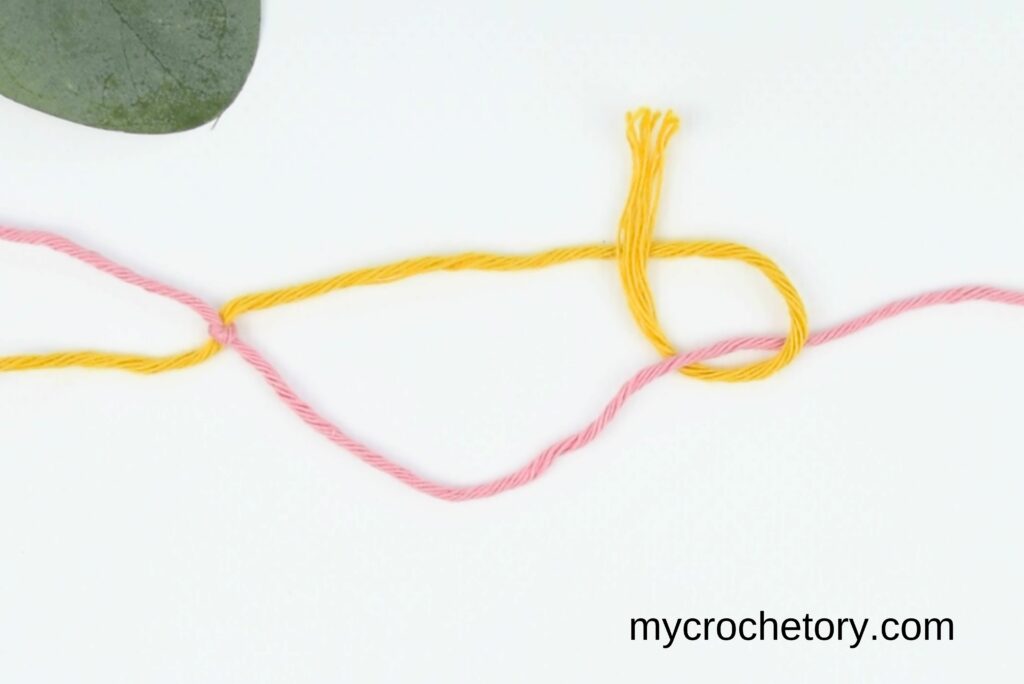
4. Pull both yarns tight with a gentle tug. The knots will slide together.
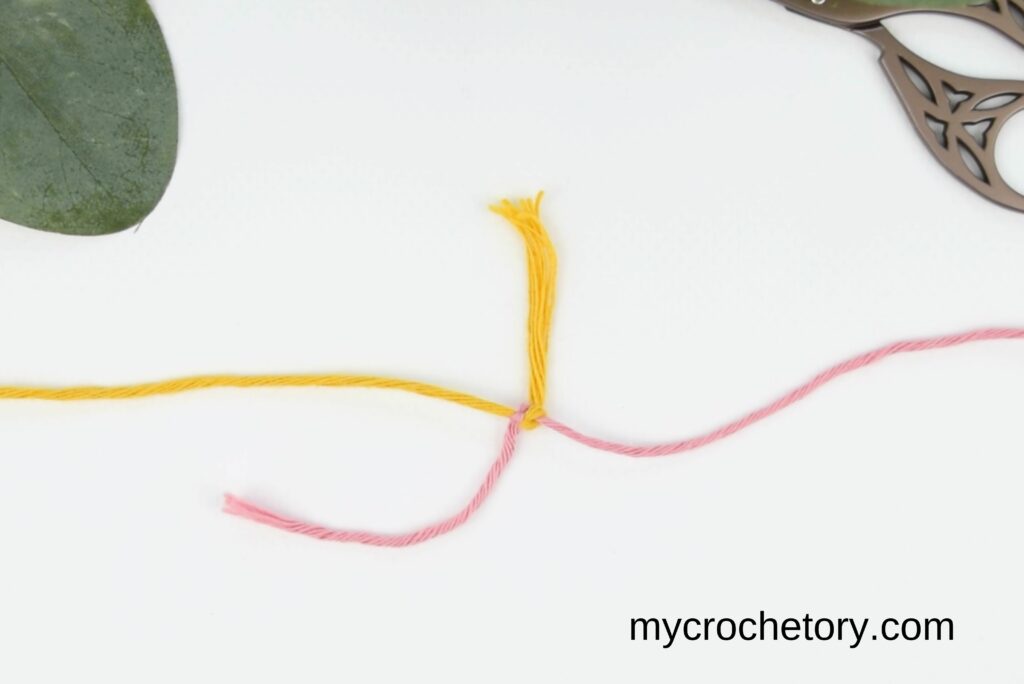
5. Cut the extra yarn close to the knot.
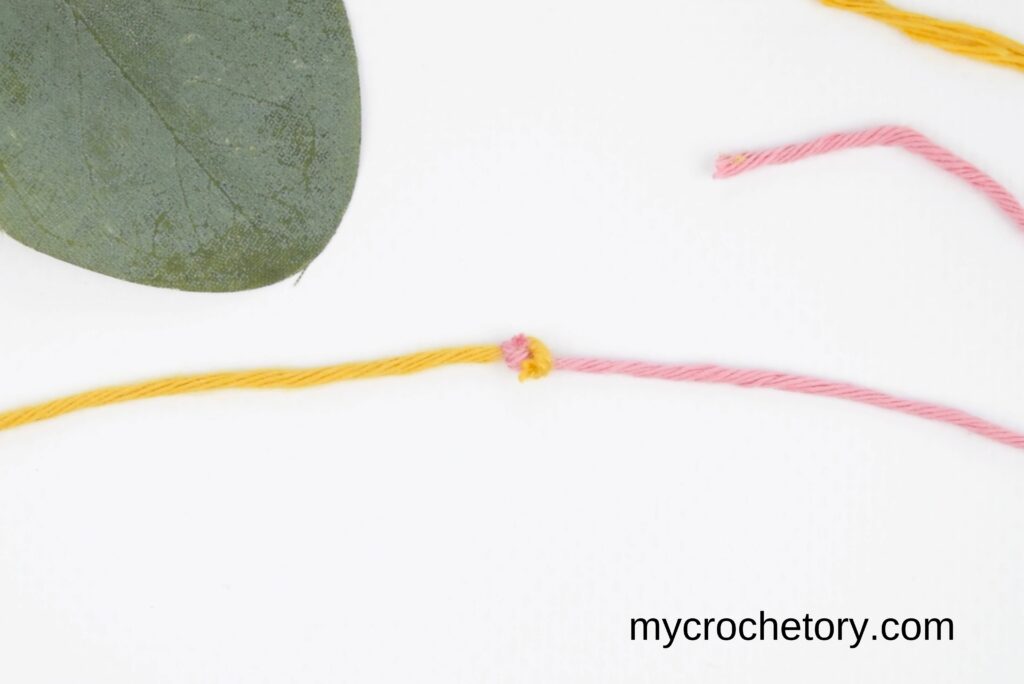
Now you can continue crocheting without worrying about loose ends. This method works well with most types of yarn. Just be careful if you’re using very slippery yarn.
Curious to learn more? Take a look at my step-by-step guide HERE.
3. The Spit Splice (Felting Method)
This one feels like a little bit of magic. Using just water and a bit of rubbing, wool fibers stick together and felt into one solid piece. No knots, no needle, just your hands.
Keep in mind, this trick only works with wool or other felting yarns, not acrylic.
Steps:
- Unravel a little bit of both yarn ends. About two inches is enough.
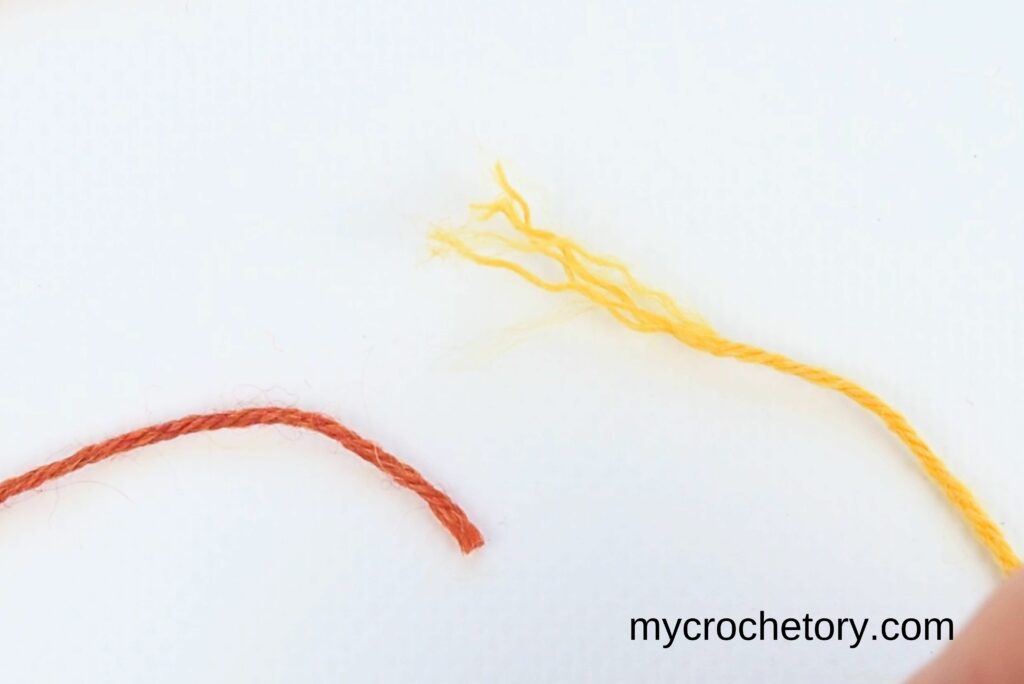
2. Overlap the strands of yarn.
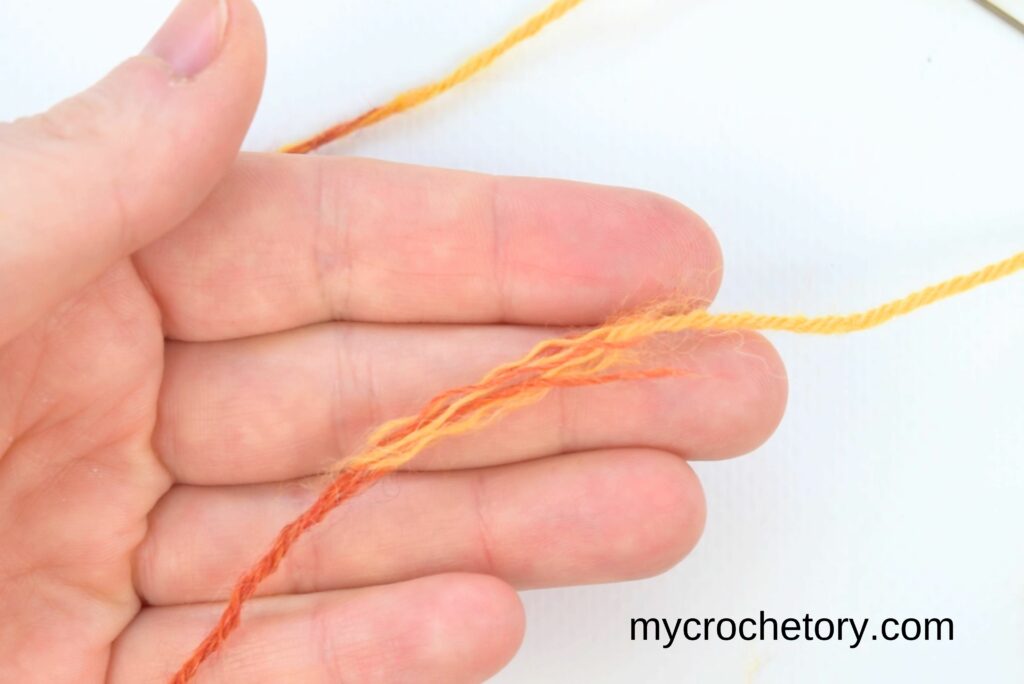
3. Wet the yarn ends slightly. You can use water.
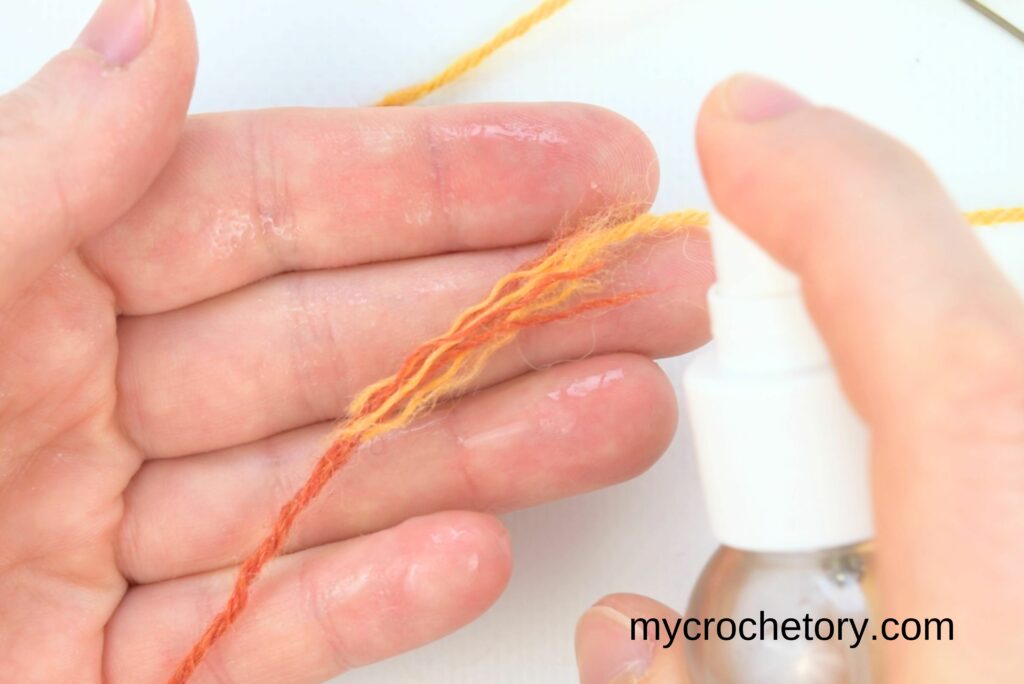
4. Rub them together between your palms. Rub until the fibers stick together.
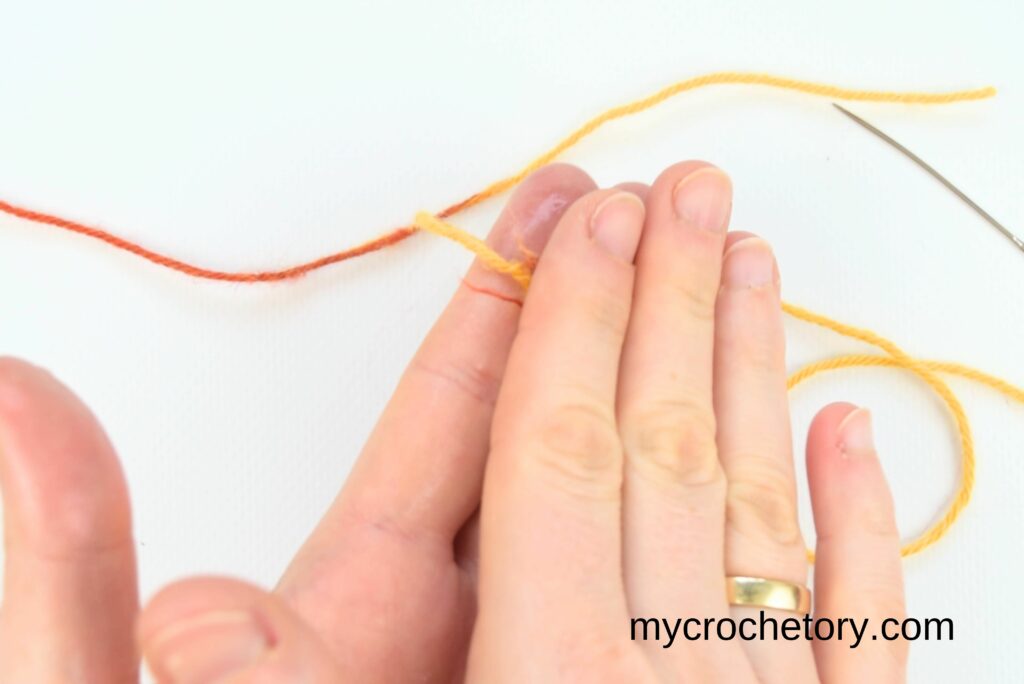
5. Let it dry for a moment.
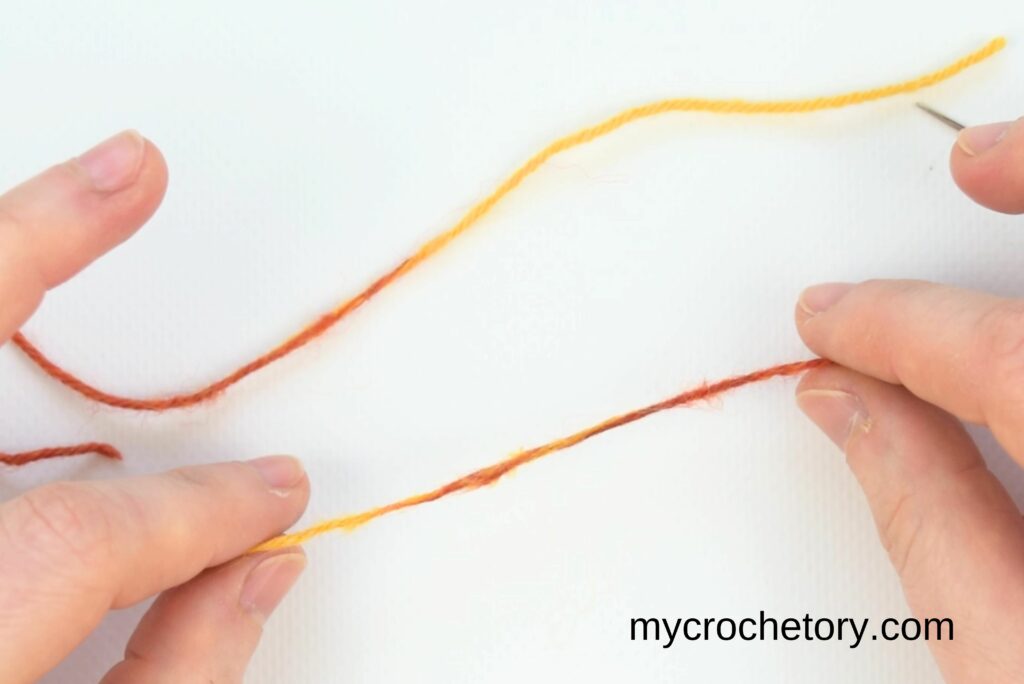
Now you have a seamless join! This method is perfect for wool yarns.
It’s a great way to join yarn without knots or loose ends.
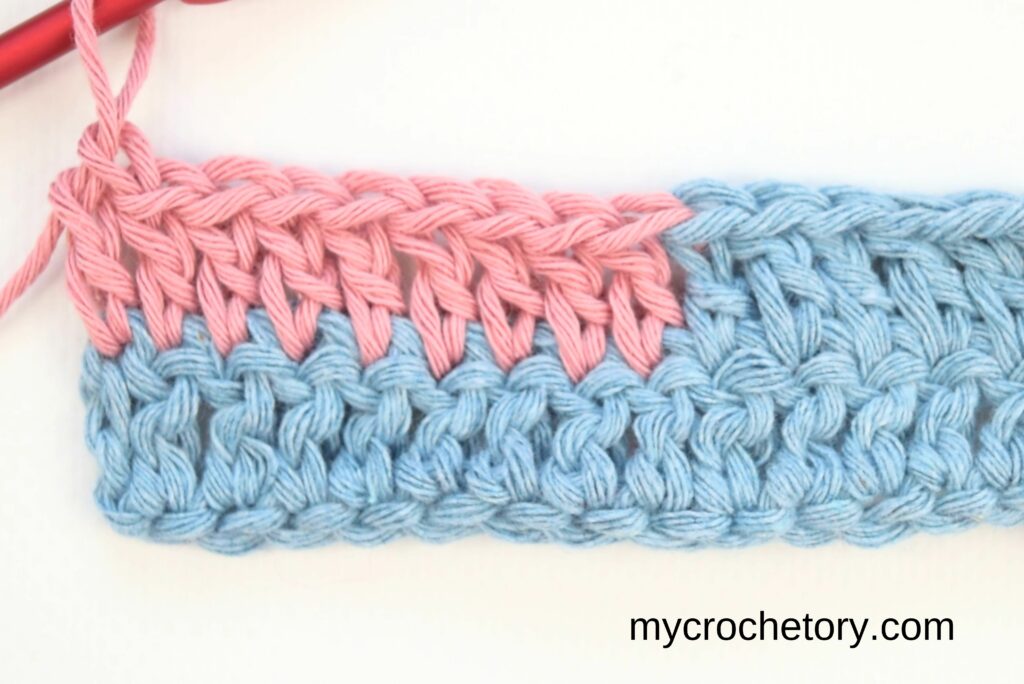
4. The Slip Stitch Join
And here it is, my personal favorite. This method makes the smoothest color change of them all, especially at the end of a row. Once you try it, you’ll understand why I always reach for this one first.
Steps:
- Finish your last stitch with the existing yarn, but don’t complete the final yarn over.
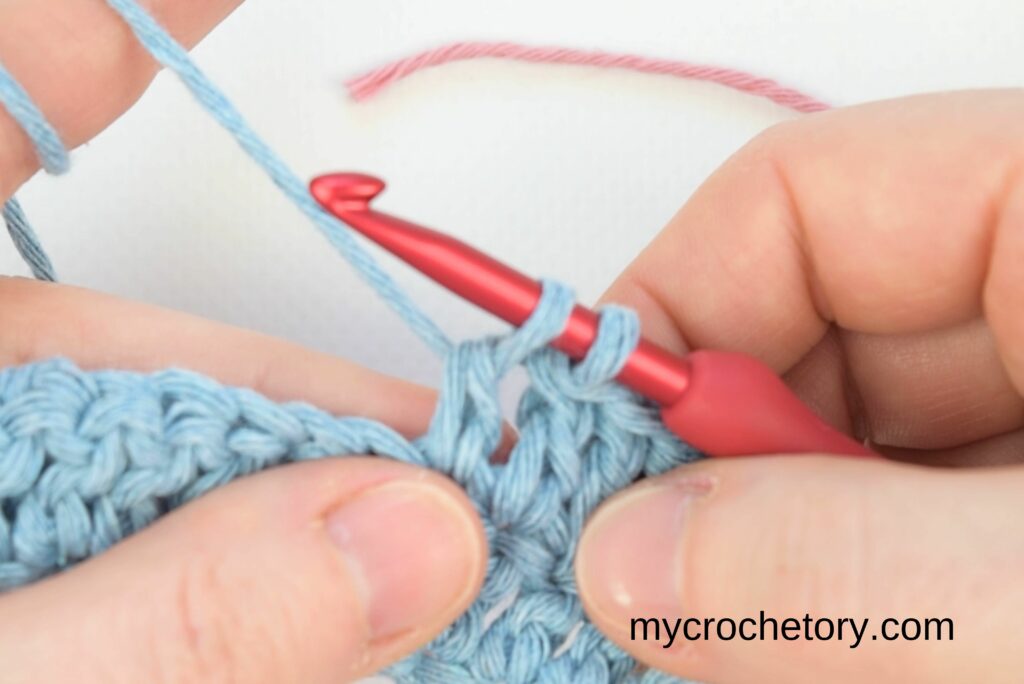
2. Take the new color yarn and make a loop of new color and place it over your hook.
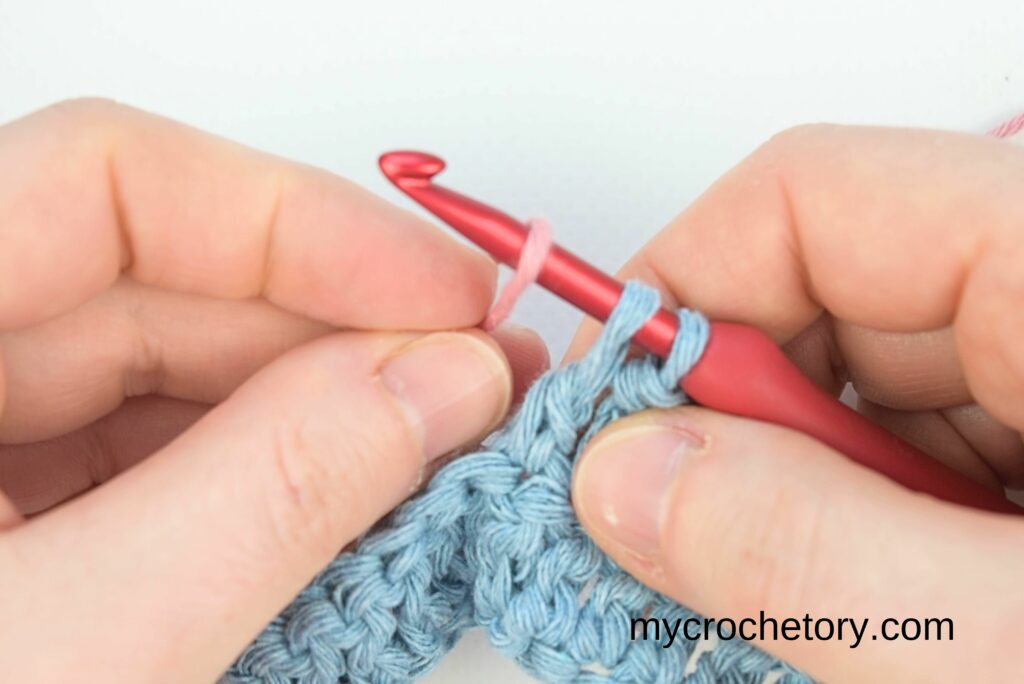
3. Complete the last stitch with the new color.
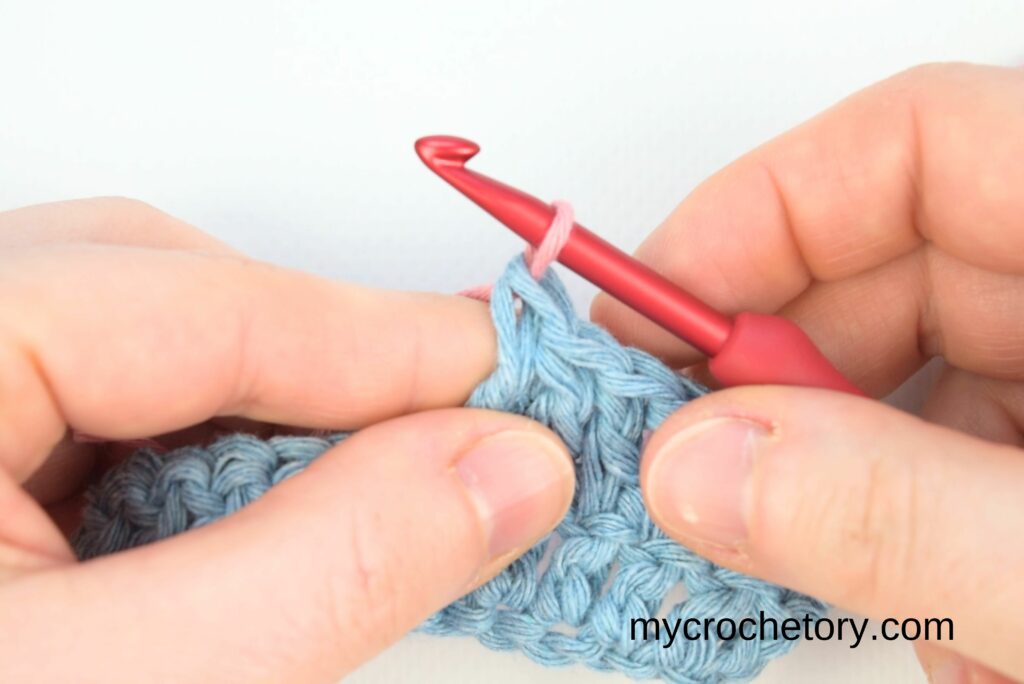
4. Continue crocheting with the new color.
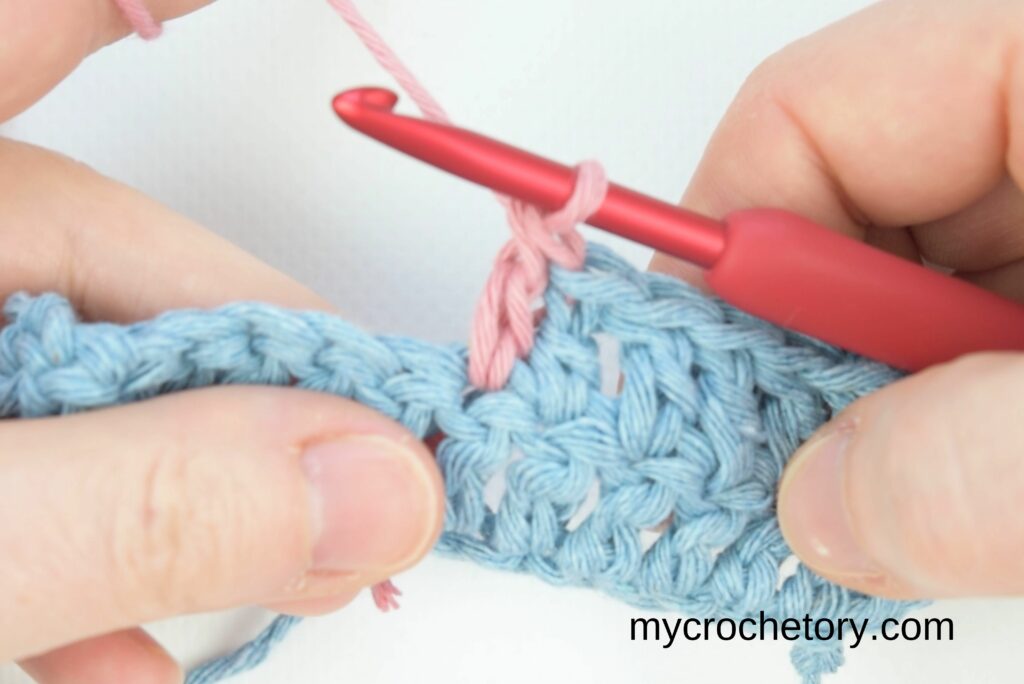
This method makes a smooth color change. It’s especially good for color changes at the end of your row or when starting the next row.
Tips for Smooth Yarn Changes
A few small habits make a big difference here. Keep these in mind every time you join yarn, and your projects will thank you.
- Leave a Long Tail: Always leave a long tail when you join yarn. This helps when weaving in the ends.
- Match Yarn Types: Try to use the same type of yarn. Different yarn types might look different in your work.
- Join at the Right Place: If possible, join yarn at the end of a row or the top of the row. This hides the yarn join better.
- Be Careful with Knots: Don’t use too much yarn when making knots. Extra yarn can make a lump in your work.
- Use the Right Method: Choose the joining method that works best for your yarn and your project. And if you need a hand weaving those tails in afterward, my Crochet Borders guide has some handy tapestry needle tips too.
Common Mistakes to Avoid
Even with the best method, a few small slip-ups can undo all your hard work. Here’s what to watch out for.
- Leaving Short Tails: Don’t leave short yarn tails. They can come undone easily.
- Joining in Complex Stitches: Avoid joining yarn in complex stitch patterns. It’s better to join in simple stitches like single crochet.
- Forgetting to Weave In Ends: Don’t forget to weave in the yarn tails. Loose ends can make your work look untidy.
- Not Planning Yarn Changes: Be careful with yarn joins in the middle of a row. If possible, plan your yarn changes so you can join at a better spot.
FAQ
Can I join yarn in the middle of a row, or should I wait until the end?
You can join yarn in the middle of a row if you need to, but it’s easier to hide the join if you wait for the end of a row or the top of a stitch.
Which method works best with acrylic yarn?
The Russian join and the Magic Knot both work well with acrylic. Just skip the Spit Splice method, since it only works with wool or other fibers that felt.
Will a magic knot come undone after washing?
A magic knot tied and pulled tight should hold up fine through regular washing. Just make sure you tighten it well and trim the extra yarn close to the knot.
How long should the yarn tail be before I join it?
A tail of about 4 to 6 inches gives you enough room to work with and weave in later without running short.
Do I need to use the same joining method for every color change in one project?
No, you don’t. You can mix and match methods depending on the yarn and the spot in your project, whatever works best at that moment.
What if my yarn join is visible in the finished piece?
This usually means the join was pulled too loose, or it landed in a spot with a lot of stitch detail. Try again in a plainer stitch area and pull it a little tighter next time.
Practice Makes Perfect
Joining yarn smoothly is a skill, and like any skill, it gets better with practice. Don’t worry if your first try looks a little rough. Every crocheter started exactly where you are now.
Pick one method from this list and try it on your next project. Once it feels natural in your hands, try another one. Before long, you’ll have a whole toolkit of joins, and you’ll know exactly which one to reach for.
So the next time you run out of yarn or feel like switching colors, you’ll be ready. Happy crocheting!
Save This For Later
If this guide helped you, save it so you can find it again next time you’re mid-project and need a refresher. Pin one of the images below to your crochet board on Pinterest, or just bookmark this page.
And if you loved learning these joining tricks, you might enjoy going even deeper. My 10 Free Mosaic Crochet Patterns post is a great next stop. Mosaic crochet is where I first noticed how many crocheters were skipping these smoother joining methods, so it’s a fun way to put what you just learned into practice.
MORE CROCHET PRO TECHNIQUES
If you found this tutorial helpful, you might also like posts:
- How to foundation single crochet
- How to double crochet 2 row at once
- How to Crochet an Invisible Decrease
- How to crochet standing stitches
- How to crochet ribbing
- Mattress stitch join tutorial
‘d love to hear about your crochet adventures! Drop a comment below sharing your thoughts, questions, or your own favorite way to join yarn.
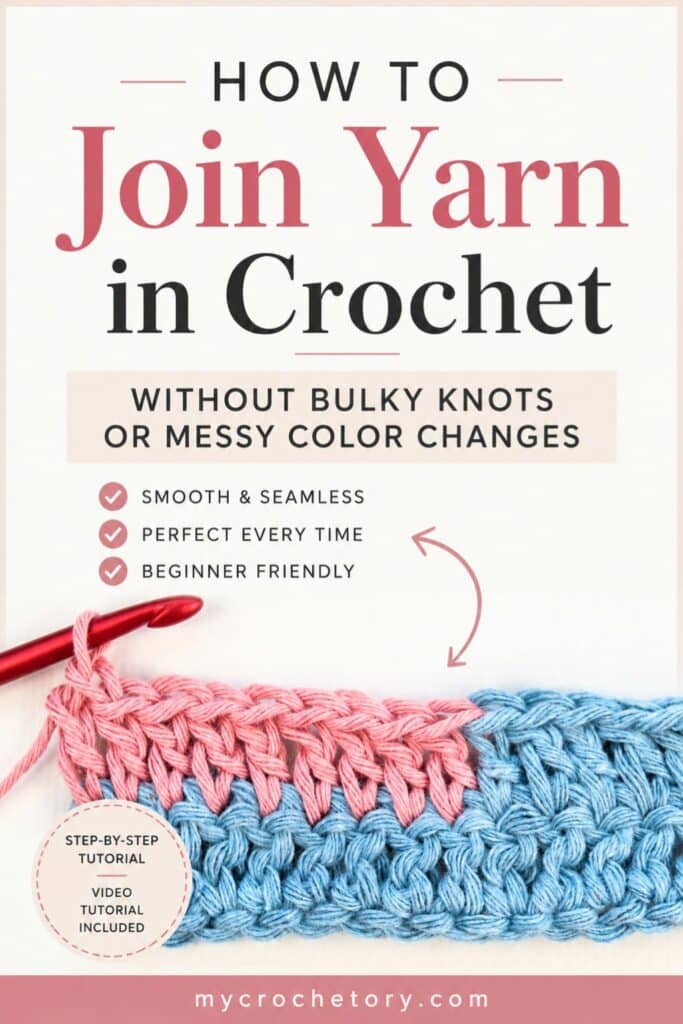
Don’t forget to save this Pin for easy reference: 📌
Hi I can’t see any links to video tutorials am I missing them and by the way I love this blog it’s very helpful