
Updated: 23 October 2026 by Sylwia (MyCrochetory)

This crochet rectangle shawl started with a color combination I once saw. At the time I was deep in my mosaic crochet phase, so of course I had to try it in mosaic. That’s how the Monochrome Bias Wrap was born in 2020.
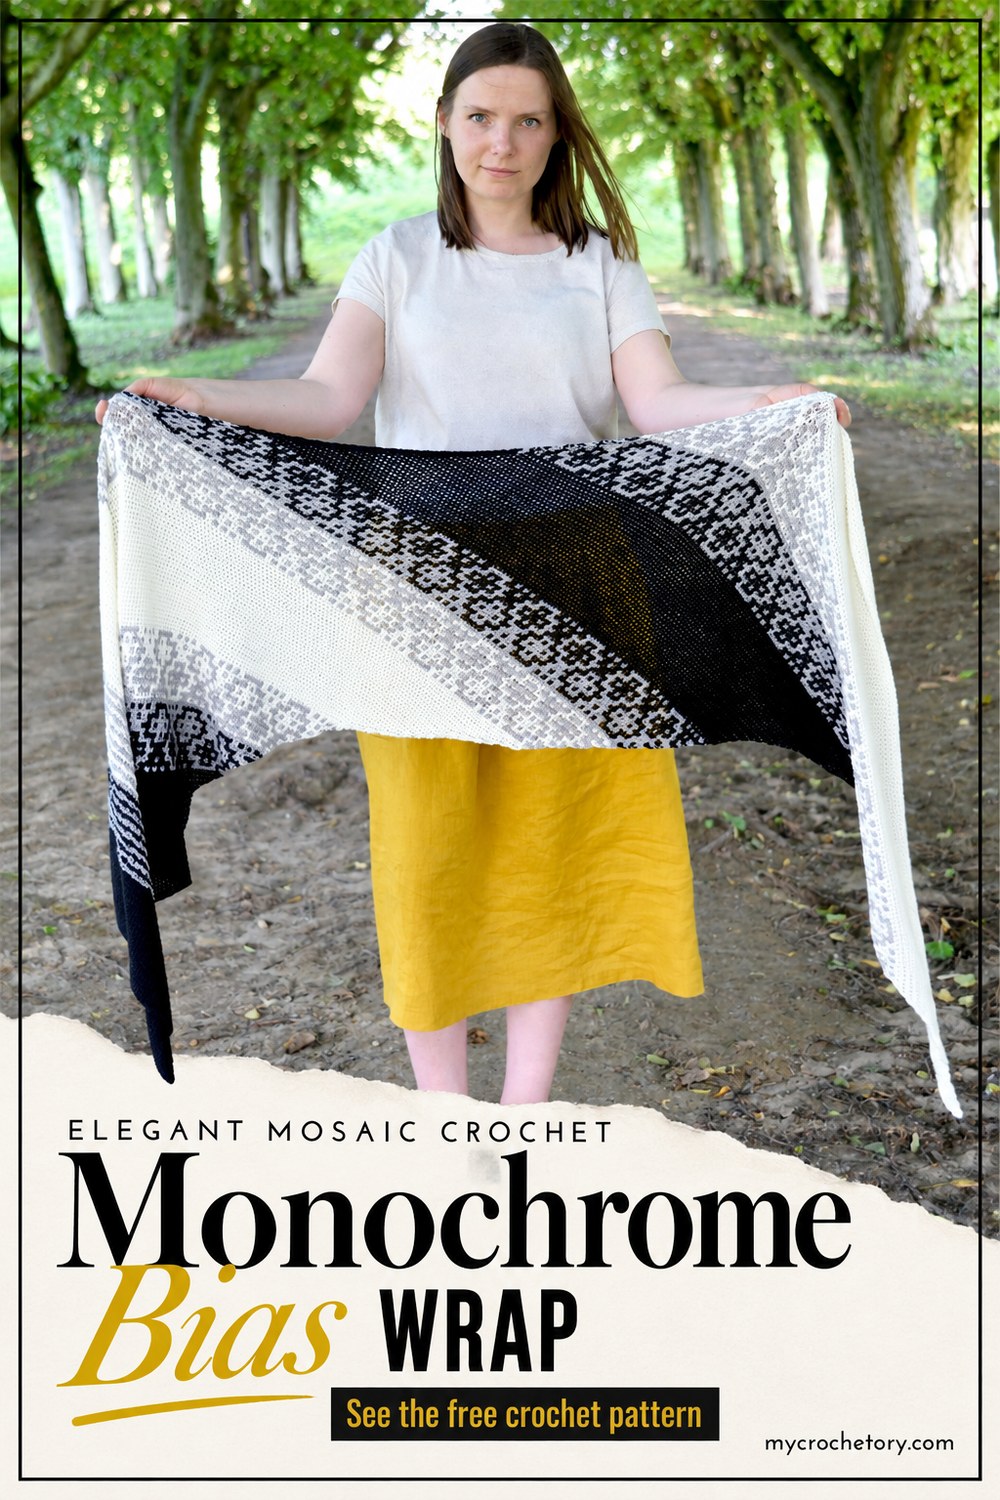
It’s a long wrap, about 68.5 inches long and 17.3 inches wide, so there’s enough of it to wrap around your neck or wear loose over your shoulders. Wide black and white stripes take turns with three mosaic bands, and the whole thing grows on the diagonal.
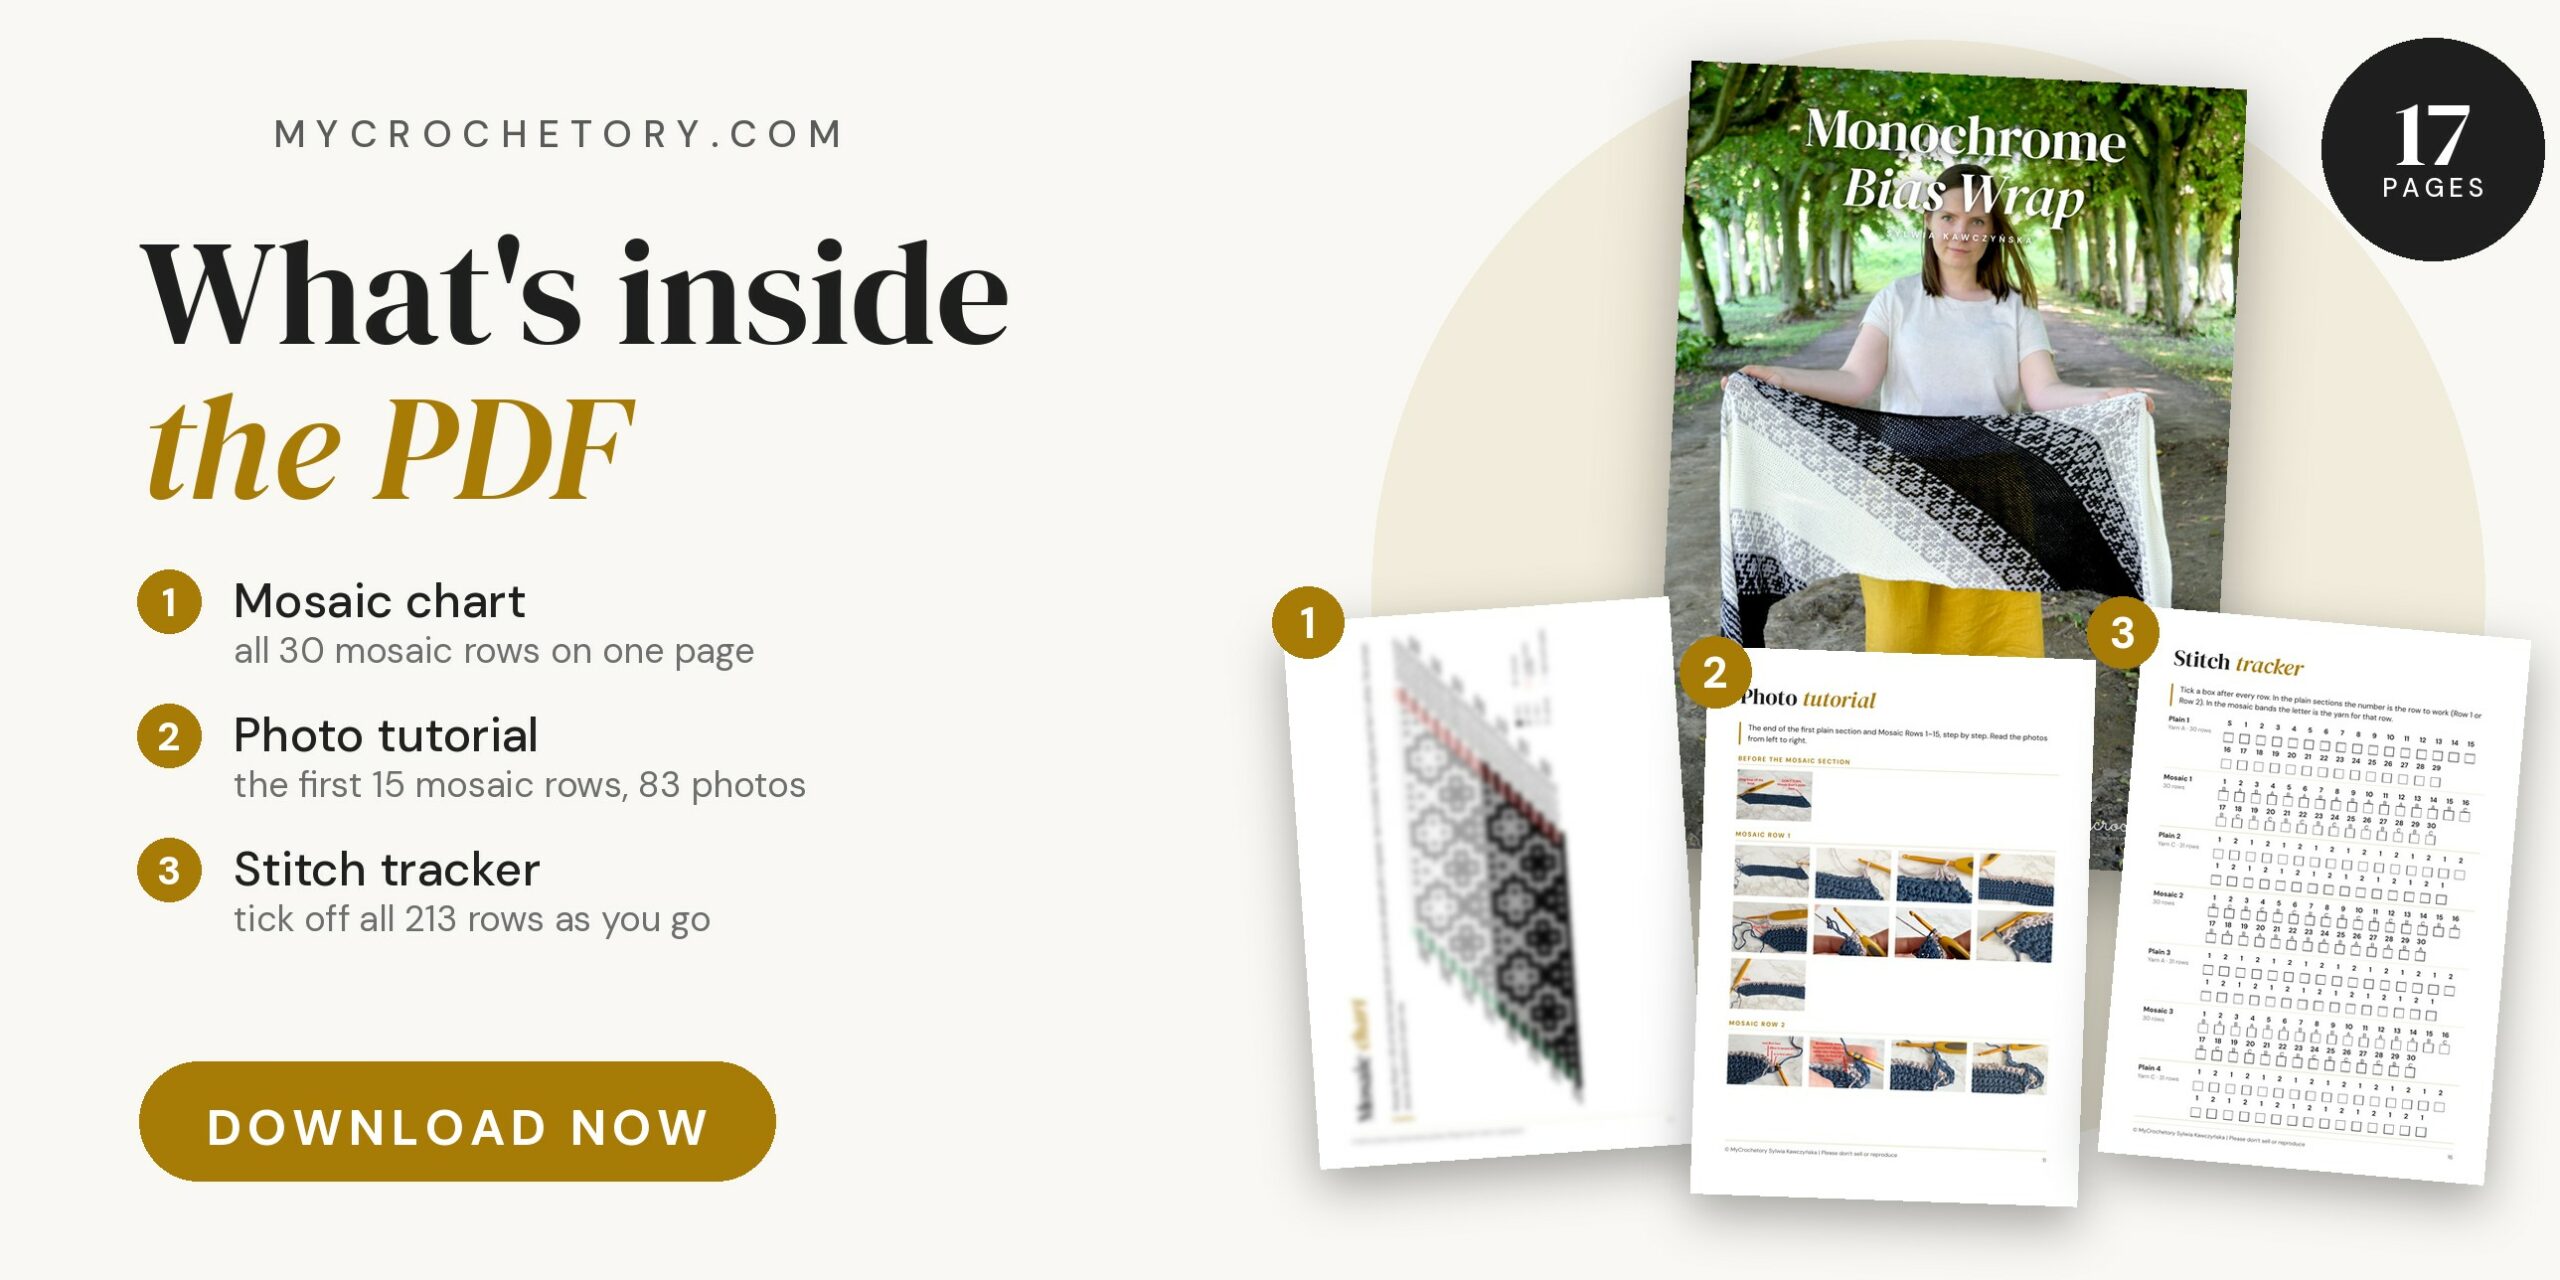
Below you’ll find the full free pattern with written rows and a mosaic chart. I also photographed the first 15 mosaic rows step by step, so you can check your work against mine.
Jump to the free Monochrome Bias Wrap pattern. Rather have it in one file? Grab the ad-free, printable PDF HERE on ETSY or HERE on Ravelry.

Want my next pattern before anyone else? Sign up below, and new patterns land straight in your inbox.
Join my Facebook Group and Official Ravelry Group where you can find necessary support, you can ask questions or share your finished projects.
You can also follow my Instagram, Facebook page and Pinterest.
How this crochet rectangle shawl is made on the bias
This crochet rectangle shawl is worked on the bias, which is just a fancy way of saying diagonally. One edge grows while the other one shrinks, so your stitch count stays the same while the piece leans into a long parallelogram. And yes, that’s where the pointy ends come from!
You start at one pointy end and finish at the other, so the wrap gets longer with every row you make. The plain single crochet sections are turned after every row, so they go quickly between the mosaic bands.

How the mosaic bands work
The mosaic bands use one color per row, so you only ever hold one yarn at a time. You work two rows with one color, then two rows with the next, and the pattern shows up when you drop double crochets down into the rows below. In my wrap, black and white each take turns with gray, in three bands in total.
That’s also why the mosaic sections are turned after every two rows. You work two rows on the right side, two on the wrong side, and watch the motifs grow.

Is this mosaic crochet rectangle shawl hard to make?
The stitches are basic, but I’d still call this crochet rectangle shawl an intermediate project. You need single crochet, double crochet in the back or front loop, and a bit of patience for counting skipped stitches. The first mosaic band is the trickiest, until you see how the dropped stitches line up.
On that first band, it helps to check the skipped stitches in every row against the chart, and the rest goes much faster. And if mosaic crochet is new to you, my tutorial on mosaic crochet in rows is a nice warm-up before you start.

Yarn, size and blocking for your crochet rectangle shawl
I made my wrap with Scheepjes Whirlette, a cotton and acrylic blend, and I still recommend it. You need about 542 yards each of black and white, 304 yards of gray, and a 3.5 mm hook.
For blocking, steam is my fastest option with this yarn. I pin the wrap to a mat and hold a steam iron about half an inch above it, without touching the stitches. Wet blocking works too, if that’s what you prefer.

Love this crochet rectangle shawl but can’t start today? Pin it to your Pinterest board now, so it’s easy to find later. And while you’re there, come say hi at www.pinterest.com/mycrochetory!
Monochrome Bias Wrap free crochet rectangle shawl pattern
- Purchase the ad-free, printable PDF here on ETSY or here on Ravelry.
- Add this pattern to your Ravelry Queue HERE.
- Grab the MyCrochetory Shawl Pattern BUNDLE that includes 14 patterns for one low price HERE.
- Pin it for later.
Copyright 2020 – 2026 MyCrochetory. All rights reserved. This pattern is property of Sylwia Kawczyńska @MyCrochetory. Please DO NOT sell the pattern and claim this pattern as your own. The pattern is for personal use only and may not be translated or reproduced in another language. Please respect my rights, DO NOT share or publish this pattern anywhere without my permission.
The wrap you make following this pattern is yours, and you are free to sell it, as long as you credit MyCrochetory as the original designer. For more information, please read Terms Page.
GET YOUR MOSAIC SHAWL PATTERN BUNDLE NOW

Materials & Tools
- Yarn Scheepjes Whirlette (100g/455m/498yd, 60% Cotton, 40% Acrylic).
- Yarn A: Liquorice (851) – 496m/542yd.
- Yarn B: Frosted (852) – 278m/304yd.
- Yarn C: Ice (860) – 496m/542yd.
- Note that yardage may vary depending on yarn used, gauge variations or modifications.
- Hook size 3.5mm (US E/4). Adjust hook size if necessary to obtain correct gauge.
- Tapestry needle (to weave and hide yarn ends).
- Scissors.
Level
Intermediate.
Size after blocking
Length 174cm/68.5”
Width 44cm/17.3”
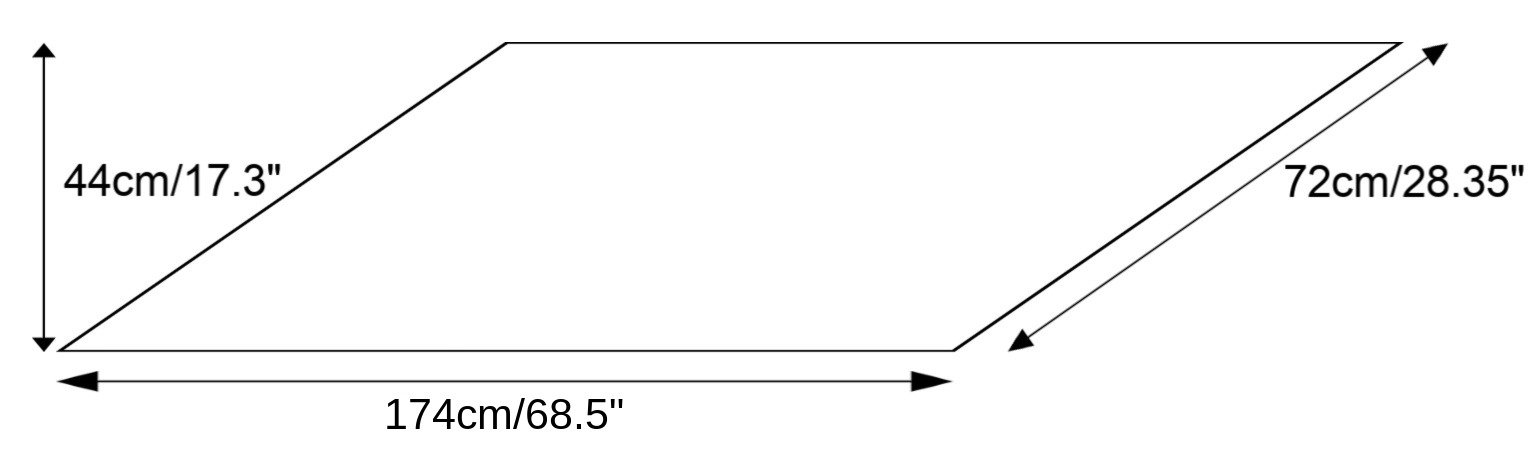
Gauge after blocking
For single crochet section: 19sts x 23 rows = 10cm/4”
For mosaic section: 19sts x 18 rows = 10cm/4”
Gauge is not important for this project. However, changes might result in different yardage requirements and a different finished size.
General Notes
- The pattern uses US crochet terminology.
- Shawl is worked diagonally in rows, back and forth, with one color used for each row.
- Pattern is a multiple of 14 plus 6 stitches. To increase the width of the wrap, increase the number of chains. To decrease the width of the wrap, decrease the number of chains.
- You can make this wrap as long as you like by adding or subtracting pattern repeats or rows in the single crochet sections.
- You can use yarn in different weights, but be aware that the width will be different depending on your gauge.
- Sections without mosaic colorwork are turned after every row.
- Sections with mosaic colorwork are turned after every two rows. This means, you will work this section two rows on the RS, two rows on WS, and then again two rows on RS, and so on.
- STITCHES: When in the instructions you have a stitch followed by a number, eg sc14, this means you have to work 1sc stitch into each of the next 14 sts. When in the instructions you have a number followed by a stitch, eg 2BLsc, this means you have to work 2 sc stitches into the next (same) stitch.
- Instructions in square brackets […] are worked as many times as indicated.
Mosaic Section Notes
- You can either follow the chart or written instructions.
- You will start this section on the WS. Then you will work two rows on the RS, two rows on WS, and then again two rows on RS, and so on.
How to read the Mosaic Chart
- Chart is read from bottom to top and each row of squares represents one row of the shawl.
- All RS rows are read from right to left. All WS rows are read from left to right.
- Each square of the chart represents 1 stitch or 1 skipped stitch.
- Two red squares represent two single crochet worked in one stitch (on the increase side).
- One green square represents one single crochet 2 together (BLsc2tog or FLsc2tog) worked in two stitches (on the decrease side).
- Whenever you see a square of color dedicated to that row, work single crochet.
- Whenever you see a square of different color in that row, skip that stitch (make chain). To prevent puckering, make the same number of chain as the number of skipped sts plus ch1. For example, for 1 skipped st – make ch2, for 2 skipped sts – make ch3, for 3 skipped sts – make ch4, etc.
- Pay special attention to number of skipped stitches.
- BLmosaicdc and FLmosaicdc will be worked in these skipped sts from two rows below.
- BLmosaicdc and BLsc are worked on RS of your work and FLmosaicdc and FLsc are worked on WS of your work.
- Remember, BLmosaicdc are always worked in front of chains of previous row and FLmosaicdc are always worked behind the chains of previous row.
Stitches & Abbreviations (US terms)
st(s) – stitch(es)
BLsc – back loop only single crochet
FLsc – front loop only single crochet
BLdc – back loop only double crochet
FLdc – front loop only double crochet
yo – yarn over
BLmosaicdc (back loop only mosaic double crochet) – work regular BLdc in unworked/skipped st of the same color two rows below in front of chain space (in front of work). These chains will stay behind BLmosaicdc and will stay unworked.
FLmosaicdc (front loop only mosaic double crochet) – work regular FLdc in unworked/skipped st of the same color two rows below behind chain space (behind the work). These chains will stay in front of FLmosaicdc and will stay unworked.
BLsc2tog (back loop single crochet 2 together) – [insert hook in back loop of indicated st, yo, draw up a loop] two times, pull through 3 loops on hook.
FLsc2tog (front loop single crochet 2 together) – [insert hook in front loop of indicated st, yo, draw up a loop] two times, pull through 3 loops on hook.
sp – space
sk – skip
RS – right side
WS – wrong side
Crochet rectangle shawl pattern
With 3.5mm hook and Yarn A work ch133.
You can also make any multiple of 14 plus 6 number of chain stitches to make your desired width, but changes might result in a different yardage requirement.
Setup row (RS): sc in second ch from hook, 2sc in next ch, sc in each ch until 3ch remain, sc2tog, sc in last ch. Turn.
Row 1 (WS): ch1 (doesn’t count as a st here and throughout), sc in first st, sc2tog, sc in each st until last 2sts remain, 2sc, sc in last st. Turn.
Row 2 (RS): ch1, sc in first st, 2sc, sc in each st until 3sts remain, sc2tog, sc in last st. Turn.
Repeat Rows 1 – 2 until Row 29 (or until desired length).
Your last row should be worked on WS.
DON’T CUT the yarn, drop loop off the hook and DON’T TURN your work after your last repeat of row 1 (see tutorial)
Mosaic section

Mosaic Row 1 (WS): Insert your hook in the first st of the same row, attach Yarn B and pull it through first st.
Ch1 (doesn’t count as a st here and throughout), sc in first st, FLsc2tog, FLsc1, [ch2, sk 1st, FLsc1] rep three times in total, ch3, sk 2sts, FLsc5, [ch3, sk 2sts, FLsc1, ch2, sk 1st, FLsc1, ch2, sk 1st, FLsc1, ch3, sk 2sts, FLsc5] rep until 3sts remain, ch2, sk 1st, 2FLsc, sc in last st. Change to Yarn A in final st by grabbing the loop in the end of the row and pulling it through two loops on the hook. Turn.
Mosaic Row 2 (RS): ch1, sc in first st, 2BLsc, BLsc1, [BLmosaicdc1 (in unworked st of same color two rows below, in front of chains – here and throughout), ch2, sk 1st, BLsc3, ch2, sk 1st, BLmosaicdc2, BLsc1, BLmosaicdc1, BLsc1, BLmosaicdc1, BLsc1, BLmosaicdc1] rep until 3sts remain, BLsc2tog, sc in last st. Drop loop off the hook and don’t turn.
Mosaic Row 3 (RS): Insert your hook in the first st of the same row, grab Yarn B and pull it through first st.
Ch1, sc in first st, 2BLsc, ch2, sk 1st, BLsc2, BLmosaicdc1, ch2, sk 1st, BLsc1, ch2, sk 1st, BLmosaicdc1, BLsc2, ch3, sk 2sts, BLsc1, [ch3, sk 2sts, BLsc2, BLmosaicdc1, ch2, sk 1st, BLsc1, ch2, sk 1st, BLmosaicdc1, BLsc2, ch3, sk 2sts, BLsc1] rep until 5sts remain, ch2, sk 1st, BLsc1, BLsc2tog, sc in last st. Change to Yarn A in final st by grabbing the loop in the end of the row and pulling it through two loops on the hook. Turn.
Mosaic Row 4 (WS): ch1, sc in first st, FLsc2tog, [FLmosaicdc1 (in unworked st of same color two rows below, behind chains – here and throughout), FLsc1, FLmosaicdc2, ch2, sk 1st, FLsc2, FLmosaicdc1, FLsc1, FLmosaicdc1, FLsc2, ch2, sk 1st, FLmosaicdc1] rep until 3sts remain, FLsc1, 2FLsc, sc in last st. Drop loop off the hook and don’t turn.
Mosaic Row 5 (WS): Insert your hook in the first st of the same row, grab Yarn B and pull it through first st.
Ch1, sc in first st, FLsc2tog, FLsc1, ch2, sk 1st, FLsc1, FLmosaicdc1, ch2, sk 1st, FLsc1, ch4, sk 3sts, FLsc1, ch2, sk 1st, FLmosaicdc1, FLsc1, [ch4, sk 3sts, FLsc1, FLmosaicdc1, ch2, sk 1st, FLsc1, ch4, sk 3sts, FLsc1, ch2, sk 1st, FLmosaicdc1, FLsc1] rep until 4sts remain, ch3, sk 2sts, 2FLsc, sc in last st. Change to Yarn A in final st by grabbing the loop in the end of the row and pulling it through two loops on the hook. Turn.
Mosaic Row 6 (RS): ch1, sc in first st, 2BLsc, BLsc1, [BLmosaicdc2, BLsc1, ch2, sk 1st, BLmosaicdc1, BLsc1, BLmosaicdc3, BLsc1, BLmosaicdc1, ch2, sk 1st, BLsc1, BLmosaicdc1] rep until 3sts remain, BLsc2tog, sc in last st. Drop loop off the hook and don’t turn.
Mosaic Row 7 (RS): Insert your hook in the first st of the same row, grab Yarn B and pull it through first st.
Ch1, sc in first st, 2BLsc, [ch2, sk 1st, BLsc3, ch2, sk 1st, BLmosaicdc1, BLsc2, ch2, sk 1st, BLsc1, ch2, sk 1st, BLsc2, BLmosaicdc1] rep until 4sts remain, BLsc1, BLsc2tog, sc in last st. Change to Yarn A in final st by grabbing the loop in the end of the row and pulling it through two loops on the hook. Turn.
Mosaic Row 8 (WS): ch1, sc in first st, FLsc2tog, [FLsc2, ch2, sk 1st, FLmosaicdc1, FLsc1, FLmosaicdc1, ch2, sk 1st, FLsc2, FLmosaicdc1, ch2, sk 1st, FLsc1, ch2, sk 1st, FLmosaicdc1] rep until 3sts remain, FLsc1, 2FLsc, sc in last st. Drop loop off the hook and don’t turn.
Mosaic Row 9 (WS): Insert your hook in the first st of the same row, grab Yarn B and pull it through first st.
Ch1, sc in first st, FLsc2tog, FLsc1, [FLmosaicdc1, FLsc3, FLmosaicdc1, ch2, sk 1st, FLsc2, FLmosaicdc1, FLsc1, FLmosaicdc1, FLsc2, ch2, sk 1st] rep until 2sts remain, 2FLsc, sc in last st. Change to Yarn A in final st by grabbing the loop in the end of the row and pulling it through two loops on the hook. Turn.
Mosaic Row 10 (RS): ch1, sc in first st, 2BLsc, [BLsc1, BLmosaicdc1, ch2, sk 1st, BLsc1, ch4, sk 3sts, BLsc1, ch2, sk 1st, BLmosaicdc1, BLsc1, ch4, sk 3sts] rep until 4sts remain, BLsc1, BLsc2tog, sc in last st. Drop loop off the hook and don’t turn.
Mosaic Row 11 (RS): Insert your hook in the first st of the same row, grab Yarn B and pull it through first st.
Ch1, sc in first st, 2BLsc, BLsc1, [BLsc1, ch2, sk 1st, BLmosaicdc1, BLsc1, BLmosaicdc3, BLsc1, BLmosaicdc1, ch2, sk 1st, BLsc1, BLmosaicdc3] rep until 3sts remain, BLsc2tog, sc in last st. Change to Yarn A in final st by grabbing the loop in the end of the row and pulling it through two loops on the hook. Turn.
Mosaic Row 12 (WS): ch1, sc in first st, FLsc2tog, FLsc1, [ch3, sk 2sts, FLmosaicdc1, FLsc2, ch2, sk 1st, FLsc1, ch2, sk 1st, FLsc2, FLmosaicdc1, ch3, sk 2sts, FLsc1] rep until 2sts remain, 2FLsc, sc in last st. Drop loop off the hook and don’t turn.
Mosaic Row 13 (WS): Insert your hook in the first st of the same row, grab Yarn B and pull it through first st.
Ch1, sc in first st, FLsc2tog, [FLmosaicdc2, FLsc2, ch2, sk 1st, FLmosaicdc1, FLsc1, FLmosaicdc1, ch2, sk 1st, FLsc2, FLmosaicdc2, FLsc1] rep until 3sts remain, FLsc1, 2FLsc, sc in last st. Change to Yarn A in final st by grabbing the loop in the end of the row and pulling it through two loops on the hook. Turn.
Mosaic Row 14 (RS): ch1, sc in first st, 2BLsc, [BLsc1, ch2, sk 1st, BLsc1, ch2, sk 1st, BLsc1, ch3, sk 2sts, BLmosaicdc1, BLsc3, BLmosaicdc1, ch3, sk 2sts] rep until 4sts remain, BLsc1, BLsc2tog, sc in last st. Fasten off Yarn A and don’t turn.
Mosaic Row 15 (RS): Insert your hook in the first st of the same row, grab Yarn B and pull it through first st.
Ch1, sc in first st, 2BLsc, BLsc1, [BLsc1, BLmosaicdc1, BLsc1, BLmosaicdc1, BLsc1, BLmosaicdc2, BLsc5, BLmosaicdc2] rep until 3sts remain, BLsc2tog, sc in last st. Change to Yarn C in final st. Turn.
Mosaic Row 16 (WS): ch1, sc in first st, FLsc2tog, FLsc1, [FLsc1, ch2, sk 1st, FLsc1, ch2, sk 1st, FLsc1, ch3, sk 2sts, FLsc5, ch3, sk 2sts] rep until 2sts remain, 2FLsc, sc in last st. Drop loop off the hook and don’t turn.
Mosaic Row 17 (WS): Insert your hook in the first st of the same row, grab Yarn B and pull it through first st.
Ch1, sc in first st, FLsc2tog, [FLsc1, FLmosaicdc1, FLsc1, FLmosaicdc1, FLsc1, FLmosaicdc2, ch2, sk 1st, FLsc3, ch2, sk 1st, FLmosaicdc2] rep until 3sts remain, FLsc1, 2FLsc, sc in last st. Change to Yarn C in final st by grabbing the loop in the end of the row and pulling it through two loops on the hook. Turn.
Mosaic Row 18 (RS): ch1, sc in first st, 2BLsc, [ch3, sk 2sts, BLsc2, BLmosaicdc1, ch2, sk 1st, BLsc1, ch2, sk 1st, BLmosaicdc1, BLsc2, ch3, sk 2sts, BLsc1] rep until 4sts remain, BLsc1, BLsc2tog, sc in last st. Drop loop off the hook and don’t turn.
Mosaic Row 19 (RS): Insert your hook in the first st of the same row, grab Yarn B and pull it through first st.
Ch1, sc in first st, 2BLsc, [BLsc1, BLmosaicdc2, ch2, sk 1st, BLsc2, BLmosaicdc1, BLsc1, BLmosaicdc1, BLsc2, ch2, sk 1st, BLmosaicdc2] rep until 4sts remain, BLsc1, BLsc2tog, sc in last st. Change to Yarn C in final st by grabbing the loop in the end of the row and pulling it through two loops on the hook. Turn.
Mosaic Row 20 (WS): ch1, sc in first st, FLsc2tog, FLsc1, [FLsc1, FLmosaicdc1, ch2, sk 1st, FLsc1, ch4, sk 3sts, FLsc1, ch2, sk 1st, FLmosaicdc1, FLsc1, ch4, sk 3sts] rep until 2sts remain, 2FLsc, sc in last st. Drop loop off the hook and don’t turn.
Mosaic Row 21 (WS): Insert your hook in the first st of the same row, grab Yarn B and pull it through first st.
Ch1, sc in first st, FLsc2tog, [FLsc1, ch2, sk 1st, FLmosaicdc1, FLsc1, FLmosaicdc3, FLsc1, FLmosaicdc1, ch2, sk 1st, FLsc1, FLmosaicdc3] rep until 3sts remain, FLsc1, 2FLsc, sc in last st. Change to Yarn C in final st by grabbing the loop in the end of the row and pulling it through two loops on the hook. Turn.
Mosaic Row 22 (RS): ch1, sc in first st, 2BLsc, BLsc1, [ch2, sk 1st, BLsc3, ch2, sk 1st, BLmosaicdc1, BLsc2, ch2, sk 1st, BLsc1, ch2, sk 1st, BLsc2, BLmosaicdc1] rep until 3sts remain, BLsc2tog, sc in last st. Drop loop off the hook and don’t turn.
Mosaic Row 23 (RS): Insert your hook in the first st of the same row, grab Yarn B and pull it through first st.
Ch1, sc in first st, 2BLsc, [BLsc2, BLmosaicdc1, ch2, sk 1st, BLsc1, ch2, sk 1st, BLmosaicdc1, BLsc2, ch2, sk 1st, BLmosaicdc1, BLsc1, BLmosaicdc1, ch2, sk 1st] rep until 4sts remain, BLsc1, BLsc2tog, sc in last st. Change to Yarn C in final st by grabbing the loop in the end of the row and pulling it through two loops on the hook. Turn.
Mosaic Row 24 (WS): ch1, sc in first st, FLsc2tog, [FLmosaicdc1, FLsc3, FLmosaicdc1, ch2, sk 1st, FLsc2, FLmosaicdc1, FLsc1, FLmosaicdc1, FLsc2, ch2, sk 1st] rep until 3sts remain, FLsc1, 2FLsc, sc in last st. Drop loop off the hook and don’t turn.
Mosaic Row 25 (WS): Insert your hook in the first st of the same row, grab Yarn B and pull it through first st.
Ch1, sc in first st, FLsc2tog, FLsc1, ch3, sk 2sts, FLsc1, FLmosaicdc1, ch2, sk 1st, FLsc1, ch4, sk 3sts, FLsc1, ch2, sk 1st, FLmosaicdc1, FLsc1, [ch4, sk 3sts, FLsc1, FLmosaicdc1, ch2, sk 1st, FLsc1, ch4, sk 3sts, FLsc1, ch2, sk 1st, FLmosaicdc1, FLsc1] rep until 3sts remain, ch2, sk 1st, 2FLsc, sc in last st. Change to Yarn C in final st by grabbing the loop in the end of the row and pulling it through two loops on the hook. Turn.
Mosaic Row 26 (RS): ch1, sc in first st, 2BLsc, BLsc1, [BLmosaicdc1, BLsc1, ch2, sk 1st, BLmosaicdc1, BLsc1, BLmosaicdc3, BLsc1, BLmosaicdc1, ch2, sk 1st, BLsc1, BLmosaicdc2] rep until 3sts remain, BLsc2tog, sc in last st. Drop loop off the hook and don’t turn.
Mosaic Row 27 (RS): Insert your hook in the first st of the same row, grab Yarn B and pull it through first st.
Ch1, sc in first st, 2BLsc, ch2, sk 1st, BLsc1, ch3, sk 2sts, BLmosaicdc1, BLsc2, ch2, sk 1st, BLsc1, ch2, sk 1st, BLsc2, BLmosaicdc1, [ch3, sk 2sts, BLsc1, ch3, sk 2sts, BLmosaicdc1, BLsc2, ch2, sk 1st, BLsc1, ch2, sk 1st, BLsc2, BLmosaicdc1] rep until 5sts remain, ch2, sk 1st, BLsc1, BLsc2tog, sc in last st. Change to Yarn C in final st by grabbing the loop in the end of the row and pulling it through two loops on the hook. Turn.
Mosaic Row 28 (WS): ch1, sc in first st, FLsc2tog, [FLmosaicdc1, FLsc2, ch2, sk 1st, FLmosaicdc1, FLsc1, FLmosaicdc1, ch2, sk 1st, FLsc2, FLmosaicdc2, FLsc1, FLmosaicdc1] rep until 3sts remain, FLsc1, 2FLsc, sc in last st. Drop loop off the hook and don’t turn.
Mosaic Row 29 (WS): Insert your hook in the first st of the same row, grab Yarn B and pull it through first st.
Ch1, sc in first st, FLsc2tog, FLsc1, ch2, sk 1st, FLmosaicdc1, FLsc3, FLmosaicdc1, ch3, sk 2sts, FLsc1, ch2, sk 1st, FLsc1, ch2, sk 1st, FLsc1, [ch3, sk 2sts, FLmosaicdc1, FLsc3, FLmosaicdc1, ch3, sk 2sts, FLsc1, ch2, sk 1st, FLsc1, ch2, sk 1st, FLsc1] rep until 3sts remain, ch2, sk 1st, 2FLsc, sc in last st. Change to Yarn C in final st by grabbing the loop in the end of the row and pulling it through two loops on the hook. Turn.
Fasten off Yarn B.
Mosaic Row 30 (RS): ch1, sc in first st, 2BLsc, BLsc1, [BLmosaicdc1, BLsc1, BLmosaicdc1, BLsc1, BLmosaicdc1, BLsc1, BLmosaicdc2, BLsc5, BLmosaicdc1] rep until 3sts remain, BLsc2tog, sc in last st. Turn.
Continue with Yarn C.
Next:
Repeat Rows 1 – 2 15 times and then repeat just Row 1 (WS).
Next, repeat MOSAIC ROWS working
Mosaic Row 1 using Yarn B,
Mosaic Row 2 using Yarn C,
Mosaic Row 3 using Yarn B,
Mosaic Row 4 using Yarn C, and so on until Mosaic Row 15.
Then, Mosaic Row 16 using Yarn A,
Mosaic Row 17 using Yarn B,
Mosaic Row 18 using Yarn A, and so on until Mosaic Row 30.
Continue with Yarn A.
Next:
Repeat Rows 1 – 2 15 times and then repeat just Row 1 (WS).
Next, repeat MOSAIC ROWS working
Mosaic Row 1 using Yarn B,
Mosaic Row 2 using Yarn A,
Mosaic Row 3 using Yarn B,
Mosaic Row 4 using Yarn A, and so on until Mosaic Row 15.
Then, Mosaic Row 16 using Yarn C,
Mosaic Row 17 using Yarn B,
Mosaic Row 18 using Yarn C, and so on until Mosaic Row 30.
Continue with Yarn C.
Next:
Repeat Rows 1 – 2 15 times and then repeat just Row 1 (WS).
Fasten off yarn, weave in all ends and block your wrap.
Stuck on a row? Leave a comment below, or ask in my Facebook Group or Ravelry Group, where other crocheters can help you too. And if you spot a mistake, email me at mycrochetory@gmail.com and I’ll fix it.
Mosaic section photo tutorial
Please note, this photo tutorial covers the first 15 rows of the mosaic section.
Before the mosaic section:

Mosaic Row 1:


Mosaic Row 2:


Mosaic Row 3:


Mosaic Row 4:


Mosaic Row 5:


Mosaic Row 6:


Mosaic Row 7:


Mosaic Row 8:


Mosaic Row 9:


Mosaic Row 10:


Mosaic Row 11:


Mosaic Row 12:


Mosaic Row 13:


Mosaic Row 14:


Mosaic Row 15:


Finished your Monochrome Bias Wrap? I’d love to see which colors you picked! Share it on Instagram or Facebook with #mycrochetory or #monochromebiaswrap, or tag me @mycrochetory.
More crochet rectangle wraps
Love a long wrap? These four are mine too, and each one has its own shape and stitch.
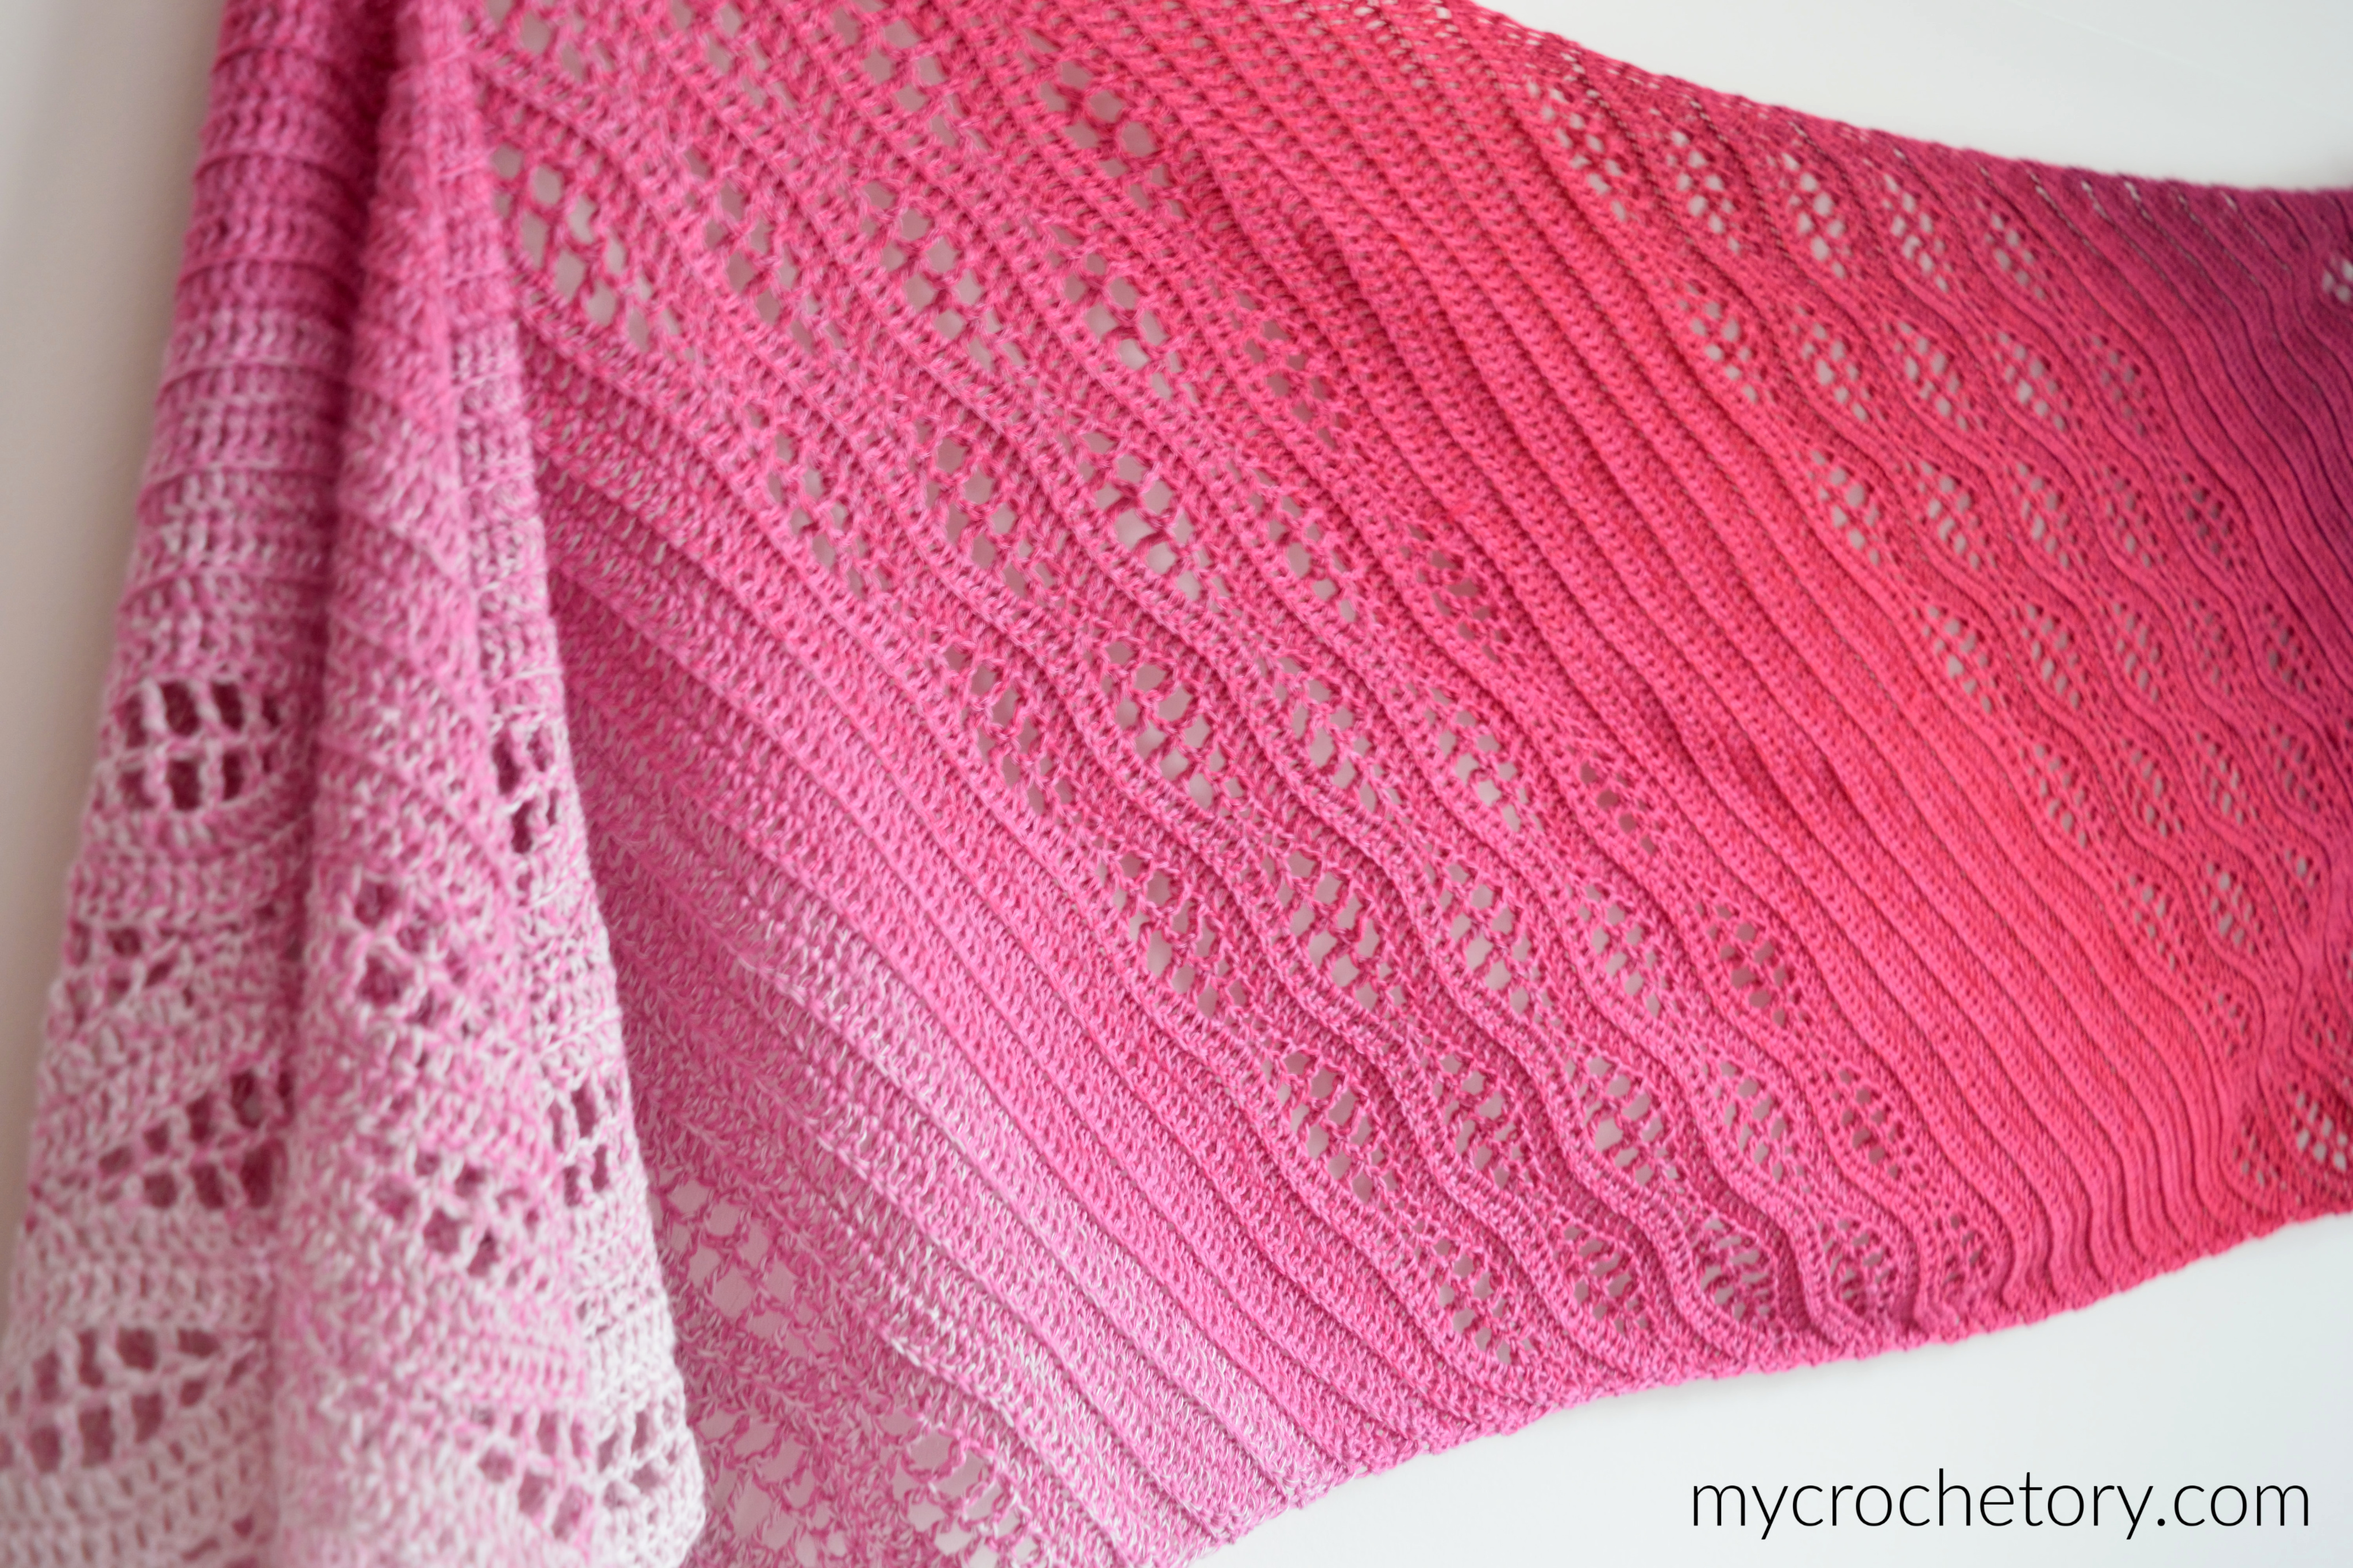
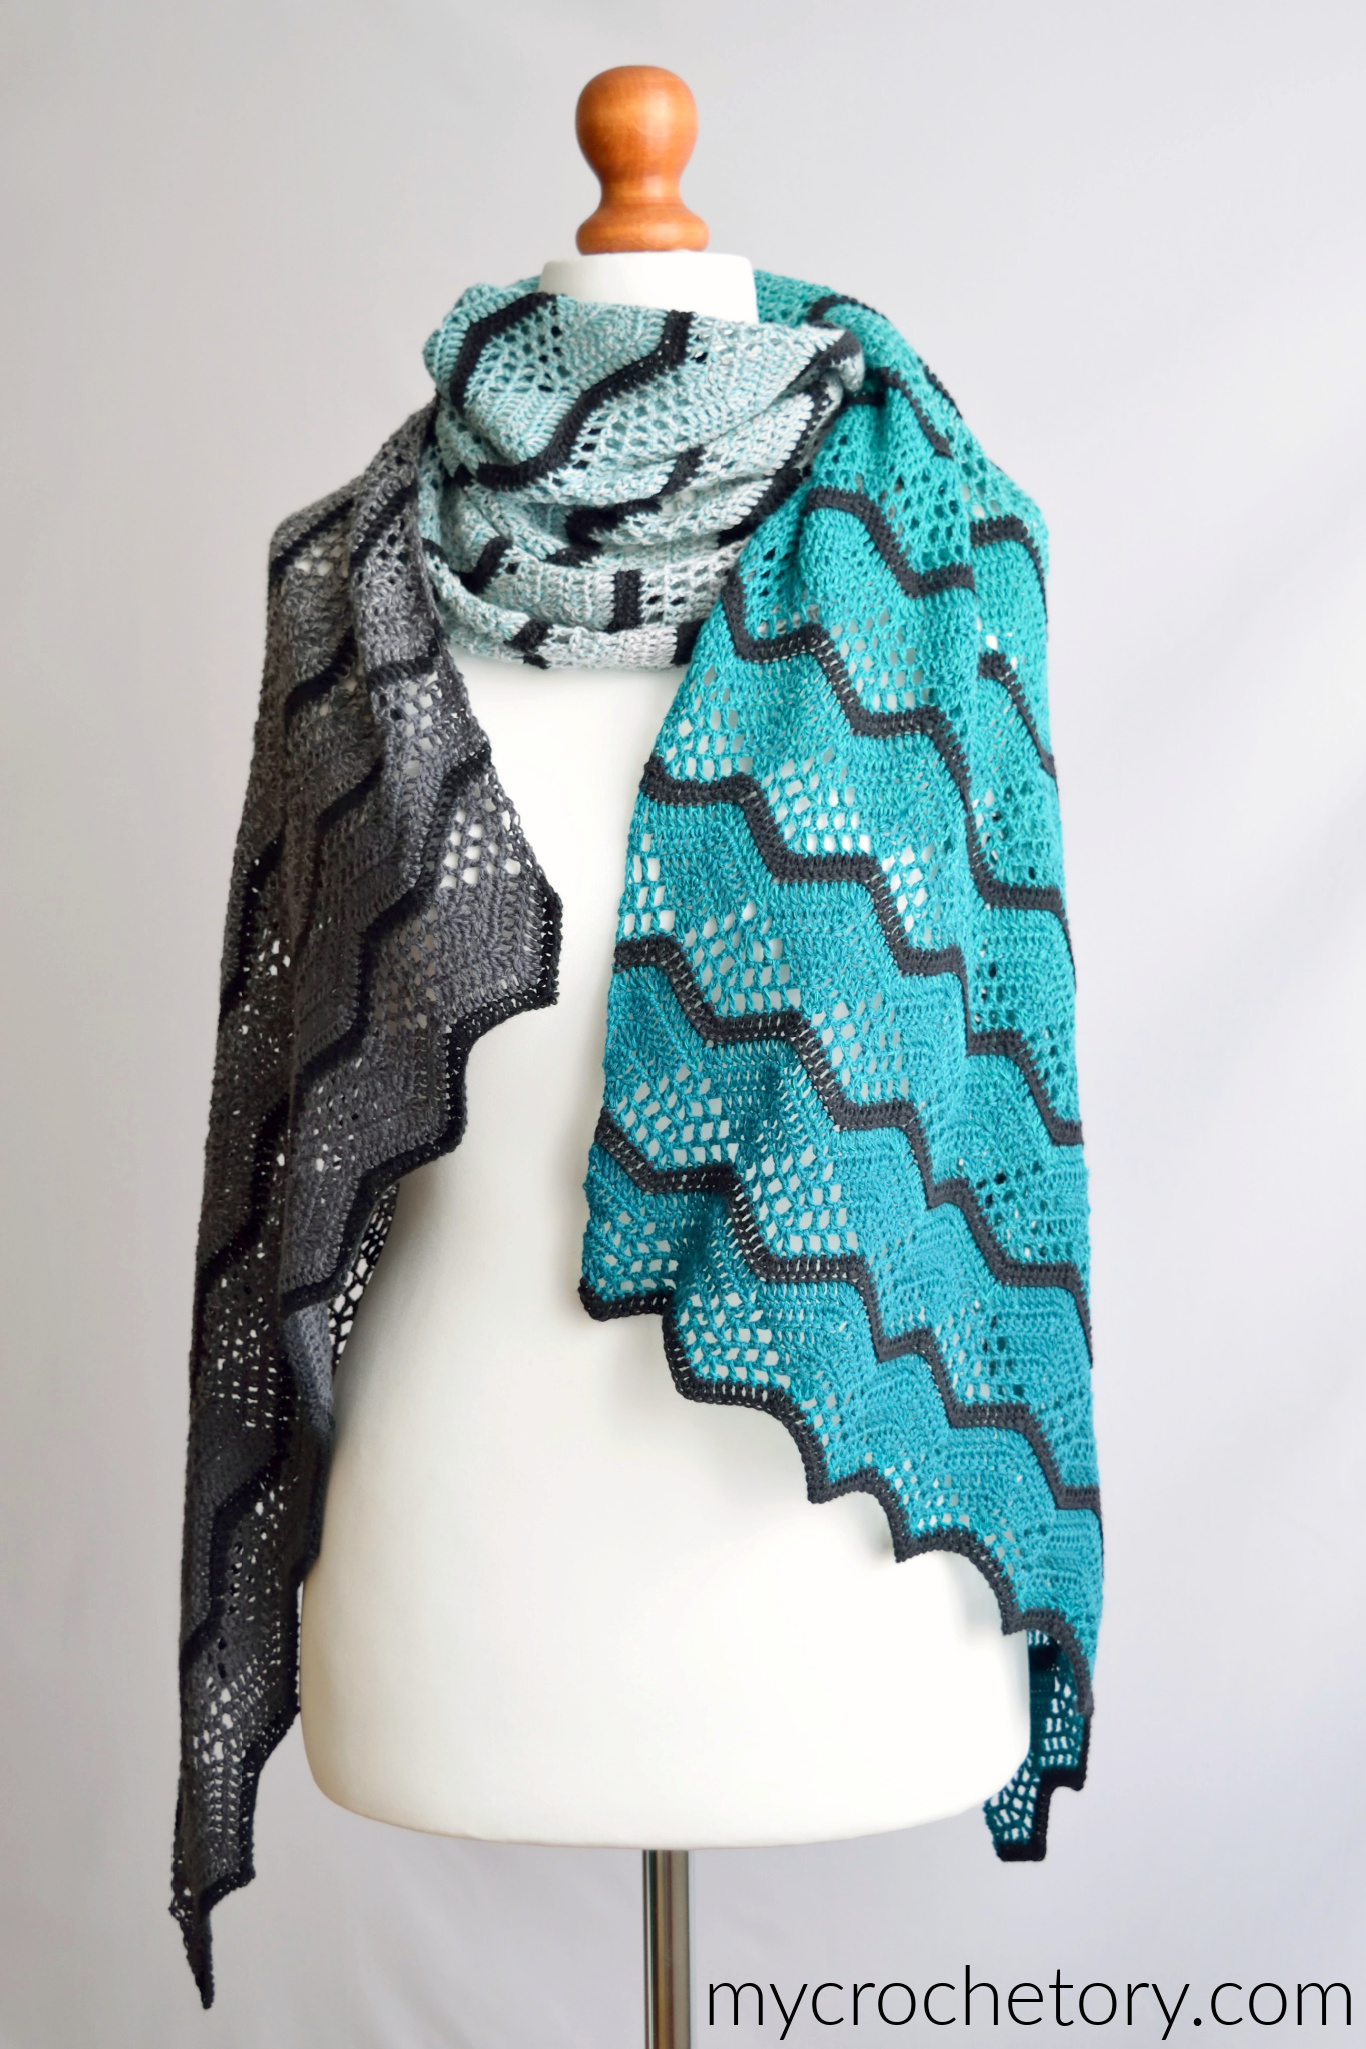
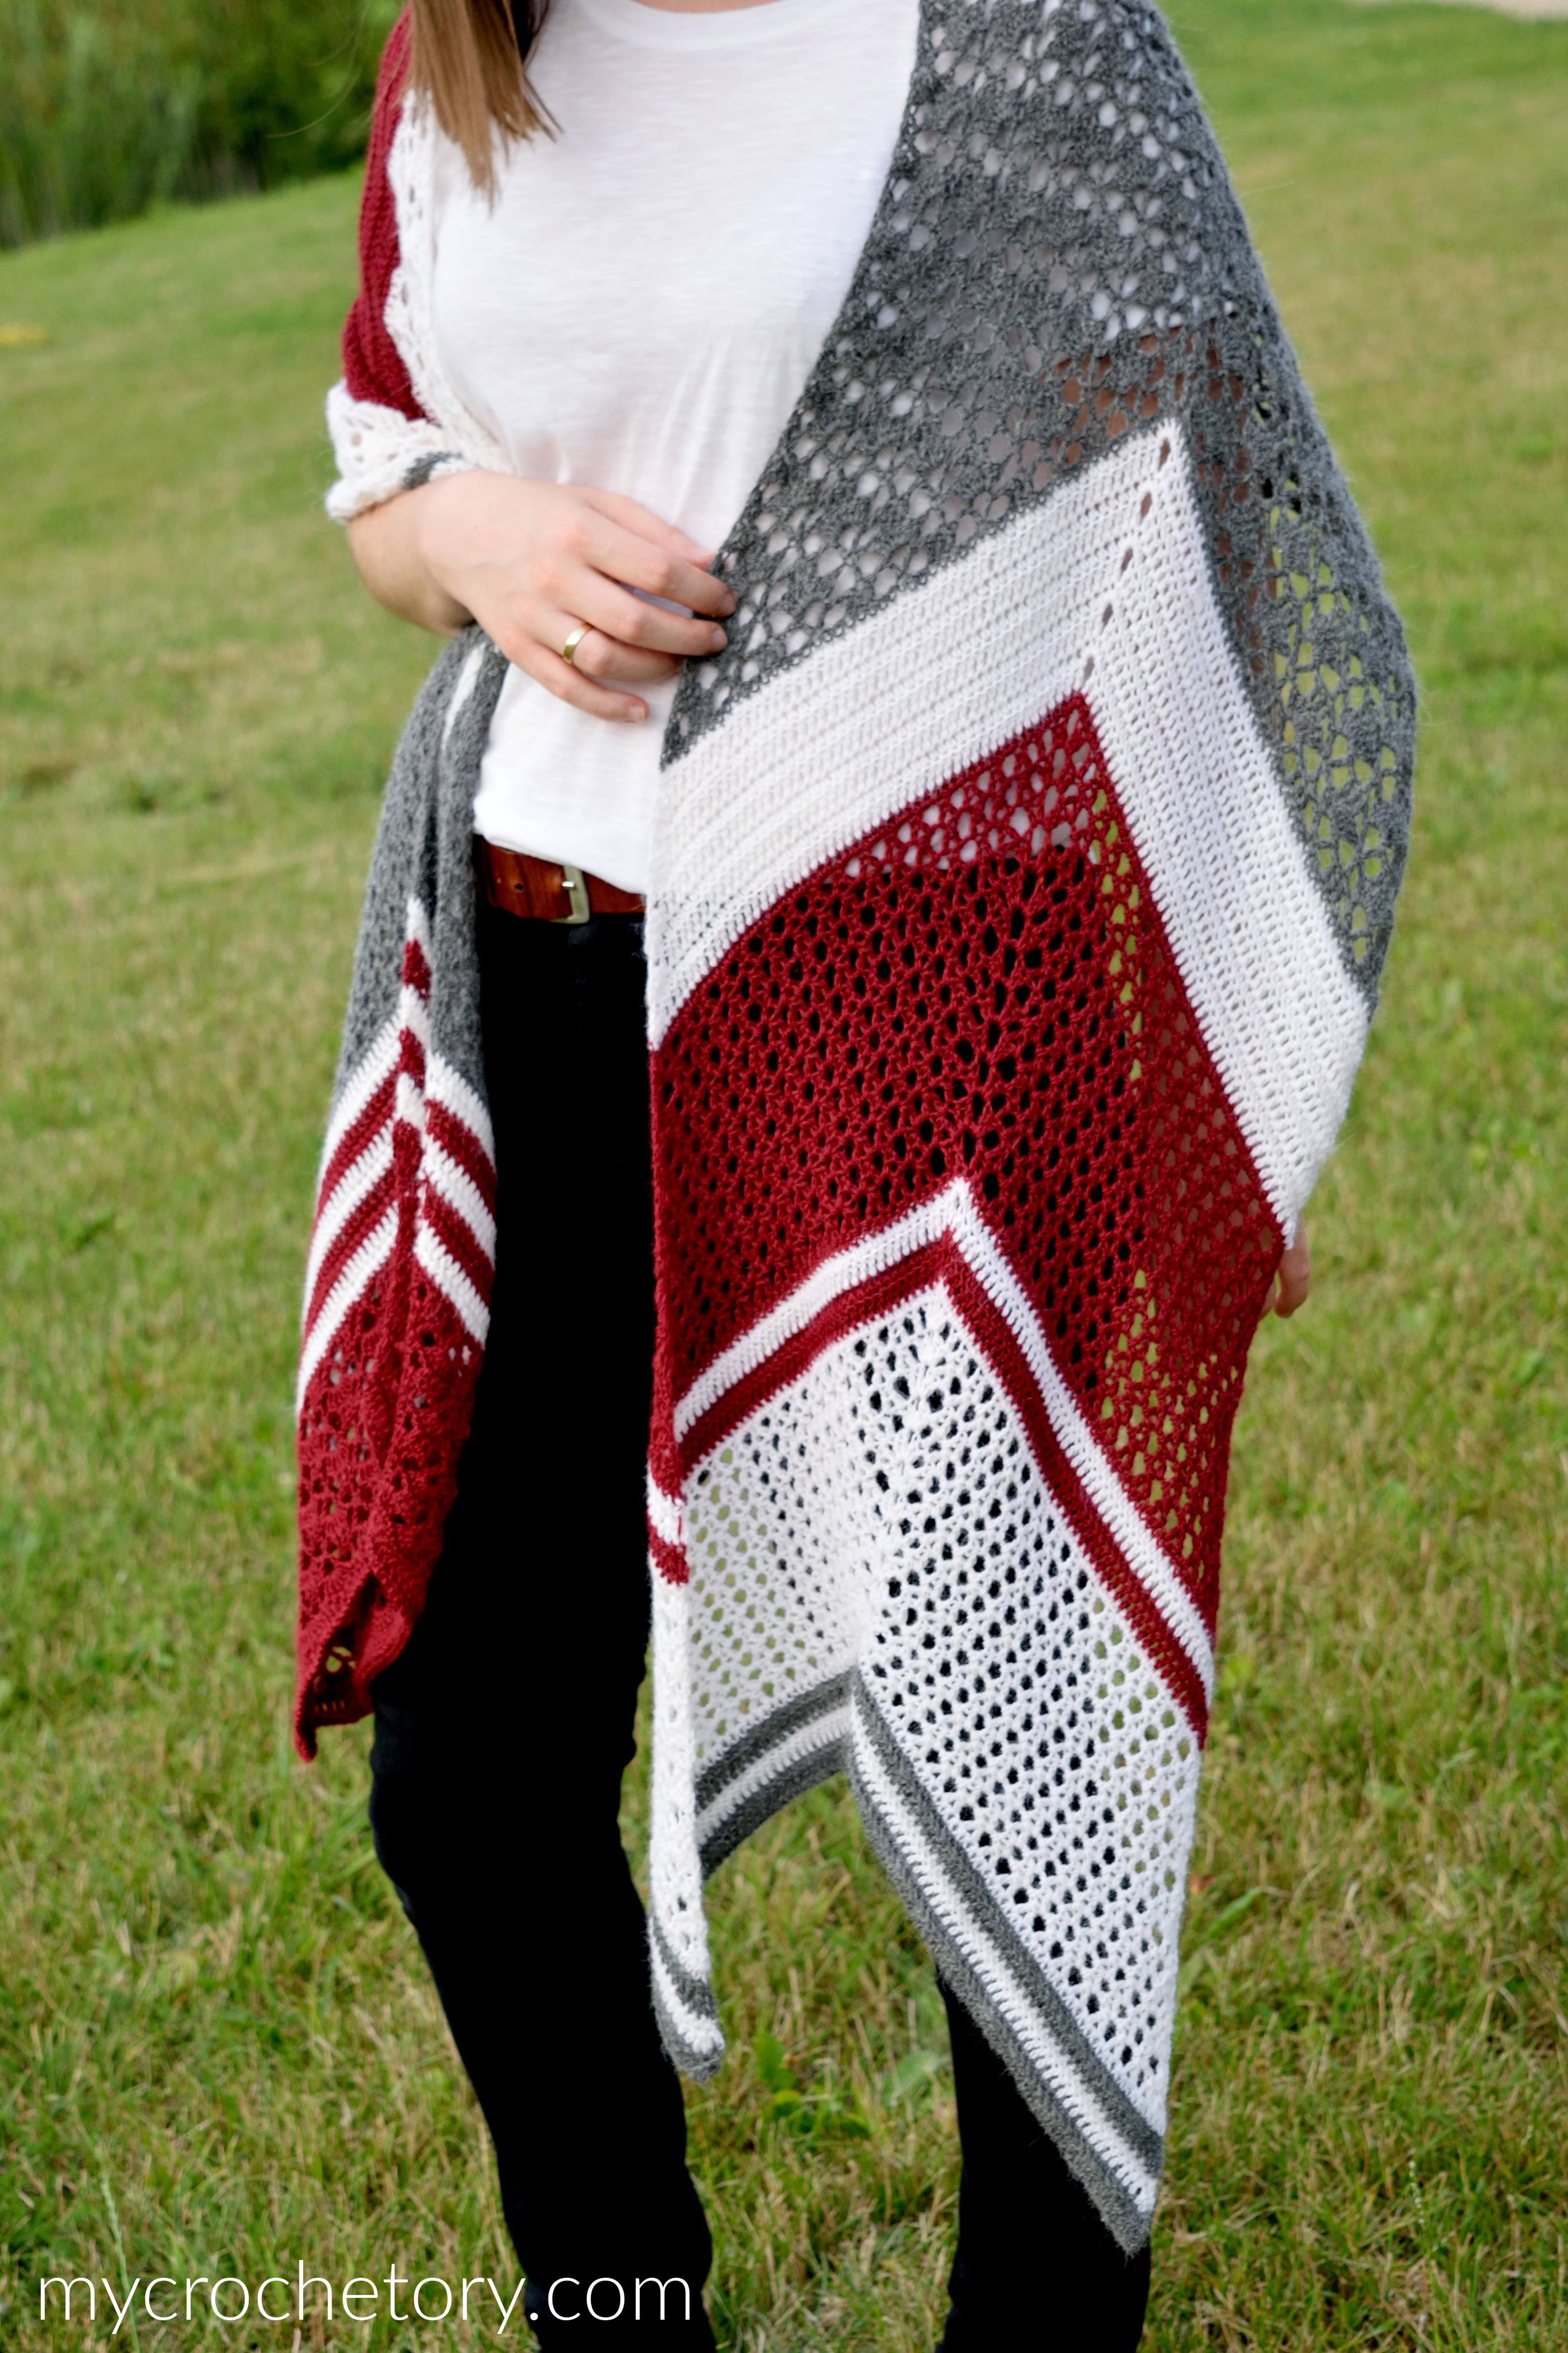
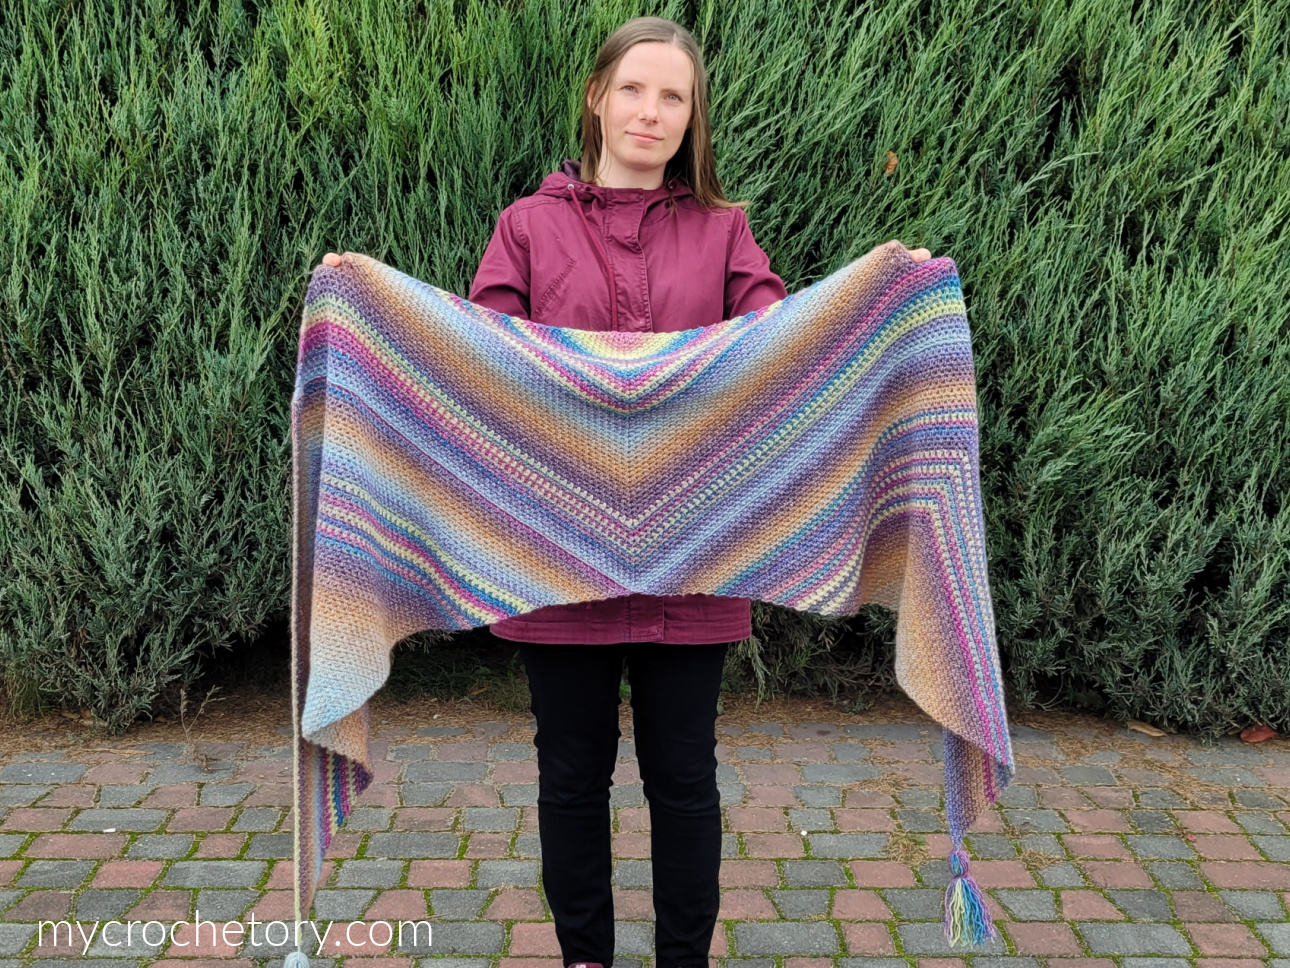
- Kalinda Wrap. Kalinda is a parallelogram like this one, worked in my wavy stitch with one gradient cake. It’s reversible, so both sides look good.
- Havra Wrap. Havra is also worked on the bias, with two colors and chevron clusters in an 18-row repeat.
- Arrow Wrap. Arrow is worked end to end, with one pointy end, one V-shaped end and three-color lace stripes.
- Bandos Wrap. Bandos is made of three moss stitch triangles joined into a trapezoid, and adventurous beginners can make it too.
More free mosaic crochet patterns
Hooked on mosaic? These patterns use the same one-color-per-row trick.
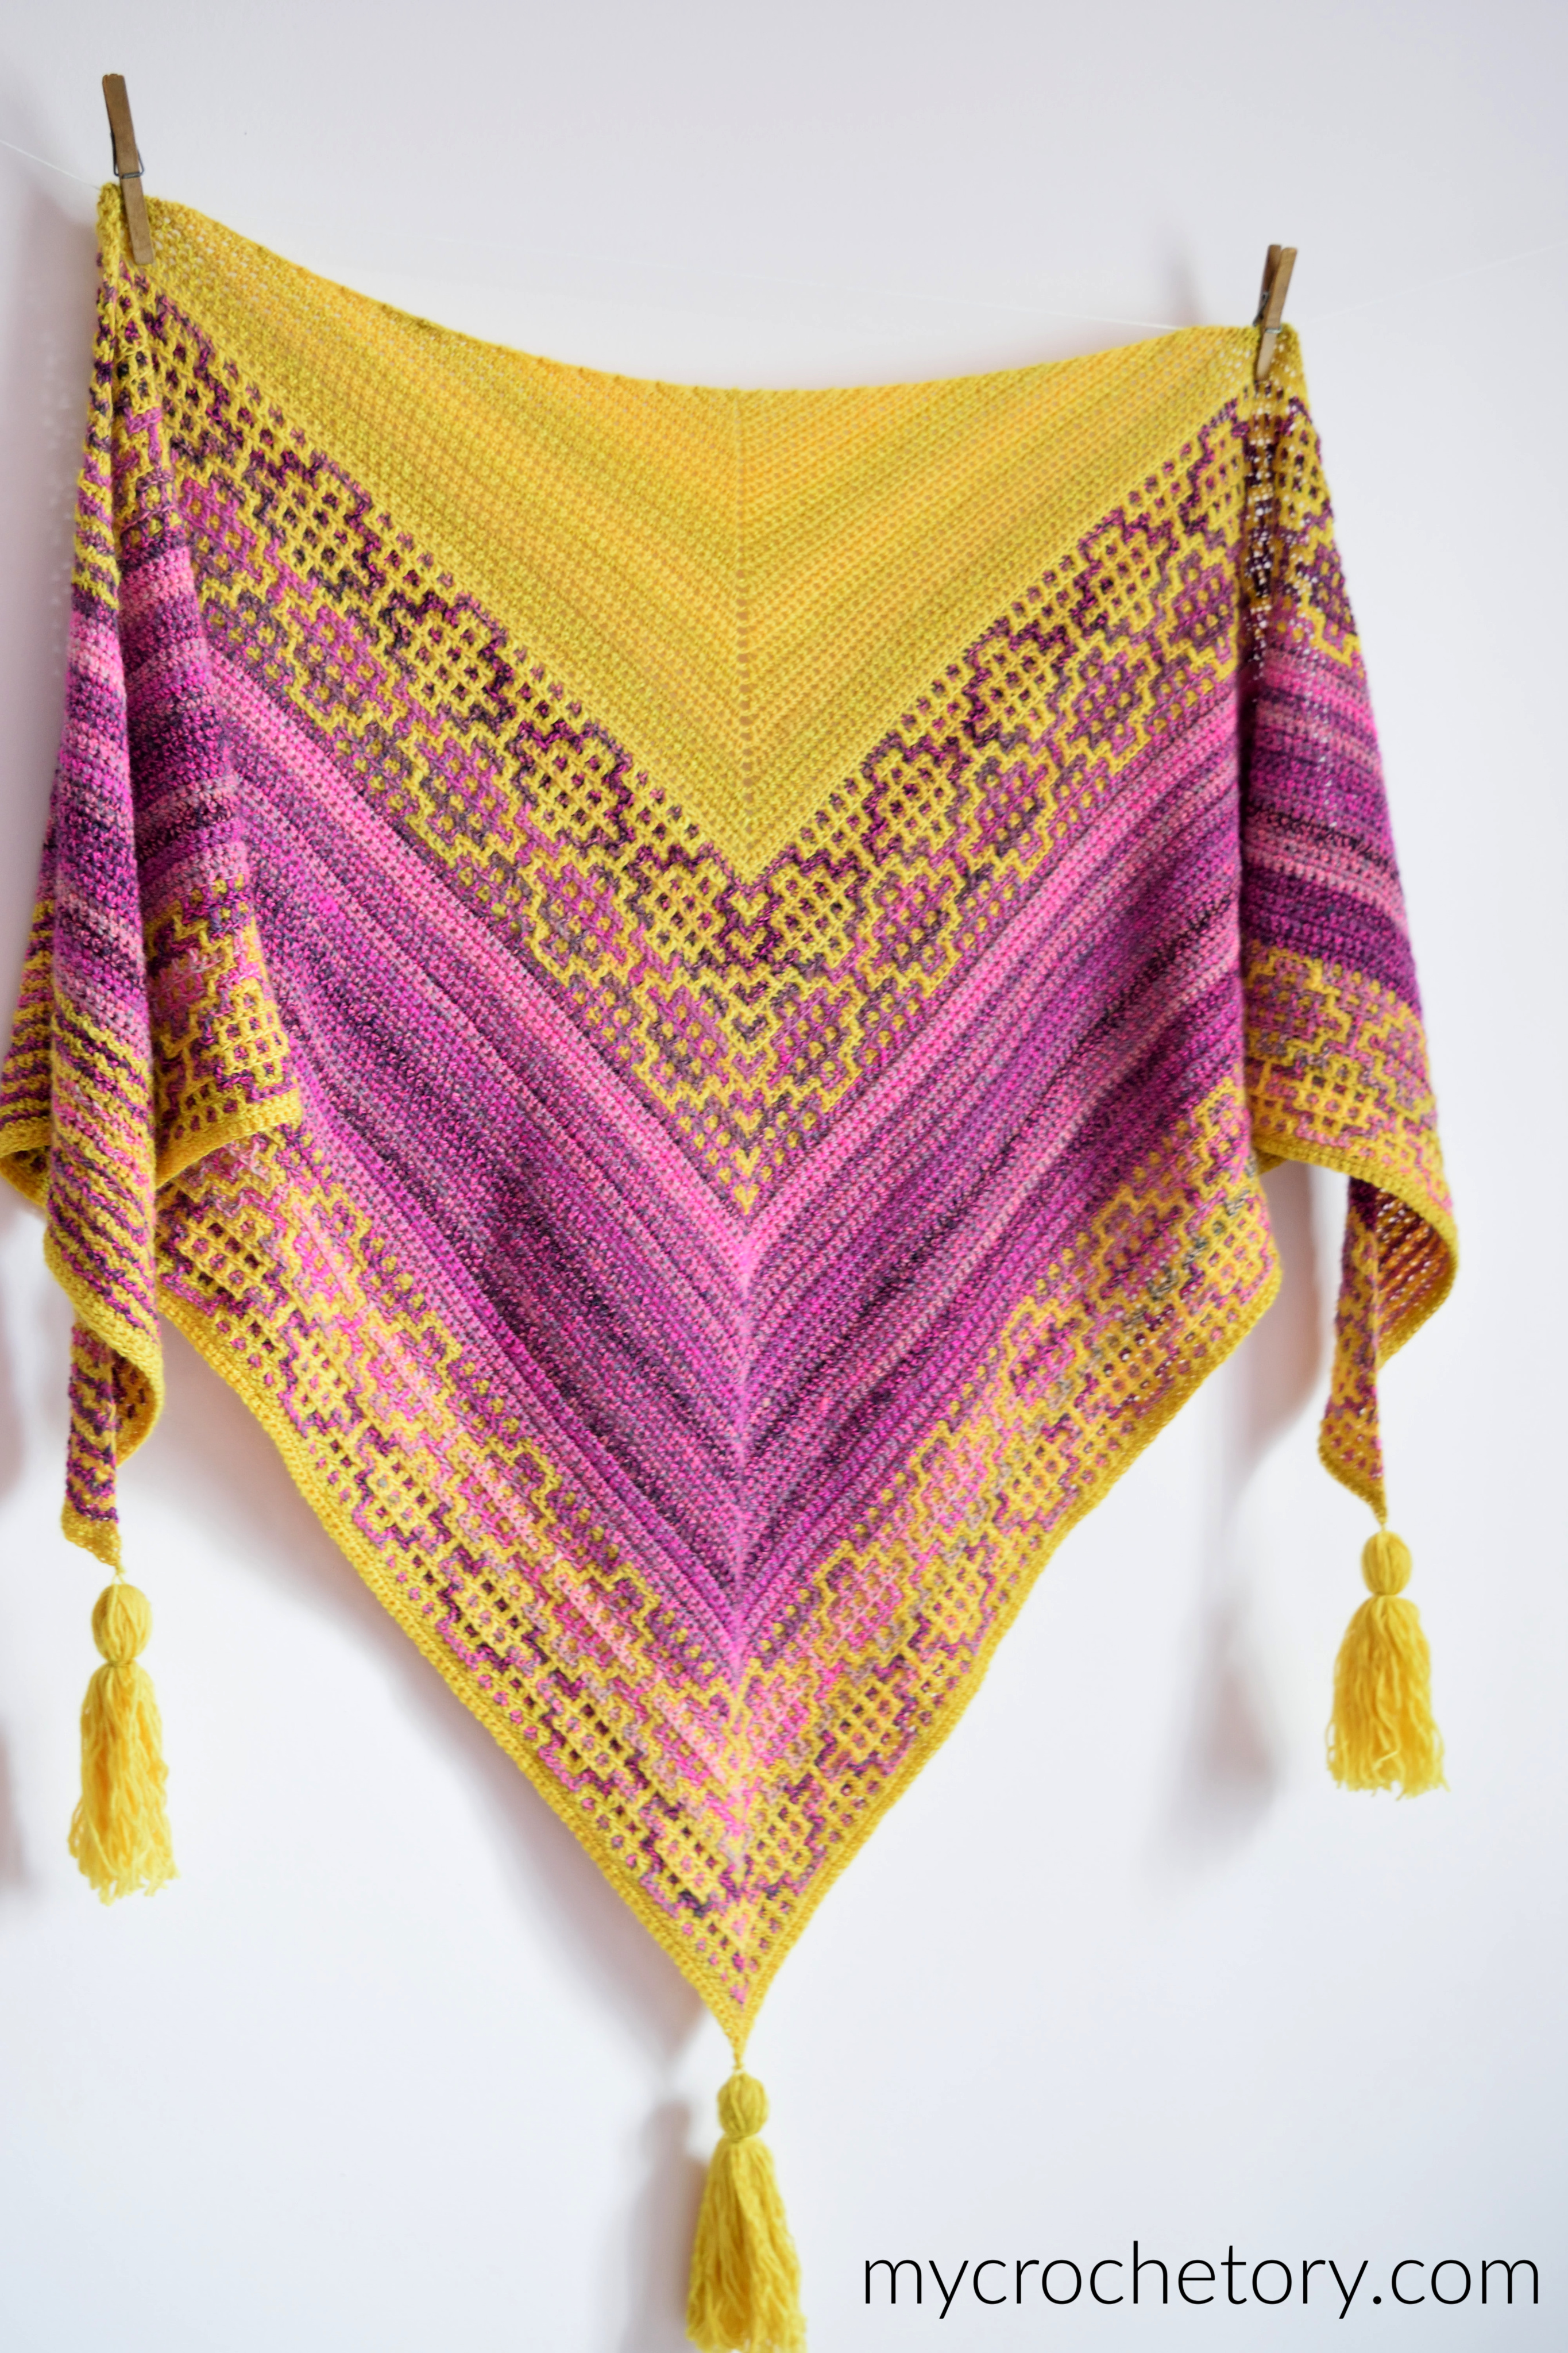
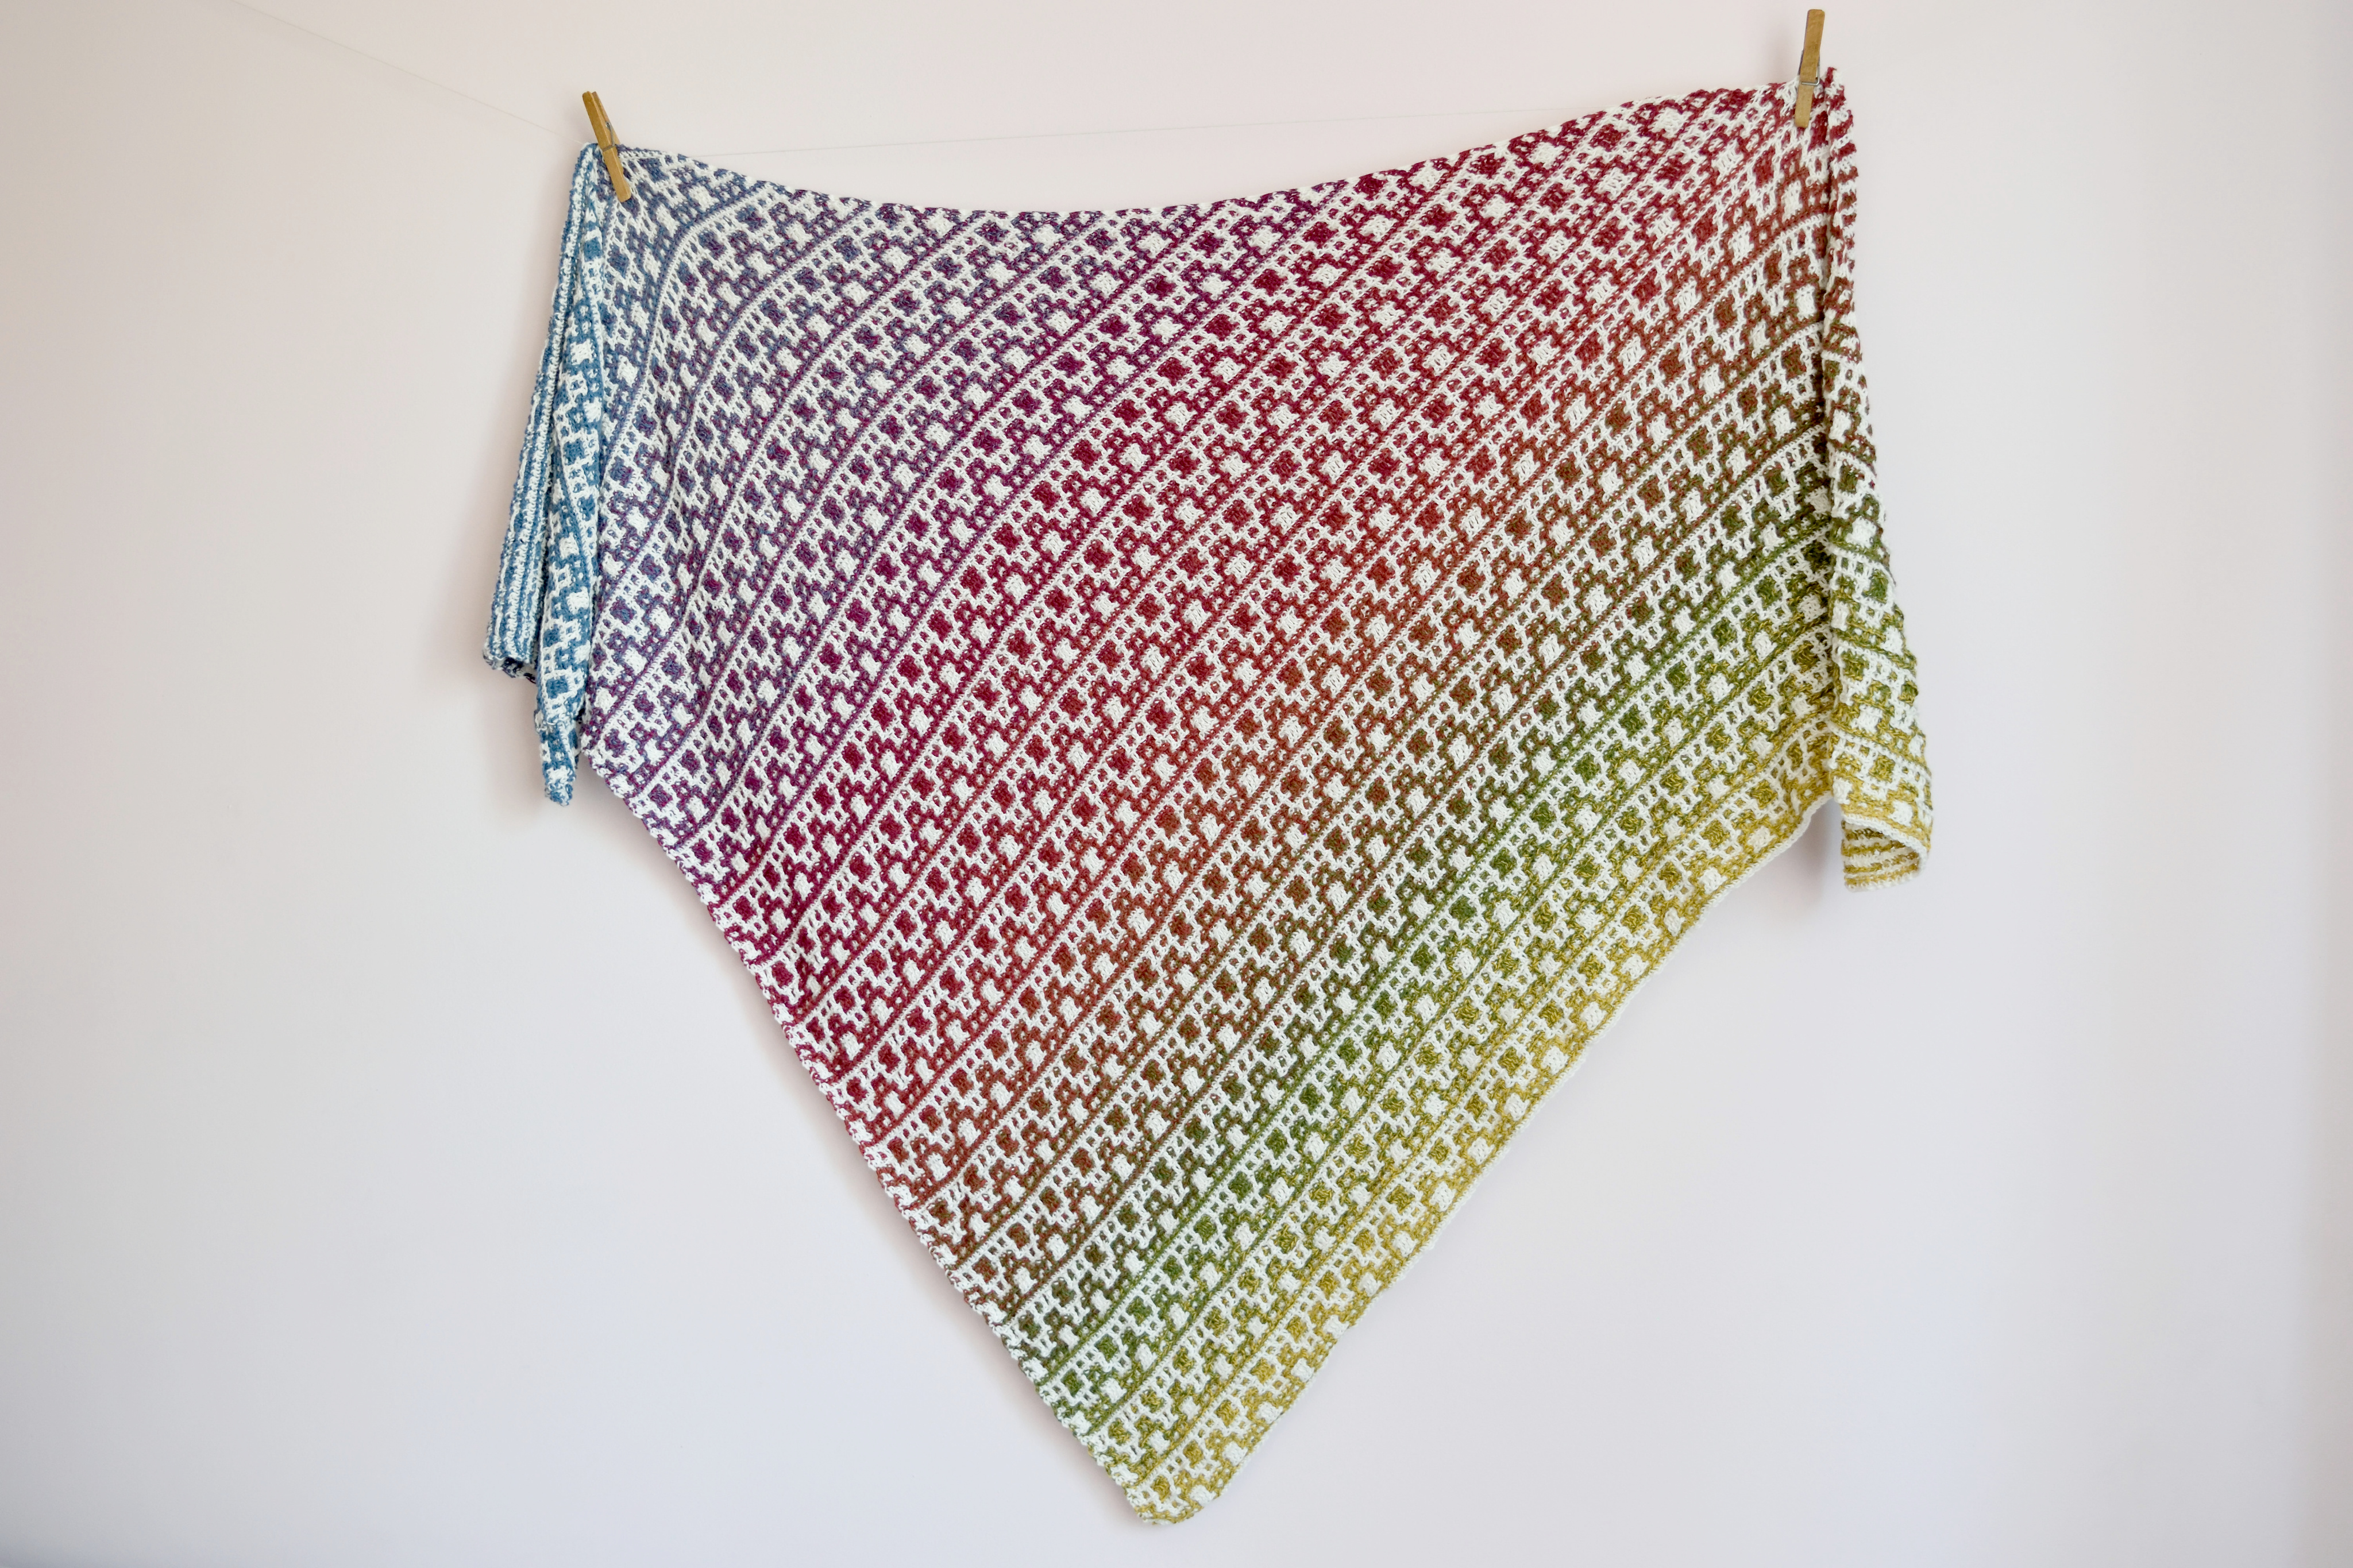
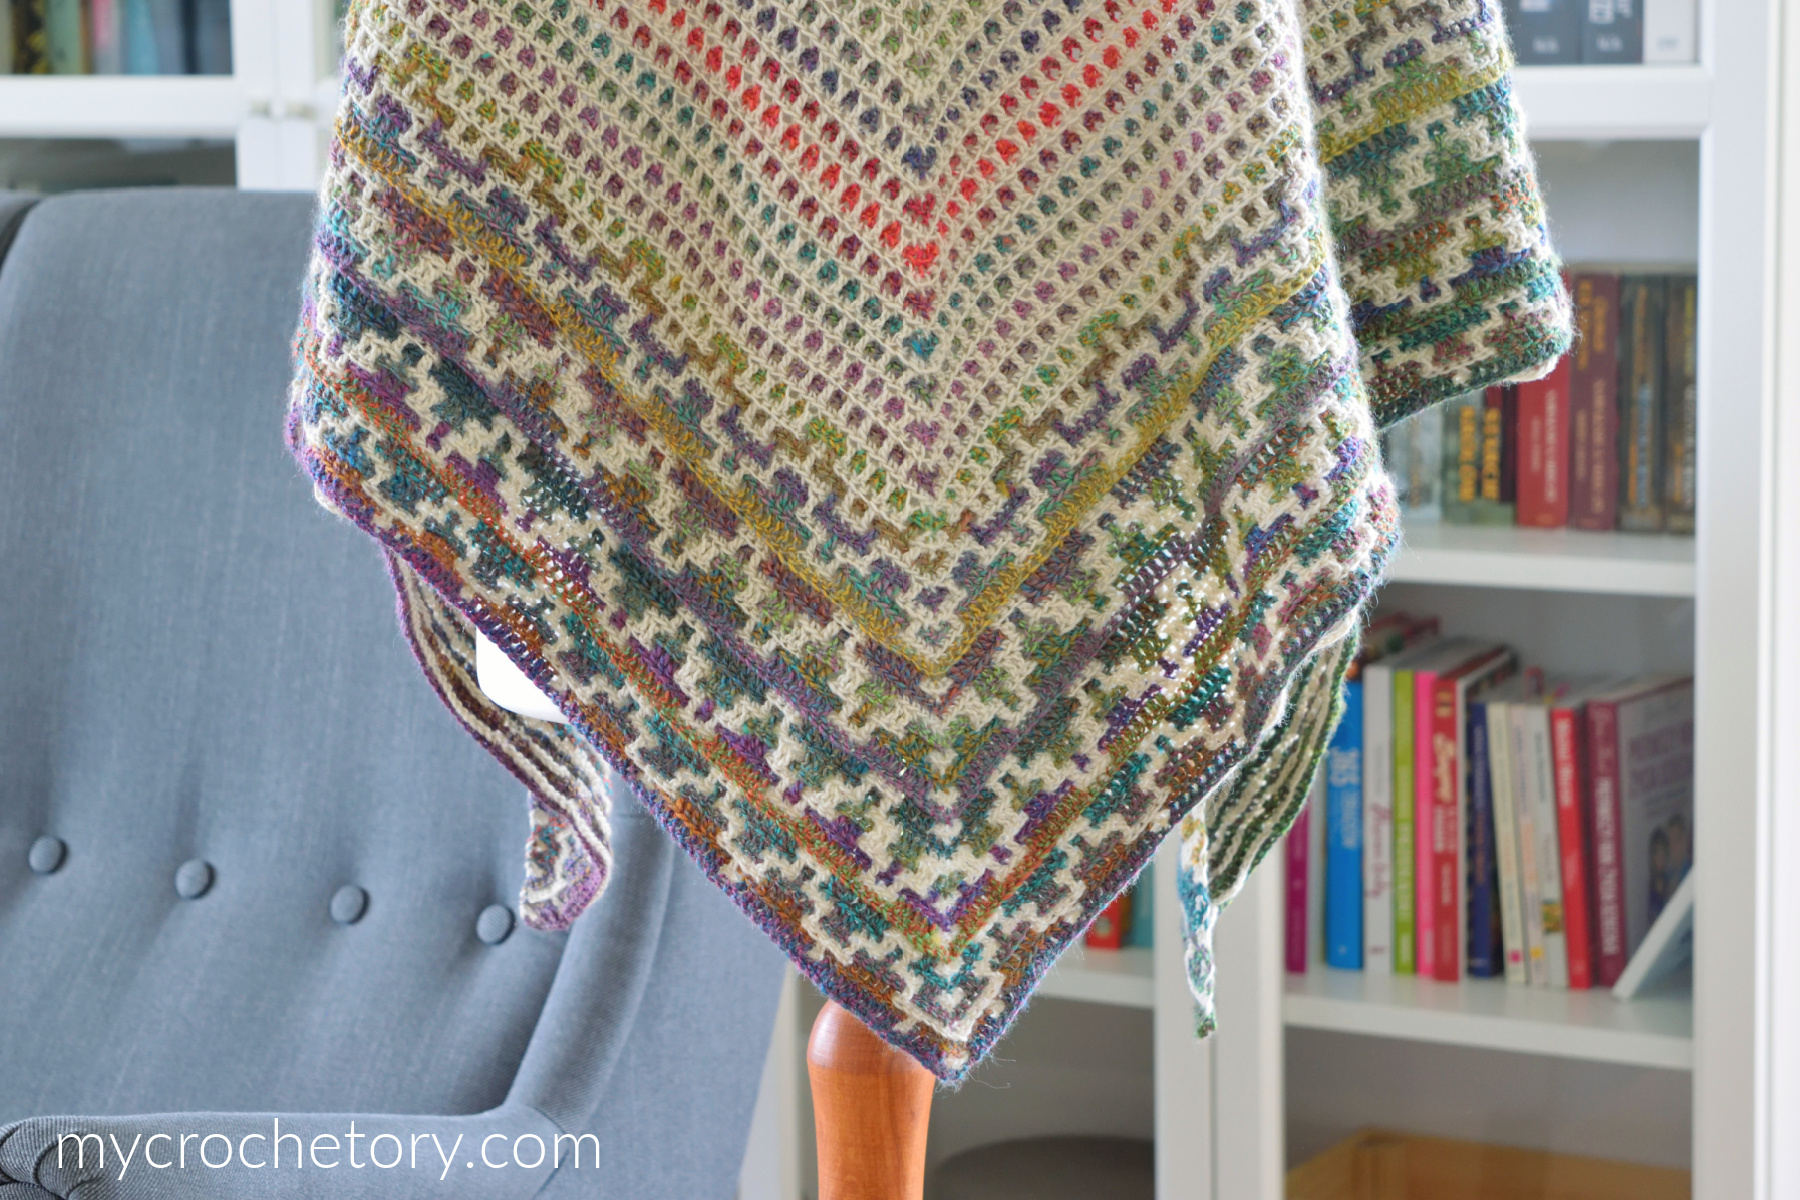

- Carina Mosaic Shawl. Carina is a two-color mosaic triangle worked top down, with a chart and a big row-by-row photo tutorial.
- Crax Gradient Shawl. Crax pairs two gradient cakes in mosaic crochet, so the colors change in two directions at once.
- Namari Mosaic Shawl. Namari is turned every two rows, just like the mosaic bands in this wrap, and grows into a big triangle.
- Thassos Mosaic Blanket. Want a bigger project? Thassos is a black and white mosaic blanket with a bold geometric design.
Mosaic crochet tutorials
- Mosaic Crochet in Rows With Color Changes Every 2 Rows. A practice swatch with photos and a video, worked the same way as the mosaic bands here.
- Mosaic Crochet With a Color Change Every Row. The next step, where you cut the yarn and change color in every row.
- 10 Free Mosaic Crochet Patterns. All my free mosaic designs in one place, with a FAQ about yarn, colors and charts.
Crochet rectangle shawl FAQ
Can I make this crochet rectangle shawl wider or longer?
Yes! For a wider or narrower wrap, add or remove chains in steps of 14. For a longer one, add rows to the plain single crochet sections, and remember that both changes need more yarn.
Do I have to follow the mosaic chart?
Not at all! Every mosaic row is also written out, so use whichever you like, or keep the chart next to you to check your work.
Can I use other colors?
Sure! Pick two colors for the plain stripes and a third one for the mosaic bands. Strong contrast between them makes the mosaic pattern show clearly.
Can I use a different yarn?
Yes, any light fingering weight yarn will do. Check your gauge first, 19 stitches over 4 inches in single crochet, because a different gauge changes the size of the wrap.
Every time you post a new pattern, I think, “Well, she can’t create anything more beautiful than THAT!” And then you do. This may be my favorite of your patterns, and I have loved them all. Thank you so much for sharing your talent with us. I need to start this shawl immediately.
Thank you so much! I appreciate it 🙂
Wow, another fantastic wrap! You are so talented, and one of the most GENEROUS !!!! designers out there. Thank you so much for sharing with us.
Thank you! I’m glad you like it 🙂
I wish more beautiful patterns like yours could be in printable form, I love you pattern .
I’m so in love with this! Started it in Christmas colors as a gift 🤔 maybe 🥰
The only thing is that I crochet tight and unfortunately it’s not the same beautiful yarn you use. Obviously it will be heavier looking and feeling. Do you think it will still work or should I frog it and use a much larger hook to make it more airy looking. I’m just on the first section so it won’t be too heart aching to do.
Hi! Sometimes making a small sample is the best you can do and then decide what you prefer more. However, I think the mosaic patterns can’t be too airy.
This is the most beautiful crocheted wrap. Thank you for sharing. So appreciate it.
This is beautiful! You’ve inspired me to try mosaic crochet! Starting it tomorrow 💓
Absolutely stunning work!! Thank you so much for sharing 🙂 I have one question and 1 note. Firstly is this inset mosaic? I’ve not seen any chaining in overlay.
Secondly I think the color name for the dark color is Liquorice (ie black) not Luscious which is a blue color.