Updated: 26 January 2024 by Sylwia (MyCrochetory)
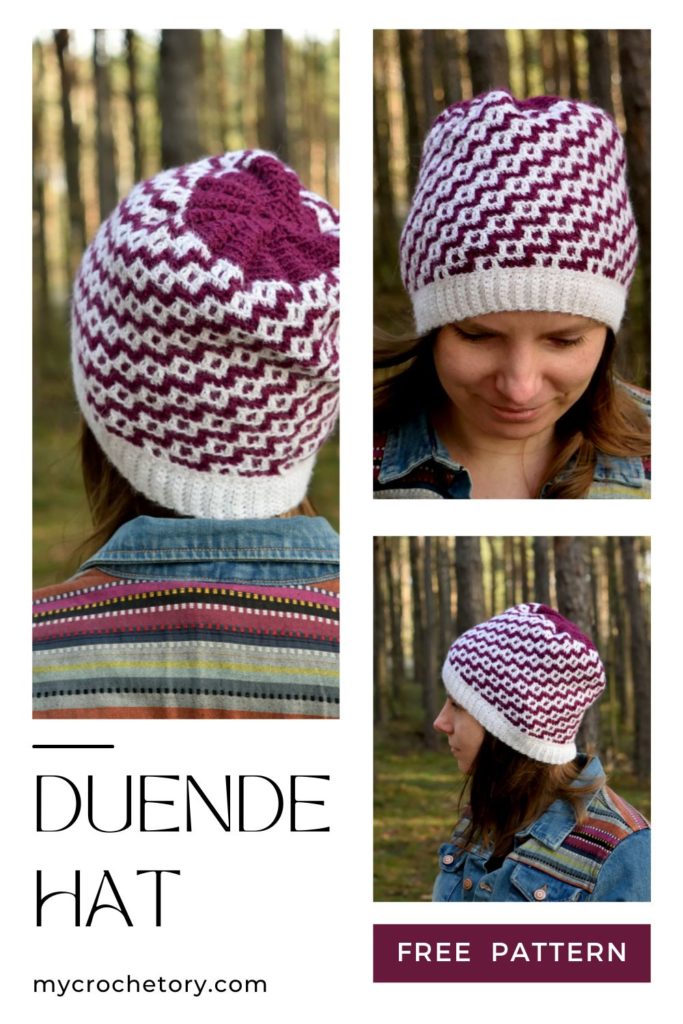
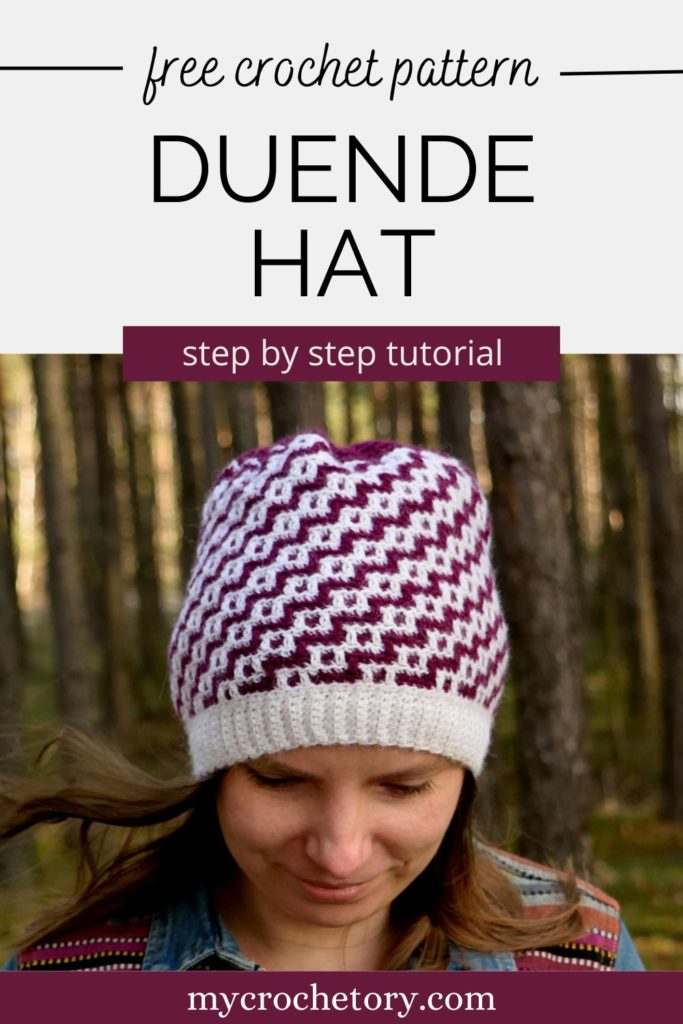
Looking for a free crochet hat pattern? Learn how to crochet the Duende Hat, a stunning mosaic crochet masterpiece, and add a touch of style to your winter wardrobe.
Scroll down to see the Duende Hat free crochet hat pattern or you may choose to purchase the ad-free, printable PDF crochet pattern HERE on ETSY or HERE on Ravelry.
Join my Facebook Group and Official Ravelry Group where you can find necessary support, you can ask questions or share your finished projects.
You can also follow my Instagram, Facebook page and Pinterest.

A Stylish Winter Essential
As the cold winter settles in, it’s time to add a touch of warmth and style to your seasonal wardrobe with the Duende Hat.
This free crochet hat pattern is designed to keep you cozy while showcasing the beauty of mosaic crochet.
Picture yourself walking through a winter wonderland, bundled up in your handmade Duende Hat, turning heads with its unique and eye-catching design.

Discover the Beauty of Mosaic Crochet
Let’s explore the wonderful world of mosaic crochet and unlock its fascinating charm.
This technique allows you to create amazing patterns using one color at a time.
Imagine the delight of seeing vibrant colors blend together, forming intricate designs and textures that make your Duende Hat truly special.
Come join me as we explore the joy of playing with colors and expressing our creativity through mosaic crochet.
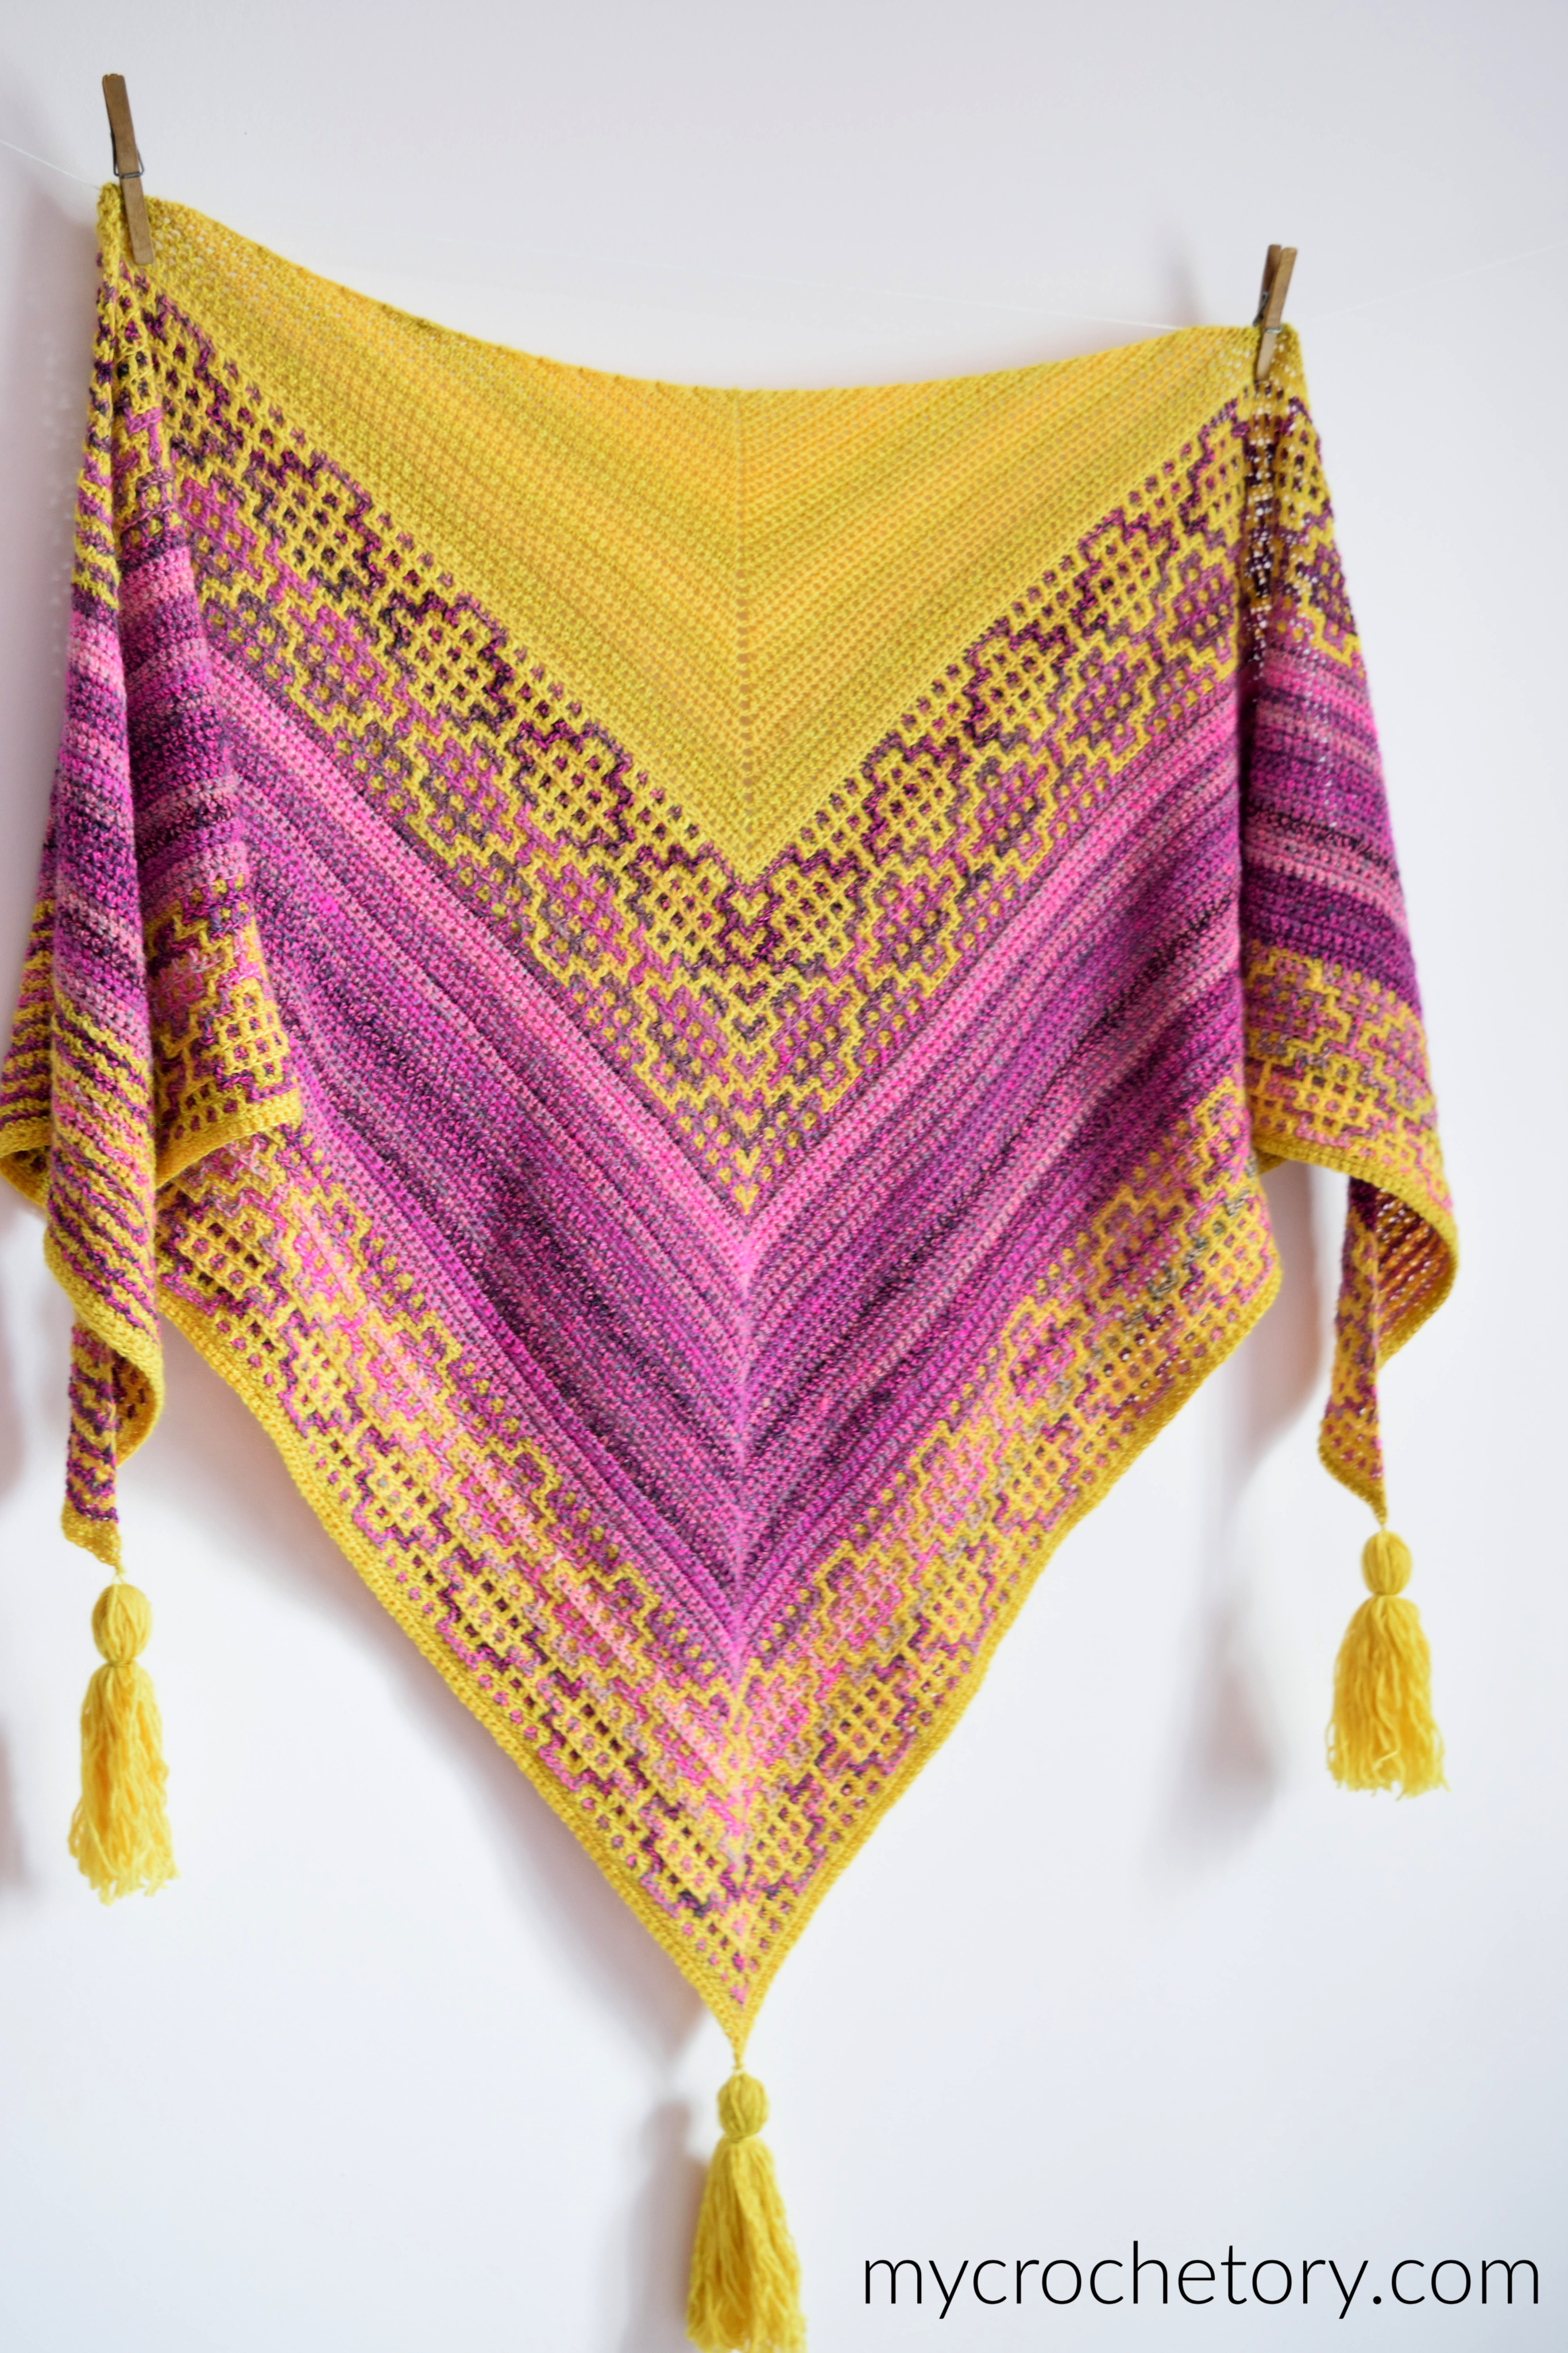
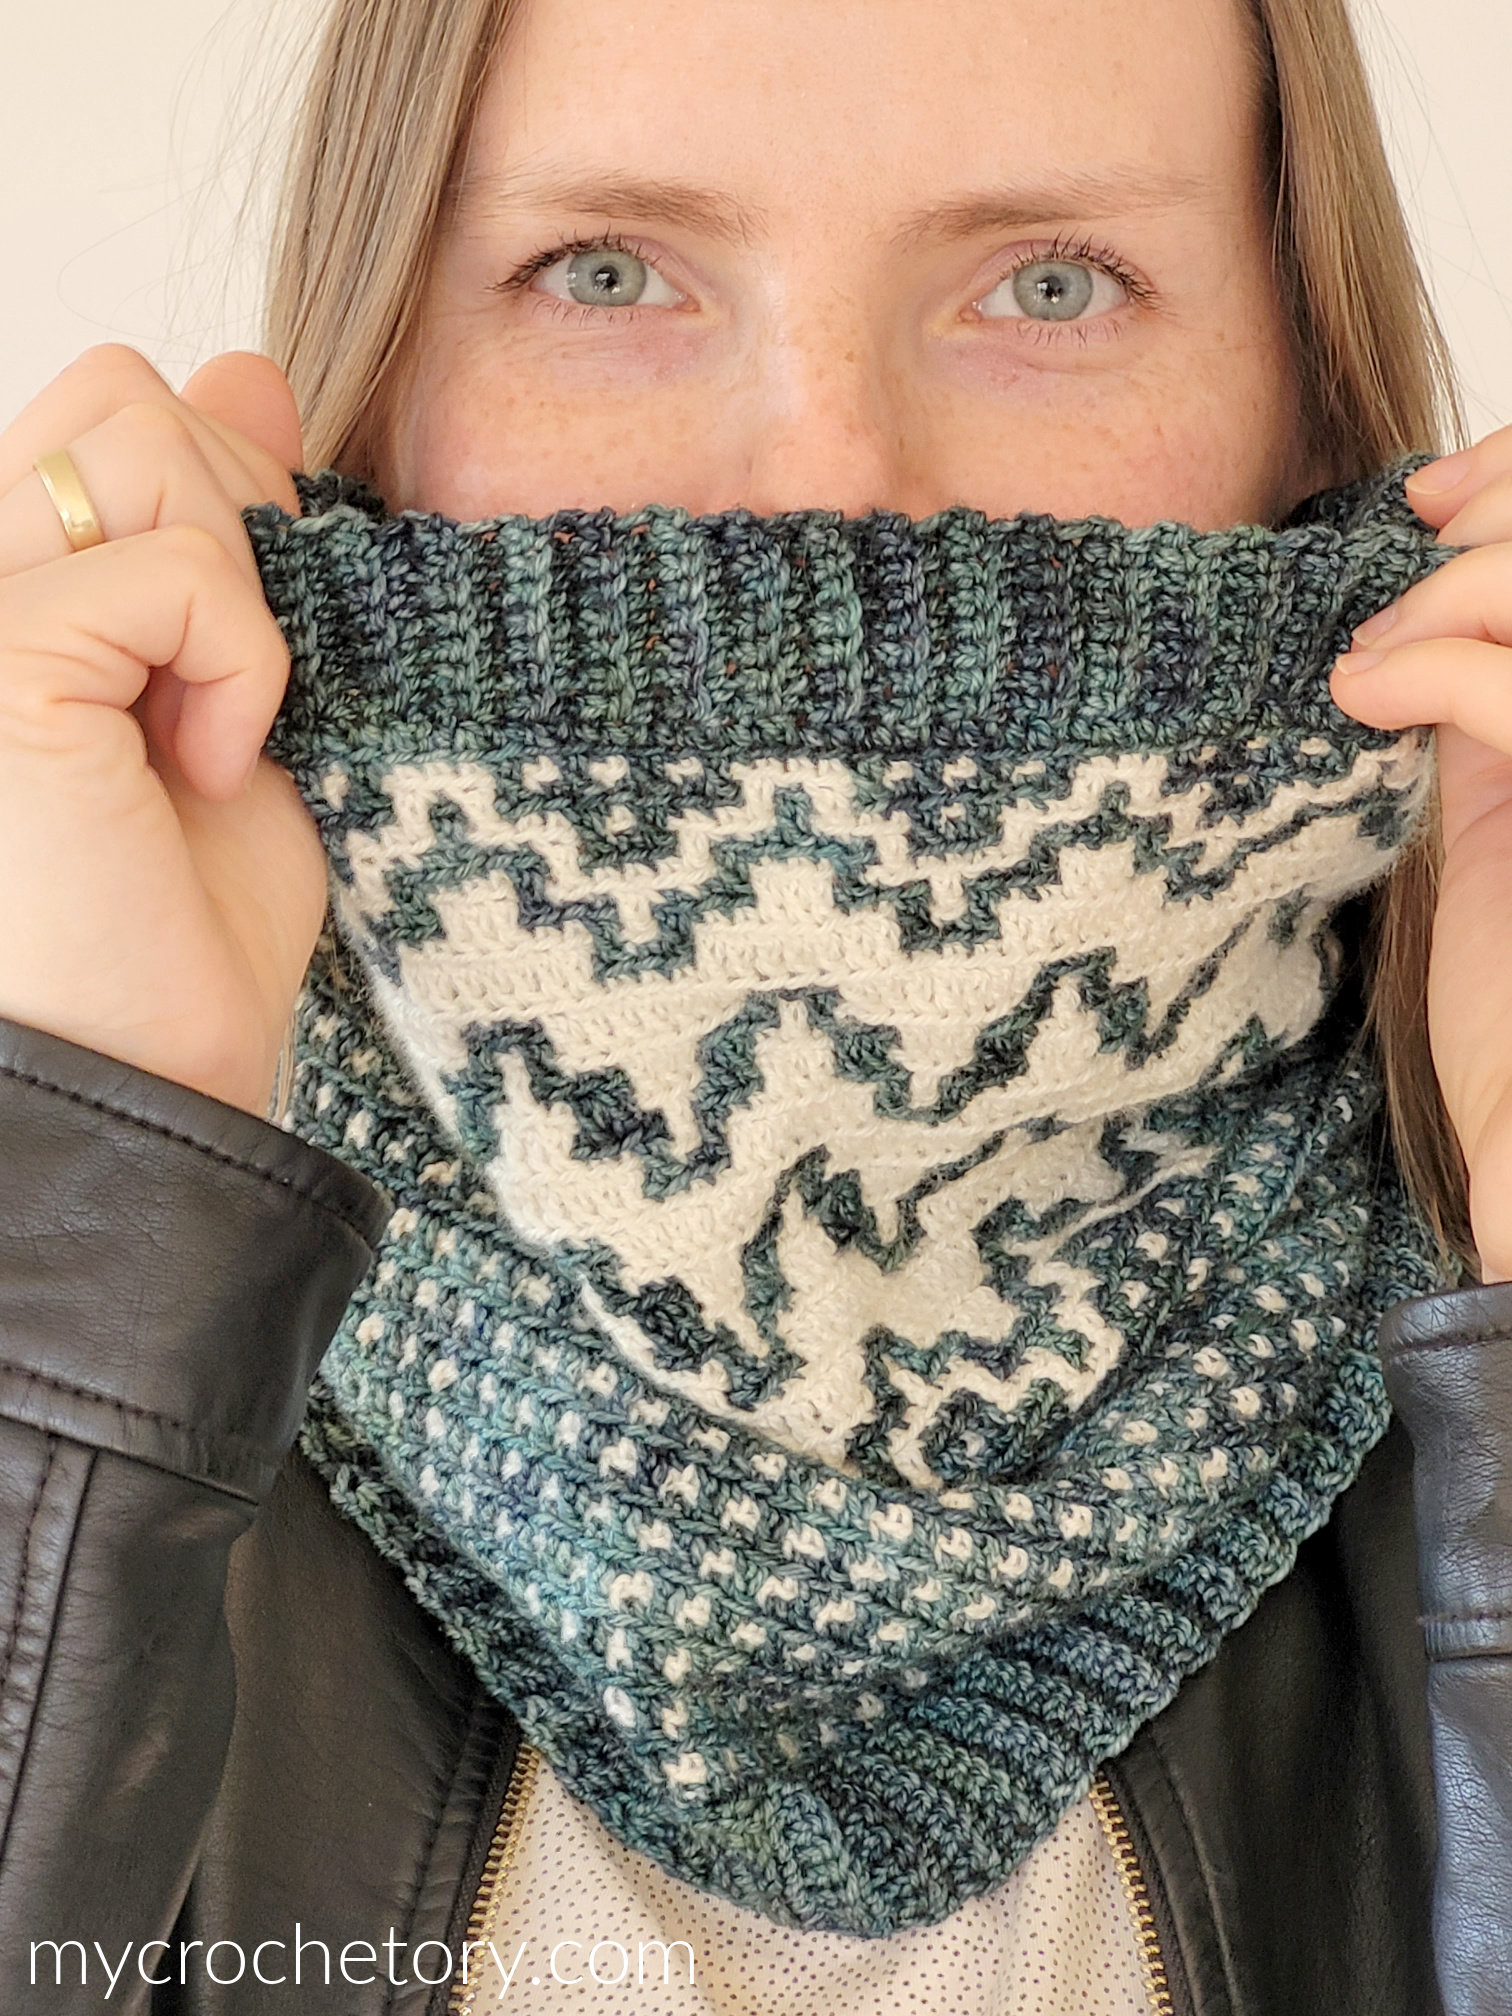
MORE MOSAIC CROCHET FREE PATTERNS YOU MIGHT LIKE
From Brim to Crown
The Duende Hat is a delightful project that you can crochet from the bottom up, following a series of carefully crafted steps.
Begin with the ribbed brim, where you’ll work single crochet stitches in the back loops to create a stretchy and textured effect.
As you progress, the short ends of the brim come together to form a seamless ribbed band.
It’s like stitching together the pieces of a puzzle, bringing your hat to life.
With each round of single crochet and special mosaic stitches, your hat grows, revealing its intricate patterns until you reach the crown decreases.

Fit and Yarn Considerations
One of the joys of crocheting your own hat is the ability to tailor it to your personal preferences.
The Duende Hat offers endless possibilities for customization. You can work more rounds to create a slouchy hat, perfect for a casual and relaxed look.
Alternatively, if you prefer a snugger fit, simply crochet fewer rounds for a fitted cap that hugs your head just right.
As for the yarn choice, I recommend DROPS Nord—a delightful blend of alpaca, wool, and polyamide. Its softness, warmth, and shape-retaining properties make it an ideal match for the Duende Hat.
However, feel free to explore other yarn options that match your gauge and desired fabric, so you can add your own personal touch to the hat.

Frequently Asked Questions
Q1: Is the Duende Hat suitable for beginners?
A1: Absolutely! The Duende Hat is designed with simplicity in mind, making it a great project for beginners who want to learn mosaic crochet and create a stylish hat. The step-by-step instructions and detailed photo tutorial provided in the pattern will guide you through the process with ease.
Q2: Can I gift the Duende Hat to my loved ones?
A2: Absolutely! The Duende Hat makes a heartfelt gift for family and friends. Crochet a hat filled with warmth and love to brighten someone’s day. Imagine the joy on their faces when they receive a handcrafted hat made with care and personalized just for them.
Q3: Can I sell the hats I make using this pattern?
A3: Yes, you have my permission to sell the hats you make using the Duende Hat pattern. Spread the joy of handmade creations while sharing your crochet skills with others.
Now, it’s time to grab your crochet hook and experience the joy of creating the Duende Hat.
Follow the free crochet hat pattern, add your own personality into this stunning accessory, and keep yourself cozy and stylish throughout the winter season.
Let the mosaic crochet technique inspire you to explore new horizons of color and design, making each stitch a moment of artistic expression.
If you want to share your wips and finished hat on social media, please, use hashtag #mycrochetory or #duendehat. I love to see your finished project!

DUENDE FREE CROCHET HAT PATTERN
- Purchase the ad-free, printable PDF here on ETSY or here on Ravelry.
- Add this pattern to your Ravelry Queue HERE.
- Pin it for later.
Copyright 2020 – 2024 MyCrochetory. All right reserved. This pattern is property of Sylwia Kawczyńska @MyCrochetory. Please DO NOT sell the pattern and claim this pattern as your own. The pattern is for personal use only and may not be translated or reproduced in another language. Please respect my rights, DO NOT share or publish this pattern anywhere without my permission.
The free crochet hat pattern you make following this pattern is yours you are free to sell it, as long as you credit MyCrochetory as original designer. For more information, please, read Terms Page.

Materials & Tools:
- Yarn DROPS Nord 50g = 170 m, 45% Alpaca, 30% Polyamide, 25% Wool, in 2 different colours:
Yarn A off white(01)
Yarn B plum(17),
- Hook size 2.5mm and 3.5mm. Adjust hook size if necessary to obtain correct gauge,
- Tapestry needle (to weave and hide yarn ends),
- Scissors,
- Stitch marker.
Level:
Adventurous beginner/Intermediate
Sizes:
Adult small(Adult medium, Adult large)
Finished brim circumference:
48(53, 57)cm
19(20.75, 22.5)”
Finished height:
23(25, 25)cm/ 9(10, 10)”
Gauge after blocking:
16 sts and 18 rows to 10 x 10cm (4 x 4”) using 3.5mm hook with single crochet.
If necessary, adjust hook size to obtain the correct gauge.
Before you measure, please take the time to wash and block your swatch in the same manner that you will wash and block your hat.
General Notes:
- The pattern uses US crochet terminology.
- The hat, after the brim, is worked in one continuous spiral of single crochet and BLmosaicdc stitches.
- Pattern for mosaic body is multiple of 7 stitches. To increase the width of the brim, increase the number of rows. To decrease the width of the brim, decrease the number of rows.
- To increase the height of the hat, increase the number of mosaic rounds. To decrease the height of the hat, decrease the number of mosaic rounds.
- Stitch marker placement: When instructed to place your marker, place on the last st worked unless otherwise instructed. It should lie on a stitch, not between stitches.
- STITCHES: When in the instructions you have a stitch followed by a number, eg sc14, this means you have to work 1sc stitch into each of the next 14 sts. When in the instructions you have a number followed by a stitch, eg 2sc, this this means you have to work 2 sc stitches into the next (same) stitch.
- When only one number is given, it applies to all sizes.
- Instructions in square brackets […] are worked as many times as indicated.
Mosaic Pattern Notes:
- You can either follow the chart or written instructions.
- Color is changed after every one round.
- You can avoid weaving in all those ends by not cutting the yarn when you finish a round. Simply carry the other color along the inside and pick it back up with your hook when you need to use it again.
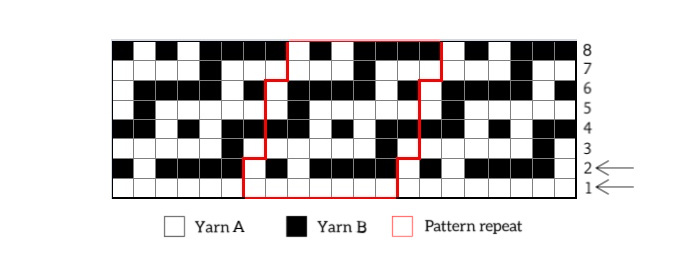
How to read the Mosaic Chart:
- Chart is read from bottom to top and each row of squares represents 1 round.
- All rounds are read from right to left.
- Each square of the chart represents 1 stitch or 1 skipped stitch.
- Whenever you see a square of color dedicated to that round, work single crochet.
- Whenever you see a square of different color in that round, skip that stitch (make chain). To prevent puckering, make the same number of chain as the number of skipped sts plus ch1. For example, for 1 skipped st – make ch2, for 2 skipped sts – make ch3, for 3 skipped sts – make ch4, etc.
- Pay special attention to number of skipped stitches.
- BLmosaicdc will be worked in these skipped sts from two rounds below. Remember, BLmosaicdc are always worked in front of chains of previous round.
Stitches & Abbreviations (US terms):
st(s) – stitch(es)
BOR – beginning of the row/round
BLsc – back loop only single crochet
BLdc – back loop only double crochet
yo – yarn over
BLmosaicdc (back loop only mosaic double crochet) – work regular BLdc in unworked/skipped st of the same color two rounds below in front of chain space (in front of work). These chains will stay behind BLmosaicdc and will stay unworked.
sc2tog (single crochet 2 together) – insert hook in indicated st, yo, draw up a loop, insert hook in next indicated st, yo, draw up a loop, pull through 3 loops on hook.
BLsc2tog – back loop only single crochet 2 together
M – marker
PM – place marker
sp – space
sk – skip
beg – beginning
prev – previous
RS – right ride
WS – wrong side

PATTERN
BRIM
With 2.5mm hook and Yarn A, ch8(ch9, ch9).
Row 1: sc in second ch from hook, sc in each ch to end. Turn.
Row 2: ch1 (doesn’t count as a sc), sc in first st, BLsc across until last st remain, sc in last st. Turn.
You should have 6(7, 7, 8, 8)sc stitches in each row.
Repeat Row 2 75(82, 89) times for a total of 77(84, 91) rows.
After your last repeat of row 2 join the first and the last row together.
Don’t break the yarn.
With 3.5mm hook
Next row (RS): ch1 (doesn’t count as a st here and throughout) sc in first brim’s row, place BOR marker, sc in each brim’s rows until BOR. Don’t join the round.
HOW TO START YOUR CROCHET PROJECT WITH A CROCHET RIBBING
MOSAIC BODY
Mosaic body is worked in one continuous spiral. Don’t join the rounds.
With RS facing you.
Round 1 (yarn A): BLsc in BOR (mark this st as a new BOR), BLsc in each st around until BOR. Change to Yarn B in final st.
Round 2 (yarn B): BLsc in BOR (mark this st as a new BOR), BLsc3, ch2, sk 1st, BLsc1, [ch2, sk 1st, BLsc4, ch2, sk 1st, BLsc1] rep around until one st remain before BOR. Change to Yarn A in final st.
Round 3 (yarn A): BLsc in one st before BOR (mark this st as a new BOR), ch2, sk 1st, BLsc3, BLmosaicdc1 (in unworked st of same color two rounds below, in front of chains – here and throughout), BLsc1, [BLmosaicdc1, ch2, sk 1st, BLsc3, BLmosaicdc1, Blsc1] rep around until BOR. Change to Yarn B in final st.
Round 4 (yarn B): BLsc in BOR (mark this st as a new BOR), BLmosaicdc1, ch2, sk 1st, BLsc1, ch2, sk 1st, BLsc2, [BLsc1, BLmosaicdc1, ch2, sk 1st, BLsc1, ch2, sk 1st, BLsc2] rep around until BOR. Change to Yarn A in final st.
Round 5 (yarn A): BLsc in BOR (mark this st as a new BOR), BLsc1, BLmosaicdc1, BLsc1, BLmosaicdc1, ch2, sk 1st, BLsc1, [BLsc2, BLmosaicdc1, BLsc1, BLmosaicdc1, ch2, sk 1st, BLsc1] rep around until BOR. Change to Yarn B in final st.
Round 6 (yarn B): BLsc in BOR (mark this st as a new BOR), ch2, sk 1st, BLsc3, BLmosaicdc1, [ch2, sk 1st, BLsc1, ch2, sk 1st, BLsc3, BLmosaicdc1] rep around until one st remain before BOR. Change to Yarn A in final st.
Round 7 (yarn A): BLsc in one st before BOR (mark this st as a new BOR), BLsc1, BLmosaicdc1, ch2, sk 1st, BLsc3, [BLmosaicdc1, BLsc1, BLmosaicdc1, ch2, sk 1st, BLsc3] rep around until BOR. Change to Yarn B in final st.
Round 8 (yarn B): BLsc in BOR (mark this st as a new BOR), BLsc2, BLmosaicdc1, ch2, sk 1st, BLsc1, [ch2, sk 1st, BLsc3, BLmosaicdc1, ch2, sk 1st, BLsc1] rep around until one st remain before BOR. Change to Yarn A in final st.
Repeat Rounds 3 – 8 until round 27(31, 31) ending on repeat of Round 3 or Round 5 or Round 7 according to your size.
Next Round (with Yarn B): start this round as you would start your next round (after repeat of round 3 or round 5 or round 7) working BLsc in every st and BLmosaicdc in every unworked st two rounds below around until BOR.
CROWN DECREASES
Round 1: BLsc2tog (mark this st as a new BOR), BLsc5, [BLsc2tog, sc5] around until BOR. Don’t join the round here and throughout.
Round 2: BLsc2tog (mark this st as a new BOR), BLsc4, [BLsc2tog, sc4] around until BOR.
Round 3: BLsc2tog (mark this st as a new BOR), BLsc3, [BLsc2tog, sc3] around until BOR.
Round 4: BLsc2tog (mark this st as a new BOR), BLsc2, [BLsc2tog, sc2] around until BOR.
Round 5: BLsc2tog (mark this st as a new BOR), BLsc1, [BLsc2tog, sc1] around until BOR.
Round 6: BLsc2tog (mark this st as a new BOR), BLsc2tog around until BOR, slst in BOR.
Fasten off and leave long end for sewing. Now, close the hole of your hat using your favourite method or follow my tutorial below.
Fasten off yarn, weave in all ends and block your beanie to measurements.
If you have any suggestions or have detected any mistakes, please feel free to email me at mycrochetory@gmail.com
Subscribe to my Newsletter and be the first to know about new patterns and design, tutorials and more!
Join my Facebook Group and Official Ravelry Group where you can find necessary support, you can ask questions or share your finished projects.
You can also follow my Instagram, Facebook page and Pinterest.
MOSAIC TUTORIAL
Round 1:


Round 2:


Round 3:


Round 4:


Round 5:


Round 6:


Round 7:


Round 8:


Round 9:

CLOSING THE HAT
Take a loose end and thread in through a tapestry needle and go up underneath the first stitch and pull it.


Then, go back in under the next stitch and pull through. Don’t tighten up yet and keep working around until you get back where you started.


Now tighten up.

After that, turn your hat inside out and sew back and forth through the center area few times.

Fasten off yarn and ta-da, done!
Your crochet is art! All your patterns are wonderful! I made your Kalinda shawl. While mine doesnt look near as lovely as yours, I would never have attempted it without your website. Thank you!