Updated: 22 October 2026 by Sylwia (MyCrochetory)
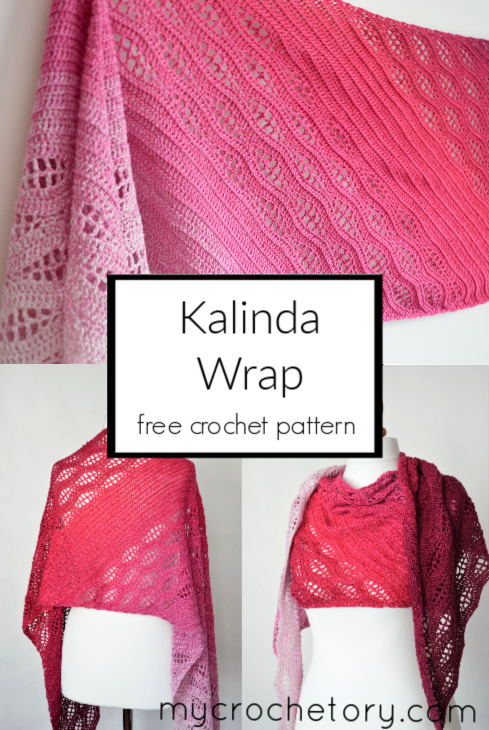
Kalinda free crochet wrap pattern came right after Kalinda Shawl, and honestly, it just made sense.
Playing with shapes is one of my favorite parts of designing. The Kalinda stitch pattern took off so fast after I shared the shawl that turning it into something new felt like the next natural step for me.
So that’s how this crochet wrap pattern happened. Instead of a triangle, Kalinda Wrap is worked on the diagonal, which creates a parallelogram shape, and that one change makes a huge difference in how you actually wear it.
You can wrap it around your neck like a scarf, let it drape like a shawl, or fold it and wear it more like a stole. Whatever your day calls for, really. That diagonal shape also gives it a different drape than a straight rectangle would, more movement, less bulk.
Either way, that wave stitch pattern catches eyes fast. People stop and ask about it, every single time, trust me.
The full free Kalinda Wrap pattern is right below, no strings attached. Want an ad-free, printable PDF instead? Grab that on Etsy or Ravelry, totally optional though.
Scroll down for the free pattern, or jump straight to the table of contents if you already know what you want.

How to Wear Your Kalinda Wrap
Once it’s off the hook, you’ve got more decisions to make than you’d think. Try it wrapped twice around your neck first, snug against the cold without any extra bulk.
Not feeling that? Pin it at the shoulder instead, or let one end hang longer than the other for a more asymmetrical look. Even the way you block it changes things, block it wider and flatter for more of a shawl feel, or narrower and longer if you want it to sit more like a true wrap.
If you’d rather have the triangle version with the same wave stitch, Kalinda Shawl is worked the same way, just shaped differently.

Choosing Yarn for the Wave Pattern
Scheepjes Whirl is the yarn I used for the original Kalinda Wrap. It’s a gradient cake, so the colors shift on their own as you crochet, no color changes needed on your end.
That matters more than you’d think with this wave pattern. The stitches naturally blend one shade into the next, so a gradient yarn makes the waves look even more seamless.
Don’t have Whirl on hand? No worries, any fingering weight yarn works, gradient or not. Solid colors give you clean, defined waves. A gradient just adds that extra bit of movement without any extra effort from you.
One cake is usually enough for the size shown here. If you want it longer, just keep an eye on how much yarn you have left as you go.

KALINDA FREE CROCHET WRAP PATTERN
- Purchase the ad-free, printable PDF with stitch chart here on ETSY or here on Ravelry.
- Add this pattern to your Ravelry Queue HERE.
- Grab the MyCrochetory Shawl Pattern BUNDLE that includes 14 patterns for one low price HERE.
- Grab the MyCrochetory Kalinda Pattern BUNDLE that includes 3 patterns for one low price HERE.
- Pin it for later.
Copyright 2020 – 2026 MyCrochetory. All rights reserved. This pattern is property of Sylwia Kawczyńska @MyCrochetory. Please DO NOT sell the pattern and claim this pattern as your own. The pattern is for personal use only and may not be translated or reproduced in another language. Please respect my rights, DO NOT share or publish this pattern anywhere without my permission.
The wrap you make following this pattern is yours you are free to sell it, as long as you credit MyCrochetory as original designer. For more information, please, read Terms Page.

As a bonus in the ad-free, printable PDF, I’ve provided stitch chart. If you’re a visual learner or if you just want to support my work you can purchase this crochet pattern HERE on ETSY or HERE on Ravelry. Thank you and I hope you find it useful!

Materials & Tools:
- Yarn Scheepjes Whirl 215g = 1000m, 60% Cotton, 40% Acrylic, 1 cake. For the wrap sample I used (555) Forbidden Fuchsia colorway.
- Hook size 3.5mm. Adjust hook size if necessary to obtain correct gauge,
- Tapestry needle (to weave and hide yarn ends),
- Scissors,
Level:
Adventurous beginner/Intermediate
Sizes:
195cm (77”) long and 45cm (18”) wide (adjustable)

Gauge after blocking:
21 sts and 10 rows to 10 x 10cm (4 x 4”) using 3.5mm hook with back loop only double crochet stitches.
If necessary, adjust hook size to obtain the correct gauge.
Before you measure, please take the time to block your swatch in the same manner that you will block your wrap.
General Notes:
- The pattern uses US crochet terminology.
- Wrap is worked in rows back and forth.
- Pattern is a multiple of 16 plus 11 stitches. To increase the width of the wrap, increase the number of chains. To decrease the width of the wrap, decrease the number of chains.
- You can make this wrap as long as you like by adding or subtracting rows.
- You can use yarn in different weights, but be aware that the width will be different depending on your gauge.
- STITCHES: When in the instructions you have a stitch followed by a number, eg sc14, this means you have to work 1sc stitch into each of the next 14 sts. When in the instructions you have a number followed by a stitch, eg 2sc, this this means you have to work 2 sc stitches into the next (same) stitch.
- Instructions in square brackets […] are worked as many times as indicated.

Stitches & Abbreviations (US terms):
st – stitch(es)
BLdc – back loop only double crochet
yo – yarn over
sc3tog (single crochet 3 together) – [insert hook in indicated st, yo, draw up a loop] three times, pull through 4 loops on hook.
dc3tog (double crochet 3 together) – [yo, insert hook in indicated st, yo, draw up a loop, yo, pull through 2 loops] three times, yo, pull through all 4 loops on hook.
BLdc3tog – back loop only double crochet 3 together
sp – space
sk – skip

KALINDA WRAP VIDEO TUTORIAL
Looking for guidance? This video tutorial is here to assist you in creating your Kalinda Wrap free crochet wrap pattern with confidence.
TIP: To view this video tutorial properly, please disable any ad-blocker you have running.
PATTERN
Ch139
You can also make any multiple of 16 plus 11 number of chain stitches to make your desire width, but changes might result in a different yardage requirement.
Setup row: Starting from the fifth ch from hook, make dc3tog (the four first chains count as a stitch), dc in each st until 2ch remain, 3dc, dc in last st. Turn.
Row 1: ch3 (counts as a st here and throughout), dc in next st, 3BLdc, BLdc in each st until 4sts remain, BLdc3tog, dc into top of the turning ch. Turn.
Row 2: ch1 (doesn’t count as a st here and throughout), sc, sc3tog, sc2, [ch1, sk 1st, sc, ch1, sk 1st, hdc, ch1, sk 1st, dc, ch1, sk 1st, tr, ch1, sk 1st, tr, ch1, sk 1st, dc, ch1, sk 1st, hdc, ch1, sk 1st, sc] rep until 2 sts remain, ch1, 2sc, sc into top of the turning ch. Turn.

Row 3: ch1, sc in first st, 3sc, sc, ch1, sk ch-1sp, [sc, ch1, sk ch-1sp, hdc, ch1, sk ch-1sp, dc, ch1, sk ch-1sp, tr, ch1, sk ch-1sp, tr, ch1, sk ch-1sp, dc, ch1, sk ch-1sp, hdc, ch1, sk ch-1sp, sc, ch1, sk ch-1sp] rep until 4sts remain, sc3tog, sc in last st. Turn.
Row 4: ch3, dc3tog (first leg in sc3tog, second leg in ch-1sp and third leg in next sc from previous row), dc in each st and ch-1sp across until 2sts remain, 3dc, dc in last st. Turn.
Repeat Rows 1 – 4 four more times.
Row A: ch3, dc in next st, 3BLdc, BLdc in each st until 4sts remain, BLdc3tog, dc into top of the turning ch. Turn.
Row B: ch3, dc, BLdc3tog, BLdc in each st across until 2 sts remain, 3BLdc, dc into top of the turning ch. Turn.
Repeat Rows A – B five more times.
NEXT:
Repeat Rows 1 – 4 five times,
Repeat Rows A – B six times
Repeat Rows 1 – 4 five times,
Repeat Rows A – B six times
Repeat Rows 1 – 4 five times,
End with Repeat of Row A.
Fasten off yarn, weave in all ends and block your wrap.
If you have any suggestions or have detected any mistakes, please feel free to email me at mycrochetory@gmail.com

Show Me Your Kalinda Wrap
Once yours is done, I’d love to see it. Drop a photo in the comments, or tag me on Pinterest so I can pin it too.
Want more patterns like this one? [Subscribe to the newsletter] and I’ll send new designs your way twice a week. Nothing fancy, just crochet.
OTHER FREE CROCHET SHAWL PATTERNS YOU MIGHT LOVE
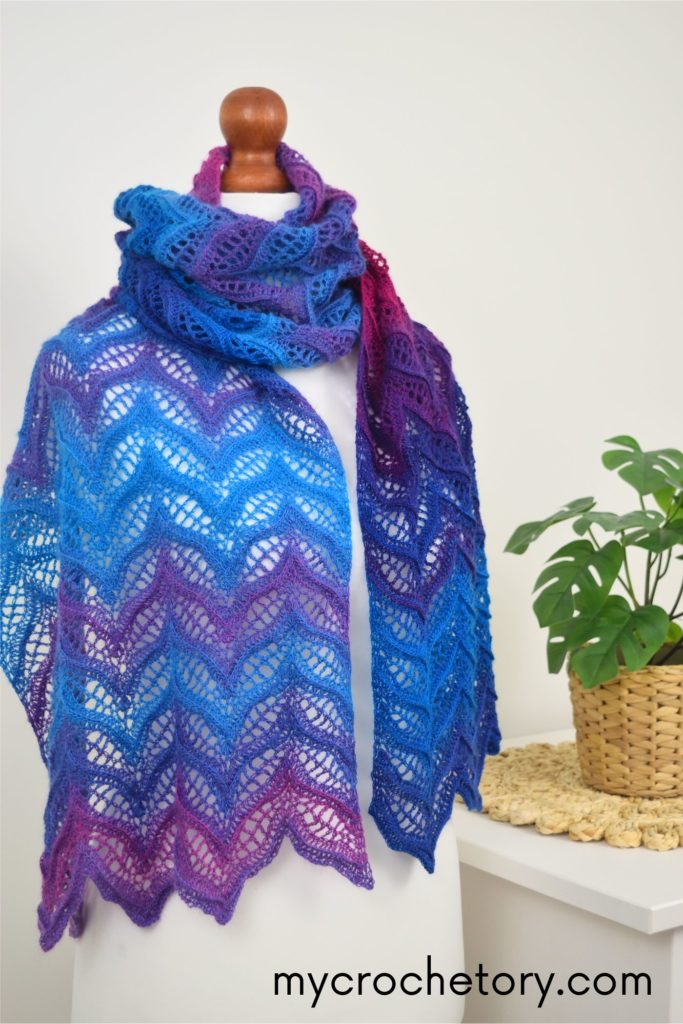
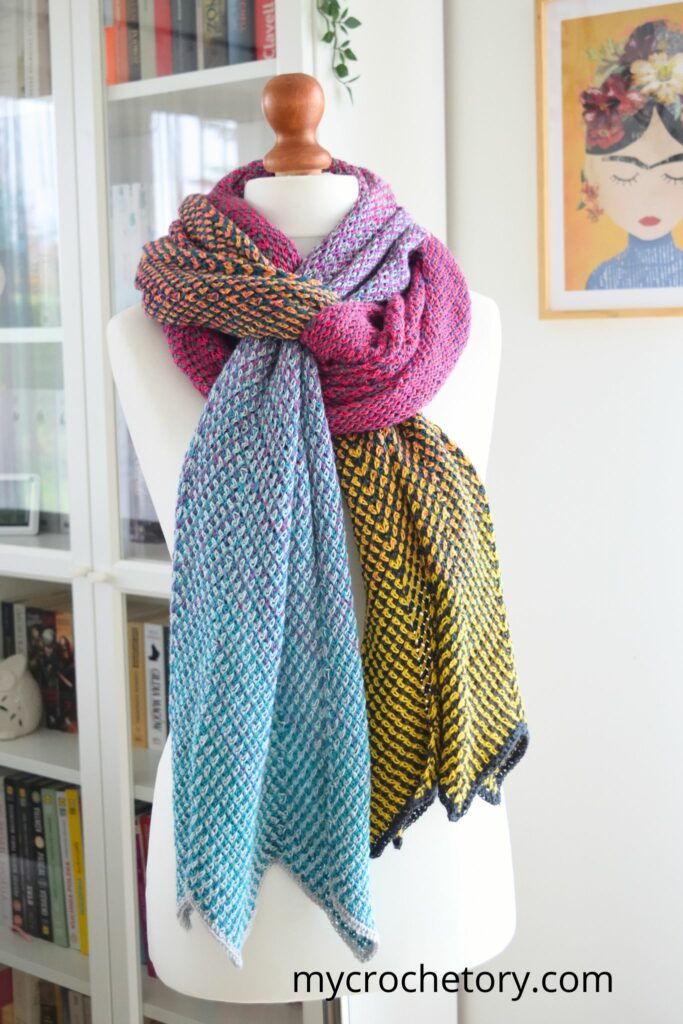
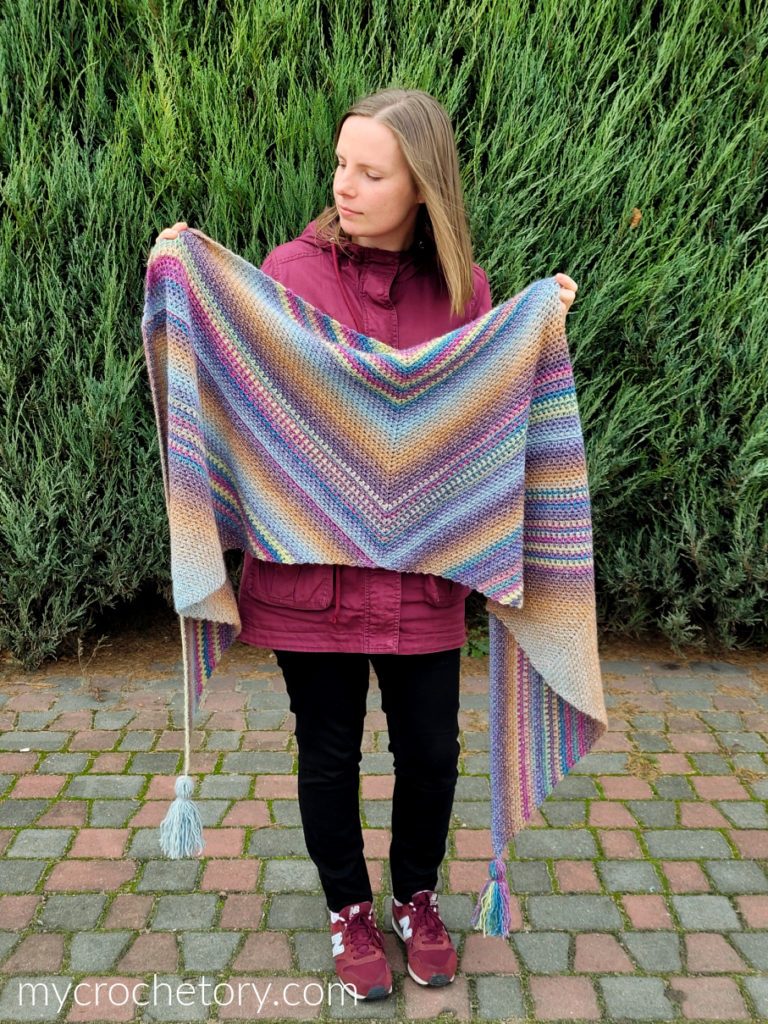
Tonnta Lightweight Scarf — a lighter, simpler project if you want something quick between bigger makes.
Flourish Linen Wrap — worked in linen yarn for a completely different drape and texture than Kalinda.
Bandos Wrap — another rectangle shape, different stitch pattern, good if you want to compare construction styles.
Monochrome Bias Wrap — worked on the bias for a parallelogram shape instead of a straight rectangle, one color at a time.
Get the Whole Kalinda Collection
If you end up loving this wave pattern as much as I do, the Kalinda Collection bundles all three designs together: the Wrap, the Shawl, and the Kalinda Blanket. Same stitch pattern, three completely different projects, at a lower price than buying each one separately.
GET YOUR KALINDA PATTERN BUNDLE NOW

FAQs About Kalinda Wrap
Is Kalinda Wrap good for beginners?
It’s better suited for intermediate crocheters who are comfortable with basic stitches. If you’re an adventurous beginner, go for it, just expect it to take a bit more patience.
Can I adjust the size?
Yes, easily. Add or remove repeats to make it longer or shorter, wider or narrower, whatever fits how you want to wear it.

Can I sell items made from this pattern?
Yes, go for it. Just credit MyCrochetory as the original designer.
Can I share my finished project?
Of course, I’d love that. Tag me on social media or drop a photo in the comments.
What’s the difference between Kalinda Wrap and Kalinda Shawl?
Same wave stitch pattern, different shape. Kalinda Shawl is a triangle, Kalinda Wrap is worked on the diagonal into a parallelogram.
Thank you! I love the stitch pattern of the Kalinda Shawl, but I’m not wild about triangular shawls. This wrap is perfect, and I can’t wait to start it. Thank you so much for another beautiful pattern.
Do you have a chart for this pattern? I am not getting it! I don’t understand how it is going to be at an angle. And I am not getting the right count at the end of the row. I am only on row 2!!
Hi, I’am sorry you have trouble with the pattern. Stitch chart is in PDF pattern available for purchase from Ravelry or Etsy – links are in the post.
I apologize for my post! I went back and reread the pattern again. I was reading too fast!! and yes, I see the chart in the pdf. Thank you. he pattern is gorgeous!
Hi Silwia!
This pattern looks gorgeous and I was so excited to start it! I wanted a more narrow version so I started with 75 stitches. I kept running into trouble on row two not ending with the correct amount of stitches so I just did a test with only 16 plus 11 and it still comes up short. Any help would be so appreciated! Thank you 🙂
Hi!
Ok, let’s start with Setup Row: this row starts working dc in 4th chain from the hook, and this dc counts as a first stitch. The same in row 1, chain 3 at the beginning doesn’t count as a stitch, so first dc in this row is worked in the last stitch of the previous row. Then 3dc, and dc across until 4 stitches remain. Next dc3tog in next 3stitches and dc in last stitch. In row 2 ch1 again doesn’t count as a stitch. Please pay special attetion to the stitches placement and all skipped stitches. In case of further problems please send me some pictures.
Hi, i wrote you on your mail probably 2 months ago, when I came up with trouble on your pattern. But I haven’t got your answer. I still don’t know how it goes. Because the shawl is beautiful I was realy hope to make it.
Hi,
Please write to me again, I don’t have any unseen mail in my inbox.
I think the issue some folks may be running into is there is an extra dc after the chain 3 at the start of row 4. The video on YouTube does not have this extra dc.