Updated: 3 June 2026 by Sylwia (MyCrochetory)
If you’ve ever wondered how to crochet a shawl, especially after seeing a gorgeous triangle design and thinking, “I’d love to make something like that,” you’re not alone. I felt the same way when I picked up my first hook.
Here’s the good news: learning how to crochet a triangle shawl is easier than you might think. Even if you’re new or all those shapes online look a little intimidating, you can do this. Let me show you how.
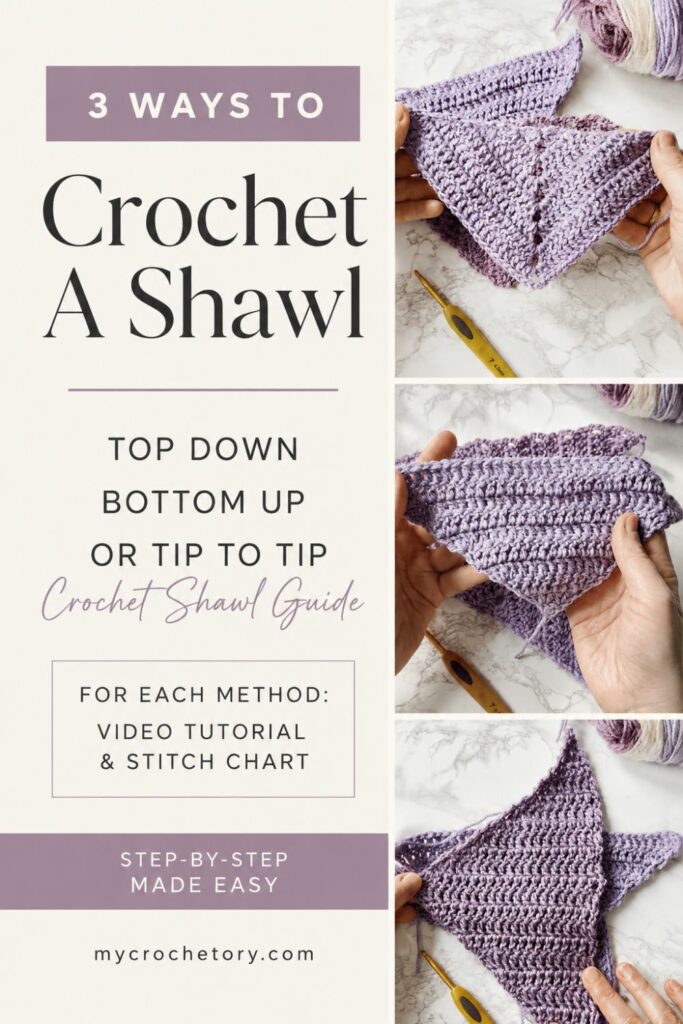
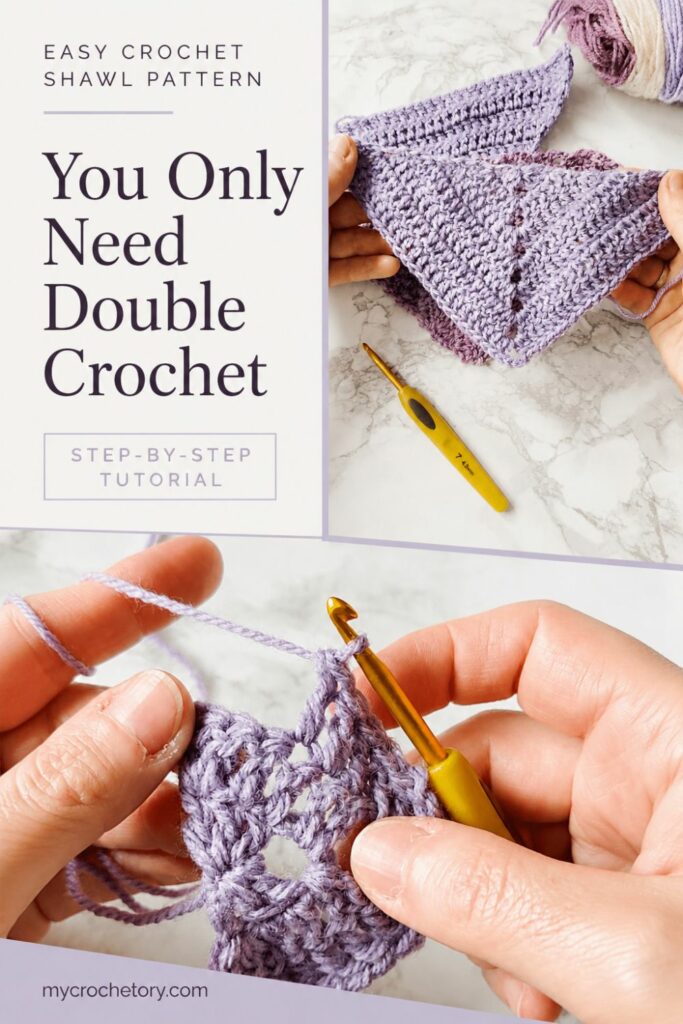
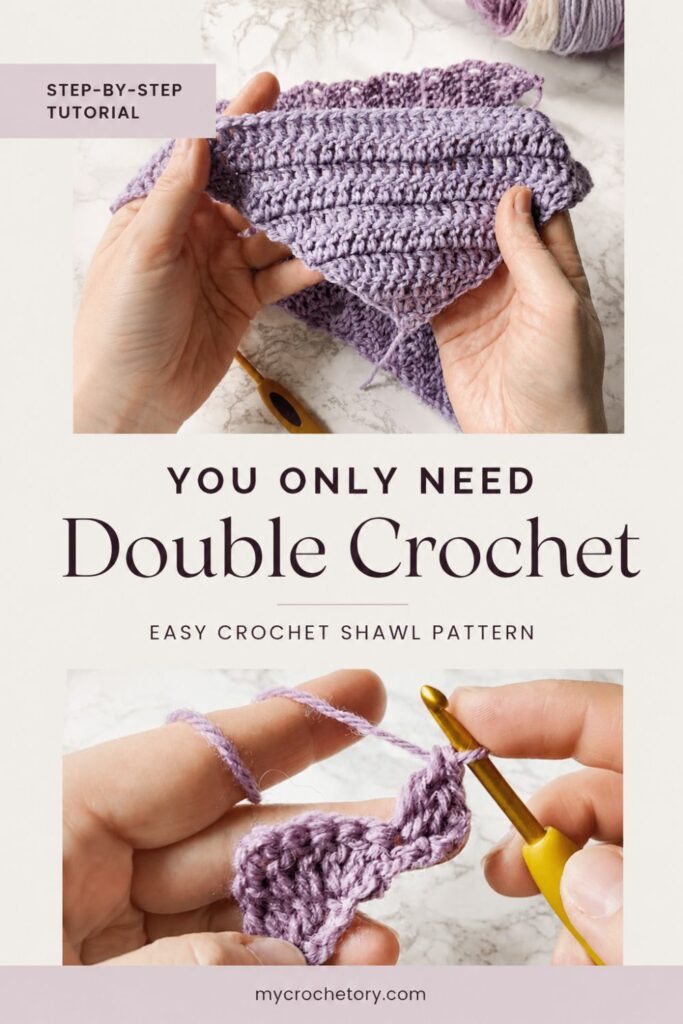
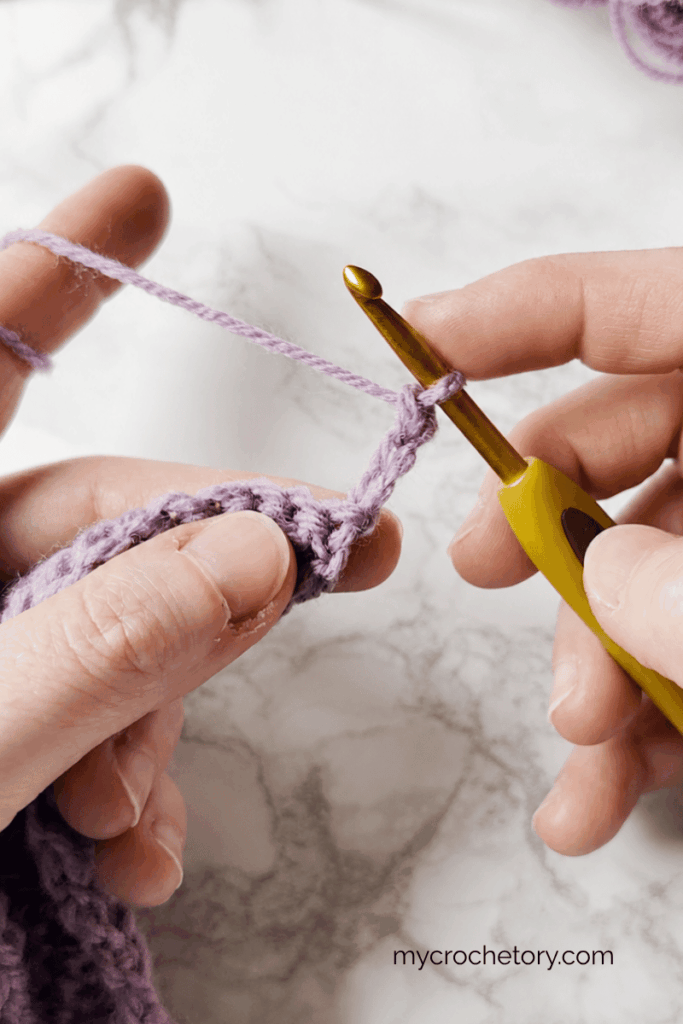
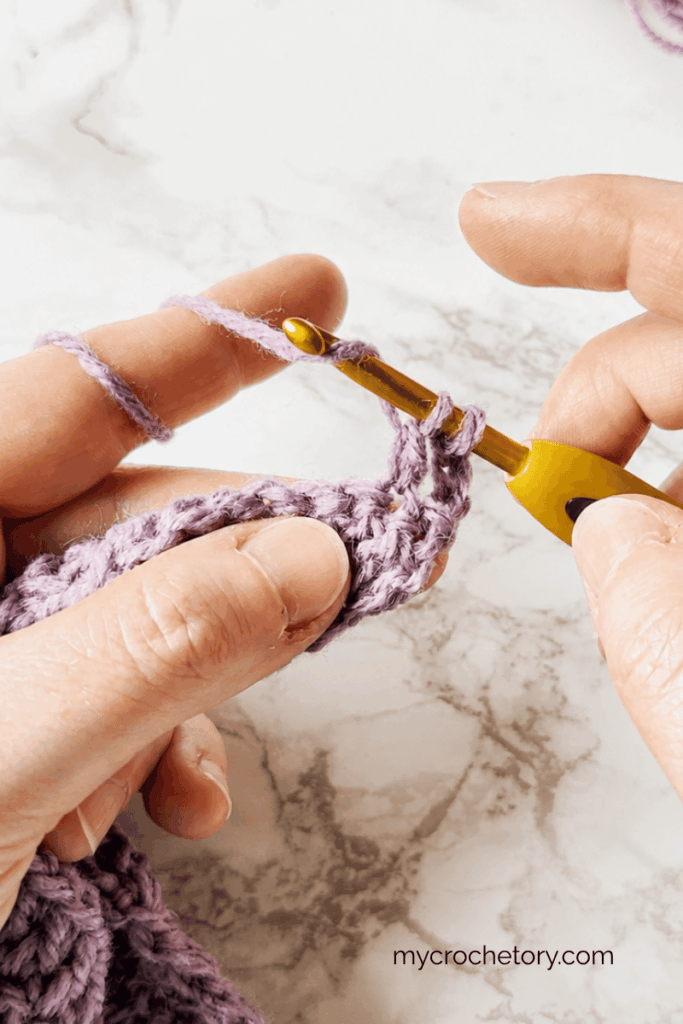
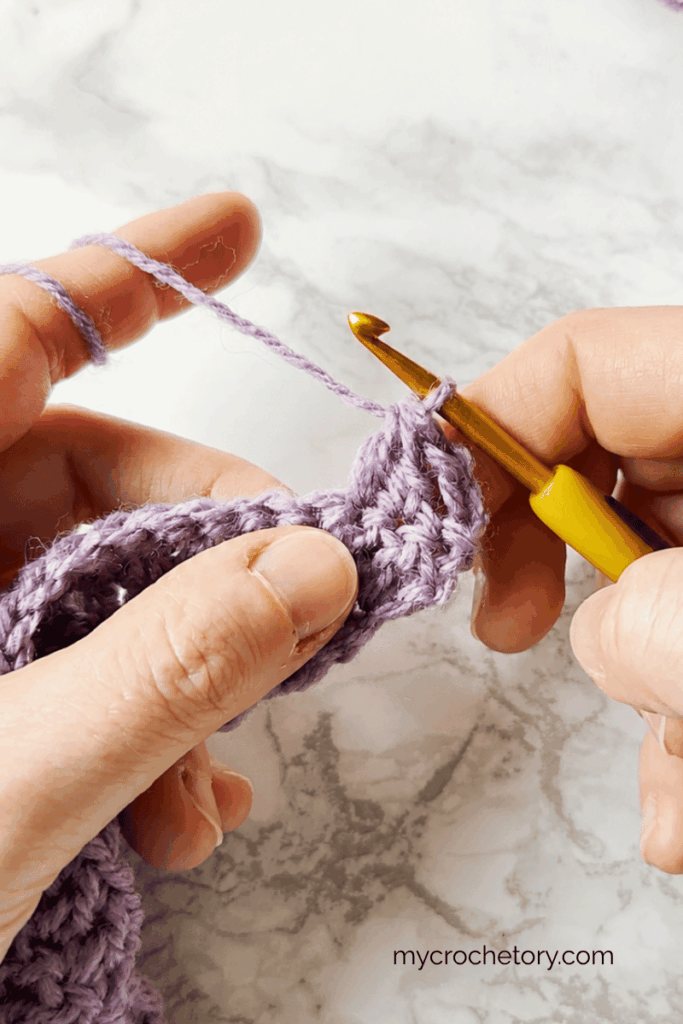
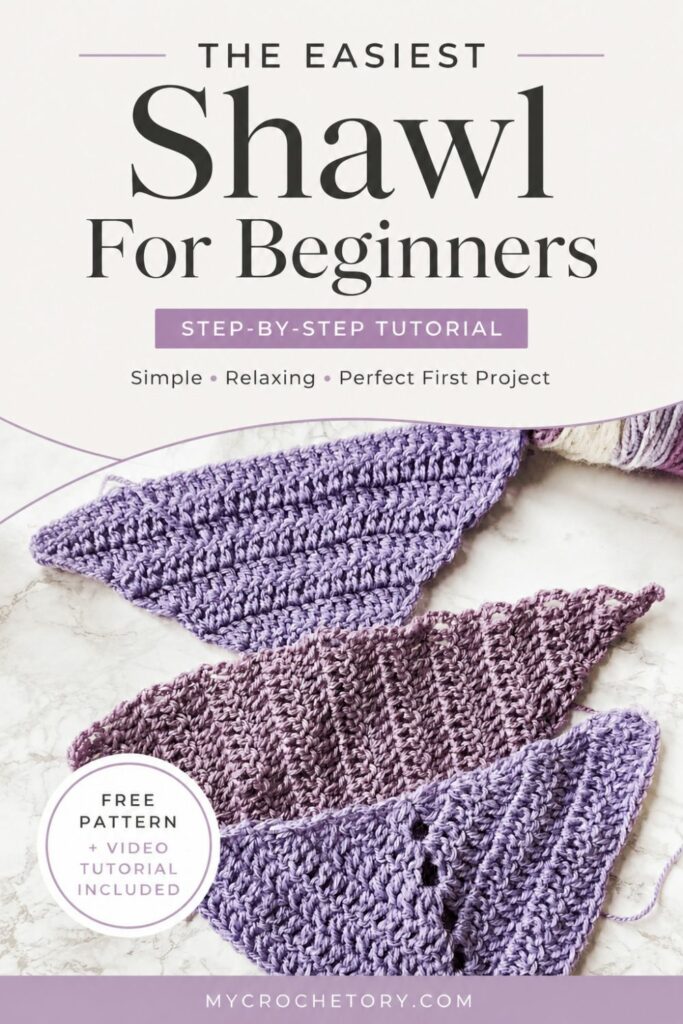
This guide walks you through every main way to make a triangle shawl: top down, bottom up, tip to tip, and asymmetrical. For each method, you’ll find simple explanations, a clear stitch chart, step-by-step written instructions, and a video tutorial. No fancy skills required, just a bit of curiosity and your basic double crochet.
What’s Inside
Here’s what you’ll find as you read:
- Easy breakdowns of each triangle shawl shape
- Stitch charts and written patterns for every style
- Step-by-step tutorials and videos
- Tips for picking the best method for you
- Honest answers to beginner questions
- Links to free crochet tutorials, tips, and patterns
Whether you want to make your first triangle shawl or just want to try a new construction, you’ll find everything you need right here.
My Crochet Shawl Journey (and Why Yours Will Look Different)
When I started crocheting, I went straight for the classic top-down triangle. I loved how quickly the shape appeared and how easy it was to see my progress. As I kept crocheting, curiosity pulled me into new territory. I tried bottom up, tip to tip, and even some asymmetrical designs. Each new method taught me something valuable and made me love the craft even more.
There really isn’t one “right” way to crochet a triangle shawl. The methods I share here are just starting points. If you stumble onto a twist or invent your own version, that’s wonderful. Crochet is about making something that feels good in your hands and makes you happy.
What matters most in triangle shawls is where you add increases. Sometimes they’re in the center, sometimes at the edges, and sometimes just on one side. Once you understand that, you’ll see all kinds of shapes are possible. You’ll have the freedom to create exactly the shawl you want.
Not Sure Which Shawl to Make First?
Choosing your first triangle shawl construction can feel overwhelming with so many options. Here’s what I’ve noticed after making many shawls.
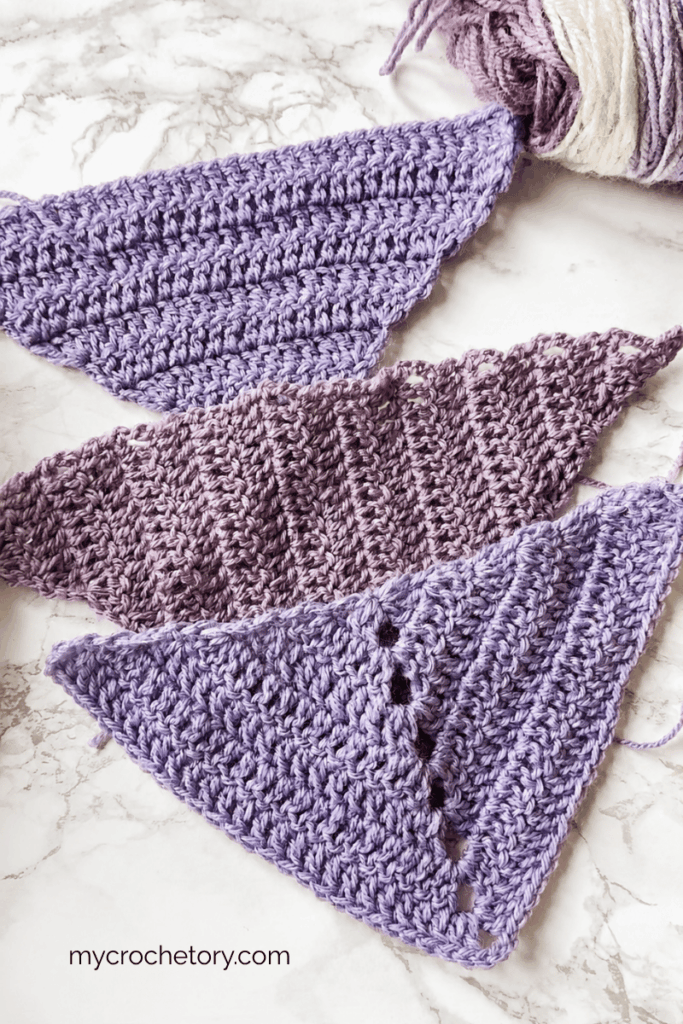
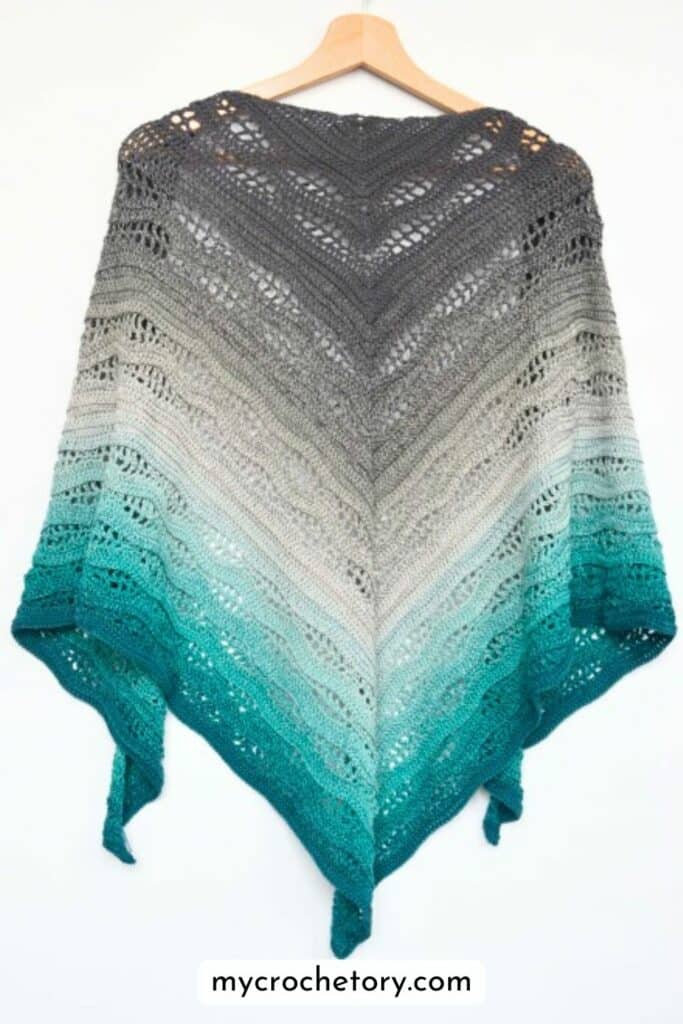
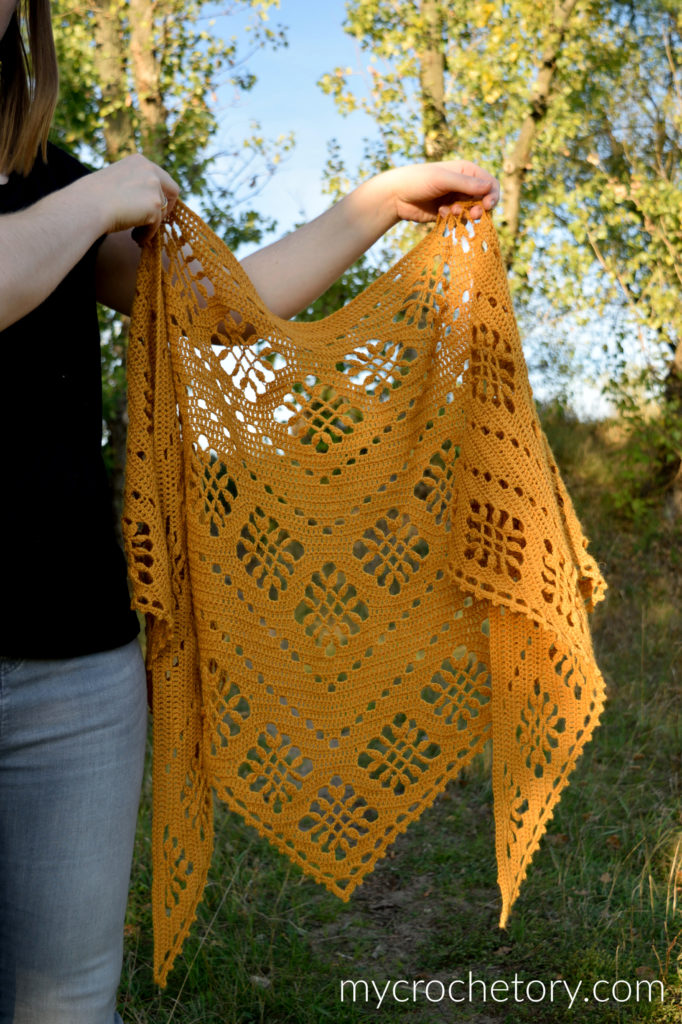
Top Down is the classic style. Both sides usually look like a mirror image with a clear center line. You can get creative too. My Flores Shawl is top-down, but each side is different.
Bottom Up is for you if you love horizontal stripes. Each row gets a bit longer and your triangle grows evenly. It’s a steady, calming project.
Tip to Tip gives you vertical stripes and works from one corner to the other. The height is set by your center row. This method is great if you want to play with color changes or self-striping yarn.
Asymmetrical is my favorite for using up scraps or when I want something playful. Every asymmetrical shawl turns out a little differently and that’s part of the fun.
Think about which look excites you most or which direction will show off your yarn best. If you like things neat and balanced, try top down. If you love stripes or color play, try bottom up or tip to tip. If you want something truly unique, give asymmetrical a try.
Whatever you choose, you’ll be learning and exploring. That’s the heart of crochet.
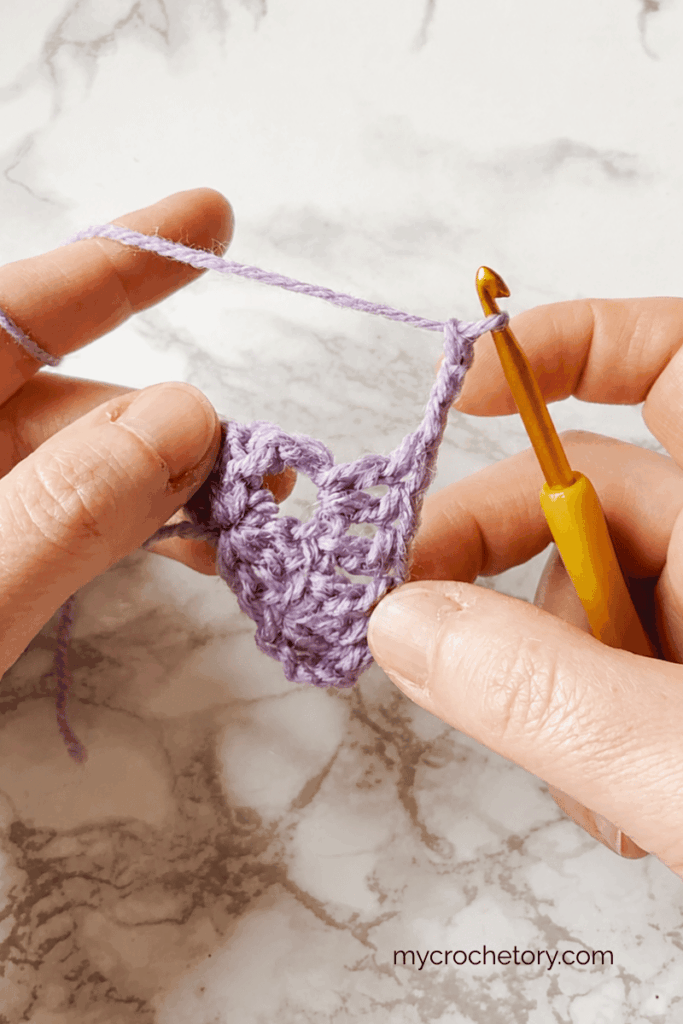
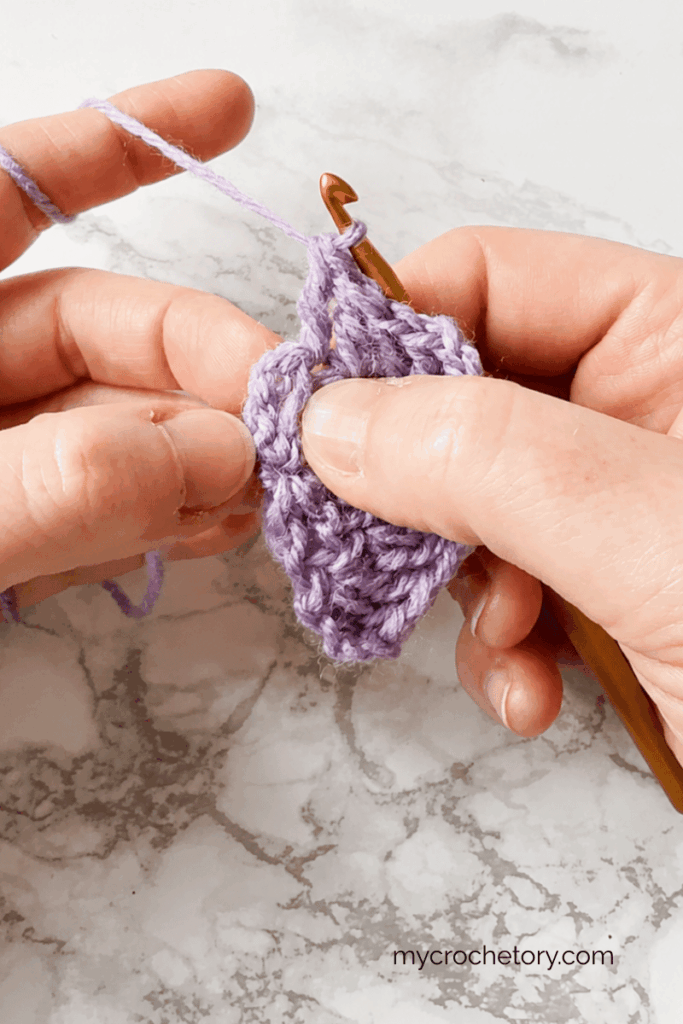
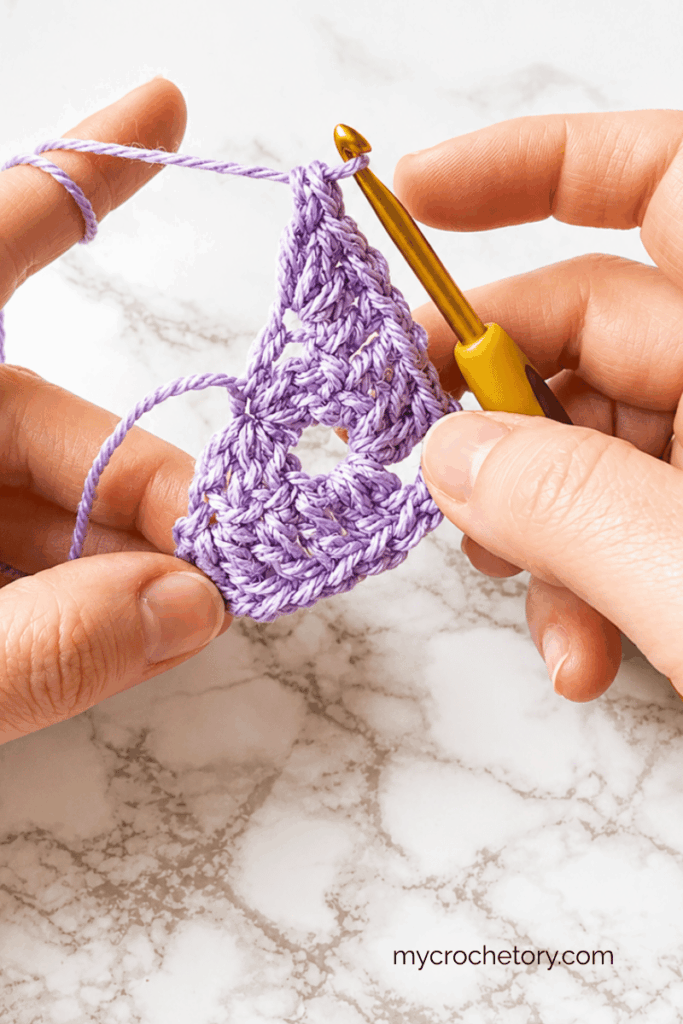
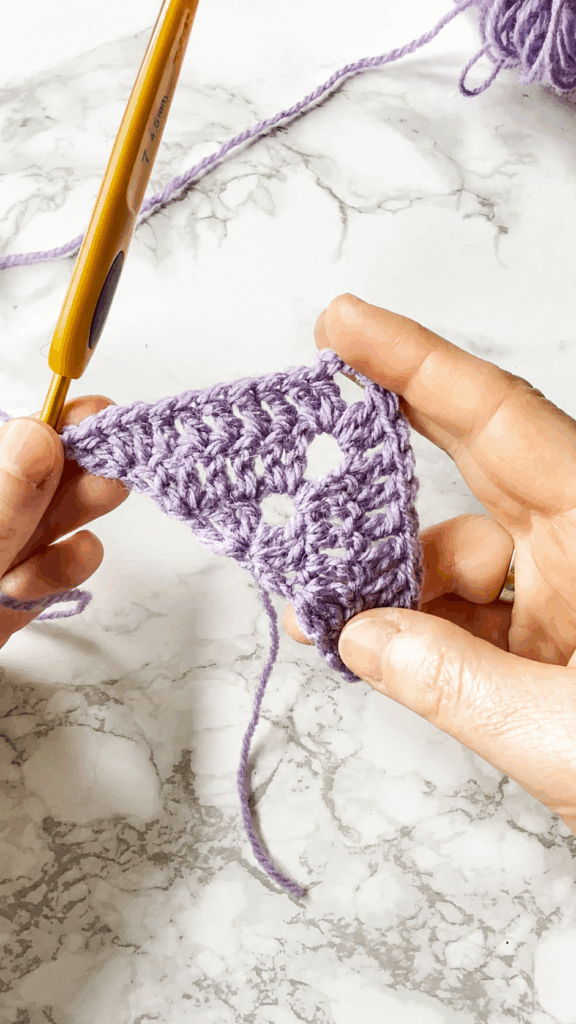
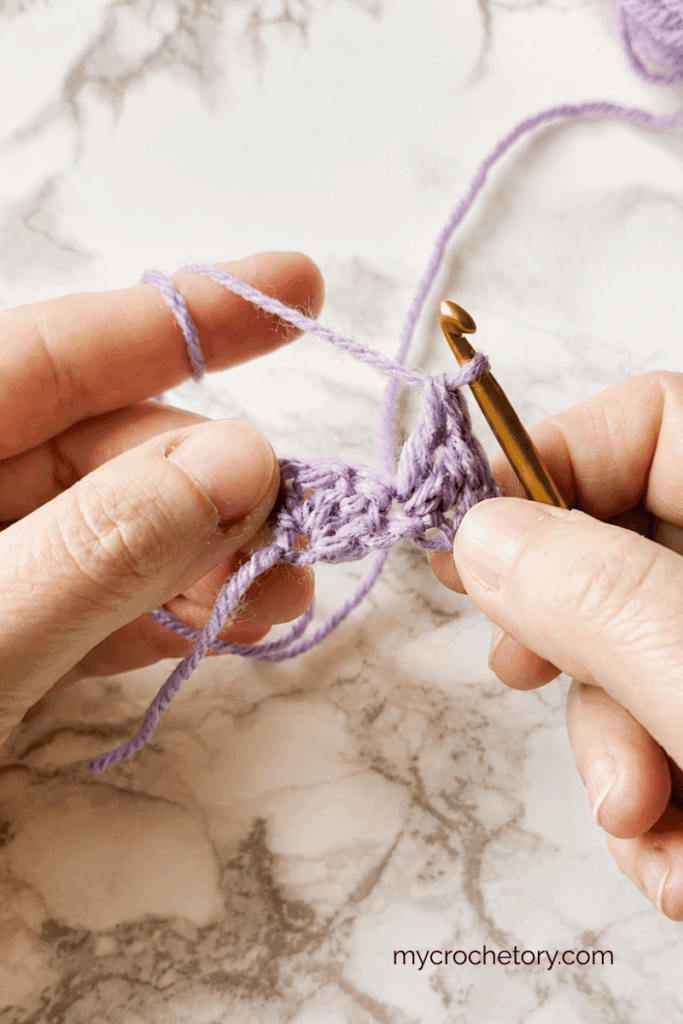
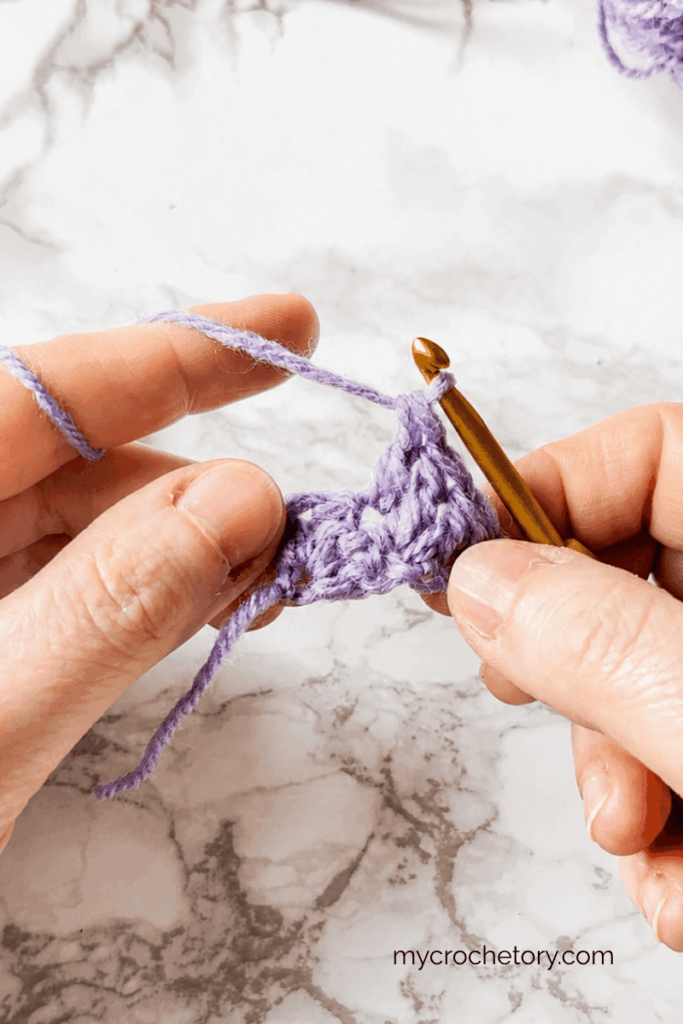
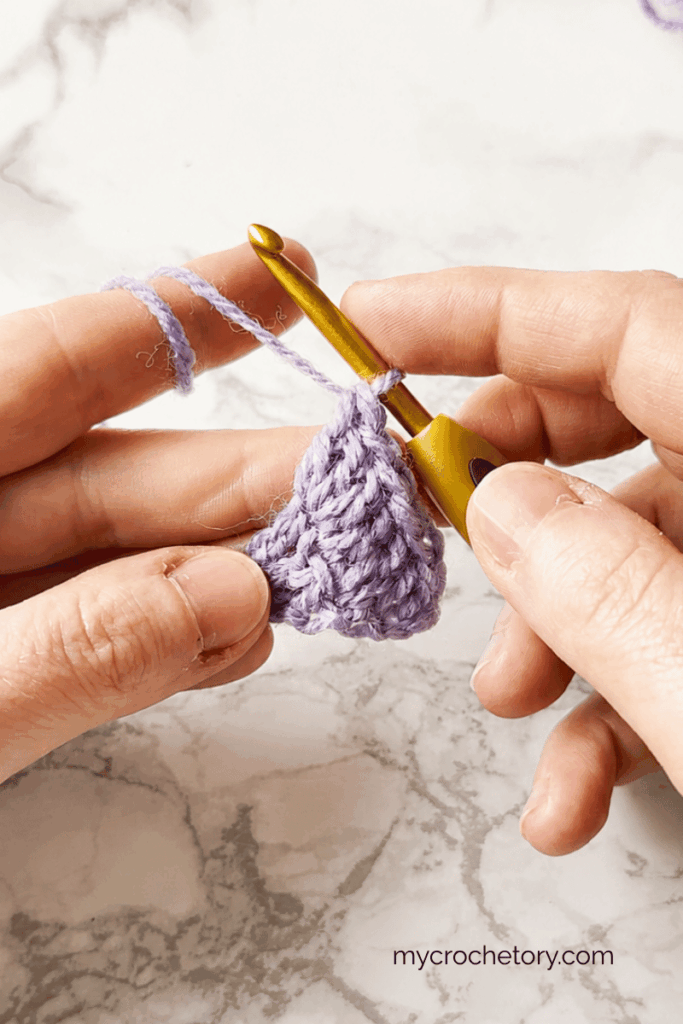
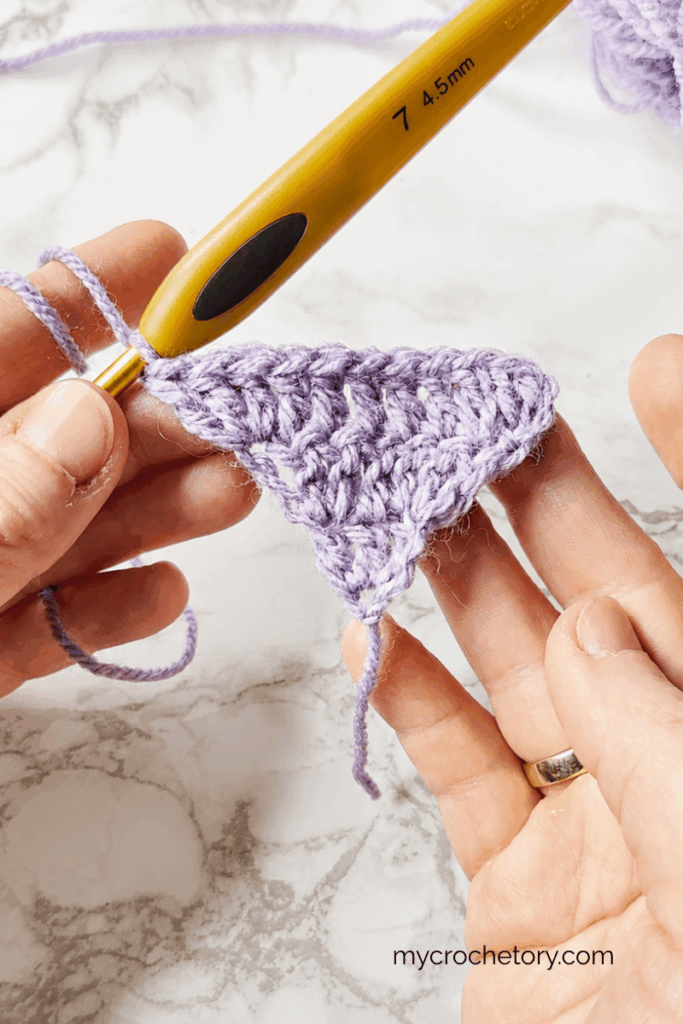
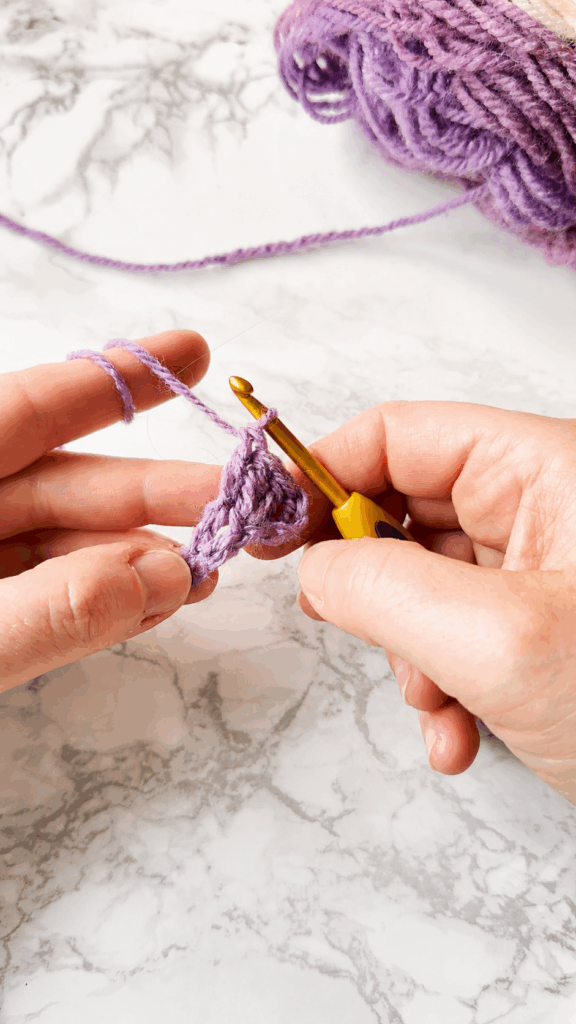
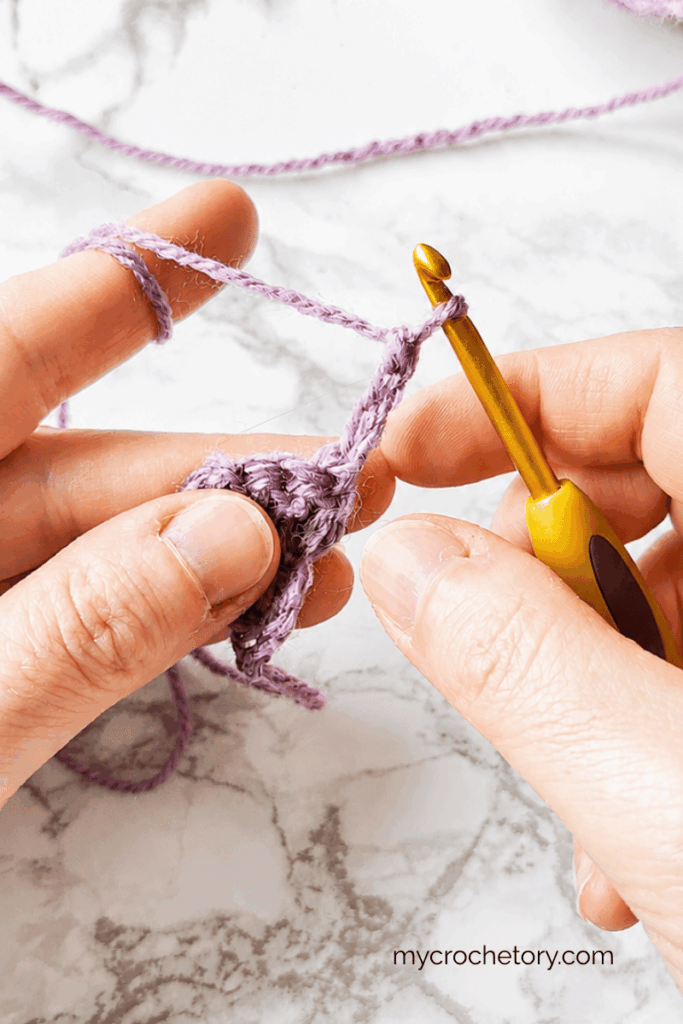
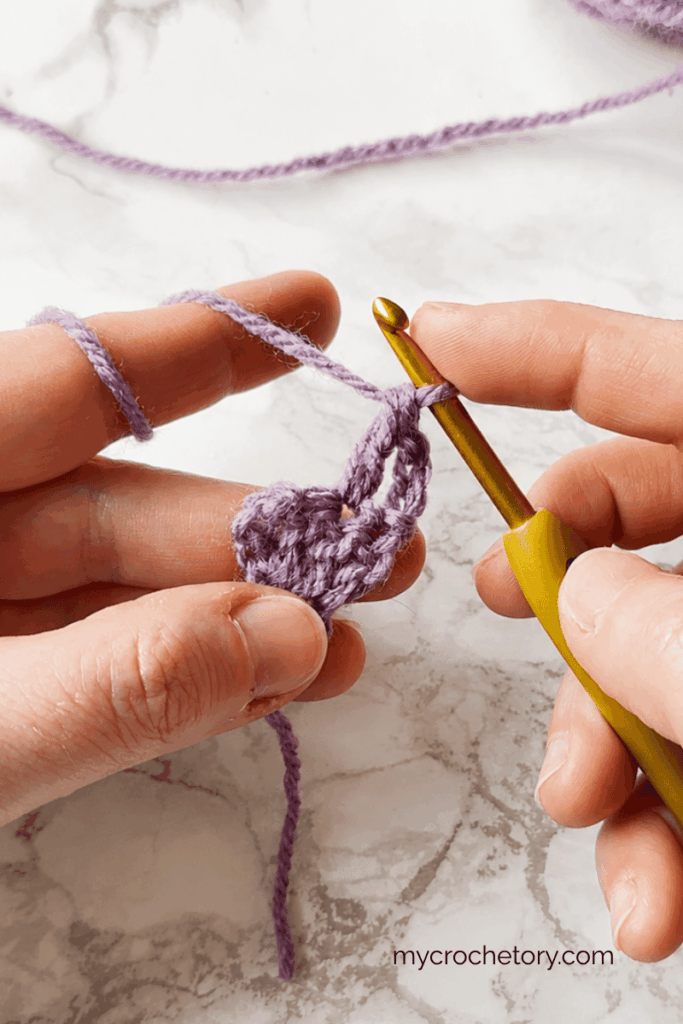
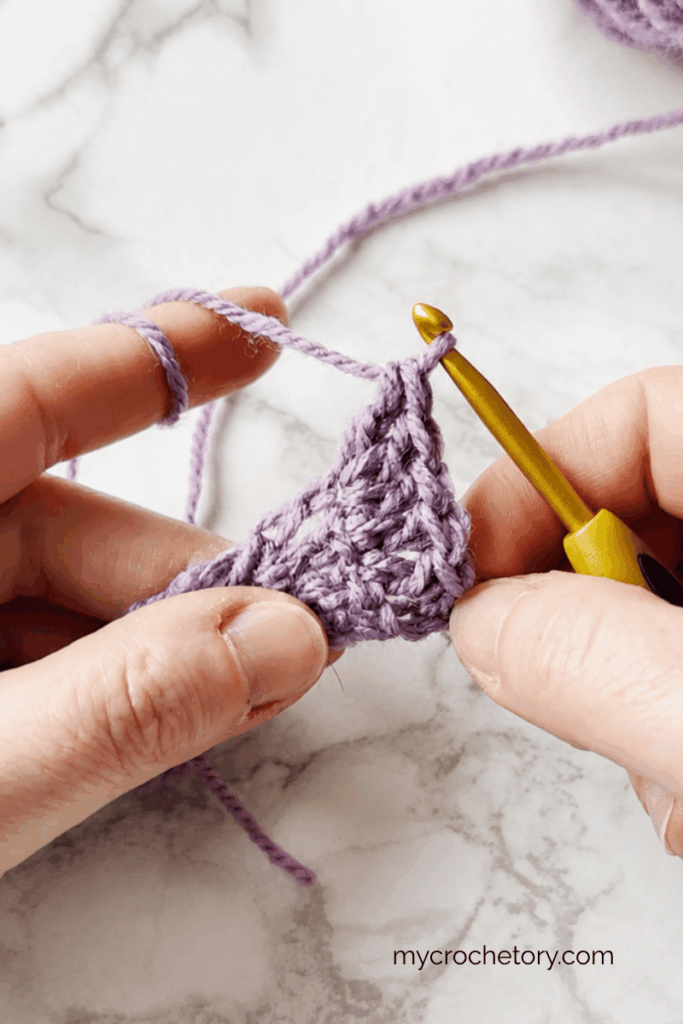
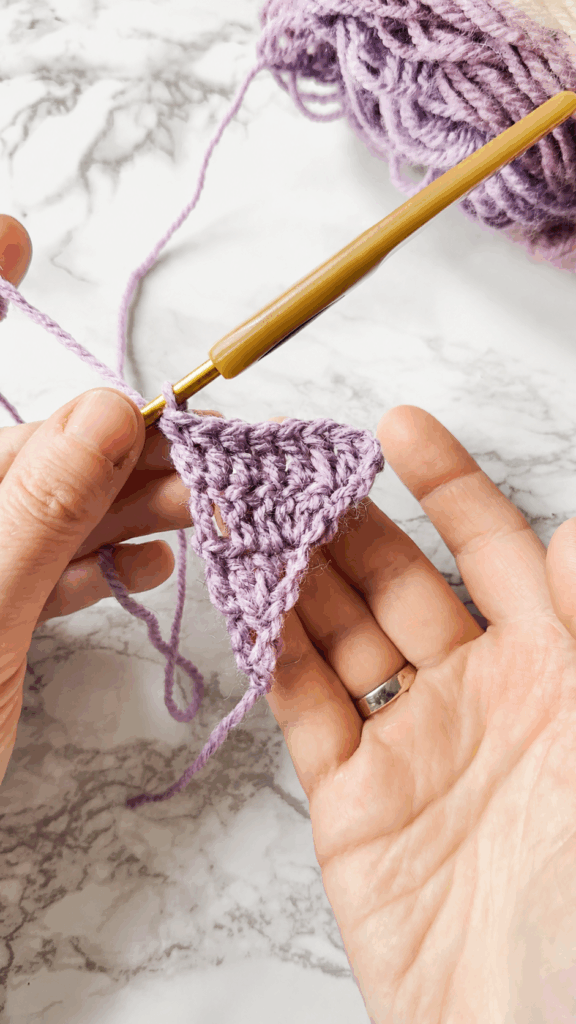
Top Down Triangle Crochet Shawl (Step-by-Step Tutorial)
If you’re searching for the easiest way to crochet a triangle shawl, the top down method is a wonderful place to start. It’s straightforward and lets you watch your progress from the very first row. I still remember the satisfaction I felt when I saw those first rows curve into a neat little triangle.
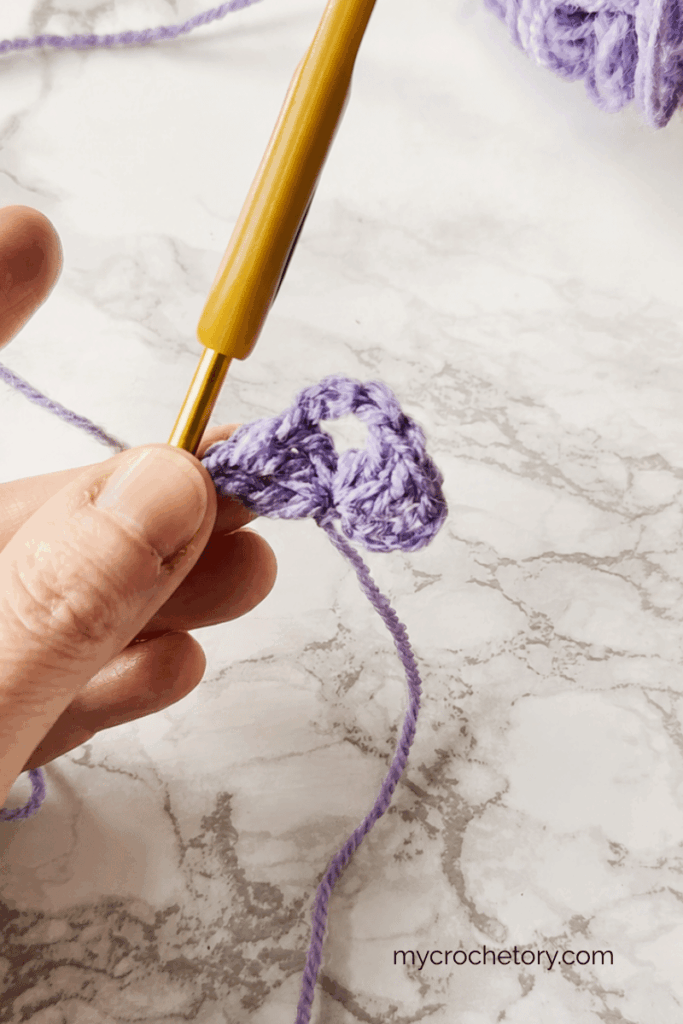
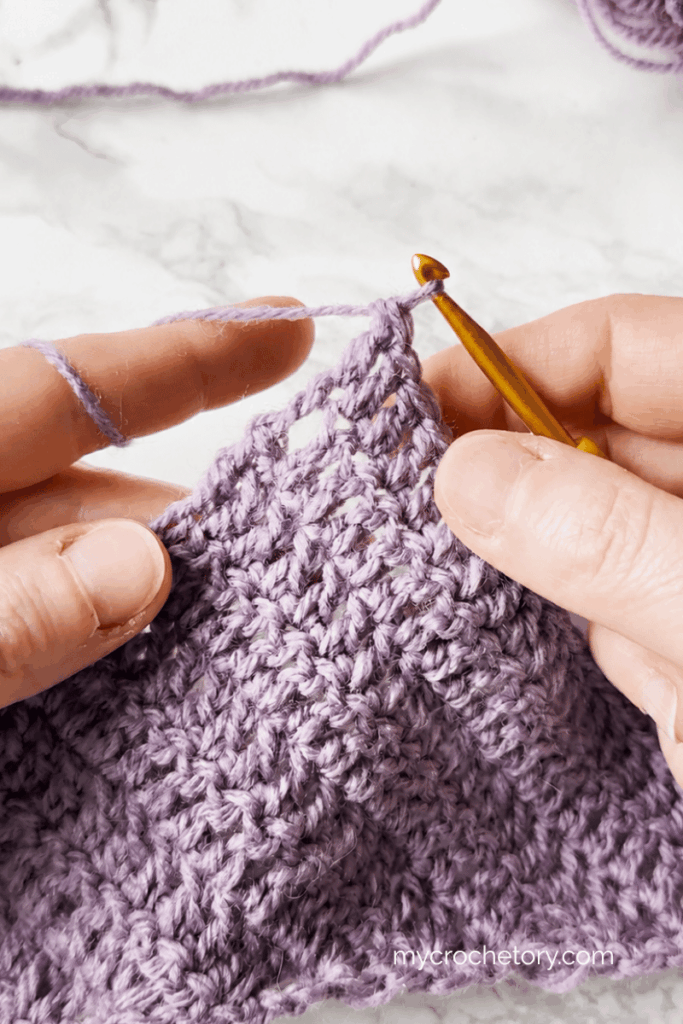
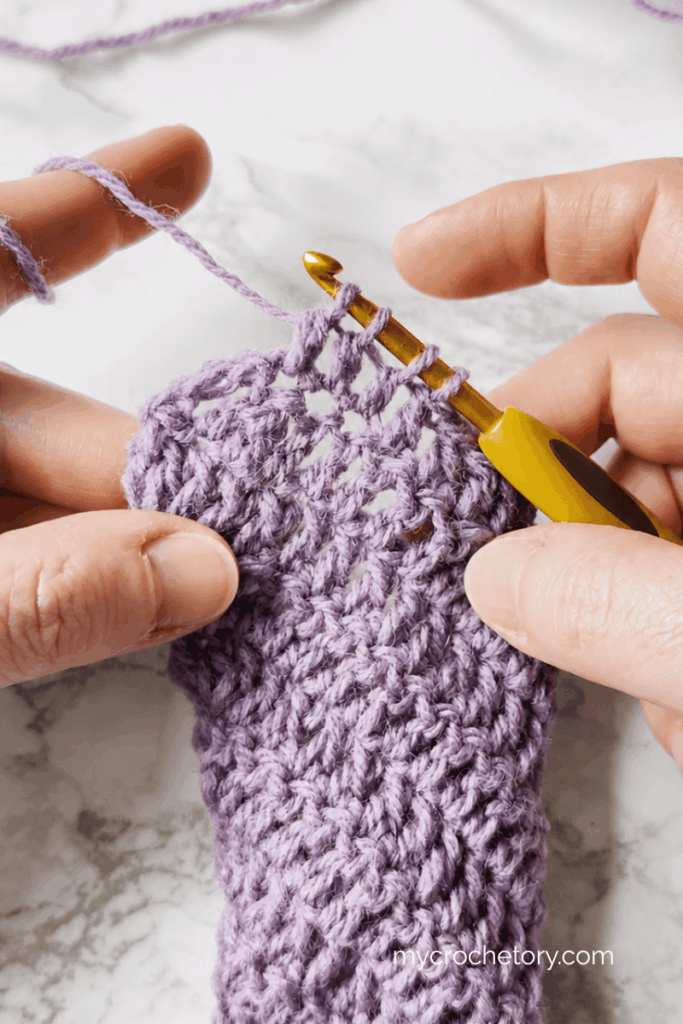
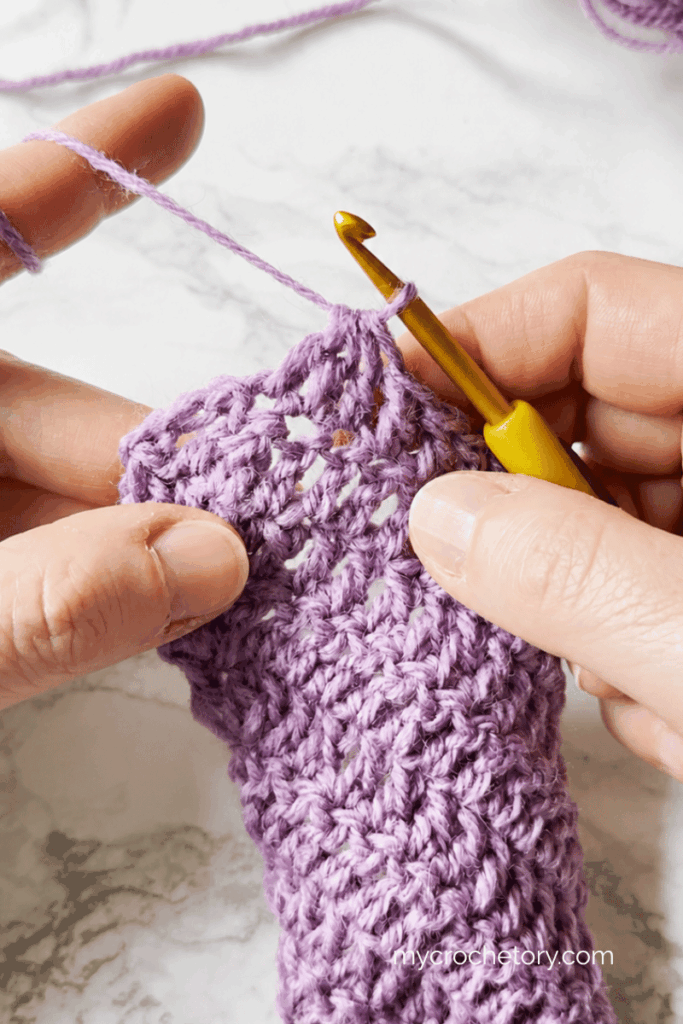
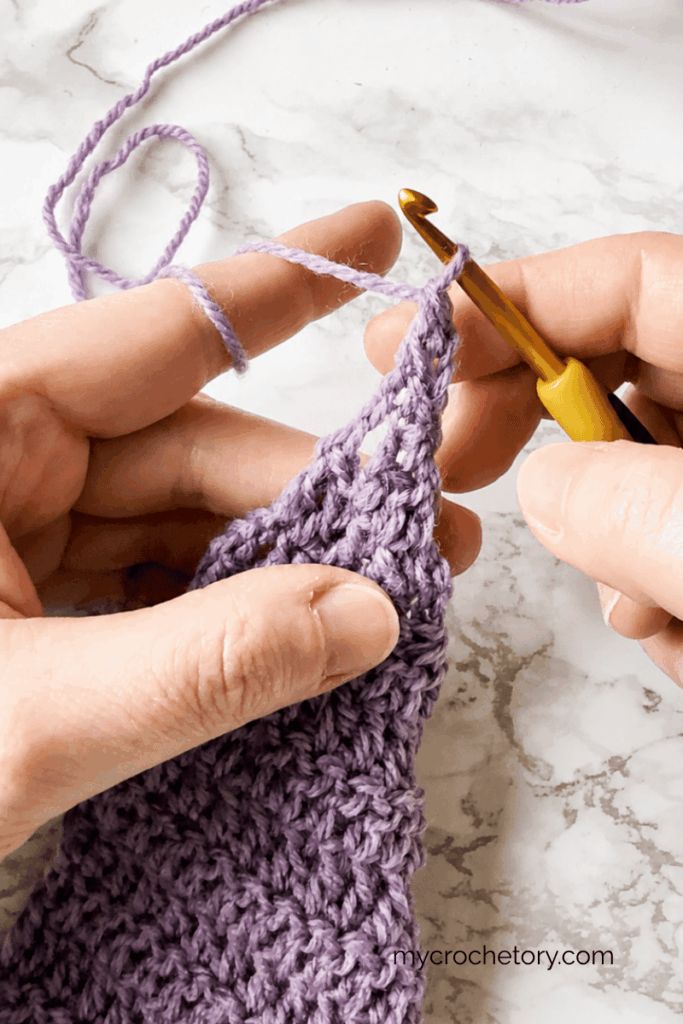
You’ll start with a small ring as your foundation, either by joining a few chains into a circle or by making a magic ring if you like that technique. Into this ring, you’ll work your setup row. With each new row, you’ll add stitches and your shawl will get wider. The shape is obvious after just a few rows, which is so reassuring when you’re new.
I love this method because it’s easy to see mistakes early and fix them. You can stop whenever you’re happy with the size, so it’s perfect for using up yarn you already have. If you want to add a border at the end, you’ll have a nice wide edge ready for it.
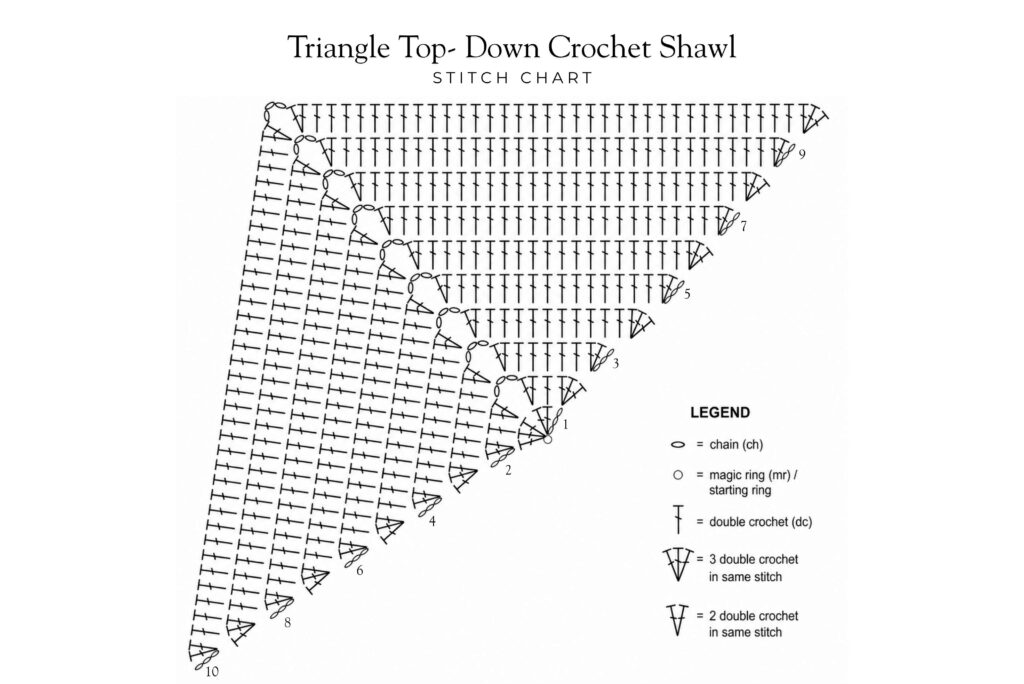
Top Down Shawl Stitch Chart:
Video Tutorial: How to Crochet a Top Down Triangle Shawl
If you want to see how the triangle forms, this video tutorial shows you each step along the way.
You’ll see how to begin with a magic ring, where to add increases, and how the center section forms the classic triangle shape. Watching the first few rows can really help, especially if this is your first shawl.
The tutorial uses the same simple steps shown below, so you can crochet each row with confidence as your triangle takes shape.
Simple Written Pattern:
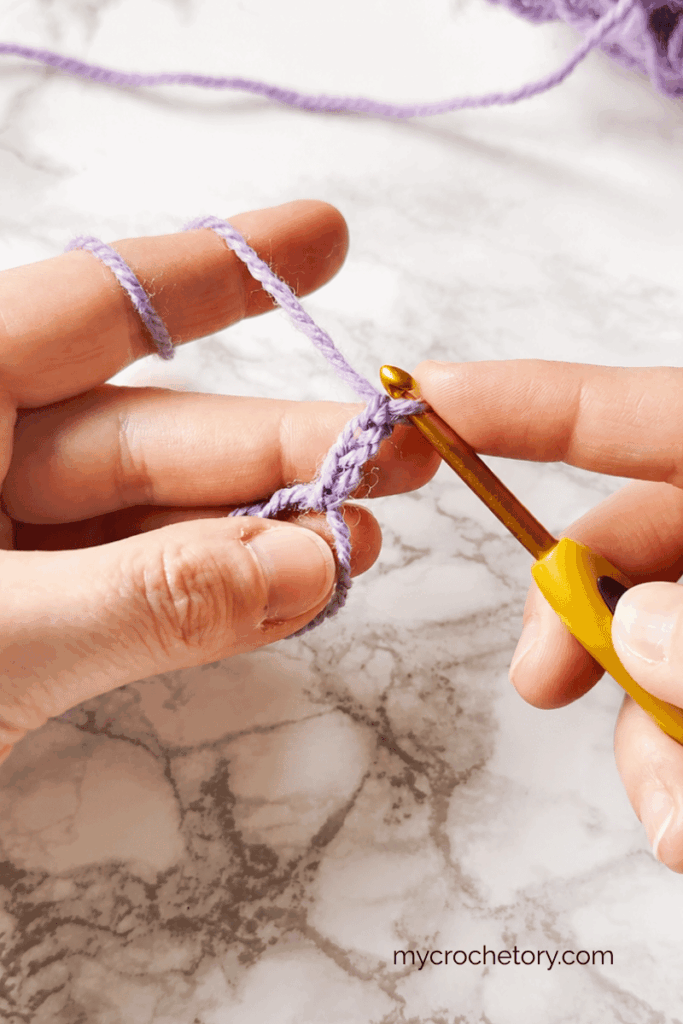
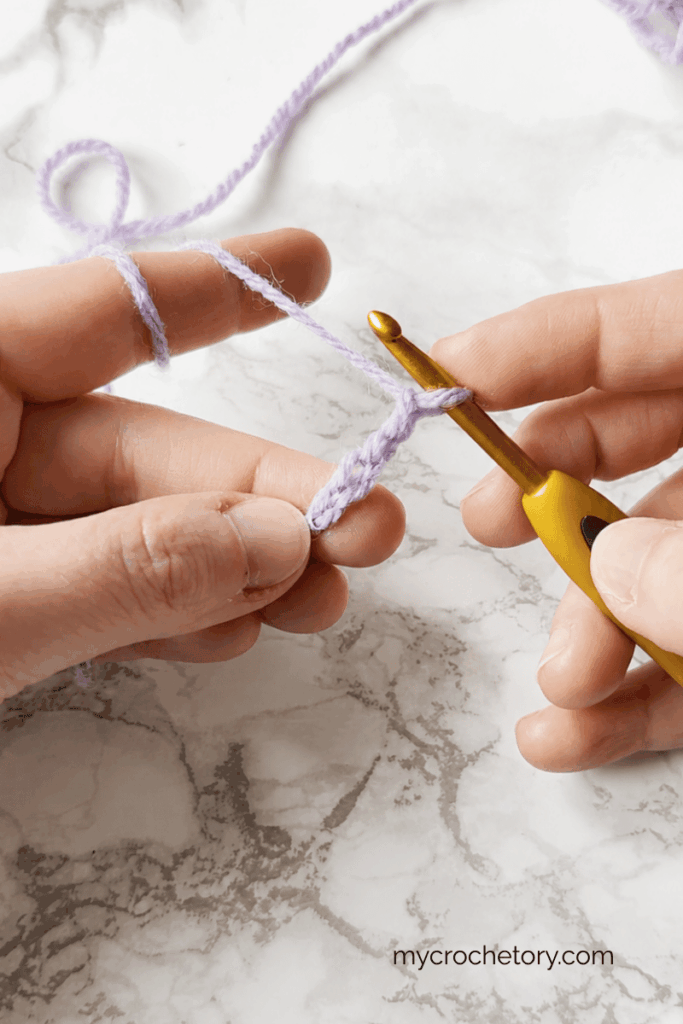
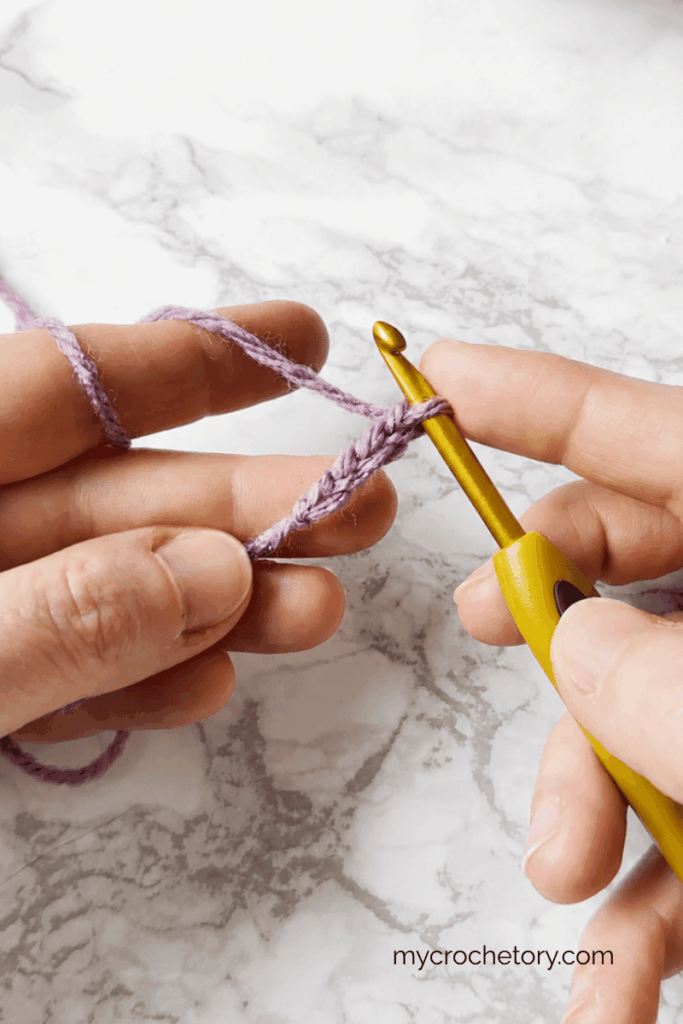
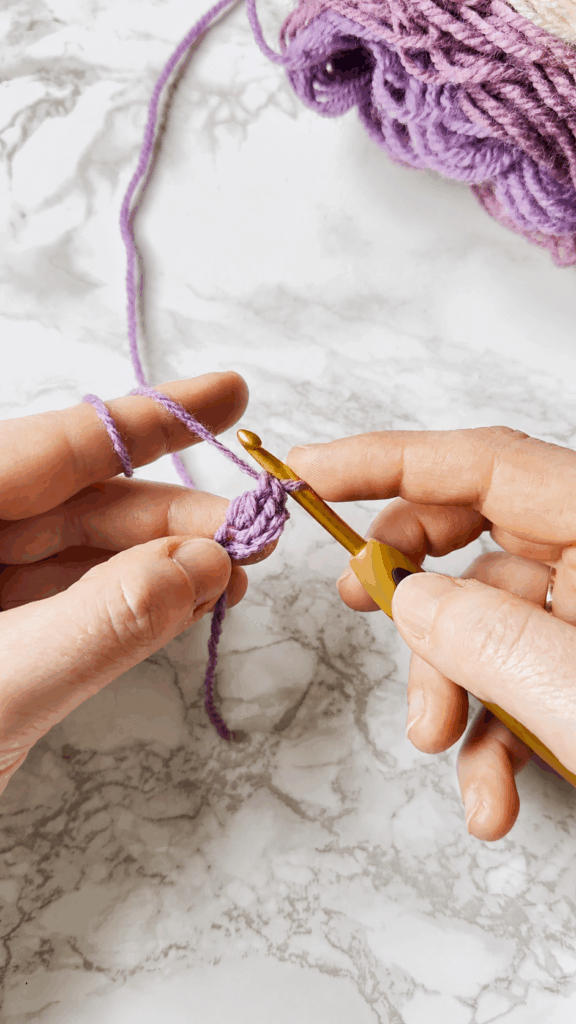
Start with a magic ring or chain 4 and join to make a ring.

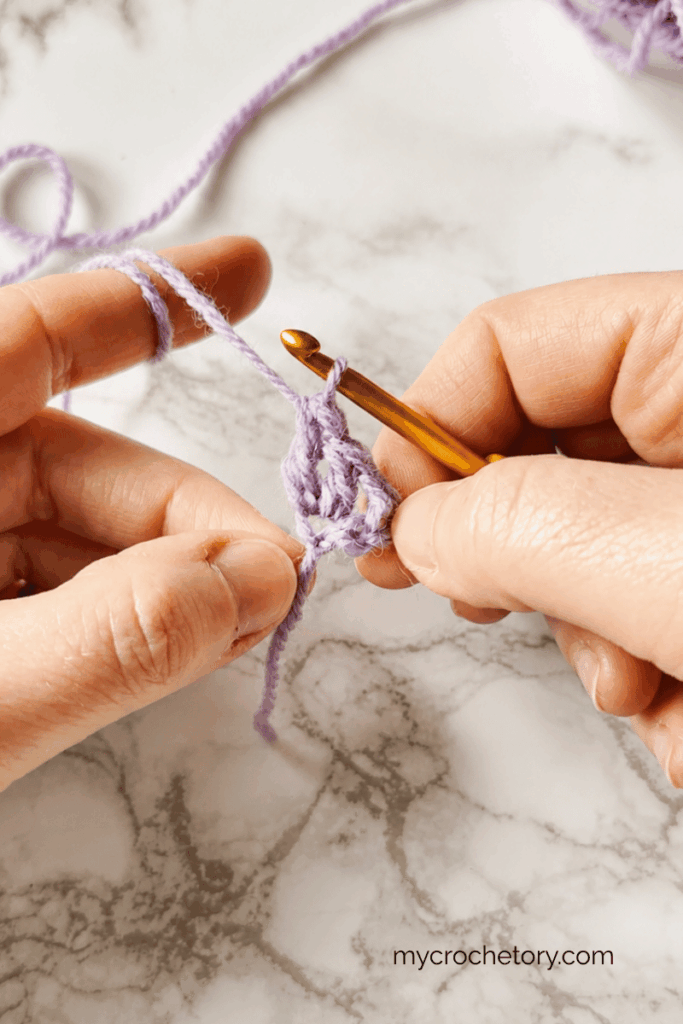
Row 1: Ch 3 (counts as dc), 2 dc in ring, ch 2, 3 dc in ring, turn.
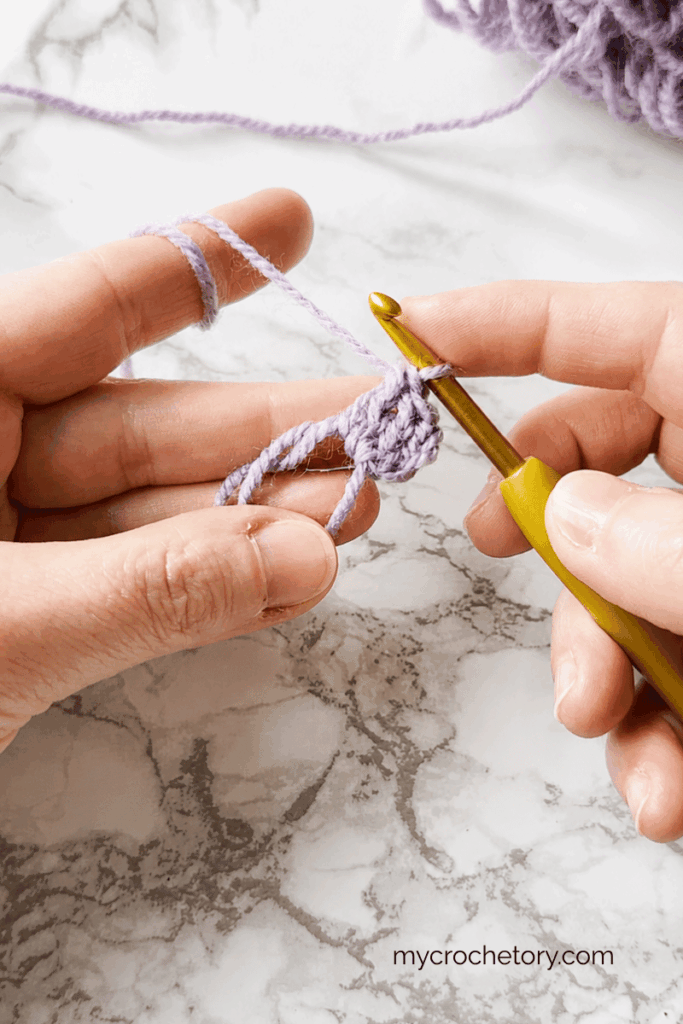
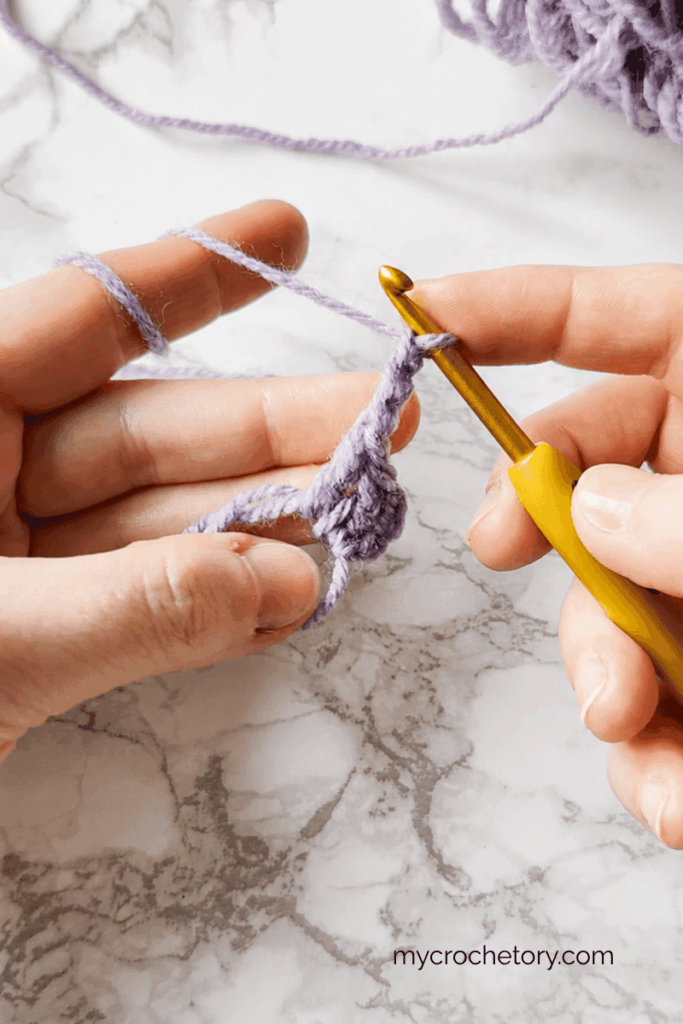
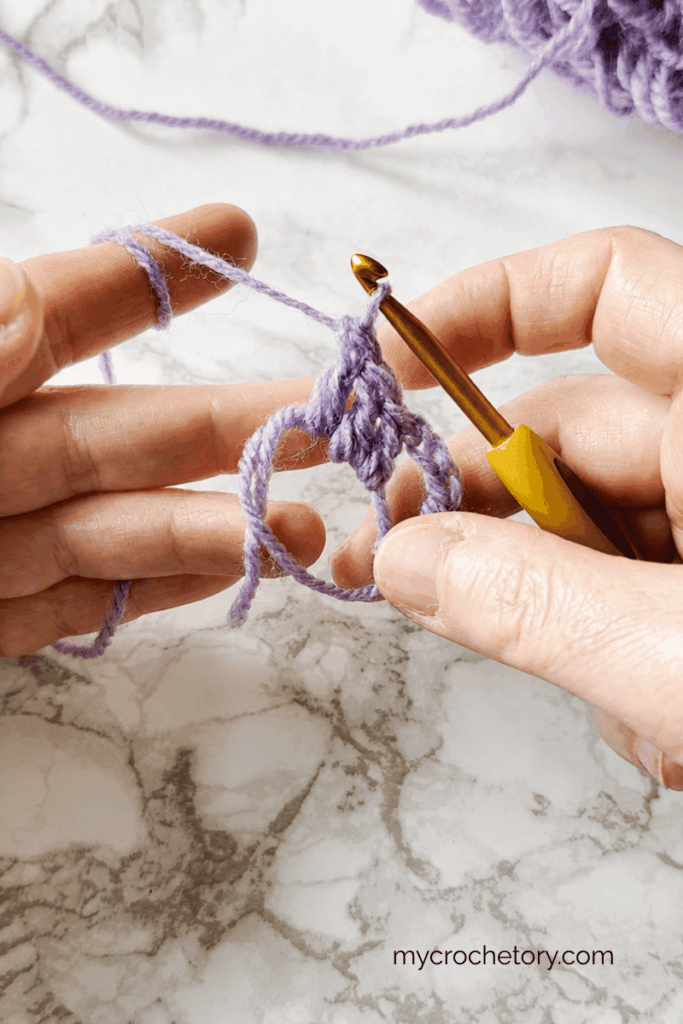
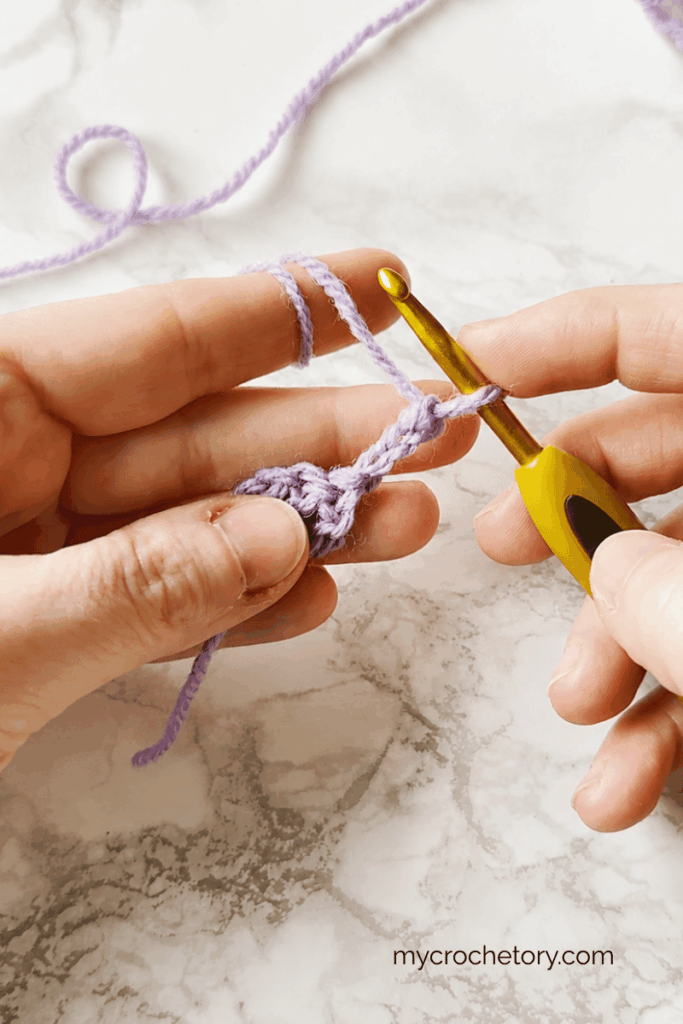
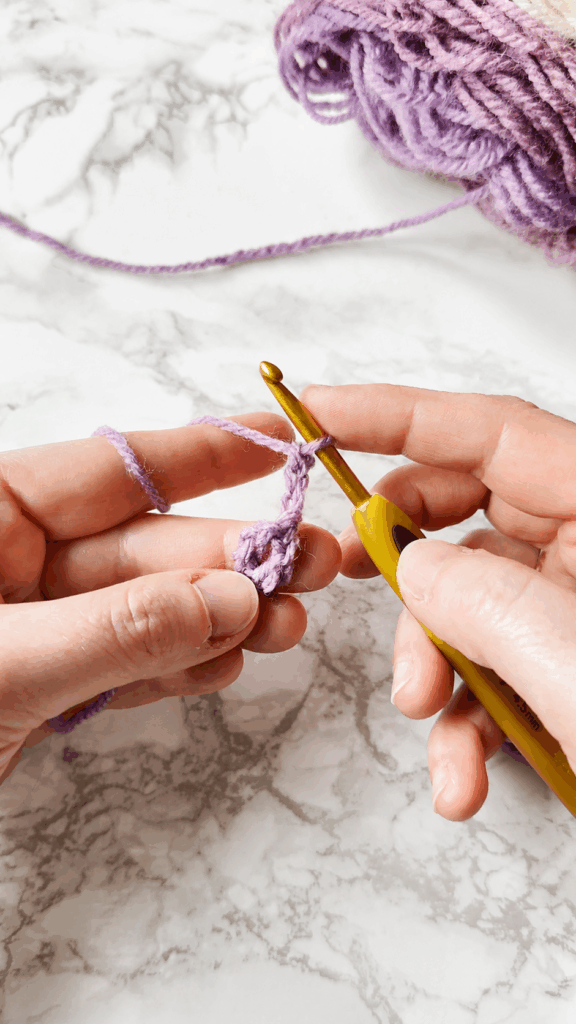
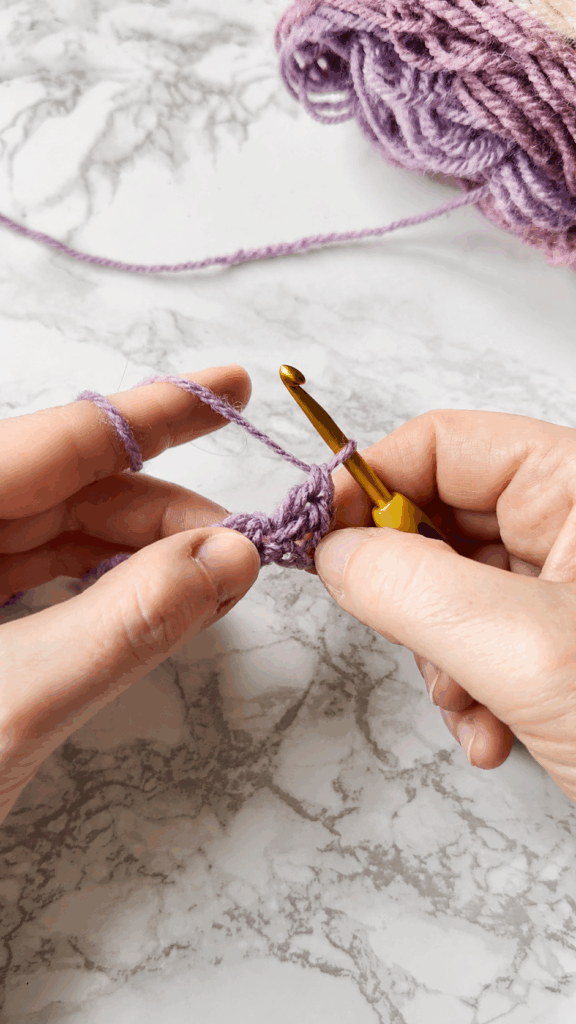
Row 2: Ch 3, 2 dc in first stitch, dc to ch-2 space, (2 dc, ch 2, 2 dc) in space, dc to last stitch, 3 dc in last stitch, turn.
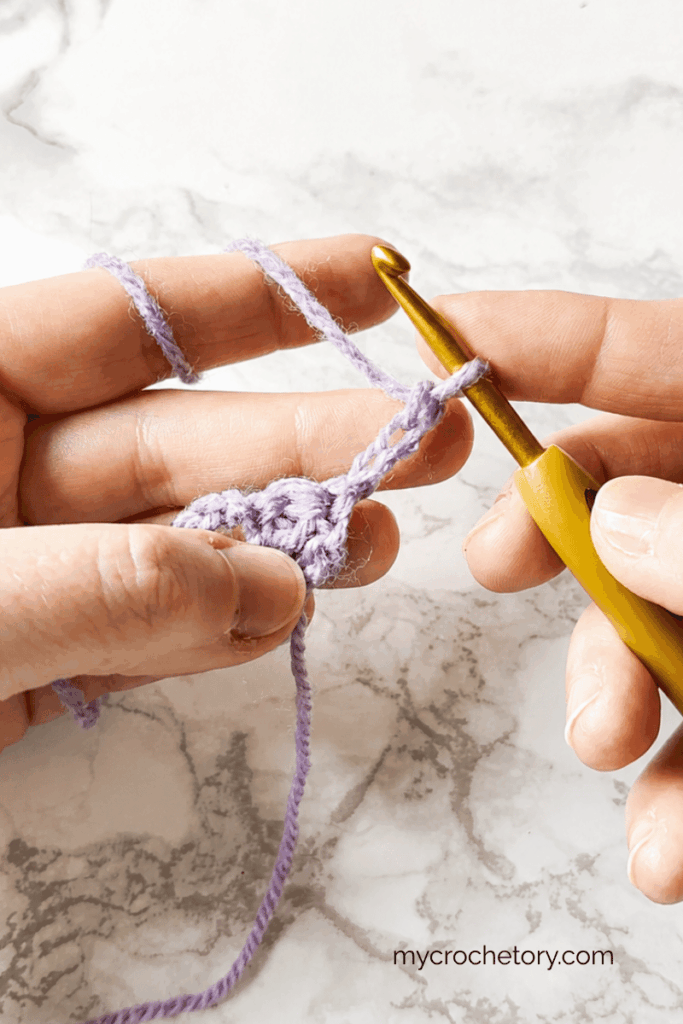
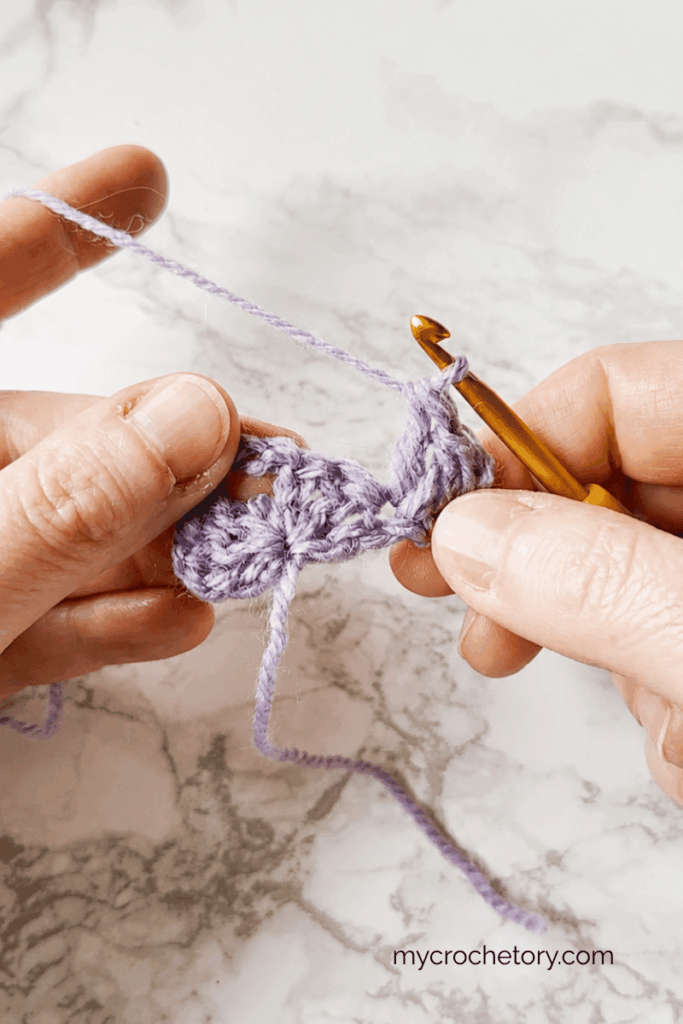
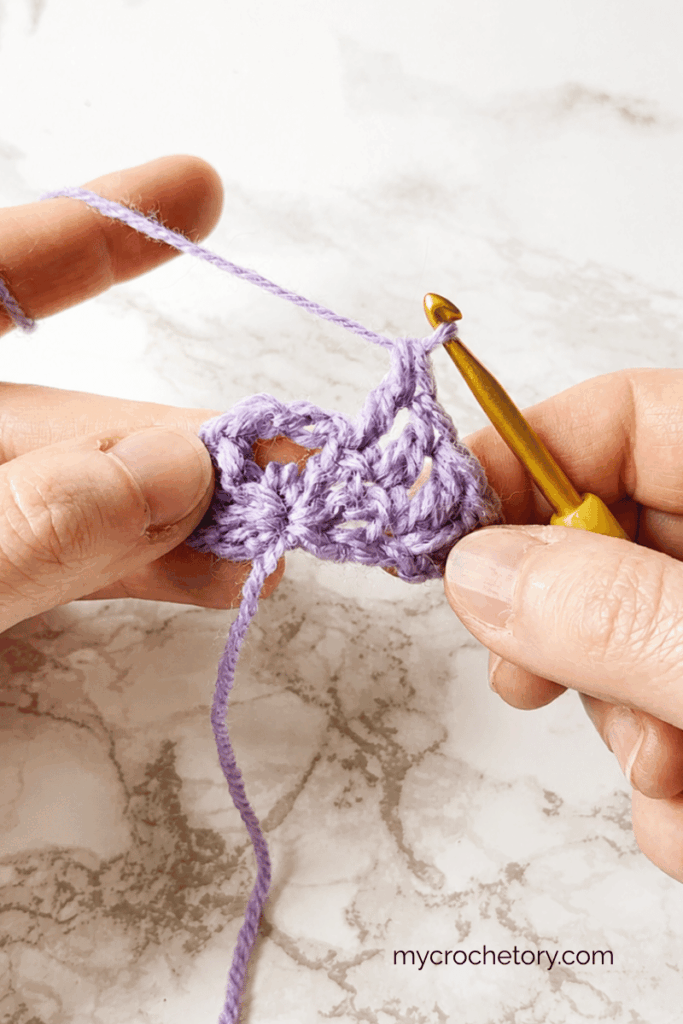
Repeat Row 2 until your shawl is the size you want.
Take a look at these patterns to see how the top down method looks in a real project.
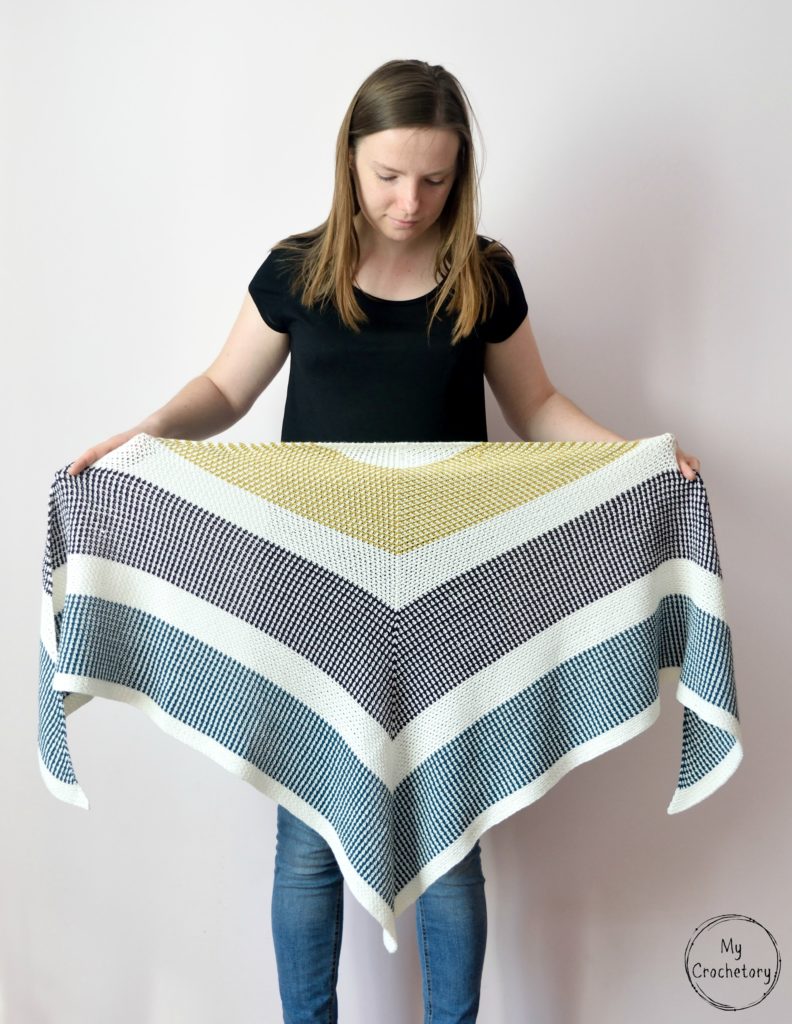
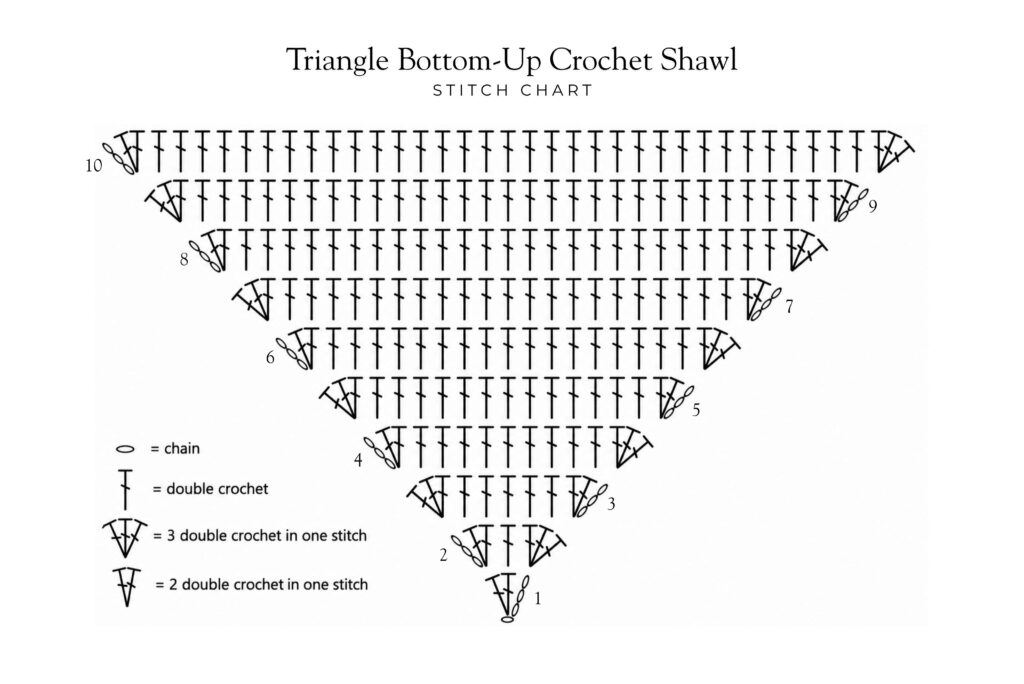
Bottom Up Triangle Crochet Shawl
Maybe you’d like to try something different. The bottom up method is a favorite if you love a steady project that grows and grows.
Start with just a few stitches at the point. Every row, you’ll add increases at both edges so the triangle gets taller and wider at once.
You get strong horizontal lines or stripes across your shawl. It’s a methodical, relaxing way to work. The shape is easy to control and you can finish whenever your shawl feels big enough.
Bottom Up Shawl Stitch Chart:
Video Tutorial: How to Crochet a Bottom Up Triangle Shawl
A lot of crocheters like to start at the point and build the shawl row by row. If that sounds good to you, this video will help you get started.
The video explains where to add stitches at the edges and how the triangle grows evenly on both sides. The steps are easy to follow and repeat, making this a great project for beginners.
Watch the video and crochet along with it. If you need a quick reminder, you can check the written instructions below.
Simple Written Pattern:
Chain 4.
Row 1: 2 dc in first chain, turn (3 stitches).
Row 2: Ch 3, 2 dc in first stitch, dc across, 3 dc in last stitch, turn.
Repeat Row 2 until you reach your desired size.
Check out these patterns to see this method in action.
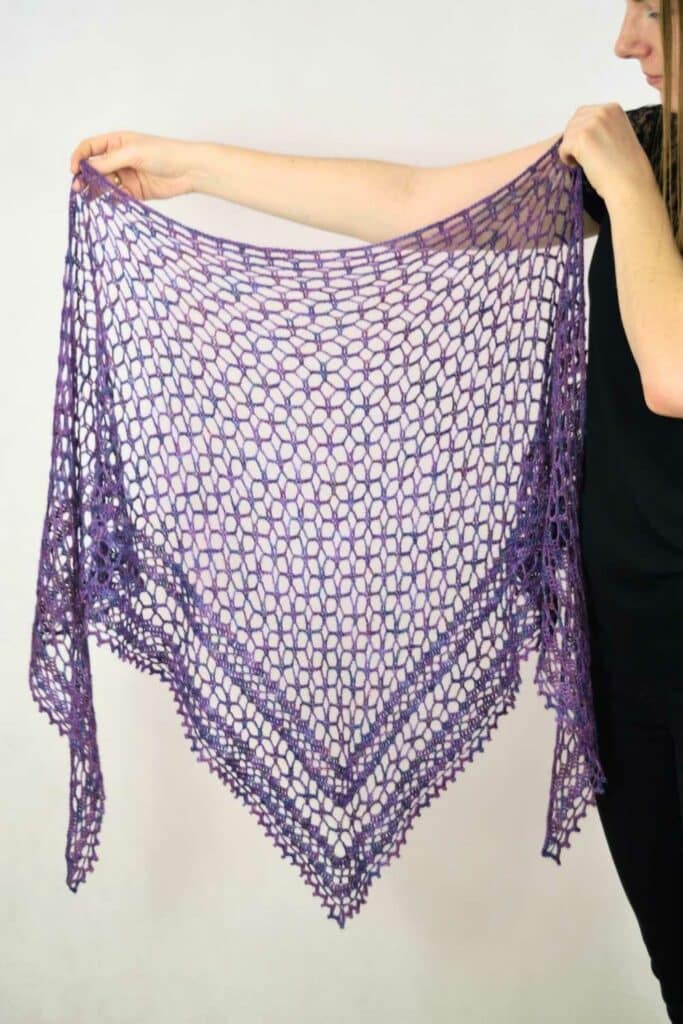
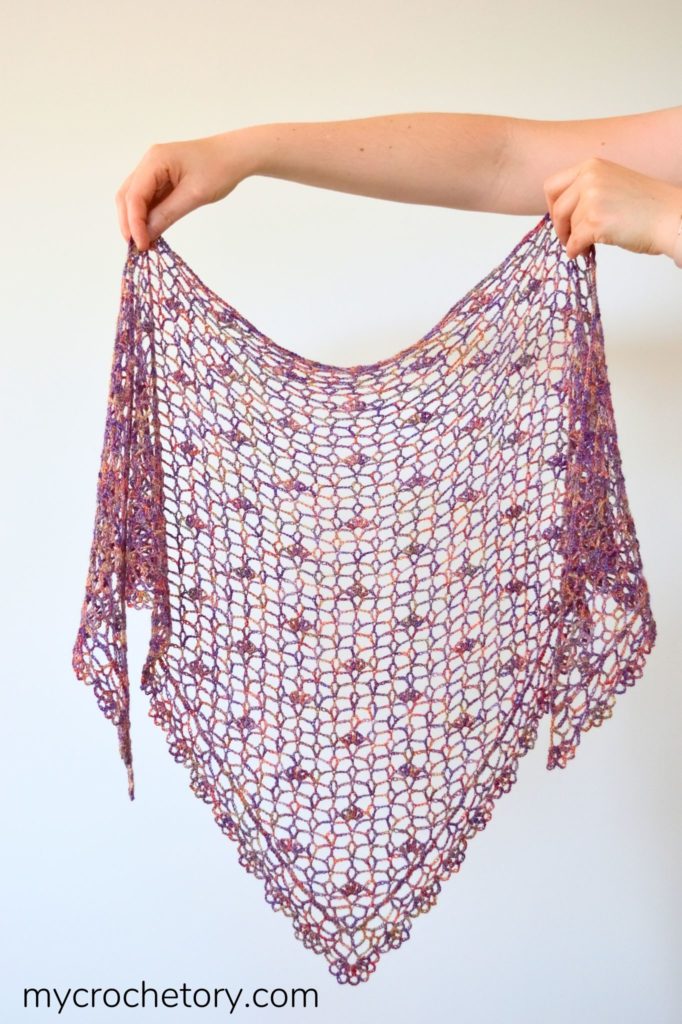
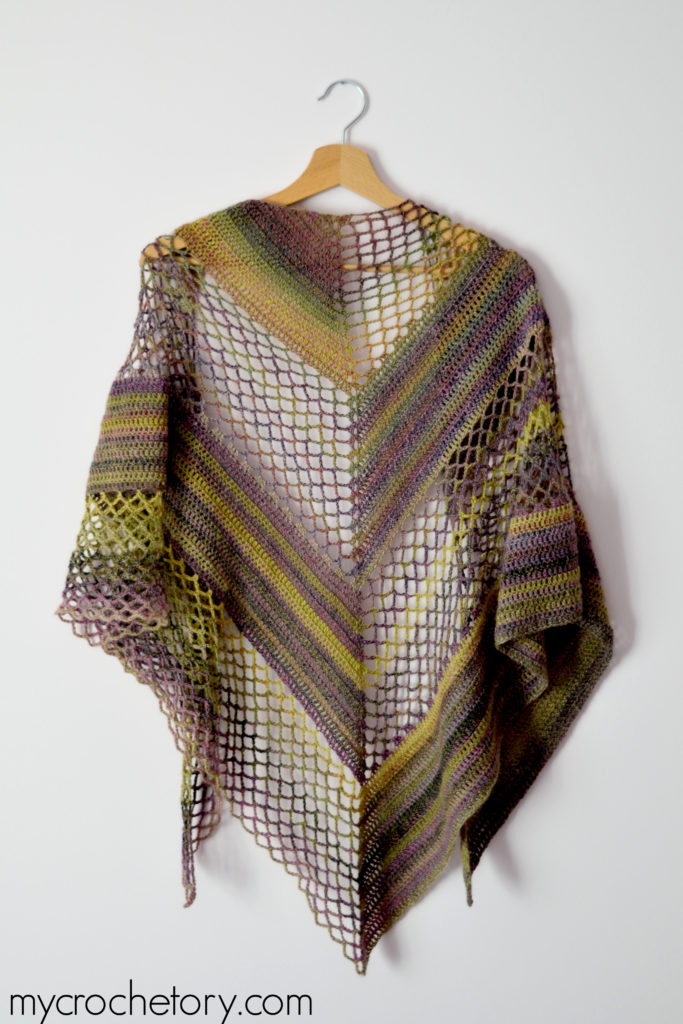
Tip to Tip (Side-to-Side) Triangle Crochet Shawl
If you want to try a shawl with vertical stripes or a gentle drape, this construction is for you. It’s also a fun way to use yarns that change color.
Start at one tip with just a few stitches. In each row, you’ll increase on one side so your shawl grows diagonally. When you reach the height you want, you’ll start decreasing on the same side.
The rows stay short for a long time, so it feels manageable even as your shawl grows. Vertical stripes look especially eye-catching. The center row sets the height for your whole shawl.
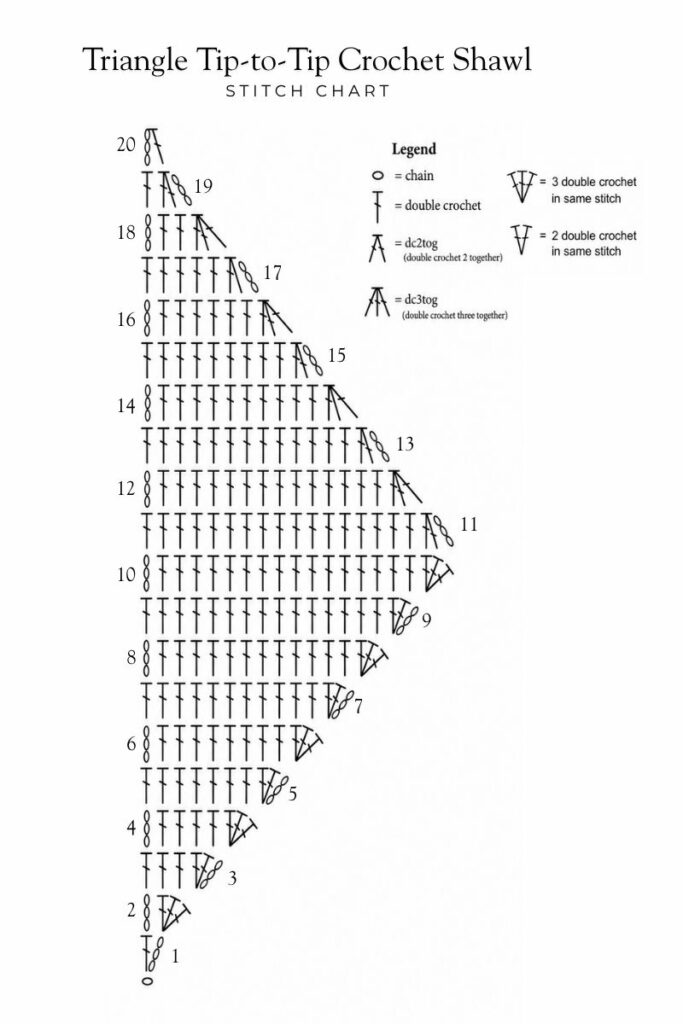
Tip to Tip Shawl Stitch Chart:
Video Tutorial: How to Crochet a Tip-to-Tip Triangle Shawl
Tip-to-tip construction may look different from other triangle shawls at first, but once you watch how it works, it’s actually easy to follow.
In this tutorial, you’ll see how to start at one corner, work your way to the center, and then decrease down to the other tip. You’ll also find out how this method makes vertical stripes and why it’s great for self-striping yarn.
If you haven’t made a side-to-side shawl before, this video will help you picture the shaping before you get started.
Simple Written Pattern:
Start with ch 4 (counts as first dc and chain one base).
Row 1 inc: 1 dc in first chain, turn (2 stitches).
Row 2 inc: Ch 3, 2 dc in first stitch, dc across, turn.
Row 3 inc: Ch 3, dc across until 1 stitch remains, 3 dc in last stitch, turn.
Repeat Rows 2 and 3 until you reach the center row (your desired height).
Then:
Row 1 dec: Ch 3, dc2tog, dc across, turn.

Row 2 dec: Ch 3, dc across until 3 stitches remain, dc3tog, turn.
Repeat these two rows until only 2 stitches remain, then finish with Ch 3, dc in last stitch.
Check out the Diana Herringbone Shawl for a real example. The video tutorial is there to help, too.
Here’s a little curiosity break. If you skip the decreasing section and just keep increasing on one side, you’ll create an asymmetrical shawl. I do this often when I want something playful or to use up leftover yarn. Each one turns out different and always puts a smile on my face.

The Small Mistakes That Change the Shape Completely
It’s amazing how even a tiny error—a missed increase, an extra stitch, or forgetting a chain—can change the look of your triangle shawl. If this happens, please don’t feel bad. I’ve had to rip out rows more times than I can count, and honestly, it’s just part of the process.
Here are a few things to watch for. Missing an increase at the center or edge can make your shawl curve or lose its point. Accidentally adding a stitch at the end of a row can cause one side to wave or look stretched. Skipping a turning chain might tighten up the edge and pull your shawl out of shape.
My best tip is to count your stitches at the end of each row, especially at the start. Use stitch markers so you know exactly where to add those extra stitches. Every few rows, lay your shawl flat and check if both sides look even and the point is centered. If you notice something off, just pull back a row or two and fix it. Every “oops” is a lesson and a step toward better crochet.
Go Beyond Basic Double Crochet: Make Your Triangle Shawl Your Own
Once you feel comfortable making a basic triangle shawl, you can start to play. There are so many simple ways to make your shawl unique. Try creative crochet stitches for texture, openwork, or even easy lace. Swap in half double crochet or treble crochet for a different feel.
Add stripes, color blocks, or use self-striping yarn if you want a little surprise in every row.
Curious about colorwork? The mosaic crochet is a fun way to try bold patterns with just two colors.
You don’t have to change everything at once. Try one new thing on your next shawl. Every experiment shows you something new about crochet and about yourself as a maker.
Where to Go Next
If you’re excited to keep going, you’ll find lots of options.
Free crochet tutorials for beginners will help you learn the basics and practice new stitches.
The double crochet tutorial is there for improving your technique.
Standing stitches will give you cleaner edges.
How to join yarn ends helps with switching colors or adding new yarn smoothly.
Ready to start a new project? These patterns are friendly for beginners.
If you want something with a twist, check out the mosaic crochet tutorial for a fresh challenge. Every shawl you make is progress, so pick what excites you and get started.
Frequently Asked Questions About Triangle Crochet Shawls
How do I start a triangle shawl as a beginner?
Start with a top down pattern. Begin with just a few stitches in a ring, then increase each row. You’ll see the triangle appear quickly and you can adjust as you go.
Which triangle shawl method is the easiest?
Top down is the most beginner-friendly because it’s easy to see where to add increases and fix mistakes. Bottom up is good too, especially if you like a steady rhythm.
How many stitches do I need to start?
Usually, just three or four. The shawl grows as you add increases, so you don’t have to plan the whole stitch count up front.
Why isn’t my shawl a triangle?
This usually means increases are missing or in the wrong place. Double-check your increase spots, count your stitches, and use markers if you need them.
Can I use a different stitch than double crochet?
Yes! Try half double crochet, treble crochet, or textured stitches. Just keep an eye on your increases and stitch count.
When should I stop crocheting?
Anytime your shawl is big enough for you, or the yarn is gone. Top down and asymmetrical methods are especially flexible.
What do I do if I make a mistake?
Don’t worry. Everyone pulls back rows now and then. It’s part of learning and makes you a better crocheter in the end.
If you have other questions, just ask or check out the linked tutorials. I’m cheering you on as you create your own triangle shawl.
Leave a Reply