Updated: 30 April 2025 by Sylwia (MyCrochetory)
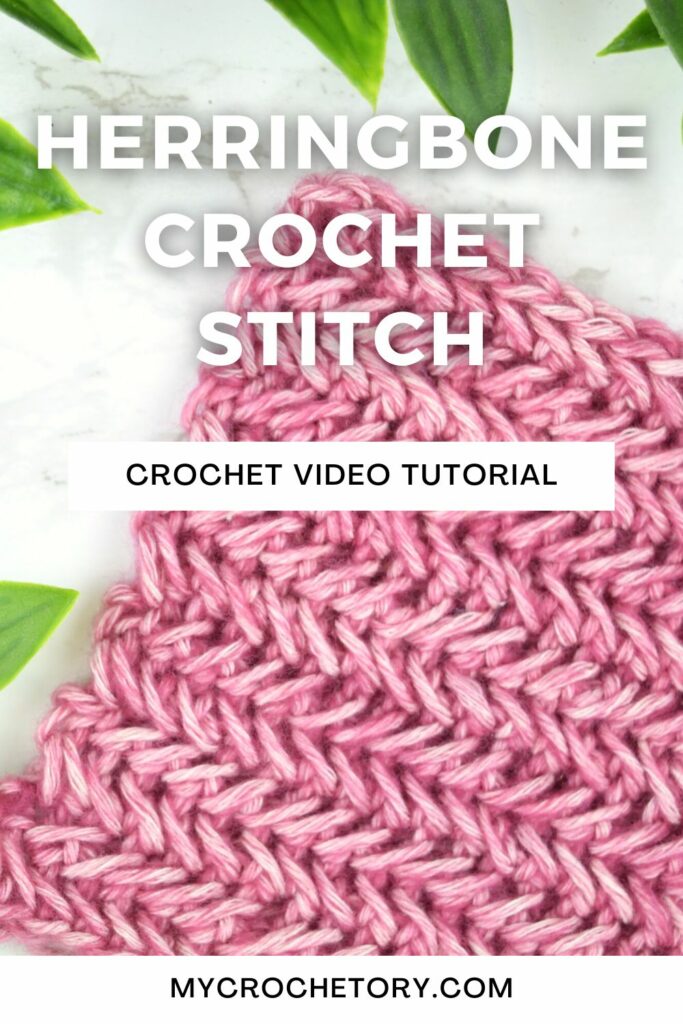
Learn how to crochet Herringbone Stitch successfully in this step-by-step photo and VIDEO tutorial below. The Herringbone Stitch is a beautiful stitch, richly textured and definitely worth taking the time to figure out.
Challenging yourself is a great way to learn and keep yourself motivated!
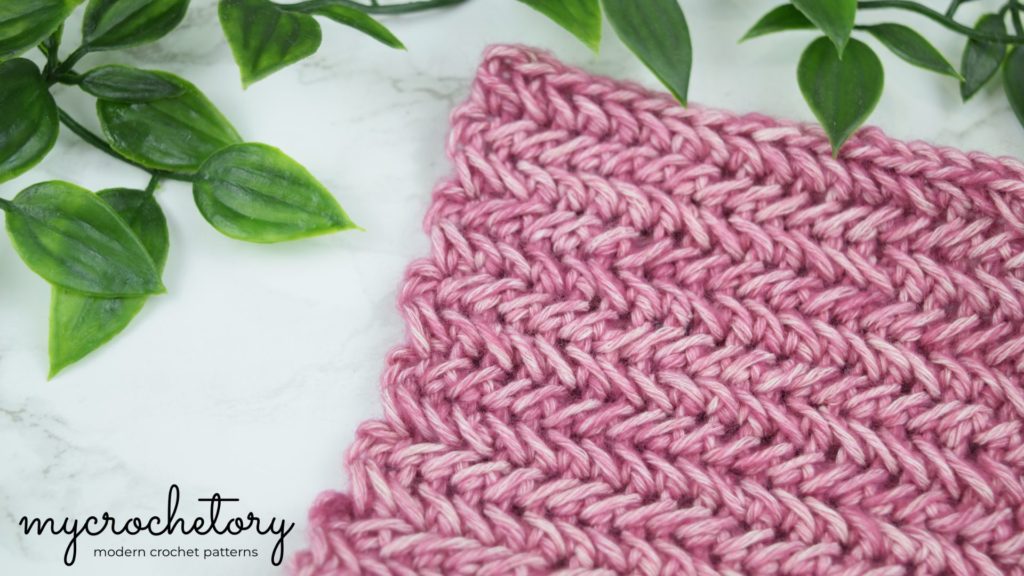
After you learn the basic crochet stitches, you can form all kinds of decorative stitch patterns. The Herringbone Crochet Stitch is a fun way to add texture to your work. This unique crochet stitch creates a beautiful zig-zag pattern that adds interest to any project.
This crochet stitch would be great for cowls, scarves, blankets, and more! The amazing chevron effect is achieved by working single crochet stitches you know in a unique way.
I will say that at first, the herringbone crochet stitch requires both concentration and perseverance, but if you practice with small swatches until you are ready to tackle your first pattern, then you will find the process much easier.
In this tutorial, I will show you how to crochet herringbone stitch in rows back and forth. It’s a two-row repeat, so it’s fairly easy to memorize once you’re a few rows in.
For this pattern, you will need worsted weight yarn. This yarn weight is perfect for creating a nice, textured fabric. The recommended hook size for this stitch is a 5.5 mm (I-9) crochet hook, but you can adjust the hook size to match your yarn and desired tension.

To crochet the Herringbone Stitch, you will work in the front of your work, creating a beautiful zig-zag pattern. Practice with worsted weight yarn to get the best results. This herringbone pattern is a unique crochet stitch that will add elegance to your projects.
To learn how to crochet a herringbone stitch, watch the step-by-step video tutorial below and scroll down for the written instructions. Happy crocheting!
TIP: To view this herringbone crochet video tutorial properly, please disable any ad-blocker you have running.
HERRINGBONE STITCH CROCHET FREE PATTERNS YOU MIGHT LOVE
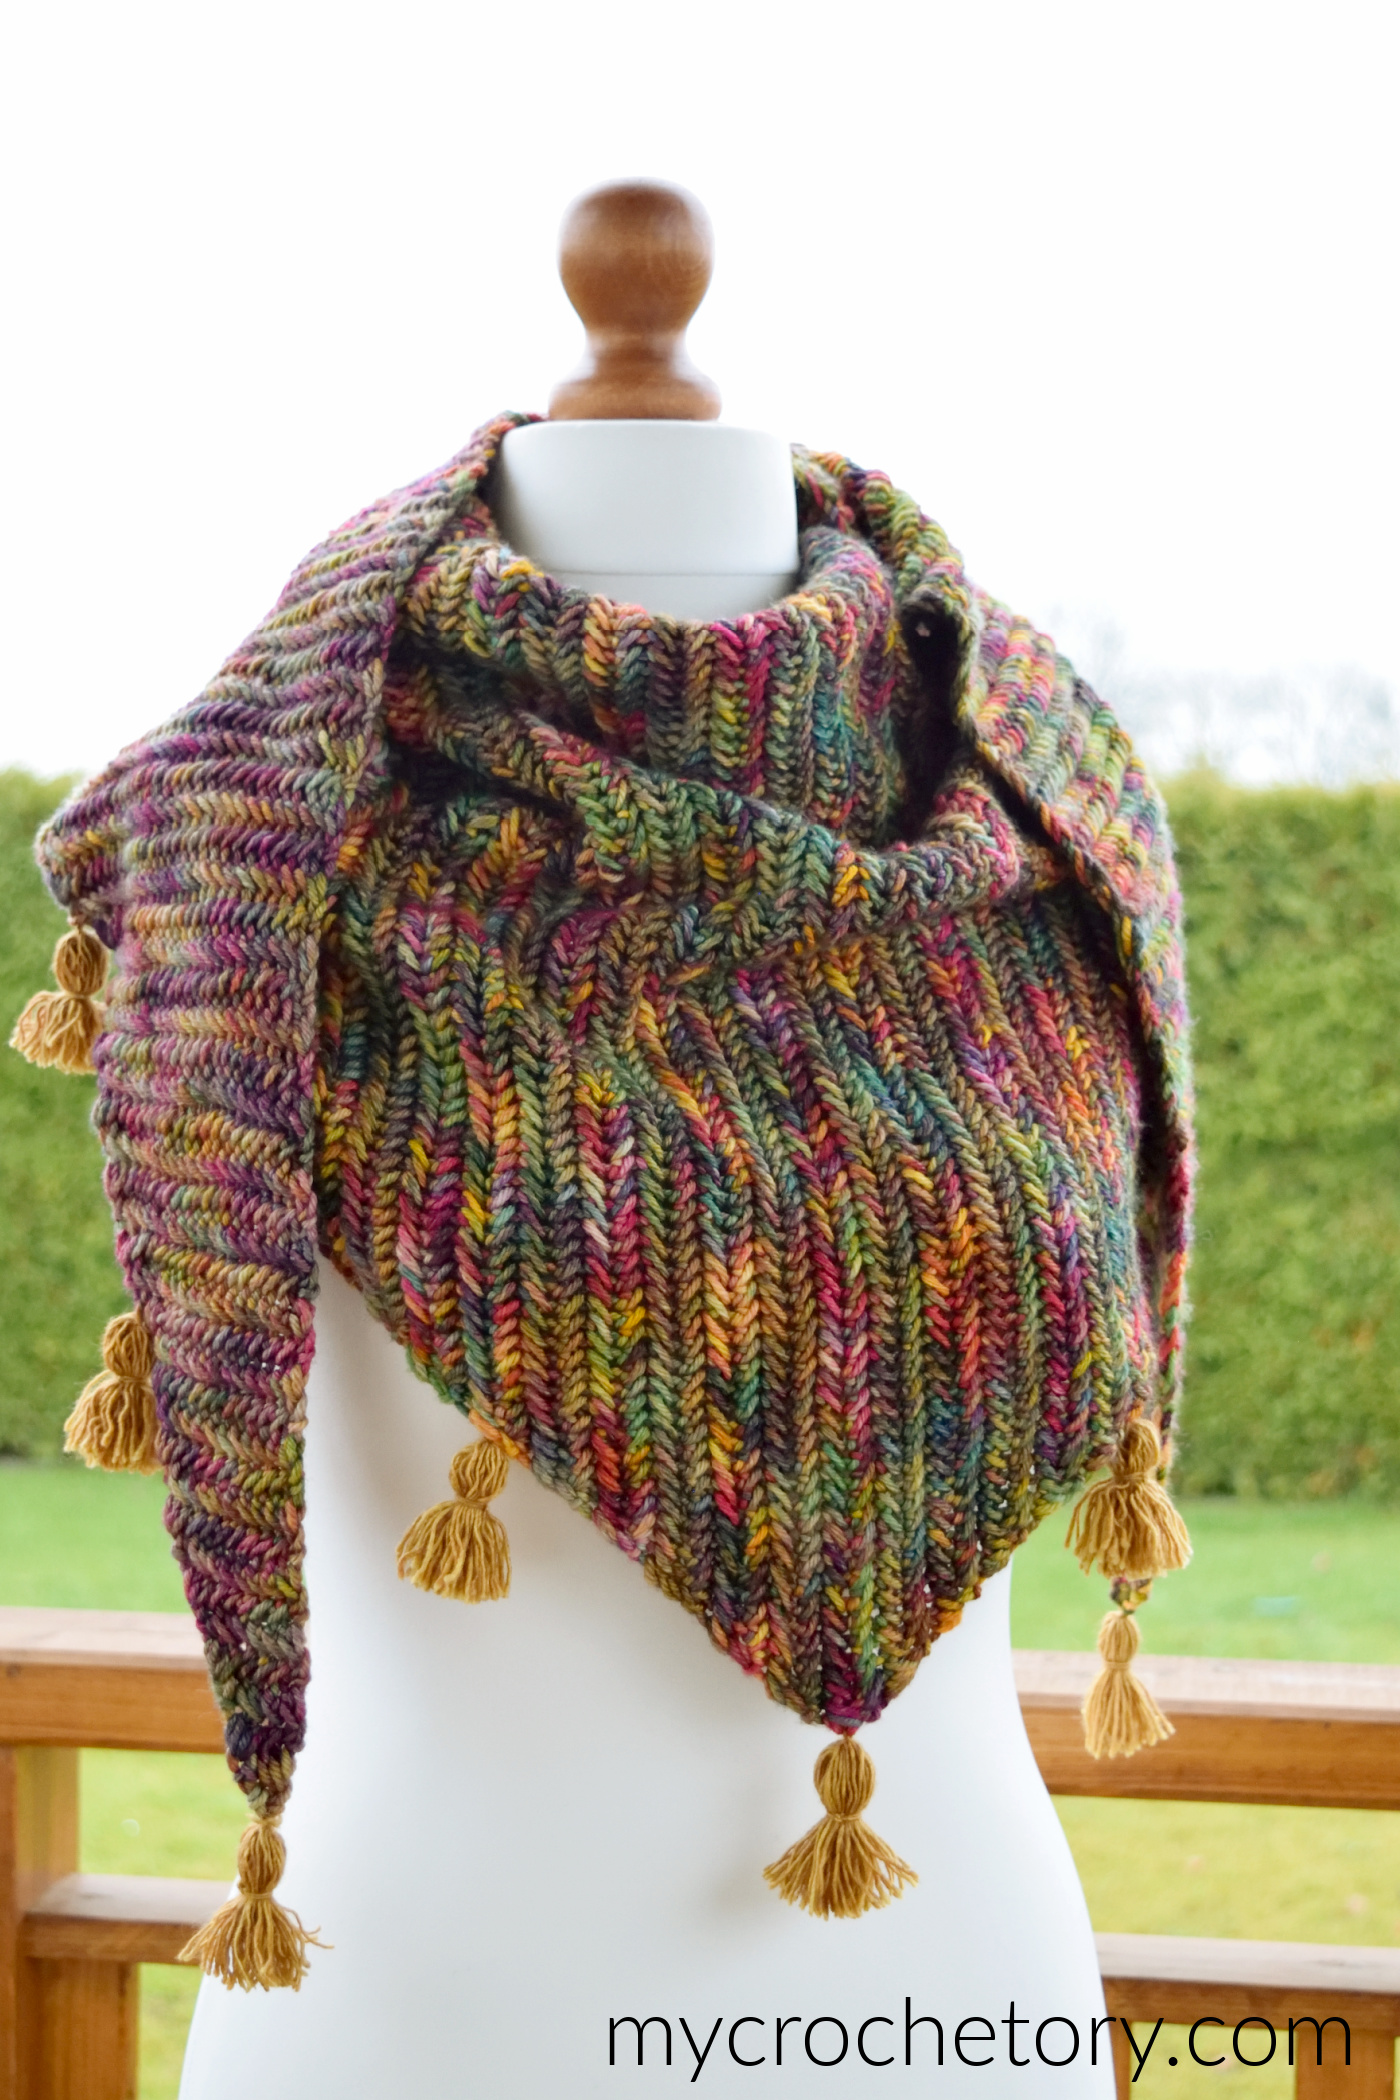
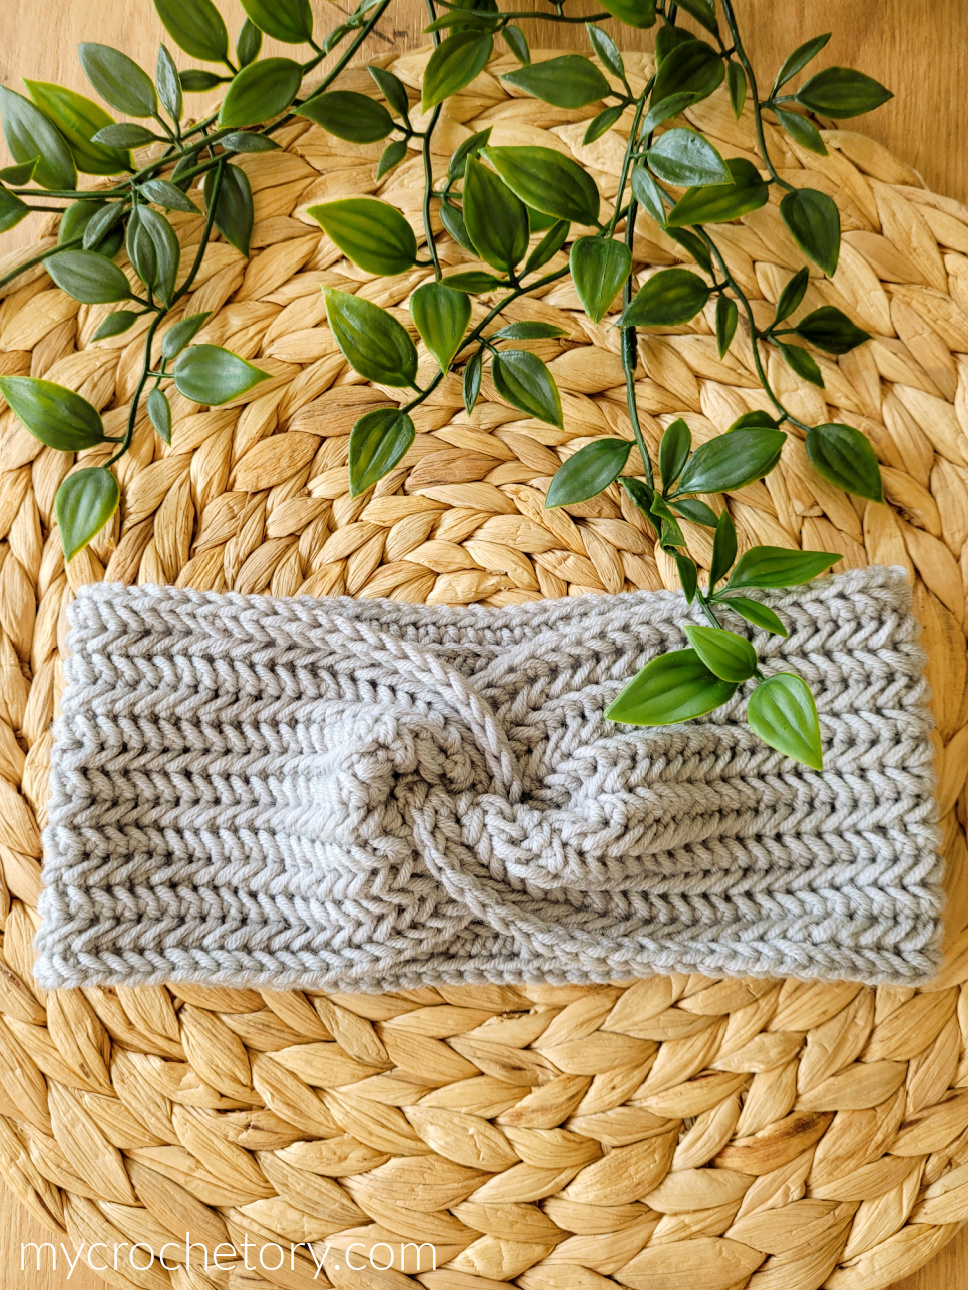
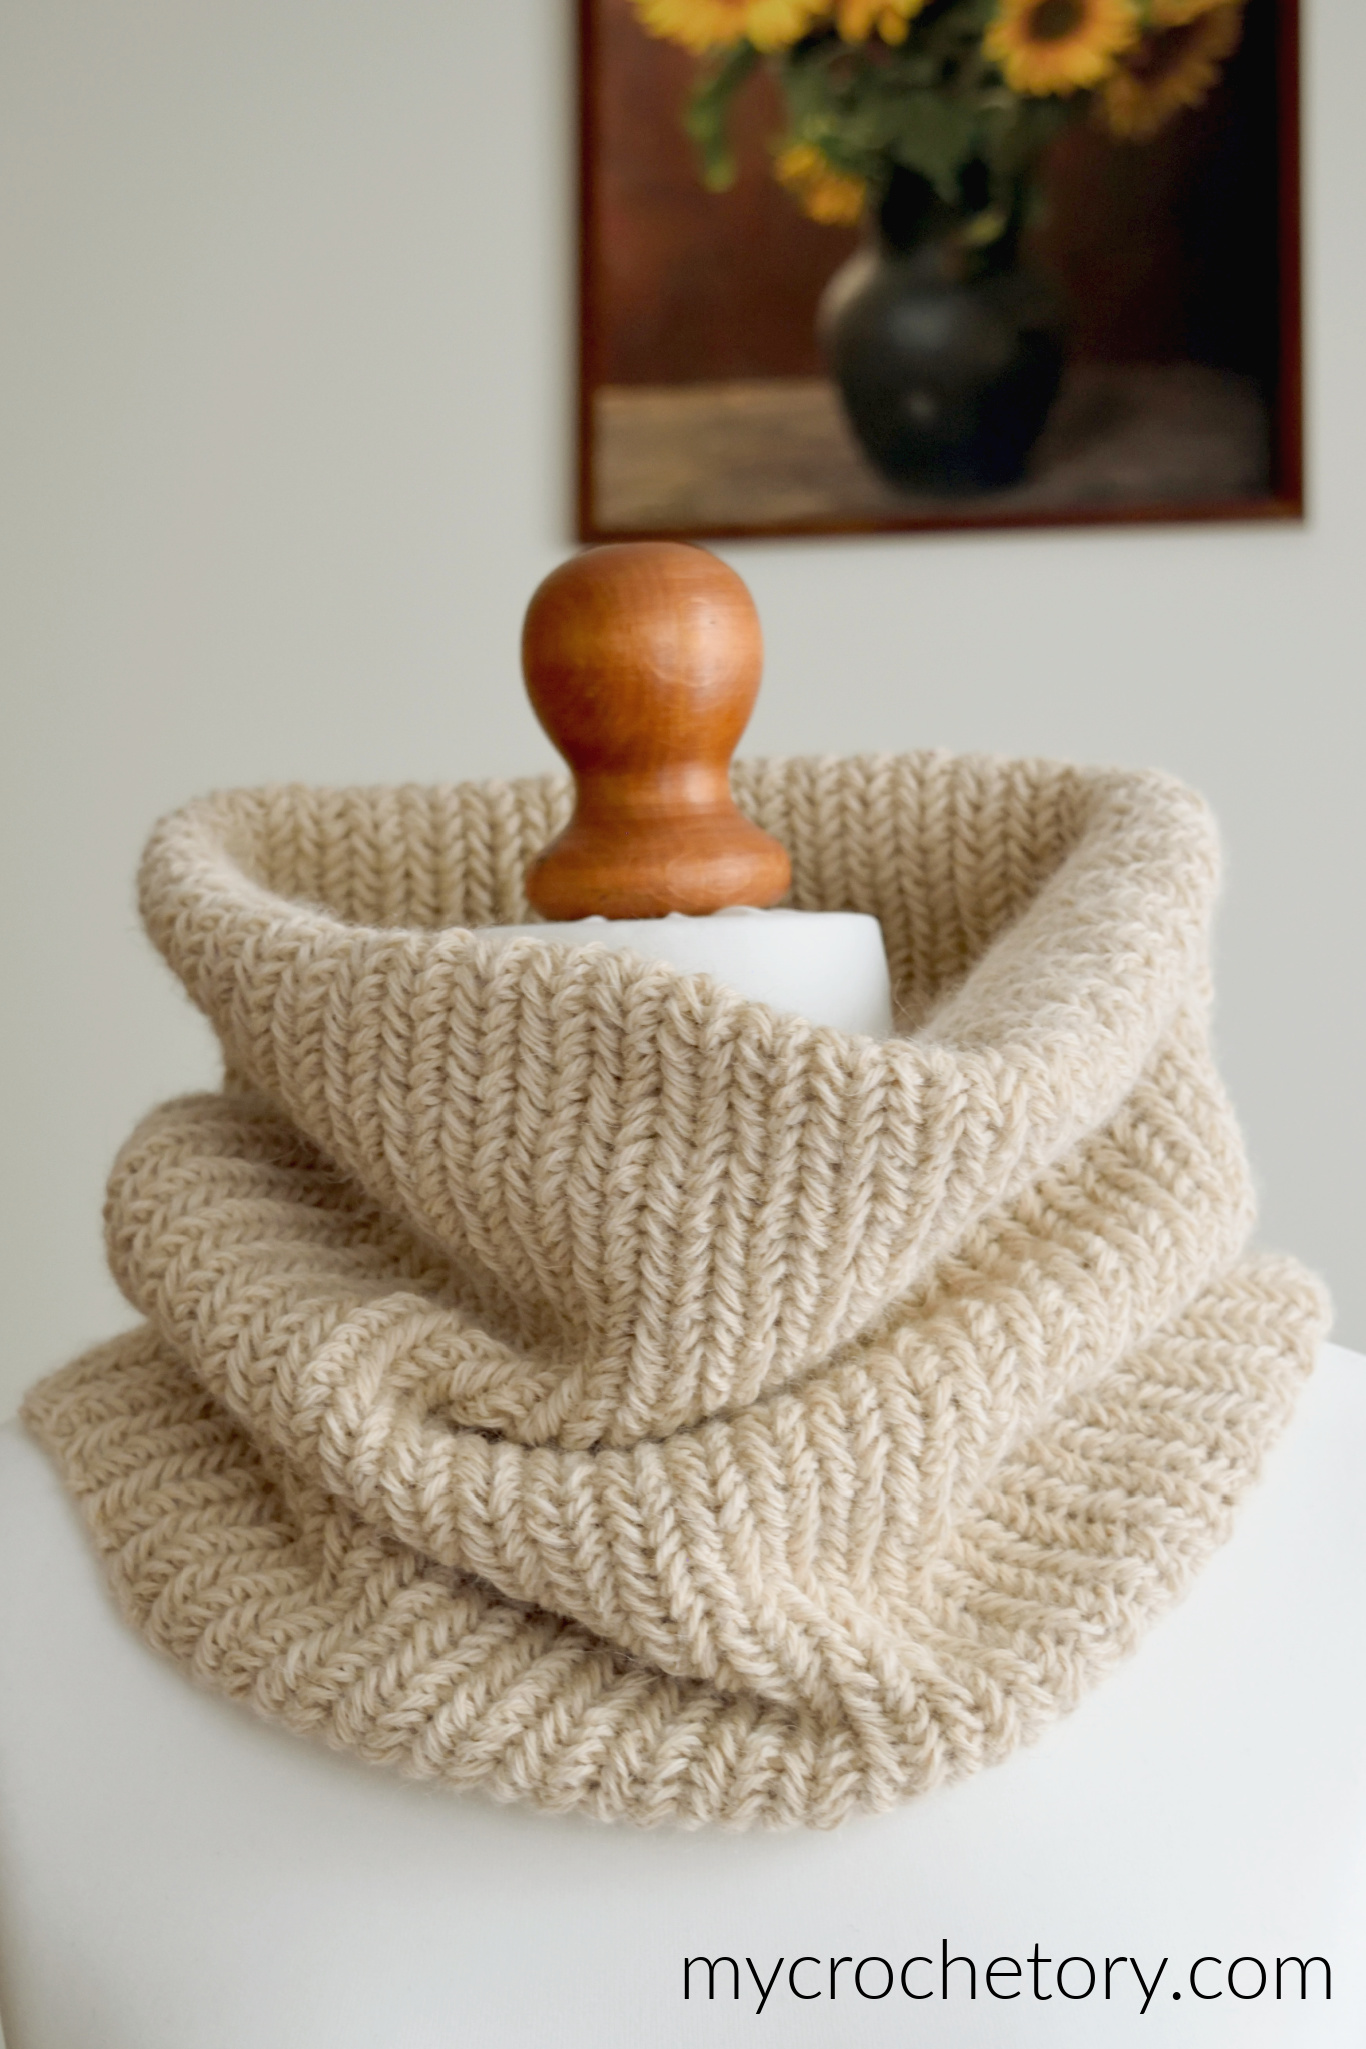
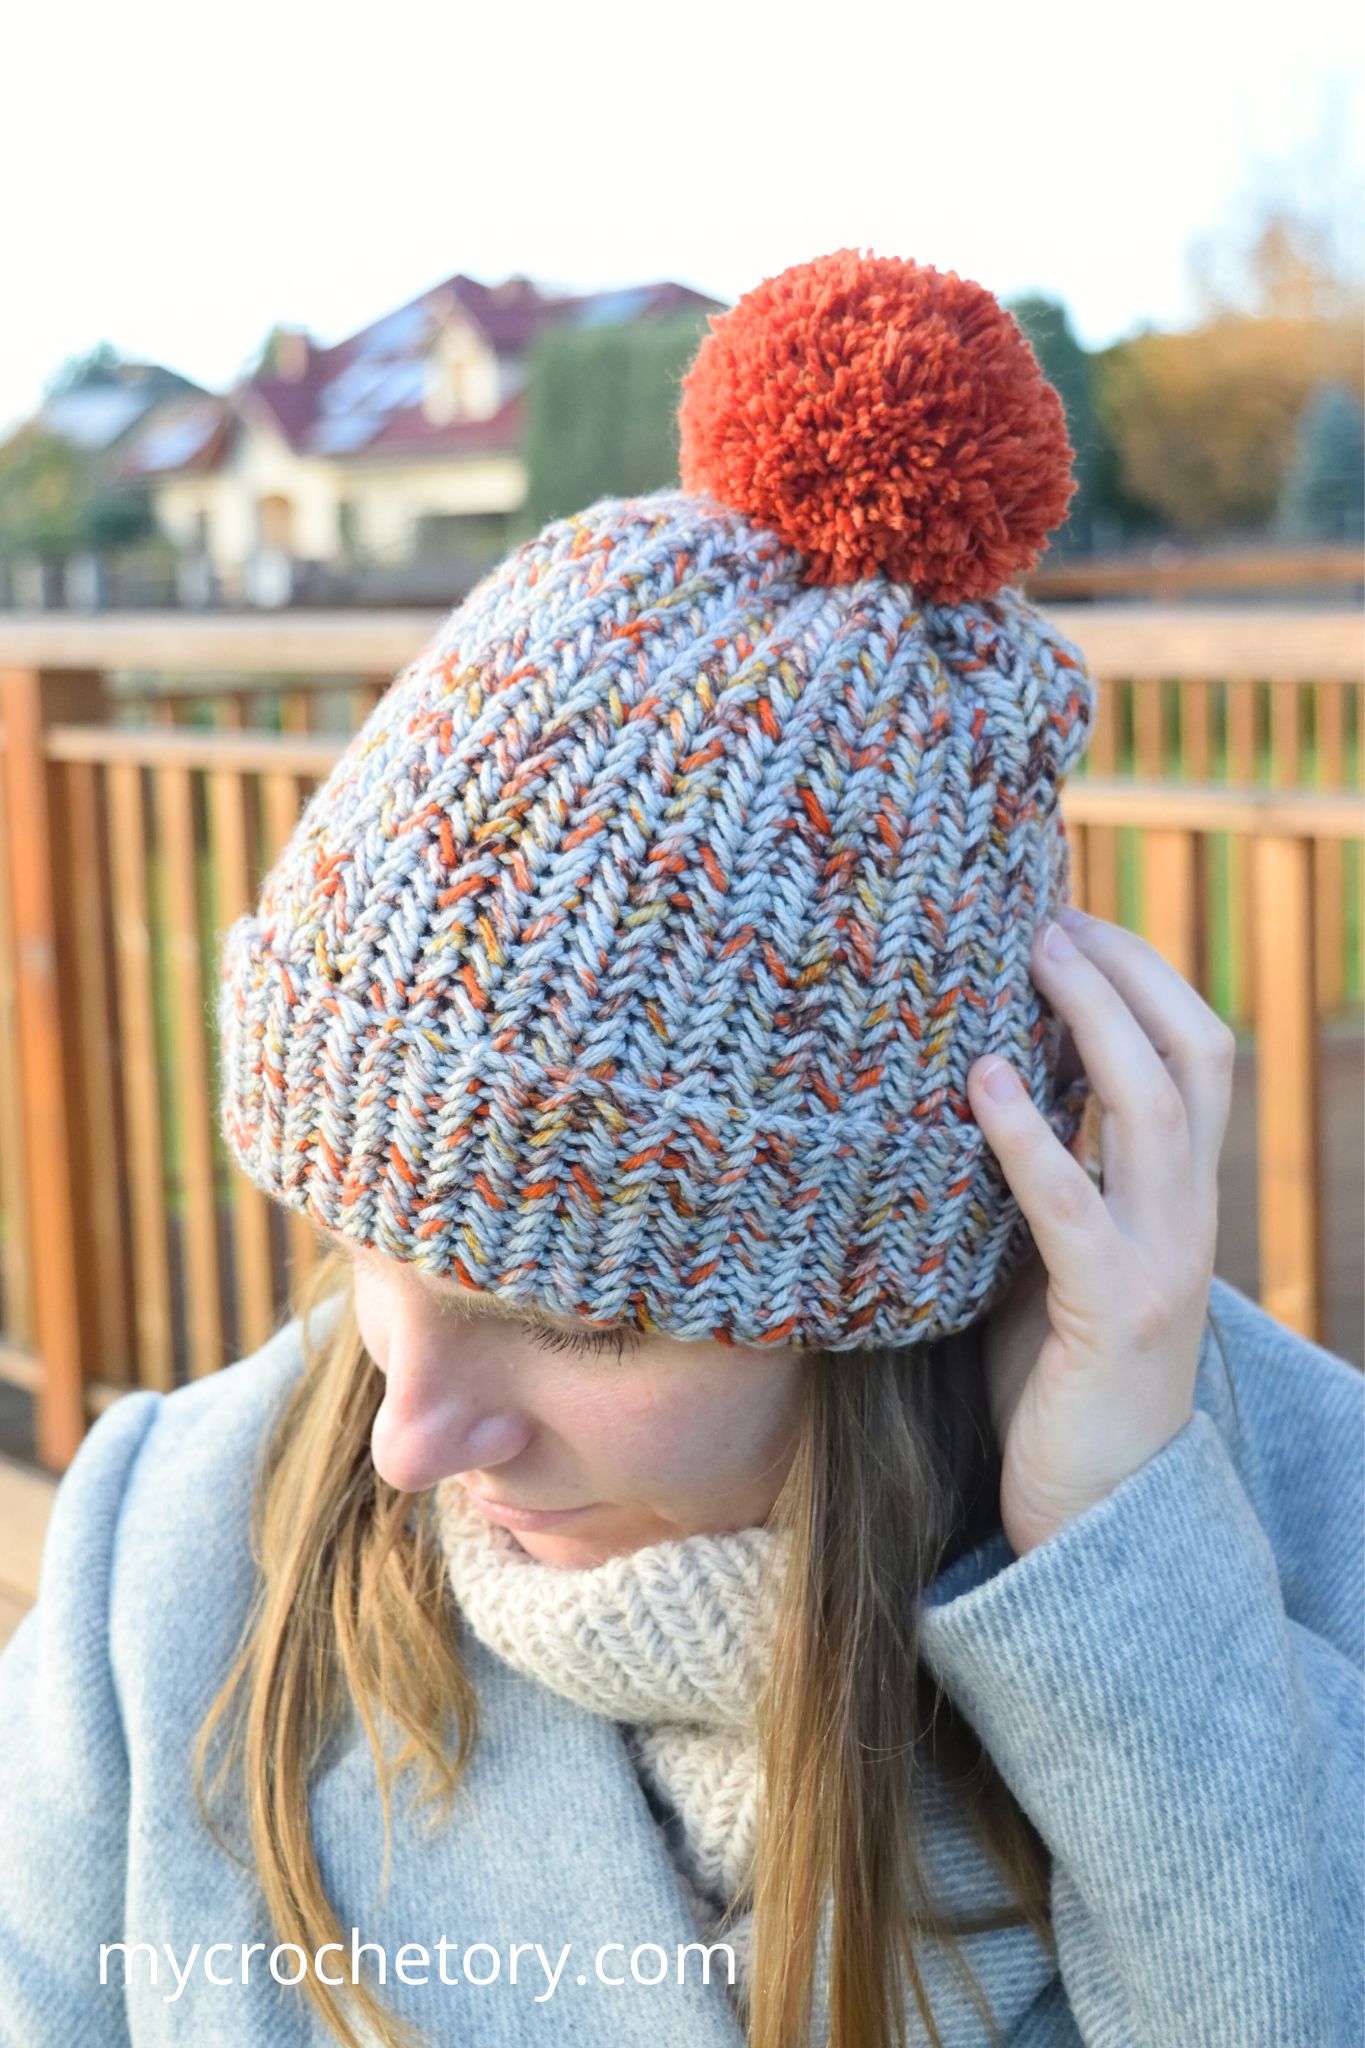
- Diana Herringbone Shawl / 2. Twisted Herringbone Crochet Headband / 3. Herringbone Crochet Cowl / 4. Siri Herringbone Hat
HERRINGBONE CROCHET STITCH TUTORIAL
- Foundation chain: Start with any number of stitches (chains).
- Right side. Work regular single crochet in the 2nd ch from the hook working in the back bump of the chain. The needle points at the right place.


3. Next, insert hook into left leg of sc just made.

4. Now, insert the hook into the back bump of the next chain and pull up a first loop, yarn over and pull through all three loops on the hook.


5. Continue working herringbone single crochet to end. First, insert your hook into left leg of previous stitch, then insert the hook into the back bump of the next chain. Pull up a loop, yarn over and pull through all three loops on the hook. Turn.


6. Wrong Side of Your Work. Chain 1 (turning chain, do not count as a stitch). Work single crochet in first stitch from the back to the front (the needle points the right direction).


7. To work a next stitch, insert the hook into left strand of the previous stitch (from right to left) and then insert the hook into the next stitch working from back to front. Yarn over, pull up a loop, yarn over and pull through all three loops on the hook.


8. Work in the same manner to the end of the row.


9. Right Side. Chain 1 (turning chain, do not count as a stitch). Work single crochet in 1st stitch from the front to back.

10. To work a next stitch, insert the hook into left strand of the previous stitch (from right to left) and then insert the hook into the next stitch working from front to back. Yarn over, pull up a loop, yarn over and pull through all three loops on the hook.


11. Work in the same manner to the end of the row.


Next, repeat Rows 2 – 3.
Appearance of RS (right side):

Appearance of WS (wrong side):

MORE CROCHET STITCHES
If you found this herringbone crochet stitch tutorial helpful, you might also like posts:
- Basketweave Crochet Stitch
- Crochet Moss Stitch Tutorial
- V-Stitch Crochet Stitch Tutorial
- Crochet Star Stitch Tutorial
- Clamshell Crochet Stitch Tutorial
- HDC between the stitches Tutorial
- How to crochet two rows of DC at the same time
Don’t forget to save this Pin for easy reference: 📌
We’d love to hear about your crochet adventures and see your beautiful creations. Drop a comment below sharing your thoughts, questions, or even your favorite crochet tips! Your voice adds a vibrant thread to our crafting community.
Sharing is caring! If you found this guide helpful, consider spreading the love. Click the share button and inspire other crocheters.
Stay in the loop with our latest crochet guides, tips, and inspiration. Subscribe to our newsletter for exclusive content straight to your inbox. Never miss a stitch—subscribe today!
Happy crocheting, and may your yarn always be tangle-free!
Join my Facebook Group and Official Ravelry Group where you can find necessary support, you can ask questions or share your finished projects.
You can also follow my Instagram, Facebook page and Pinterest.
Leave a Reply