
Updated: 21 September 2026 by Sylwia (MyCrochetory)
Star stitch crochet looks like it belongs to people who’ve been crocheting for twenty years. It doesn’t.
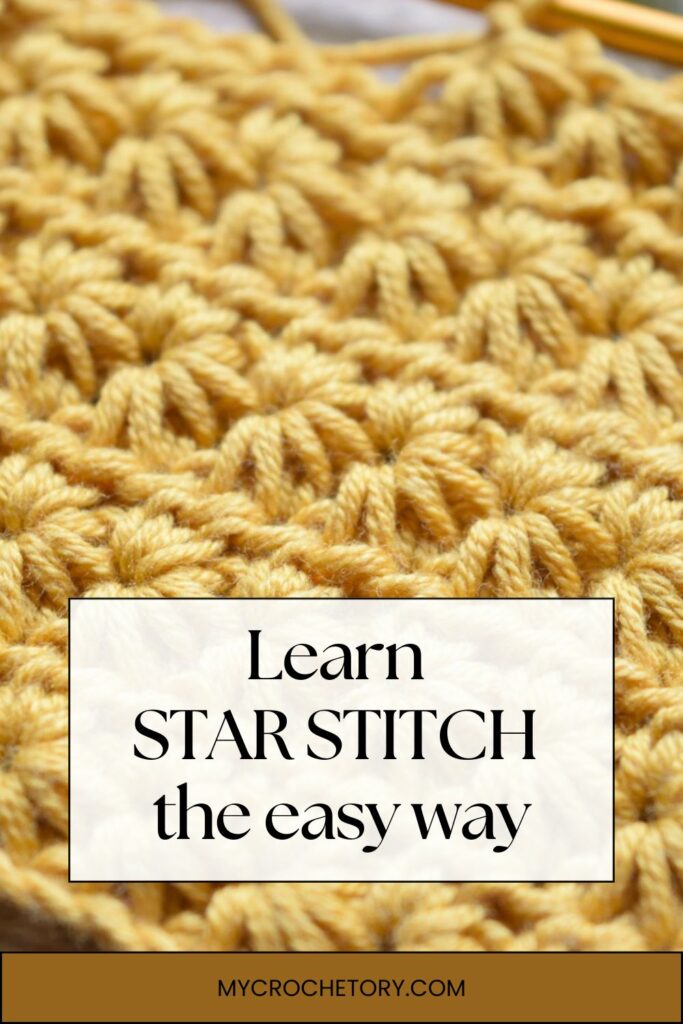
I remember scrolling past photos of it for ages, thinking it looked way too fiddly to bother learning. All those tiny spikes radiating out from one center point, it just seemed like a lot going on at once.
Turns out it’s not. It’s a repeated motion, pull up a few loops, close them together, chain one, move to the next star. Once your hands get through the first few, you stop thinking about it and just do it.
I finally sat down and learned it properly because it was one of the last gaps in my stitch library, and honestly, I wish I’d done it years earlier instead of assuming it was out of my league.
Below, I’ll walk you through exactly how it works, row by row, and I’ll show you the two things that trip up almost everyone starting out: keeping your stars even, and actually spotting that little “eye” you need for the next row.
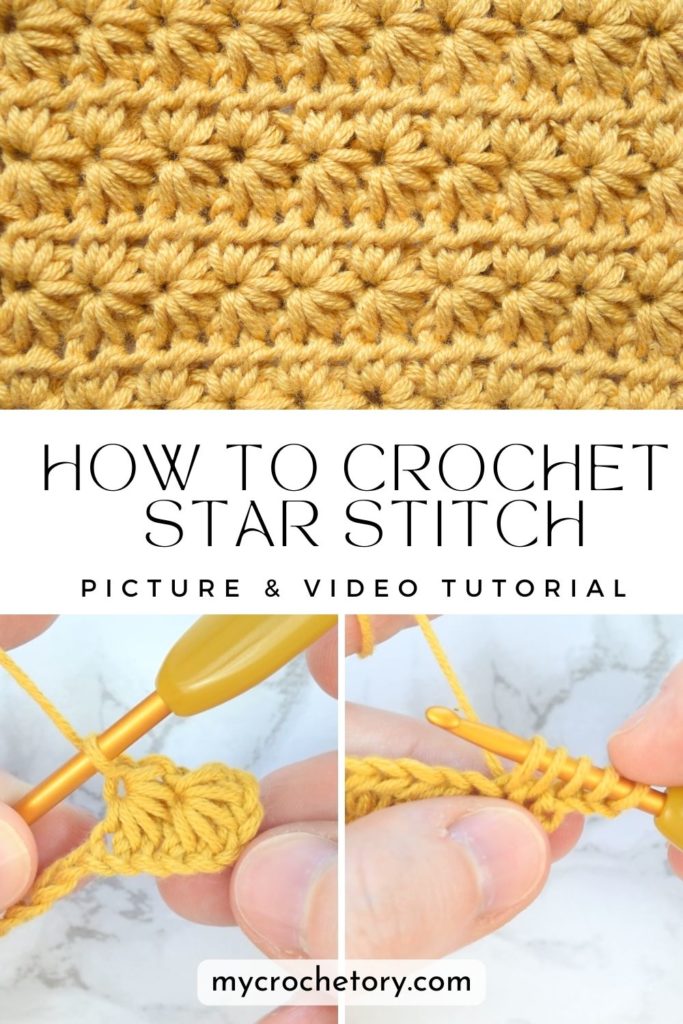
What Makes Star Stitch Crochet So Fun to Learn
What actually surprised me about this stitch wasn’t the motion, it’s how fast you see progress. Most textured stitches take a few rows before anything interesting shows up. With star stitch crochet, one small sequence and a star’s already sitting right there in your fabric.
It also builds skills you’ll use everywhere else without you even realizing it. Matching loop height, spotting small openings, keeping rows consistent, all of that carries straight over into other textured stitches. Get comfortable with star stitch crochet, and a bunch of trickier stitches suddenly feel way less scary.
Fast results plus real skill-building, that’s honestly why I’d point even a beginner toward this one.
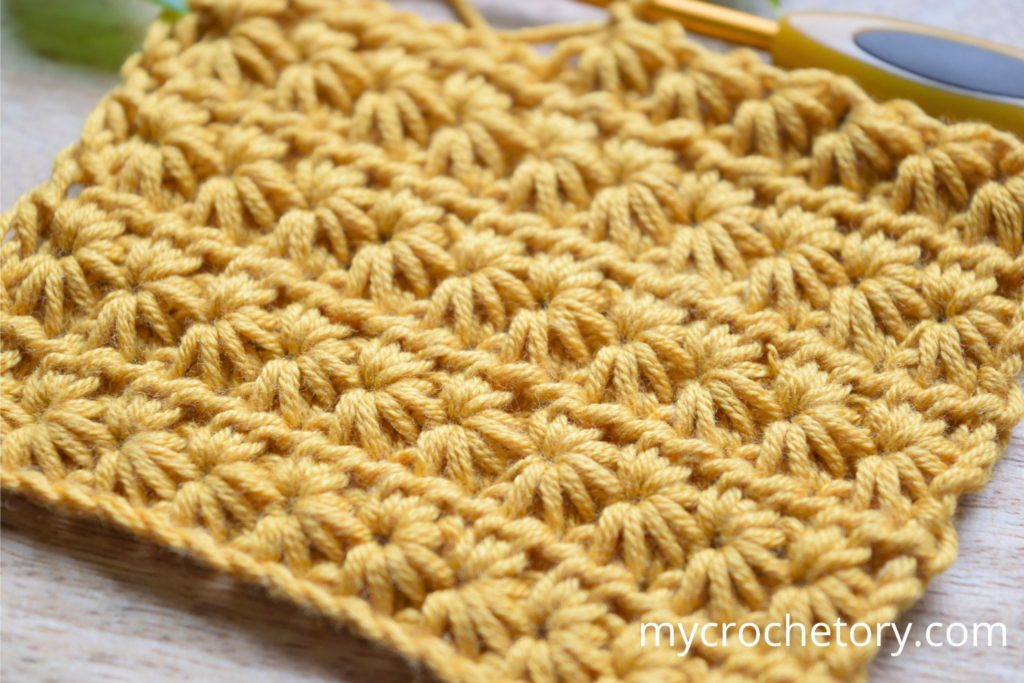
Where to Use Star Stitch Crochet
Once the motion clicks for you, you’ll start spotting places to use it everywhere.
Bigger projects work really well here. Blankets build up in this even, satisfying rhythm since the rows just stack cleanly on top of each other. Scarves and cowls come out warm with real weight to them, and pillows or throws end up looking neat and put-together.
Smaller pieces are just as good, especially while you’re still getting the hang of things. Headbands let you practice the motion without committing to something huge. Coasters work up fast and give you a flat little shape to check your tension on. Baby items look sweet in this texture too, and they’re small enough to actually finish in a weekend.
Solid colors show off those star shapes best, and the texture works with almost any yarn weight, so there’s no wrong project to start with.
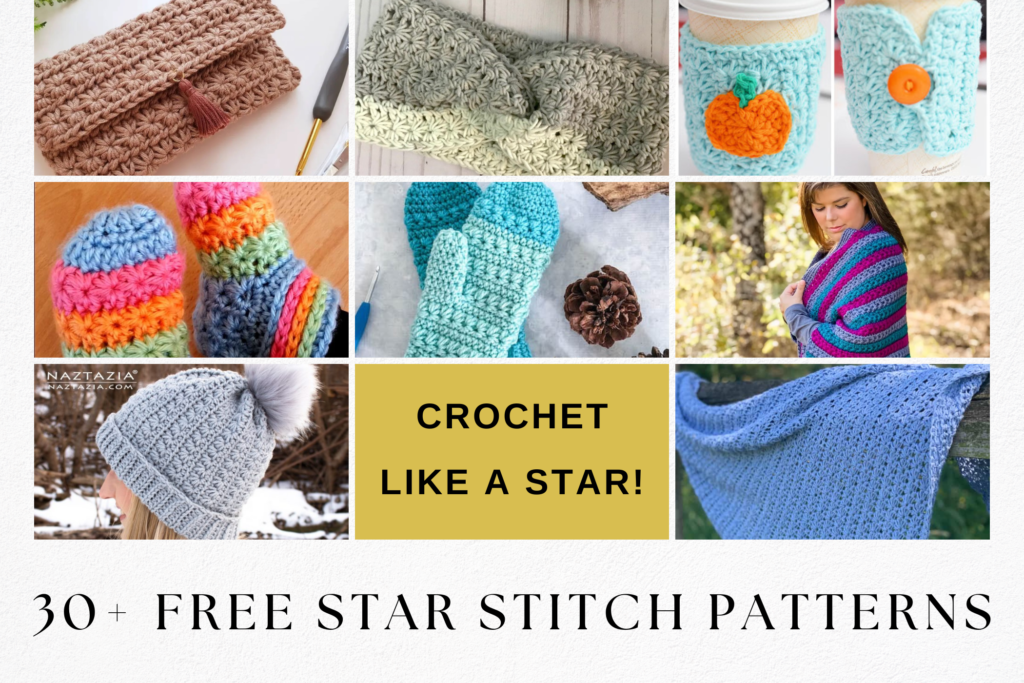
Want to see it in action first? Check out these free star stitch crochet patterns for a few ready-made ideas.
Stitches and Abbreviations Used in This Tutorial
Everything here follows US terms, and you only need a few basic stitches to get started.
- ch – chain stitch. Need a refresher? Here’s how to crochet a chain.
- sc – single crochet. Here’s how to single crochet if you want a quick review.
- hdc – half double crochet. New to this one? Check out how to half double crochet.
- yo – yarn over
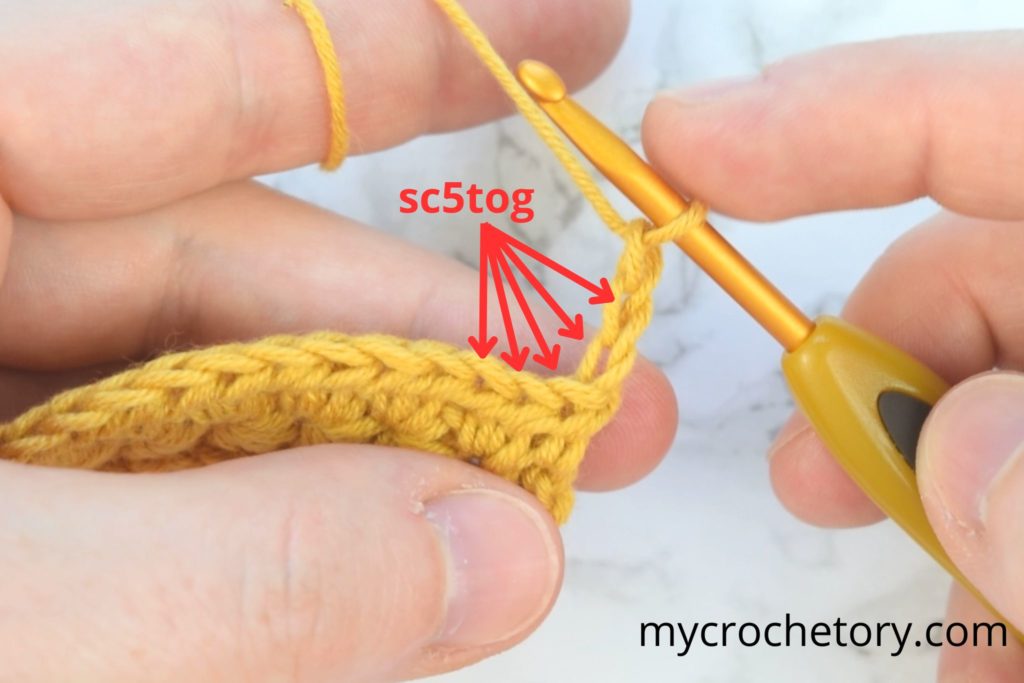
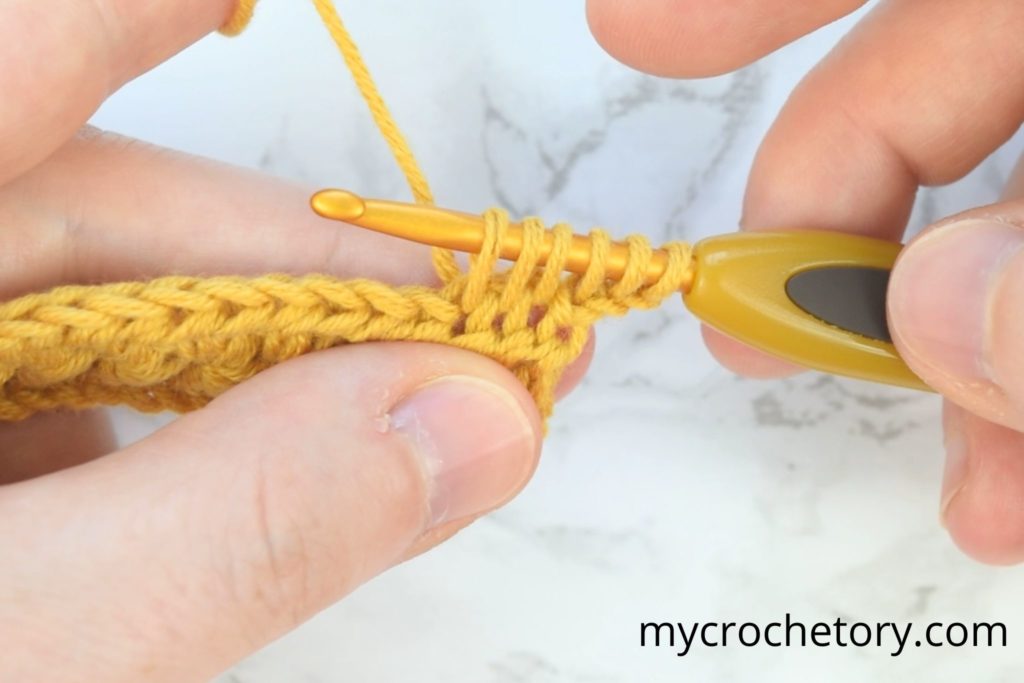
- sc5tog – insert your hook in the stitch, yarn over, draw up a loop, five times total, then pull through all 6 loops on your hook.
Watch the Video Tutorial
If you learn faster by watching than reading, the video walks through the whole stitch at a comfortable pace, so you can pause and rewind whenever you need a closer look.
The video matches the written steps below, so once you’ve watched it, scroll down and follow along with the photos row by row.
Quick tip: if the video won’t load right, try turning off your ad blocker.
How to Crochet the Star Stitch Step by Step
Now for the fun part! These steps match the pictures, so you’ll always know exactly where to put your hook.
Here’s what you’ll learn: how to start your first star, how to make your first cluster of loops, and how to find the “star eye” you’ll use again and again in this pattern.
How to Start the Crochet Star Stitch
Start with a foundation chain made with an odd number of stitches. For this tutorial, I chained 25.
Look at the second chain from the hook and begin your first sc5tog. Pull up the loops exactly as shown in the photos and keep them at the same height.
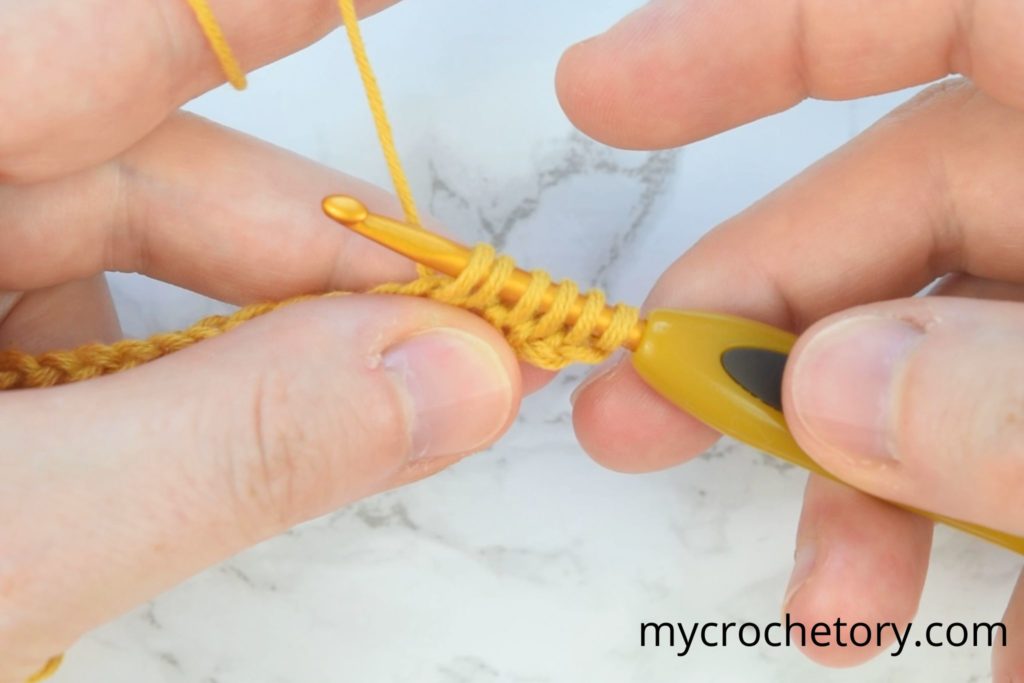
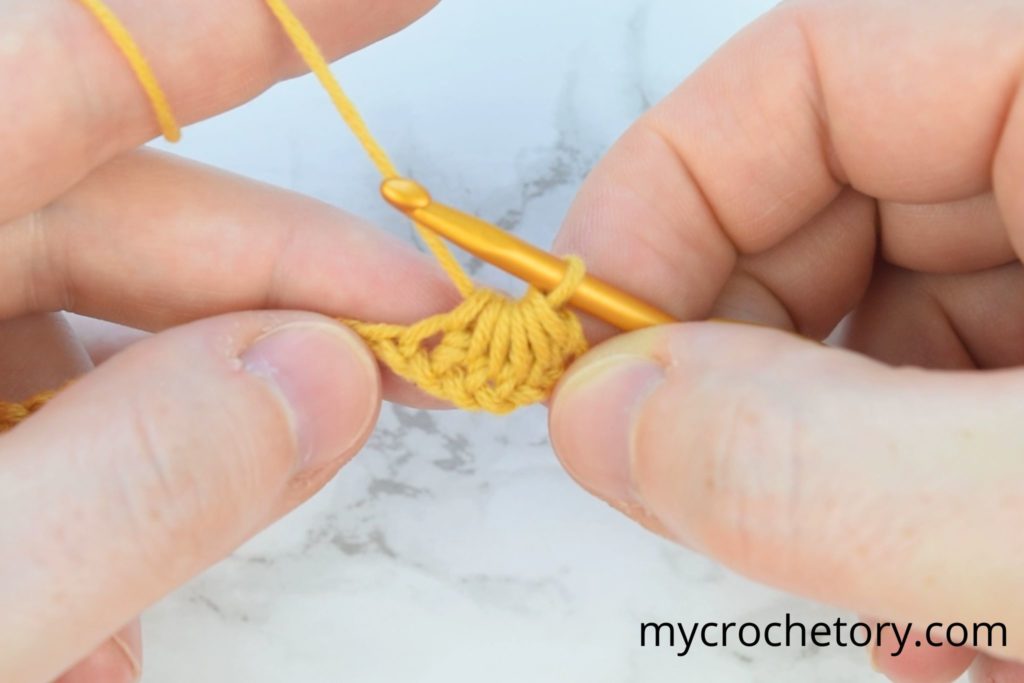
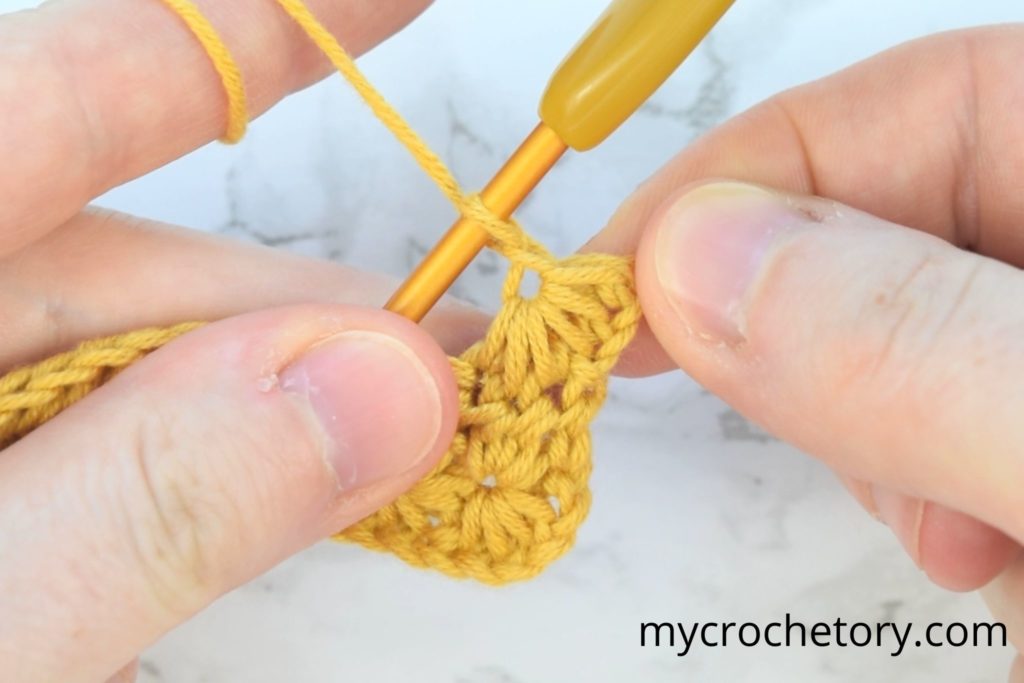
Once you have all loops gathered, close them together and chain one to create the star eye.
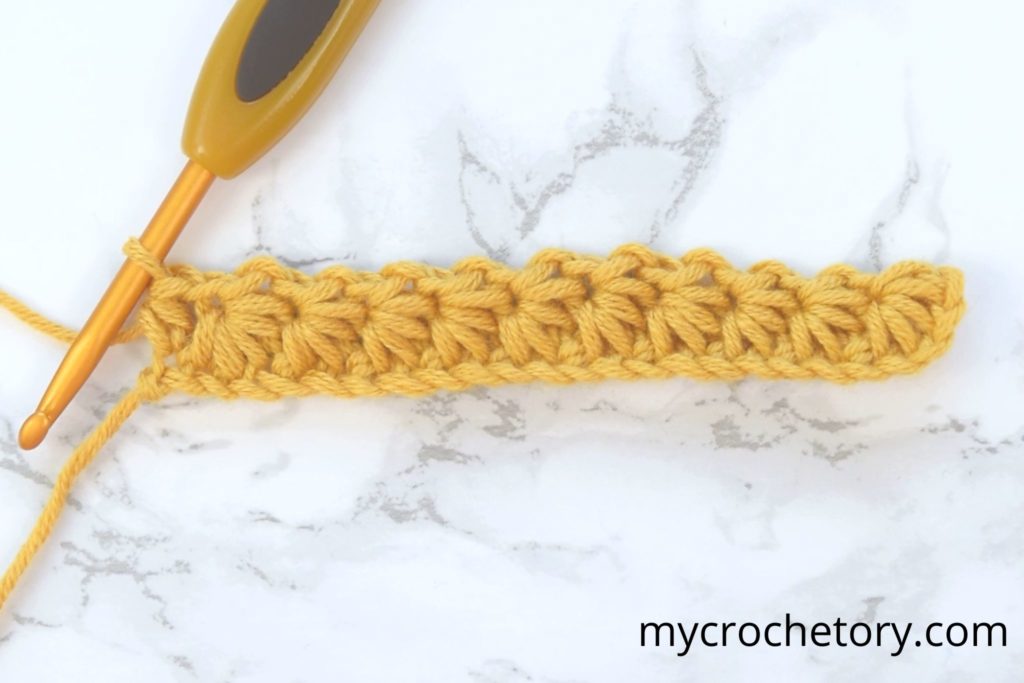
This eye is the opening you will use for the next star. After your first one is complete, continue across the row by repeating the same movement.
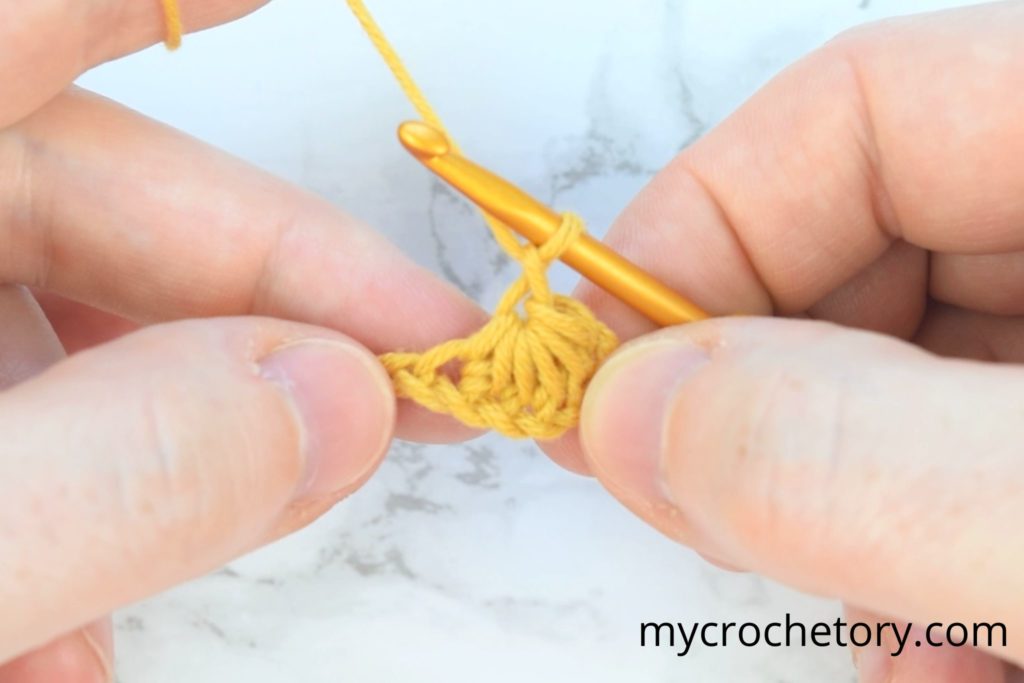
Row 1: Forming Your First Stars
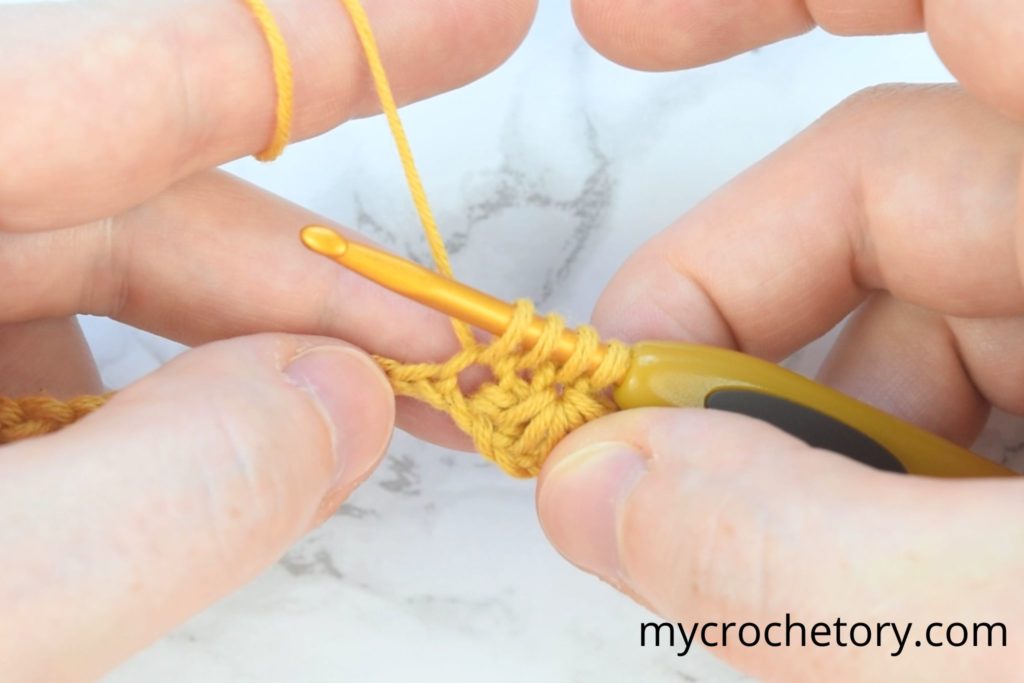
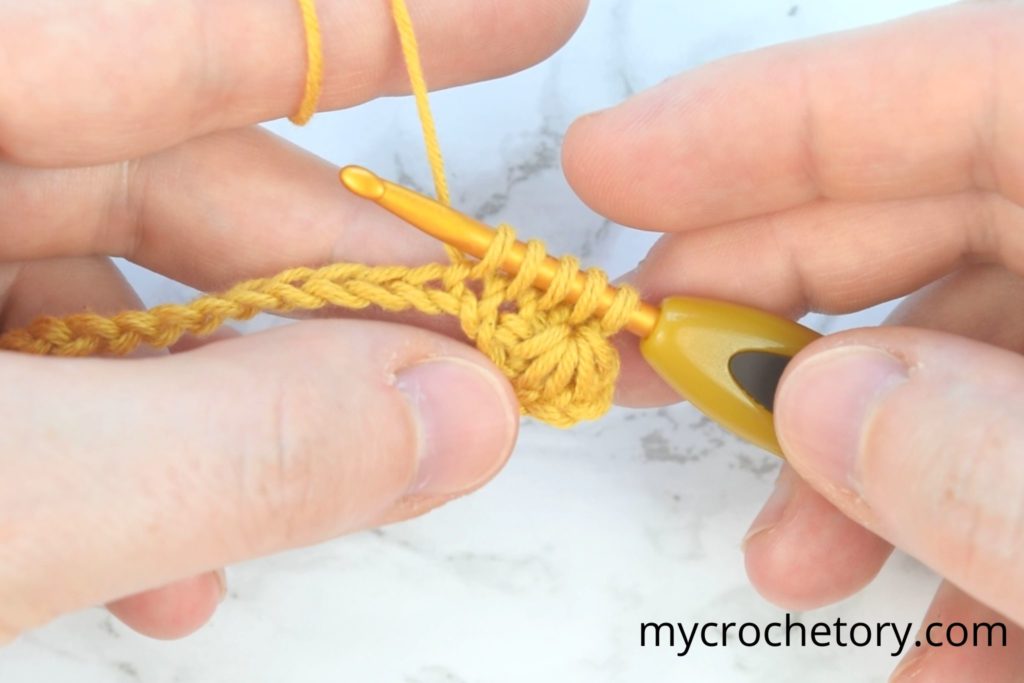
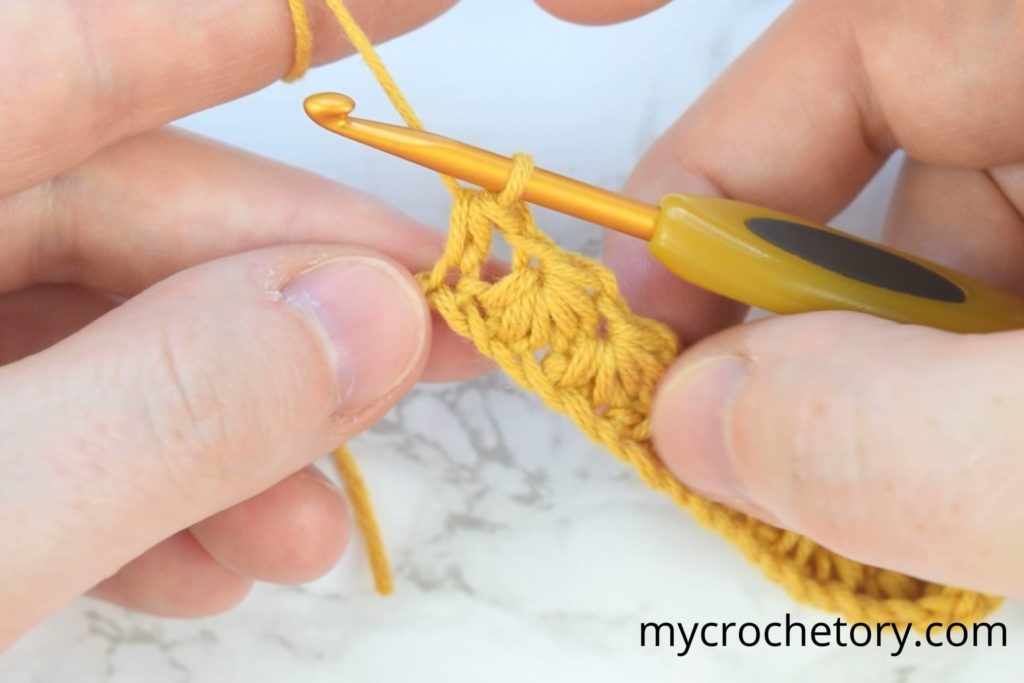
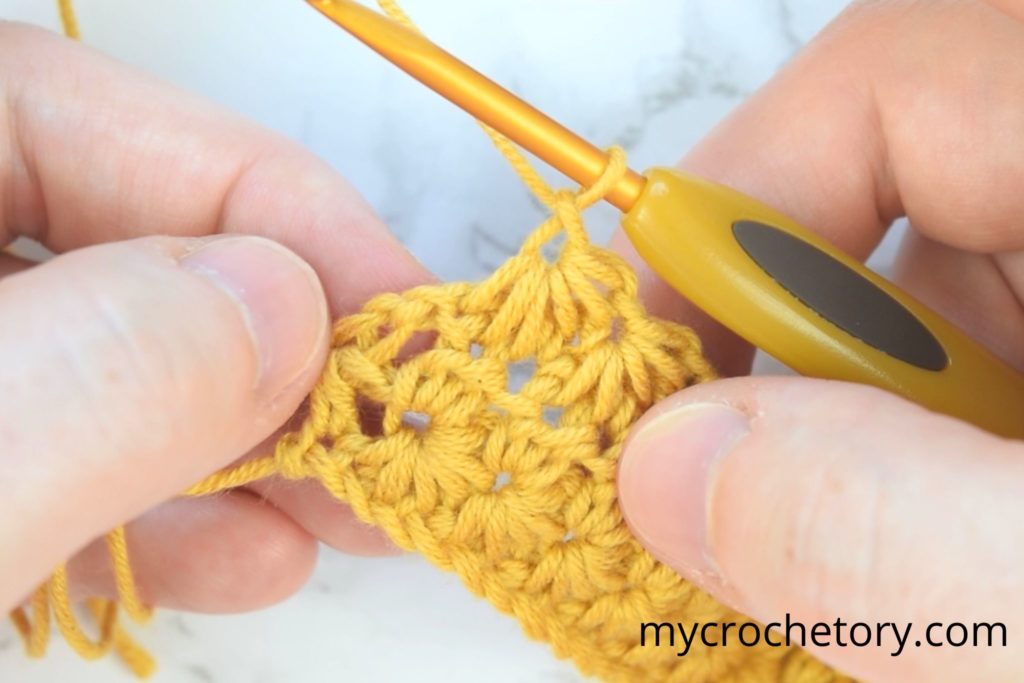
To make your next star, insert your hook into the star eye that you just made, yarn over and pull up a loop.
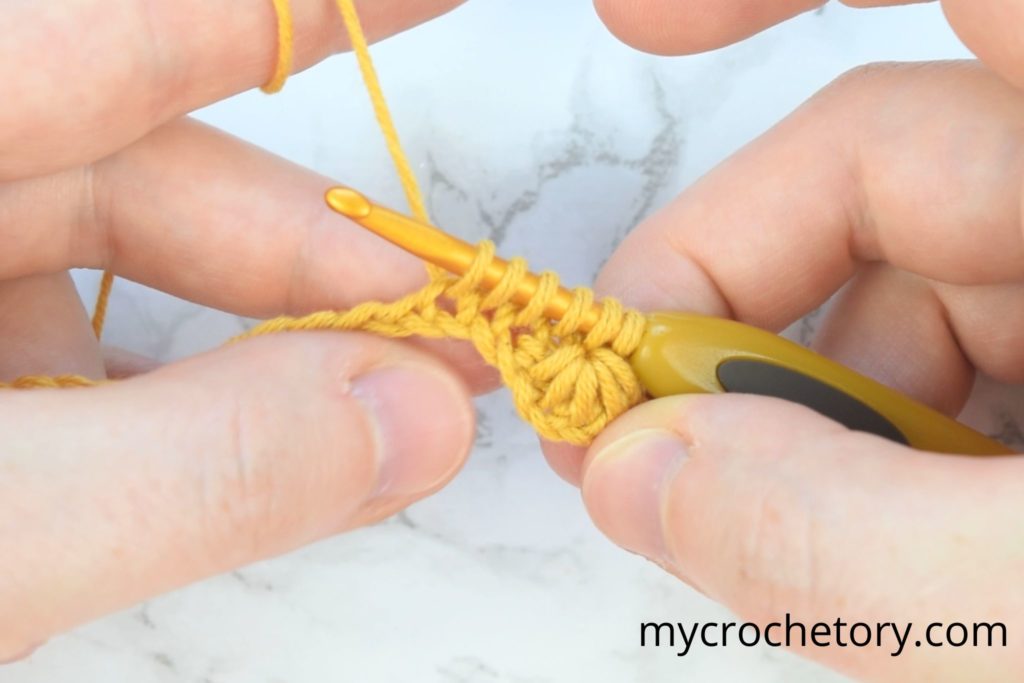
Pull up another loop from the last spike of the previous star, then another from the same chain you used for the previous stitch. Pull up two more loops from the next two chains.
Close all loops together (pull through all 6 loops) and chain one to make the next star eye.
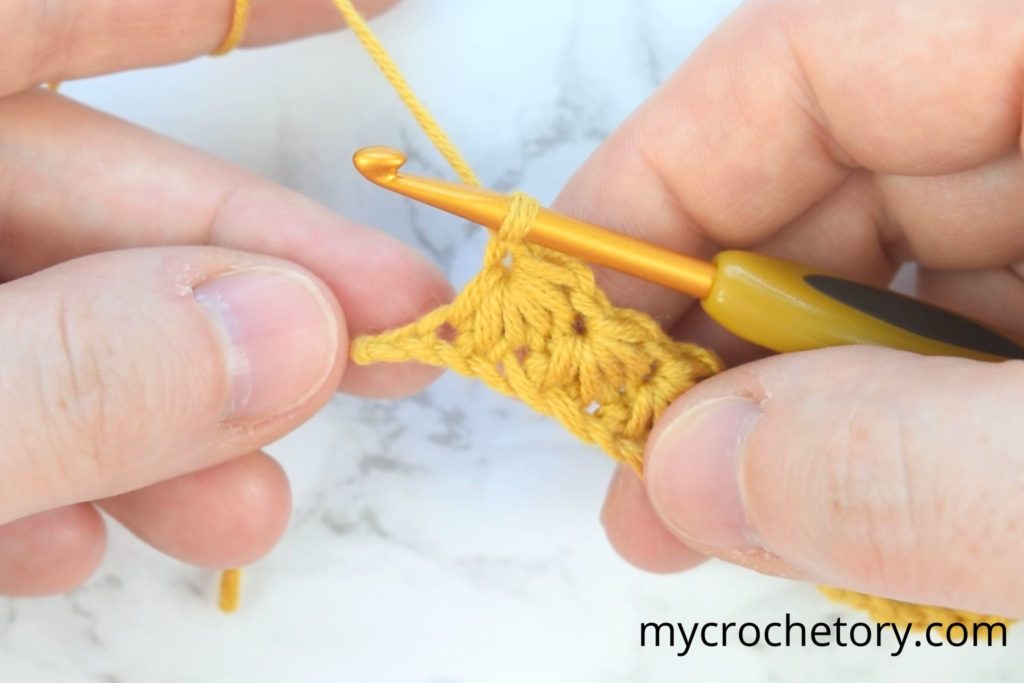
Repeat this across the row until you reach the final chain. Work a half double crochet into that last chain to complete Row 1.
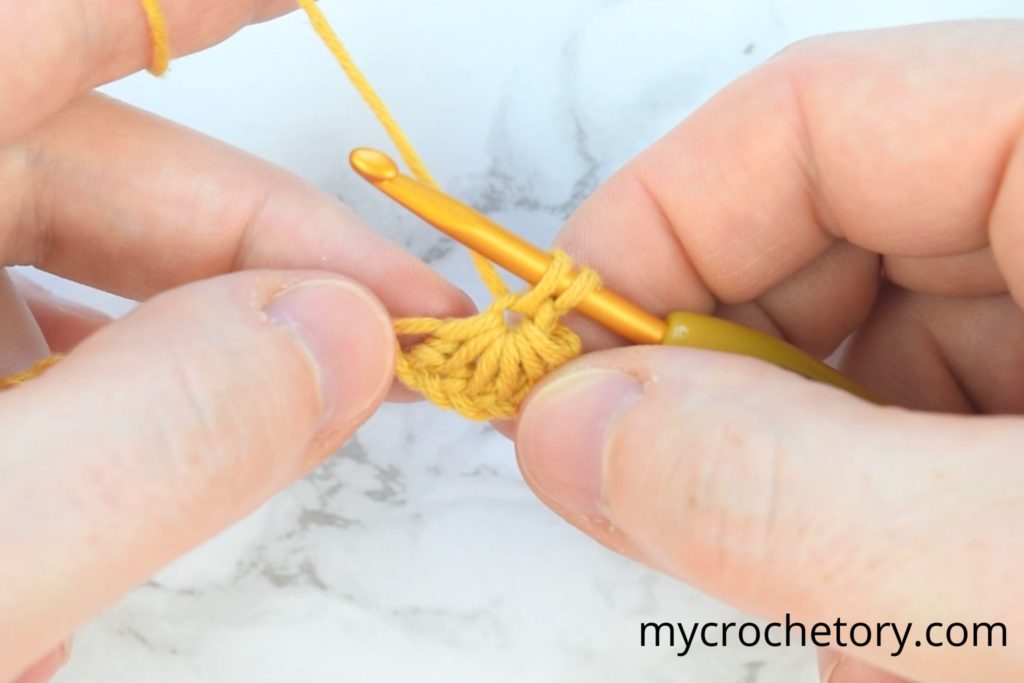
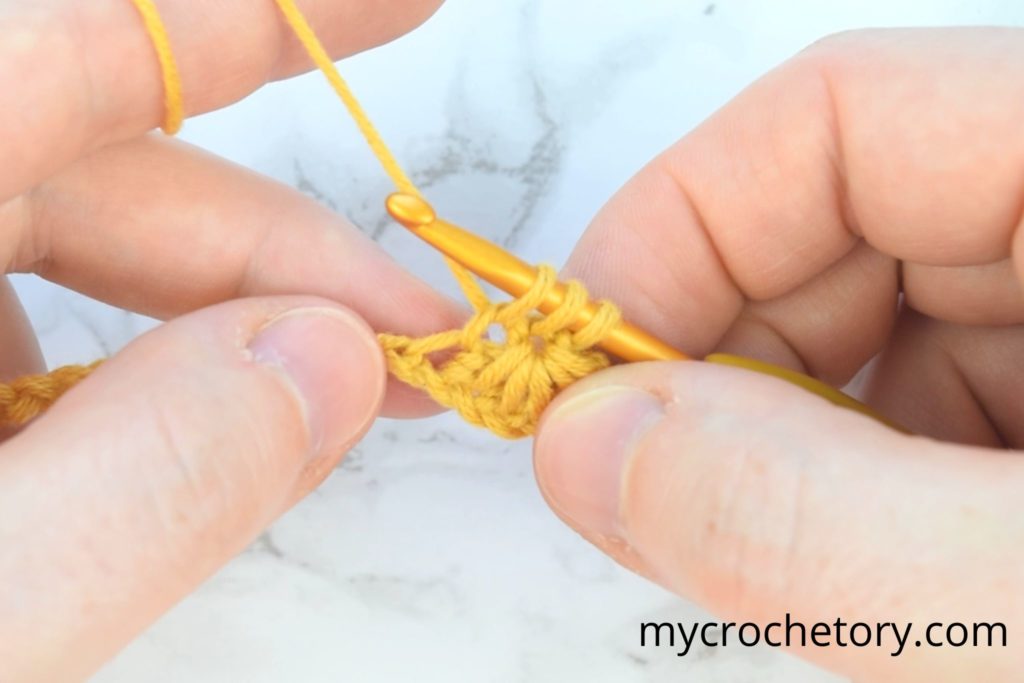
Row 2: Building the Texture
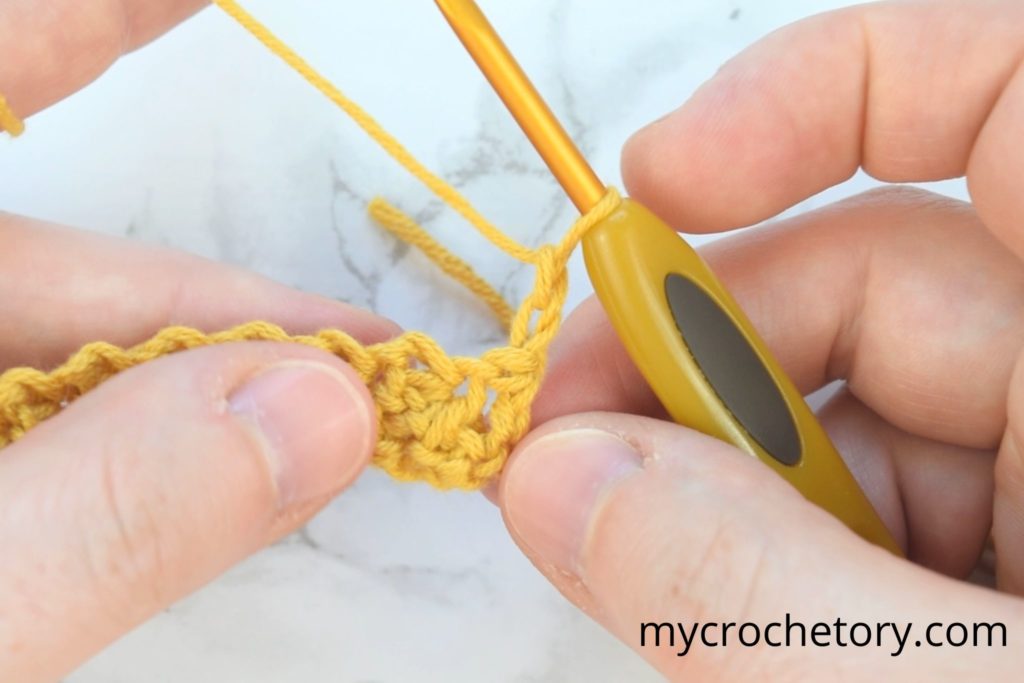
Turn your work and chain two. These count as your first half double crochet.
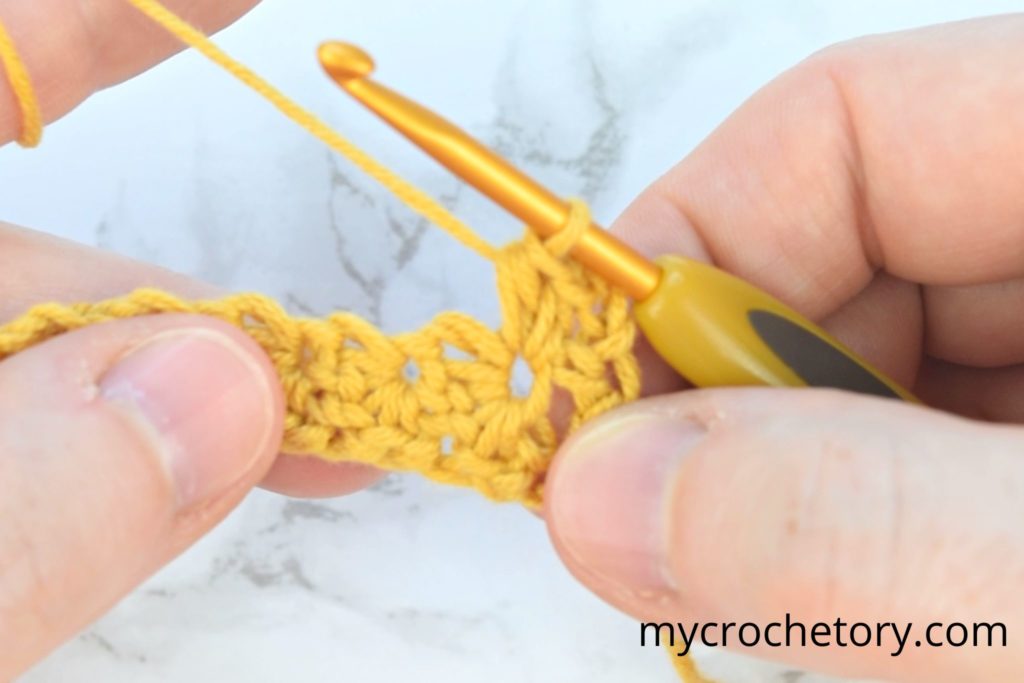
Skip the first stitch and work two half double crochets into each star eye across the row (the ch1 you created in the previous row). This fills the gaps and creates a stable base.
Finish the row with one half double crochet at the end (into the first chain of foundation chain).
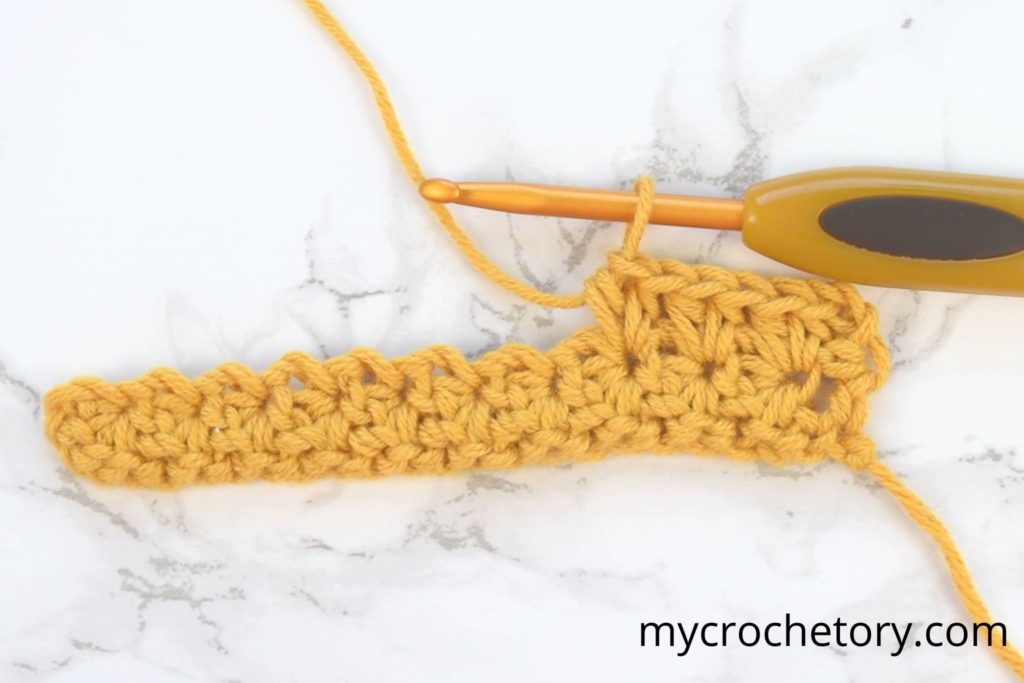
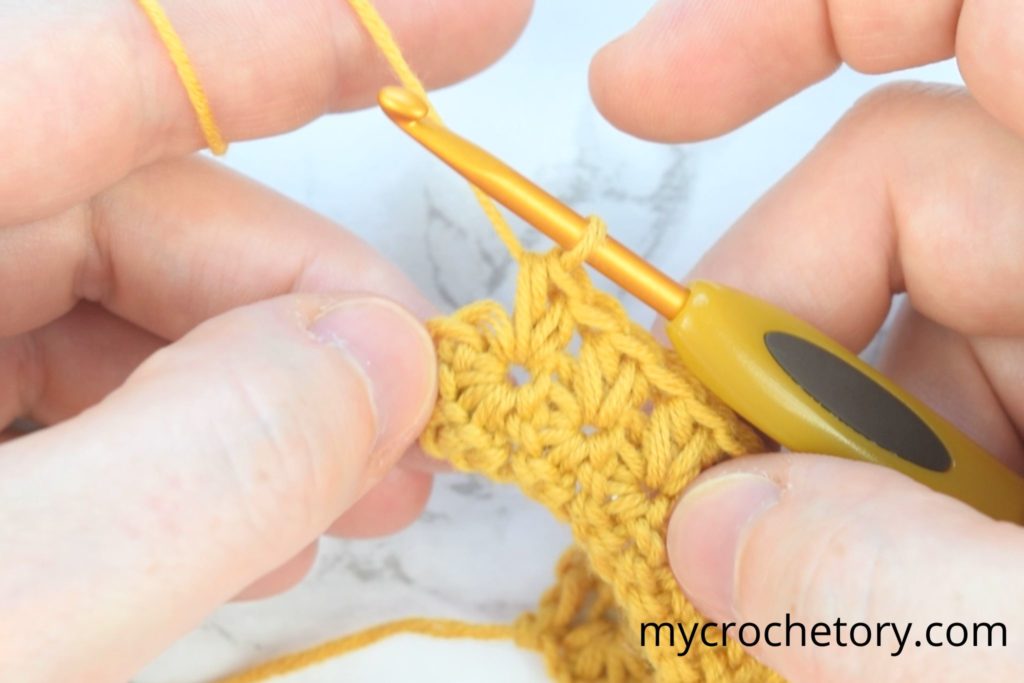
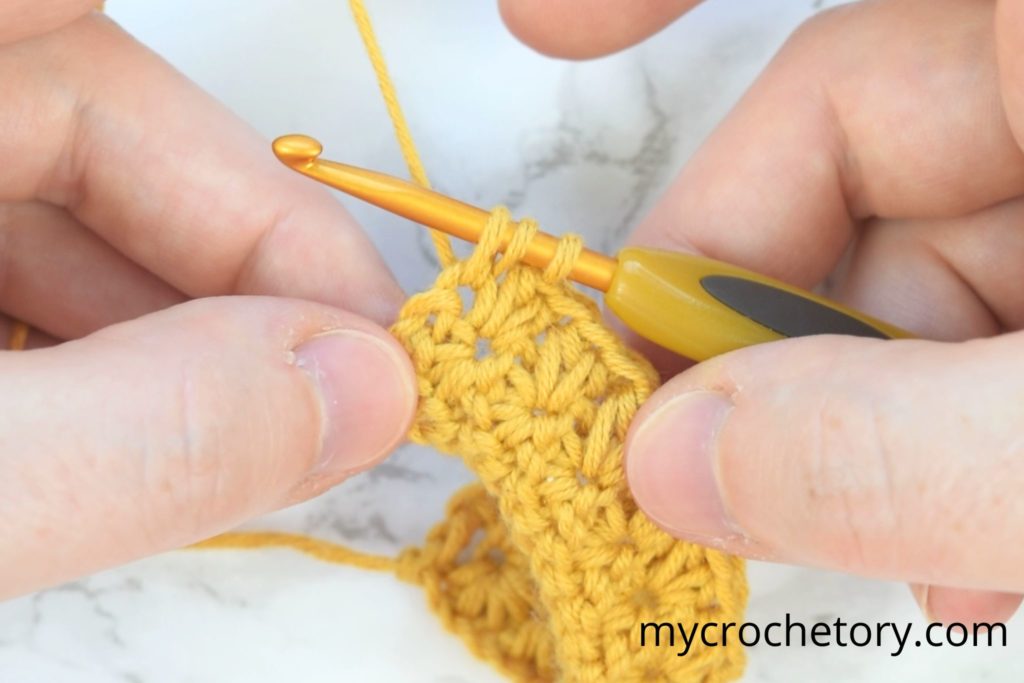
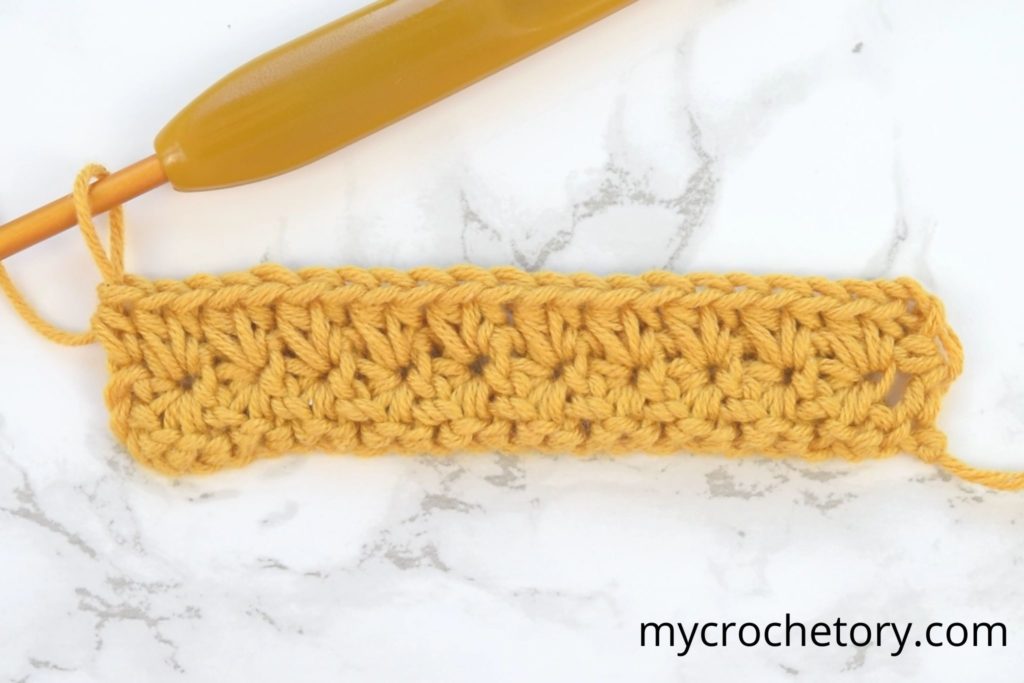
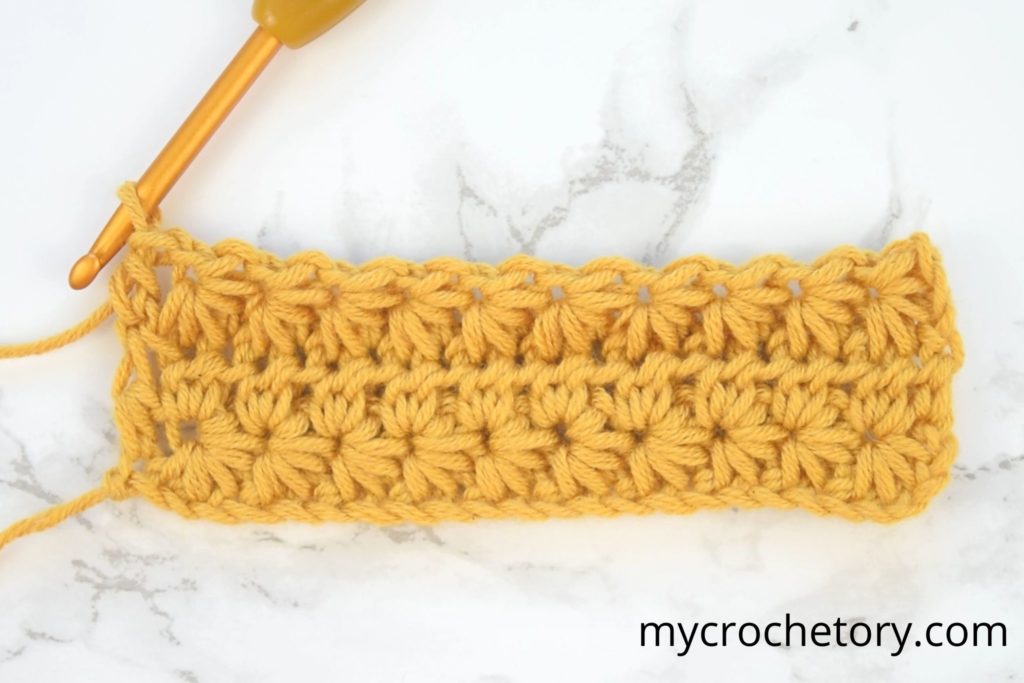
Row 3: Starting a New Set of Stars
Turn your work and chain three.
Begin your next sc5tog in the second chain from the hook.
Close the loops and chain one to form the star eye.
Continue across the row with the same movement you used in Row 1.
If you need a clean way to add a new ball of yarn, here are easy ways to join yarn ends that work well with textured stitches like this one.
Repeat the Rows for the Full Pattern
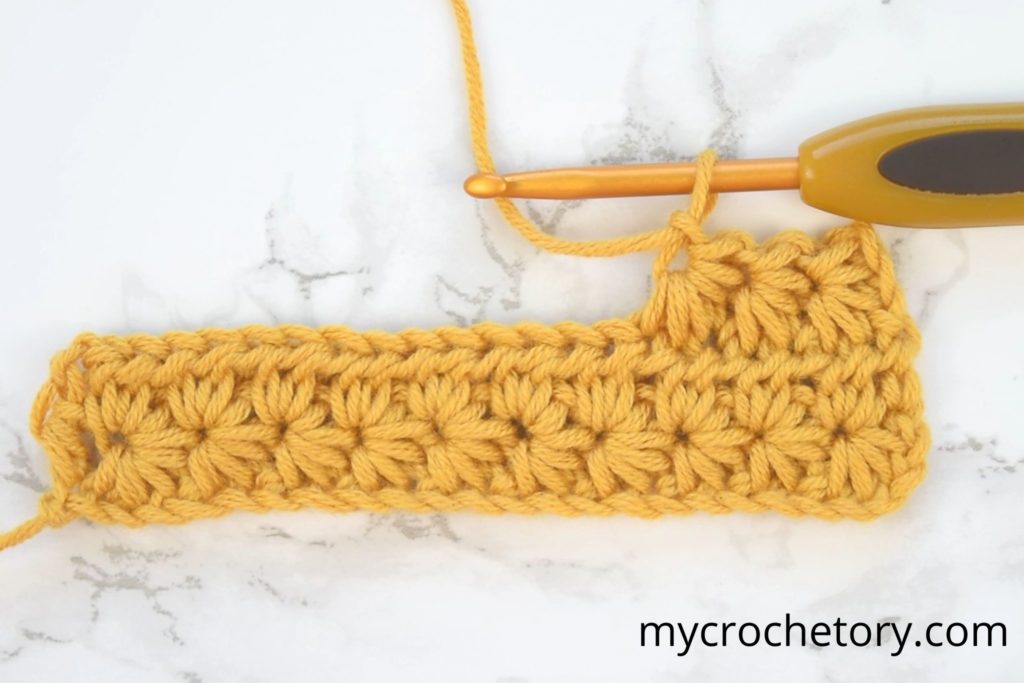
Now that you have worked through Rows 1, 2 and 3, you simply repeat the last two rows to build the full pattern. Row 2 fills in the spaces with half double crochets, and Row 3 brings back the stars.
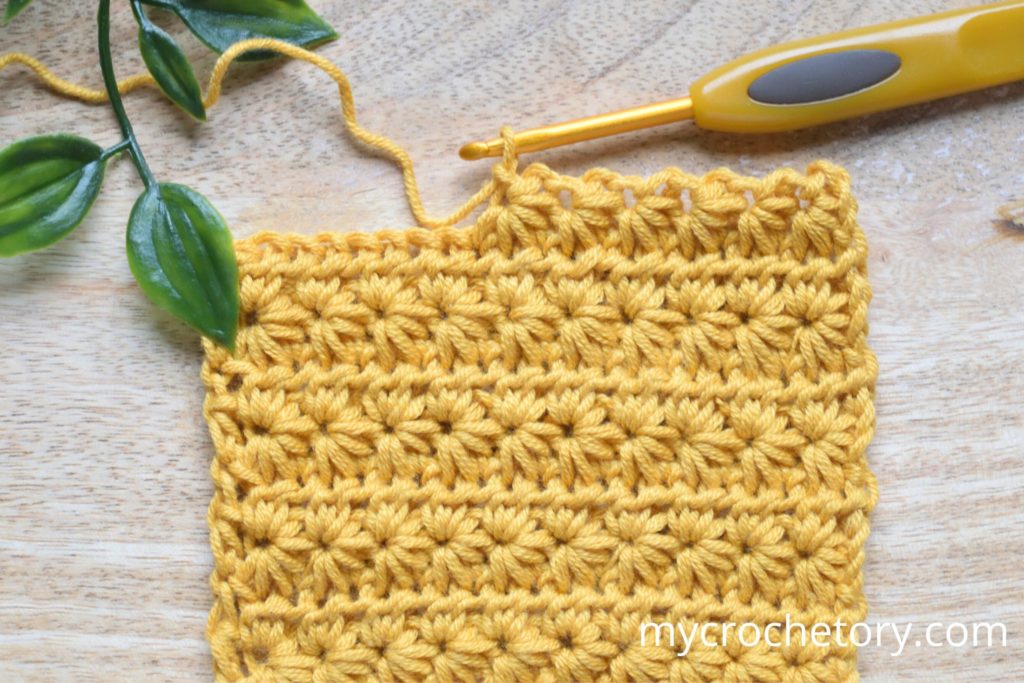
Once these rows stack up, the texture becomes smooth and even. Keep your tension steady and check your edges from time to time so everything stays straight.
Repeating these rows also helps you get into a relaxed flow. After a few repeats, most crocheters find the stitch almost meditative.
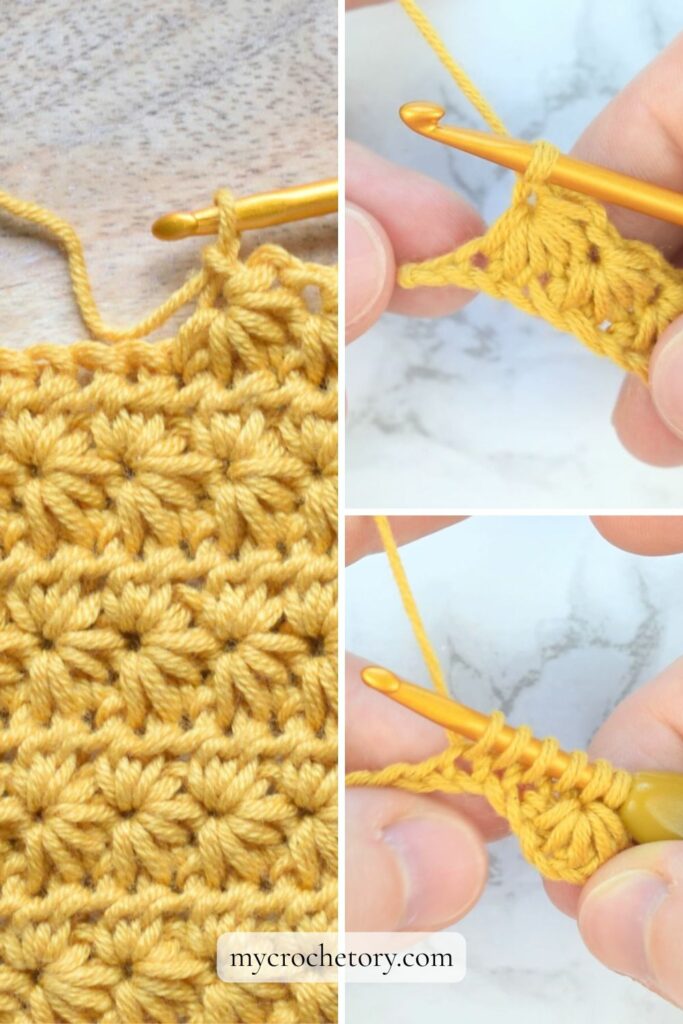
The fabric grows at a nice pace and the star pattern stays consistent all the way through. This makes the star stitch great for both small accessories and larger projects that benefit from a steady repeat.
If you enjoy learning through clear photos and simple steps, take a look at my other stitch tutorials too. They follow the same calm style and help you grow your skills without pressure. You can browse them anytime you want to try something new.
Common Star Stitch Mistakes and How to Fix Them
A few things trip people up with star stitch crochet, and honestly, I hit every single one of these before it finally clicked for me.
Uneven stars, almost always tension. One loop ends up a little higher than the rest, and your star leans instead of sitting flat. What actually fixed it for me wasn’t watching my loops, it was watching my grip. The moment I feel myself tightening up, I ease off before pulling up the next loop, not after I’ve already made the mistake.
Losing the star eye. Nobody tells you that this tiny chain-one space basically vanishes into the fabric for your first dozen or so stars. I used to poke around blindly trying to find it. Then I figured out that a small tug on the fabric makes that little round opening pop right into view. Now I check for it before I even pick my hook back up.
Crooked edges, and it’s rarely your stitches. Nine times out of ten it’s the very last stitch of the row, or a turning chain you miscounted without realizing it. Still fighting with it? My straight edges guide goes deeper into this than I can here.
Here’s one habit that saves me constantly: count your stitches at the end of every row before you turn your work. Catching one extra or one missing stitch right there takes ten seconds. Catching it three rows later means unraveling half an evening’s worth of work.
Switching to a new ball of yarn partway through? These joining methods hold up really well with textured stitches like this one.
More Crochet Tutorials You Might Like
If you enjoyed star stitch crochet, here are a few more stitches worth trying next.
- Mattress Stitch Join Tutorial
- How to Foundation Single Crochet
- How to Crochet V-Stitch for Beginners
- How to Crochet Herringbone Stitch
- How to Crochet Moss Stitch
- How to Crochet Waffle Stitch
- How to Crochet Basketweave Stitch
- How to Crochet a Magic Ring – 3 Easy Ways
FAQ: Crochet Star Stitch for Beginners
How do I keep my star stitch rows looking even?
Uneven rows usually come from pulling each loop to a different height. Bring each loop up to the same height before moving to the next one, and keep your tension relaxed.
Why do I have a gap under my first star stitch?
This happens when the first loop sits too low. Lift it a little higher before adding the rest of your loops.
How many loops should I have on my hook for each star?
Enough to close them together smoothly, usually six. If you end up with fewer or more, a loop probably got skipped during setup.
What do I place in the star eye on the next row?
Two half double crochets. That gives your fabric a steady base for the next row of stars.
Is star stitch a yarn eater?
It uses a bit more yarn than simple stitches, since each star pulls up several loops. The difference is small, but grabbing one extra skein for a bigger project gives you some breathing room.
Do you think this would work with Bernat Blanket Yarn to make a chunky version?