Updated: 26 January 2024 by Sylwia (MyCrochetory)
Stay warm and stylish with the Twisted Crochet Headband. Learn how to crochet this elegant headband using the herringbone crochet stitch pattern. Follow along with the step-by-step instructions and get ready to twist and crochet your way to a trendy headband!
Scroll down to see the Twisted Herringbone Crochet Headband free crochet pattern or you may choose to purchase the ad-free, printable PDF crochet pattern HERE on ETSY or HERE on Ravelry.

Join my Facebook Group and Official Ravelry Group where you can find necessary support, you can ask questions or share your finished projects.
You can also follow my Instagram, Facebook page and Pinterest.

Get Stylish with the Twisted Herringbone Headband
Welcome to my blog, where I’m excited to share the delightful Twisted Herringbone Crochet Headband with you.
As the temperature begins to drop, it’s time to explore stylish ways to keep warm, and this headband is the perfect accessory.
In this post, I’ll guide you through the process of creating your very own twisted crochet headband using the herringbone crochet stitch pattern.
Get ready to elevate your winter fashion game and enjoy the satisfaction of a handmade accessory.

A Stylish Must-Have
Fall in love with the Twisted Herringbone Crochet Headband and discover its charm.
This headband is designed to be worked back and forth, making it easy to memorize the pattern and create a cozy accessory in no time.
With its special twist in the middle, this headband has an elegant and stylish look.
Unlike bulkier hats, crochet headbands strike the perfect balance between fashion and function, providing warmth and protection for your head and ears.

The Beauty of the Herringbone Crochet Stitch
Indulge in the captivating texture of the herringbone crochet stitch.
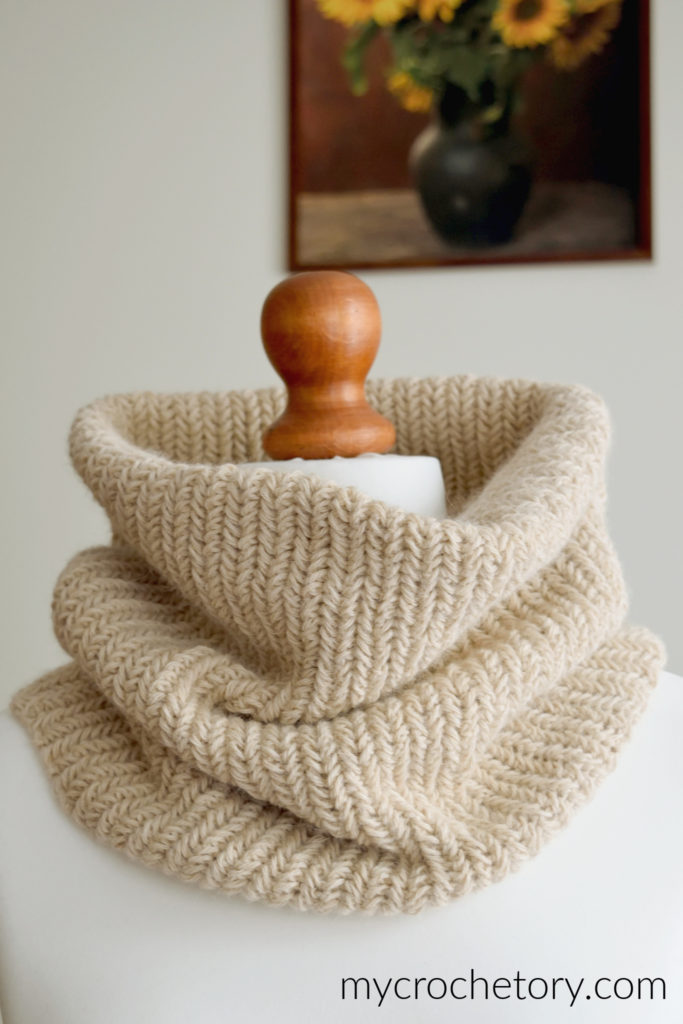
Inspired by the success of The Herringbone Cowl, I couldn’t resist incorporating this fascinating stitch into the Twisted Herringbone Headband.
The herringbone stitch not only adds a touch of sophistication but also allows the colors in the yarn to shine through.
Whether you’re new to herringbone crochet or already a fan, you’ll enjoy the mesmerizing effect it creates in this project.
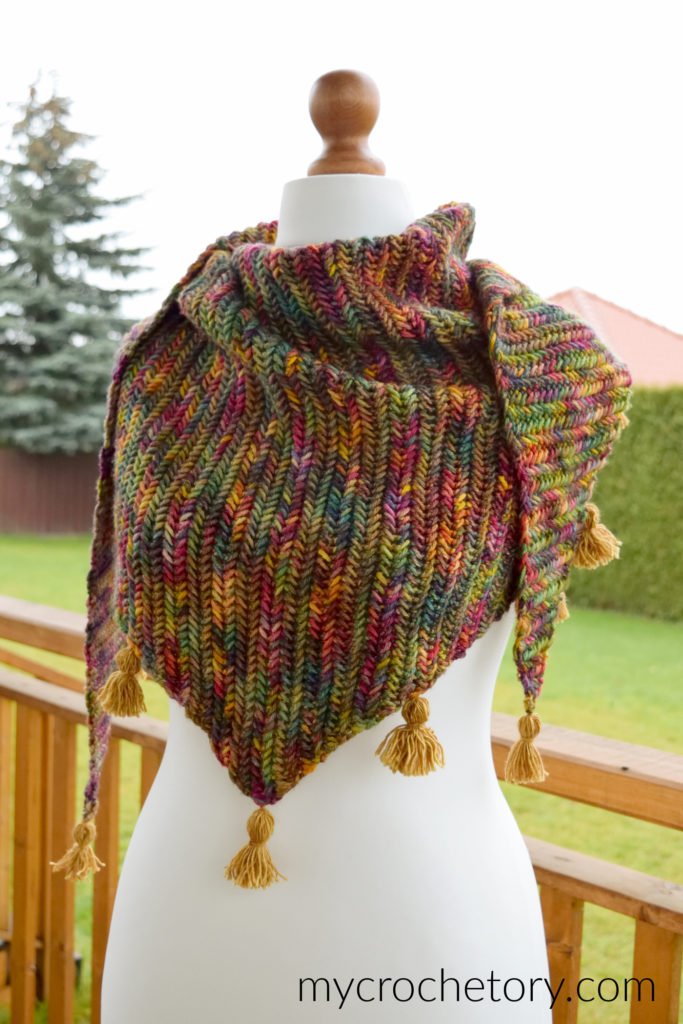
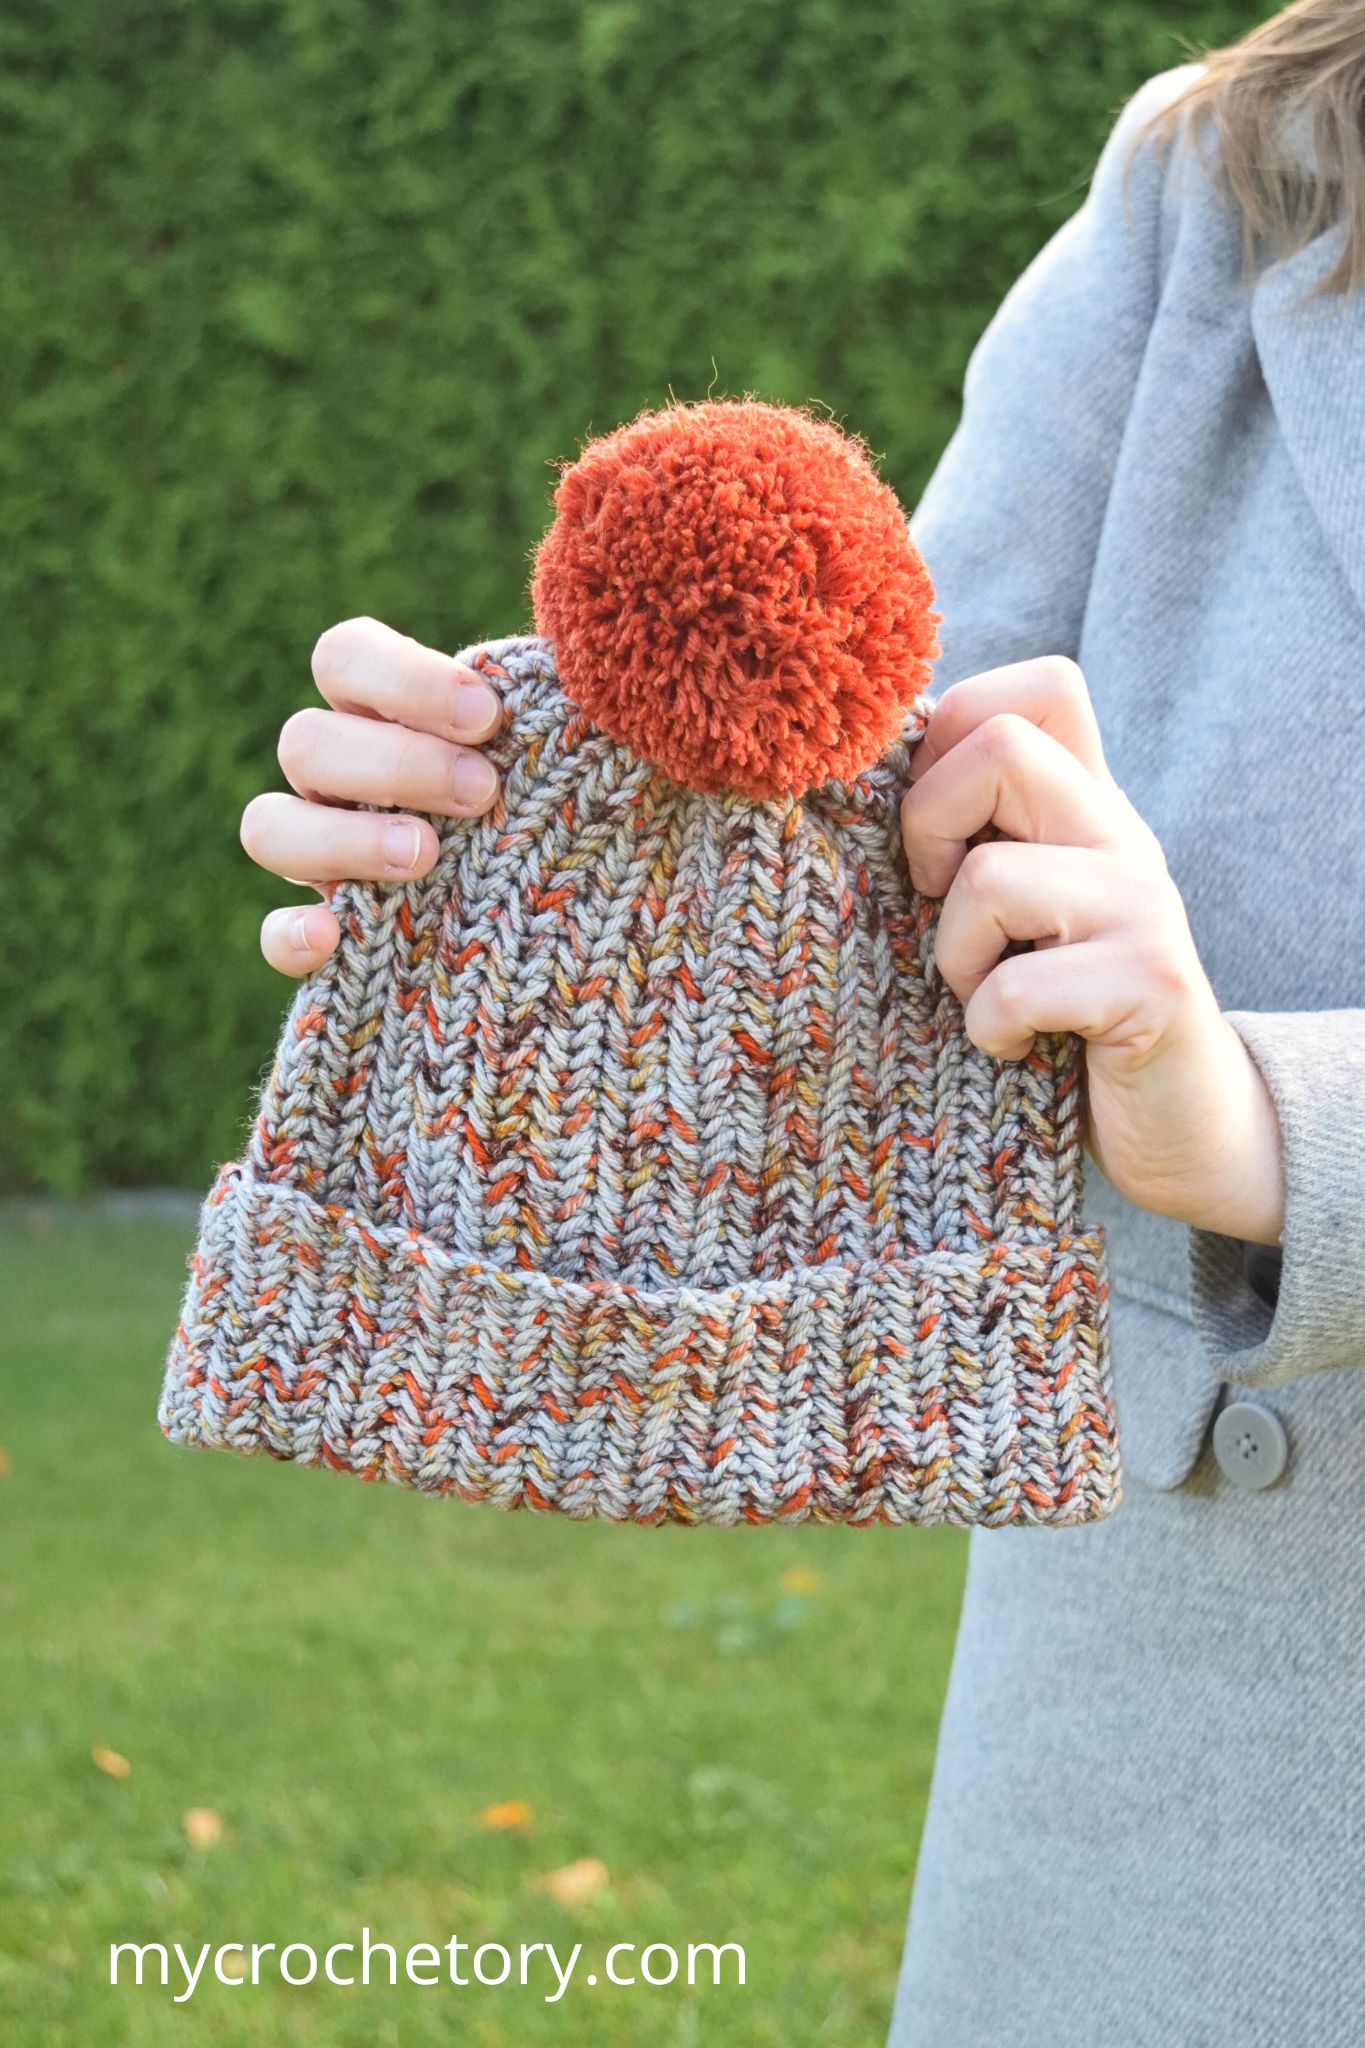
OTHER FREE HERRINGBONE STITCH PATTERNS YOU MIGHT LOVE
Get ready to crochet your own Twisted Herringbone Headband.
For this pattern, I used the luxurious Merino Extra Fine Yarn from DROPS, known for its softness and perfect stitch definition.
However, feel free to use any DK weight yarn of your choice to customize your headband.
With the easy-to-follow instructions and the herringbone crochet stitch pattern, you’ll be able to create a cozy accessory that perfectly fits your style and keeps you warm throughout the year.

Frequently Asked Questions
Q: Is the Twisted Herringbone Crochet Headband suitable for beginners?
A: This pattern is designed for intermediate crocheters or adventurous beginners who want to try out the herringbone crochet stitch. Don’t worry if you haven’t tried it before; I’ve included step-by-step instructions and pictures to guide you through the process.
Q: Can I adjust the size of the headband?
A: Absolutely! The pattern provides instructions on how to modify the height or width of the headband to suit your preference and the amount of yarn you have. Feel free to customize it to your liking.

Get ready to twist and crochet your way to a fashionable and cozy headband with the Twisted Herringbone Crochet Headband pattern.
Discover the beauty of the herringbone stitch and enjoy the warmth and style it brings to your fall and winter wardrobe.
Let’s get started on this delightful project!
If you want to share your wips and finished twisted crochet headband on social media, please, use hashtag #mycrochetory. I love to see your finished headbands!
TWISTED HERRINGBONE CROCHET HEADBAND FREE PATTERN
- Purchase the ad-free, printable PDF here on ETSY or here on Ravelry.
- Add this pattern to your Ravelry Queue HERE.
- Pin it for later.
Copyright 2021 – 2024 MyCrochetory. All right reserved. This pattern is property of Sylwia Kawczyńska @MyCrochetory. Please DO NOT sell the pattern and claim this pattern as your own. The pattern is for personal use only and may not be translated or reproduced in another language. Please respect my rights, DO NOT share or publish this pattern anywhere without my permission.
The twisted crochet headband you make following this pattern is yours you are free to sell it, as long as you credit MyCrochetory as original designer. For more information, please, read Terms Page.

Materials & Tools:
- Yarn Requirements: DK weight yarn in 1 color, approx. 90-100m.
Suggested Yarn: DROPS Merino Extra Fine 50g = 105m/115yds, 100% Merino Wool.
- Hook size 4.5mm. Adjust hook size if necessary to obtain correct gauge.
- Tapestry needle (to weave and hide yarn ends).
- Scissors.
Level:
Intermediate – herringbone crochet stitch.
Size after blocking:
Band Circumference:
50(52, 54.5)cm/19.7(20.5, 21.5)”
Width: 10cm/4”
Gauge after blocking:
18sts x 13rows in 4”/10cm in Herringbone Crochet Stitch.
If necessary, adjust hook size to obtain the correct gauge.
Before you measure, please take the time to block your swatch in the same manner that you will block your headband.
Notes:
- The pattern uses US crochet terminology.
- The cowl is worked back and forth in rows using the herringbone crochet stitch.
- The chain1 at the begnning of each row does not count as a stitch.
- The twisted crochet headband is easily adjustable. To increase/decrease the circumference of the headband, work more/less initial chains. To increase/decrease the width of the headband, work more/less rows.
- If you are not familiar with the herringbone crochet stitch or need a refresher, check out my tutorial with VIDEO before beginning your project.
- You can also use yarn in different weights, but just know that the measurements will be different depending on your gauge.
- Instructions in square brackets […] are worked as many times as indicated.
Stitches & Abbreviations (US terms):
st(s) – stitch(es)
yo – yarn over
rep – repeat
RS – right ride
WS – wrong side
Hsc (herringbone single crochet worked on RS) – insert hook in left leg of previous stitch, insert hook in both loops of next st from front to back and pull up a loop, yarn over and pull through all three loops on the hook.
RHsc (herringbone single crochet worked on WS) – Flip your work so the RS is facing you, insert hook in left leg of previous stitch, insert hook in both loops of next st from back to front and pull up a loop, yarn over and pull through all three loops on the hook.
PATTERN
Read all Notes before you start.
Chain 90(94, 98).
You can also make any number of chains to make the headband’s circumference bigger/smaller, but changes might result in a different yardage requirement.
Row 1 (RS): sc in the second ch from hook working in the back bump of the ch, [insert your hook into left leg of previous st, insert the hook into the back bump of the next ch and pull up a loop, yarn over and pull through all three loops on the hook] rep to end. Turn. 90(94, 98)sts
Row 2 (WS): ch1 (doesn’t count as a st here and throughout), sc in first st by inserting hook from back to front, RHsc to end. Turn. 90(94, 98)sts
Row 3 (RS): ch1, sc in first st by inserting hook from front to back, Hsc to end. Turn. 90(94, 98)sts
Repeat Rows 2 – 3 until desired height is achieved. I worked 13 rows.
Fasten off and leave long end for sewing.

Seaming the Twist
Once you have your headband ready, it’s time to do the seaming by joining the two ends together, in a special way.
- Place your headband the right side up.

- Bring both edges closer together and fold them.


- Insert one edge into another.

- Using a tapestry needle and the long final tail, seam all 4 layers together. Make sure that you are always going through all layers. The seam itself will be hidden inside the headband.


- Weave in your ends and turn your headband inside out. And done! You have now a beautiful headband with a twist.

If you have any suggestions or have detected any mistakes, please feel free to email me at mycrochetory@gmail.com
Leave a Reply