
Updated: 11 November 2026 by Sylwia (MyCrochetory)
Chunky crochet hat shopping has never worked for me, because I don’t have a hat head. Store-bought beanies ride up on me like a tiny lid, so I gave Winterberry three sizes and let your tape measure decide.
Winterberry is a raspberry pink beanie with a thick folded brim and ribs that look like they came off knitting needles. Bulky yarn, a 7 mm hook, and yes, that’s me in every photo.
Jump straight to the free Winterberry pattern and video, or get the ad-free printable PDF on Etsy or Ravelry.

Why I designed this chunky crochet hat
This chunky crochet hat grew out of a stitch I picked up for another hat. I learned the knit stitch, also called waistcoat stitch, for my Fleur de Stripe Hat, and here it came back for round two.
I’ll admit it, sometimes I envy how neat knitting looks. I’m a crocheter at heart though, so Ksc is my way of getting those tidy Vs without putting the hook down. In bulky yarn, every V is big enough to spot from across the room.

How the chunky crochet hat is built
The chunky crochet hat begins as a ring of chains, and the brim comes first. When it’s tall enough, you flip it inside out, join on the other side of that same chain and crochet the body upward.
Four decrease rounds close in the crown, then a long tail cinches the last stitches shut. Fold the brim up and you get a double layer of wool right over your ears.

The knit-look stitch in this chunky crochet hat
Three knit stitches and two back loop single crochets, repeated all the way around, give this chunky crochet hat its ribs. The knit stitches stand up in neat columns of Vs, while the back loop stitches sink in between, just like the purl ribs on a knitted beanie.
Ksc goes into the middle of the V, between the two vertical bars of the stitch below. If that sentence made zero sense, my waistcoat stitch tutorial shows exactly where the hook goes, and the video further down shows it on this very hat.

Is this chunky crochet hat good for beginners?
Short answer, it’s an intermediate chunky crochet hat. The knit stitch and the crown decreases are the two parts that take a little practice.
Know single crochet and joined rounds? Then you can learn the rest right here. Keep your Ksc loops a little loose, especially at the start, because this stitch tends to tighten up.
Both crown decreases have step photos in the pattern, and the video walks through them as well.

Sizes, yarn and blocking for your chunky crochet hat
This chunky crochet hat comes in three sizes, for heads of 18–21, 22–23 and 24–25 inches. Grab a tape measure before you grab the hook, and if you land between two sizes, go up.
Mine is made in KOKONKI Marble, a Polish blend of wool, alpaca and acrylic, and I’d pick it again. If it’s hard to get where you live, any bulky yarn that gives you 7 stitches and 10 rounds in 4 inches will do the job.
With that much wool in it, my hat gets wet blocked. A soak in cool water with wool wash, then it dries flat in shape.

Hat season is here. Save Winterberry to your Pinterest board, so it’s easy to find the next time someone hints that they’d like a handmade hat.

Winterberry chunky crochet hat free pattern
- Purchase the ad-free, printable PDF here on Etsy or here on Ravelry.
- Add this pattern to your Ravelry Queue here.
Copyright 2026 MyCrochetory. All rights reserved. This pattern is property of Sylwia Kawczyńska @MyCrochetory. Please DO NOT sell the pattern and claim this pattern as your own. The pattern is for personal use only and may not be translated or reproduced in another language. Please respect my rights, DO NOT share or publish this pattern anywhere without my permission.
The hats you make from this pattern are yours, and you are free to sell them, as long as you credit MyCrochetory as the original designer. For more information, please read the Terms Page.

Materials & tools
- Yarn: chunky/bulky weight yarn in 1 color, about 135 m (148 yd).
- Suggested yarn: KOKONKI Marble (50% wool, 10% alpaca, 40% acrylic; 100 g = 90 m / 98 yd).
- Hook: 7 mm. Adjust hook size if necessary to obtain correct gauge.
- Tapestry needle (to weave and hide yarn ends).
- Scissors.
Level
Intermediate – working in the round, knit stitch (aka waistcoat stitch), single crochet working in the back loop, decreasing.
Sizes
Toddler/Child(Teen/Adult Small, Adult/ Large)
The head circumference measurements that I used for each size are as follows:
Toddler/Child: 18″-21″ / 45.75cm-53.5cm
Teen / Adult Small: 22″-23″ / 55.75cm-58.5cm
Adult Large: 24″-25″ / 61cm-63.5cm
If your head measurement is in between the sizes above, I would suggest making the larger size.
Gauge after blocking
7sts x 10rows in 4”/10cm in stitch pattern using 7mm crochet hook.
If your gauge is too tight, try a larger hook (e.g., 8 mm). If it’s too loose, go down a size (e.g., 6 mm).
Block your swatch the way you’ll block your hat, so the measurements match.

Size after blocking
Brim circumference (unstretched): (18¼, 21½, 24½)″ / (46.5, 55, 62) cm.
Height from edge of hat when brim folded in half: 9.75”/25cm
Notes
- The pattern uses US Terms.
- This pattern is worked in joined rounds. At the end of each round, join with a slip stitch to the top of the first stitch. Then, chain 1. Work your first stitch into the same stitch as the chain.
- Ch1 does not count as a stitch throughout the pattern.
- The pattern is a multiple of 5 stitches. To increase the width of the hat, increase the number of foundation chains. To decrease the width of the hat, decrease the number of the foundation chains.
- To increase the height of the hat, increase the number of rounds in the main body part. To decrease the height of the hat, decrease the number of rounds in the main body part.
- Don’t stress about getting it perfect. Your hat will still look great and keep you warm.
Stitches & abbreviations (US terms)
st – stitch
BLsc – back loop single crochet
Ksc – knit stitch: insert hook between the two vertical bars of the st (into the middle of the V), yo, pull up a loop, yo, pull through both loops.
yo – yarn over
rep – repeat
Ksc2tog – insert hook between two vertical bars of first indicated st, bring the hook from the back to the front between the two decreasing sts, insert the hook between two vertical bars of the second st, yo, pull up a loop, yo, pull through all the loops on the hook. (see picture tutorial here)
BLsc2tog – [insert hook in back loop of indicated st, yo, draw up a loop] two times, yo, pull through 3 loops on hook.
KscBLsctog – insert hook between two vertical bars of first st, yo, draw up a loop, insert hook in back loop of next indicated st, yo, draw up a loop, yo, pull through 3 loops on hook.


Instructions in square brackets […] are worked as many times as indicated.
Video tutorial
Prefer to watch? The video walks you through every round, including the knit stitch and the crown decreases.
Pattern
Read all Notes before you start.
Using 7mm crochet hook make ch35(40, 45) and slst in the first stitch to close the round.
Brim
Round 1: ch1, sc in first and each ch around until first sc of the round, slst in first sc of the round to close the round. (35 (40, 45) sts)
Round 2: ch1, Ksc in first 3sts, BLsc in next 2sts, [Ksc in next 3sts, BLsc in next 2sts] rep […] around until first st of the round, slst in first st of the round to close the round. (35 (40, 45) sts)
Repeat Round 2 until your brim reaches a height of 4¼″ / 11 cm (or your desired length).
Fasten off yarn.

Main body
Turn your work inside out and flip it upside down so that the foundation chain is now at the top.
Next, attach your yarn to the first chain, in the exact spot where you made the first single crochet in the Round 1 of the Brim.
Round 1: ch1, sc in first and each ch on the opposite side of the foundation chain around until first sc of the round, slst in first sc of the round to close the round. (35 (40, 45) sts)
Round 2: ch1, Ksc in first 3sts, BLsc in next 2sts, [Ksc in next 3sts, BLsc in next 2sts] rep […] around until first st of the round, slst in first st of the round to close the round. (35 (40, 45) sts)
Repeat Round 2 until your hat (brim + main body together) reaches a height of 9¾″ / 25 cm (or your desired length).
Crown shaping
Round 1: ch1, Ksc2tog (two first sts together), Ksc in next st, BLsc in next 2sts, [Ksc2tog (next 2sts together), Ksc in next st, BLsc in next 2sts] rep […] around until first st of the round, slst in first st of the round to close the round. (28 (32, 36) sts)
Round 2: ch1, Ksc in first 2sts, BLsc2tog, [Ksc in next 2sts, BLsc2tog] rep […] around until first st of the round, slst in first st of the round to close the round. (21 (24, 27) sts)
Round 3: ch1, Ksc2tog (two first sts together), BLsc in next st, [Ksc2tog, BLsc in next st] rep […] around until first st of the round, slst in first st of the round to close the round. (14 (16, 18) sts)
Round 4: ch1, KscBLsctog around (starting from first st) until first st of the round, slst in first st of the round to close the round. (7 (8, 9) sts)
Fasten off and leave long end for sewing.

Assembly
Take this long end and thread in through a tapestry needle and go up underneath the first stitch and pull it.
Then, go back in under the next stitch and pull through. Don’t tighten up yet and keep working around until you get back where you started.
Now tighten up.
After that, turn your hat inside out and sew back and forth through the center area a few times.
Fasten off and weave in all ends.
Soak the hat in cool water with wool wash and block it to the measurements. Fold the brim up in half and it’s ready to wear.
Found a mistake? Email me at mycrochetory@gmail.com.
Made a Winterberry? Show me on Instagram with #mycrochetory and tag @mycrochetory.
Stuck on a round? Ask in my Facebook Group or Ravelry Group, or email me at mycrochetory@gmail.com.
More crochet hat patterns
Every hat below is built around a different stitch, and they’re all free here on the blog.
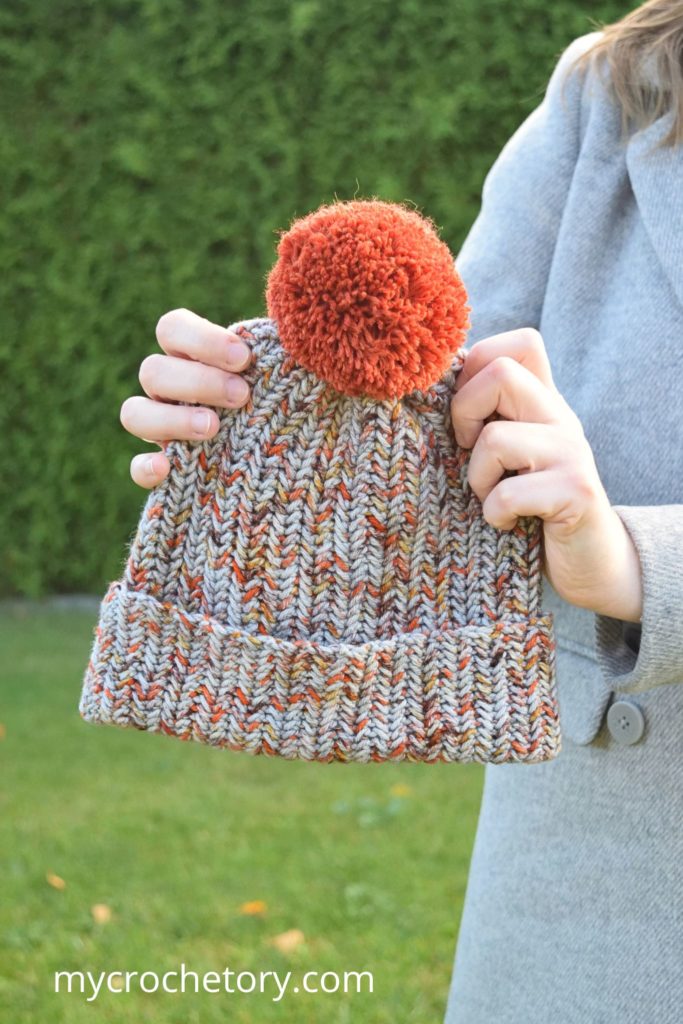
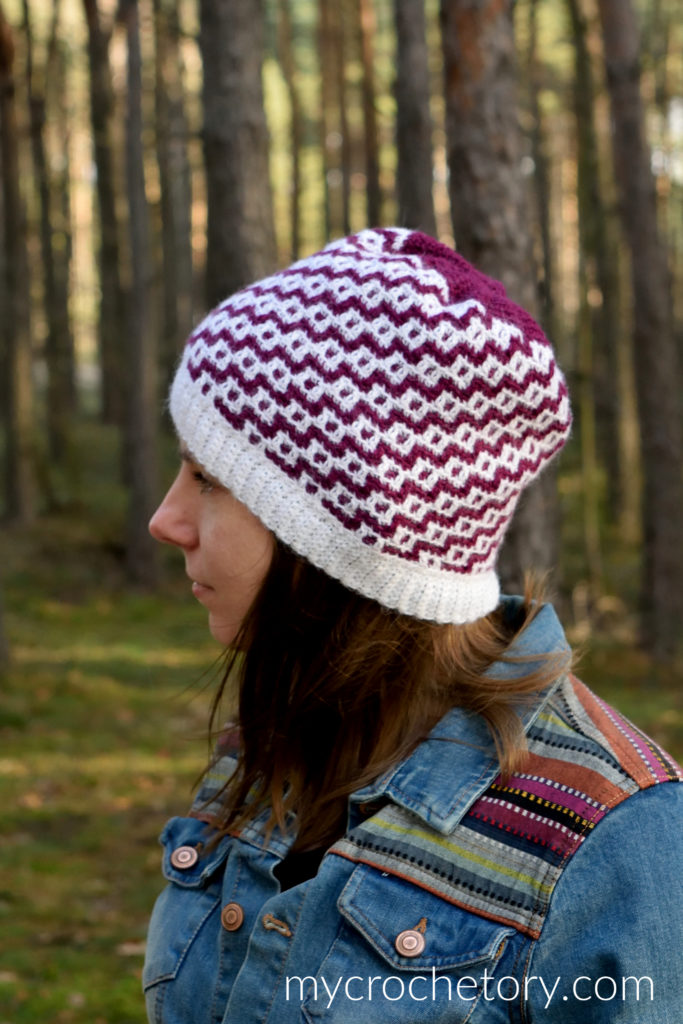
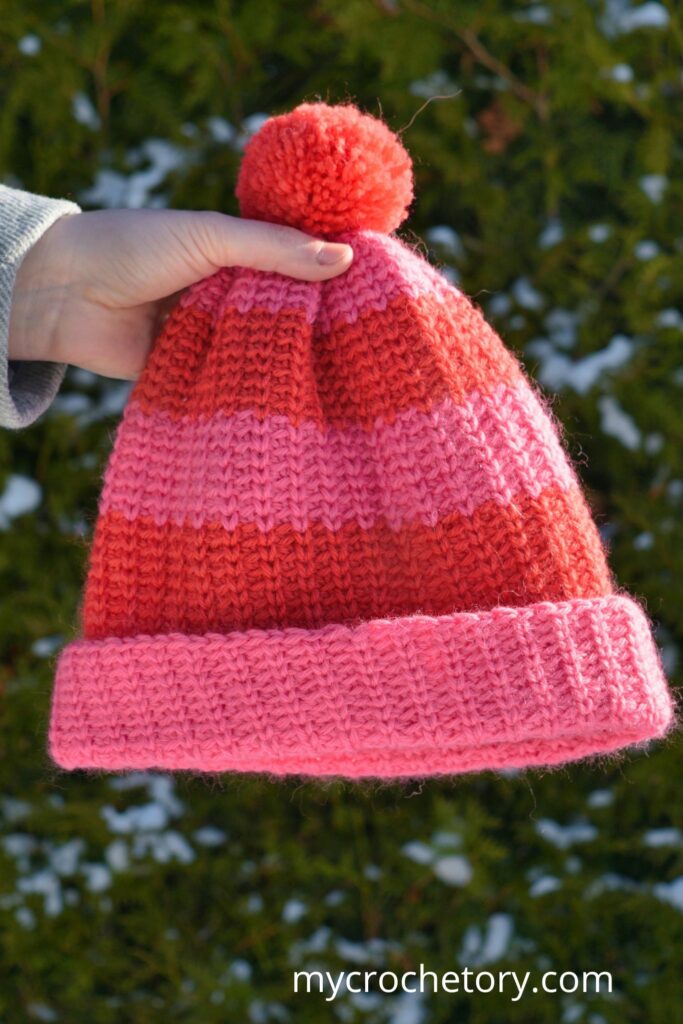
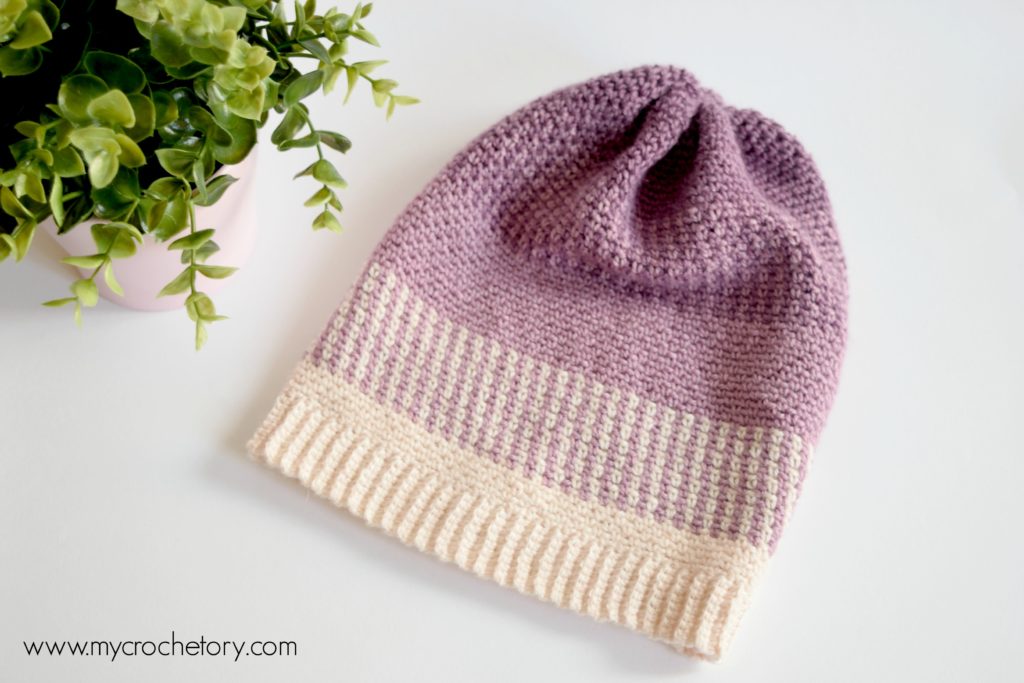
- Siri Herringbone Hat, my favorite of my hats, in herringbone stitch with a pom pom.
- Duende Mosaic Hat, a two-color mosaic beanie with a ribbed brim.
- Fleur de Stripe Hat, bold red and pink stripes in the knit stitch.
- Ombre Moss Stitch Beanie, a soft gradient beanie in moss stitch.
- 30+ Free Crochet Beanie Patterns for Beginners, a roundup of easy hats.
- Waistcoat Stitch Crochet, the tutorial for the knit stitch in Winterberry.
Chunky crochet hat FAQ
How do I make the hat taller or slouchier?
Add rounds to the main body before the crown. For a shorter beanie, stop sooner, and the crown decreases stay exactly the same.
Can I make the brim narrower?
Sure. Repeat Brim Round 2 fewer times and the fold gets slimmer.
Does this chunky crochet hat need a pom pom?
Not at all, it looks finished without one. I’m Team Pom Pom though, so if you are too, sew a yarn or faux fur pom pom right on top.

You can also follow me on Instagram, Facebook and Pinterest.

Thank you so much for sending me an email with a pattern for the winter berry winter hat! I will for certain be making myself one before the start of the next winter season. I live in Texas and this past week has been extremely cold and windy outside. With this pattern, I will definitely be prepared to be outside on cold and windy days!