Updated: 26 January 2024 by Sylwia (MyCrochetory)
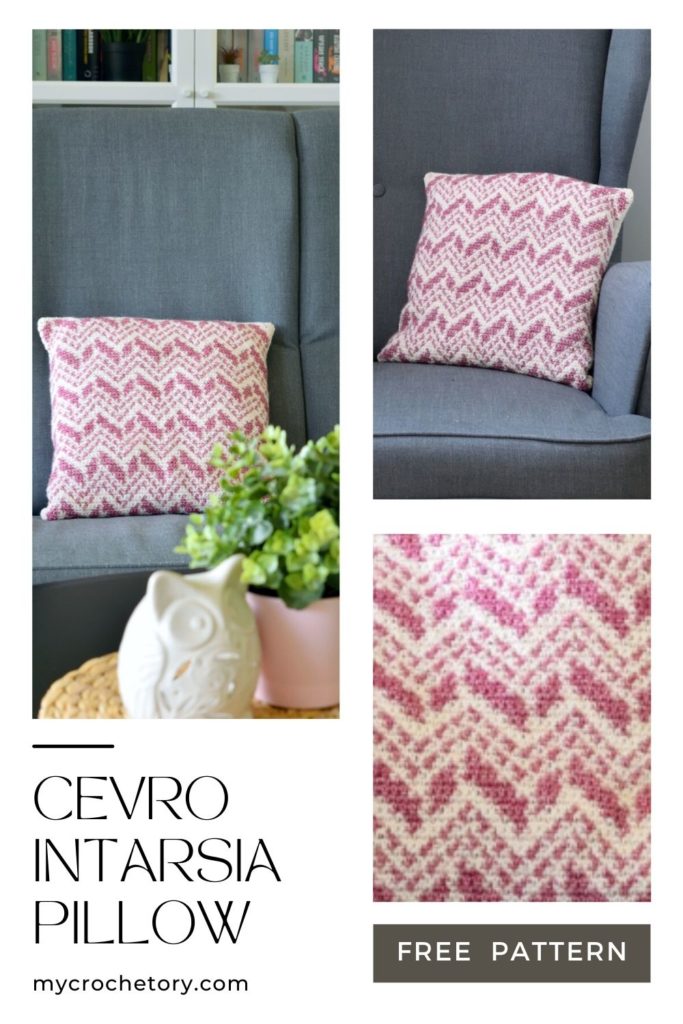
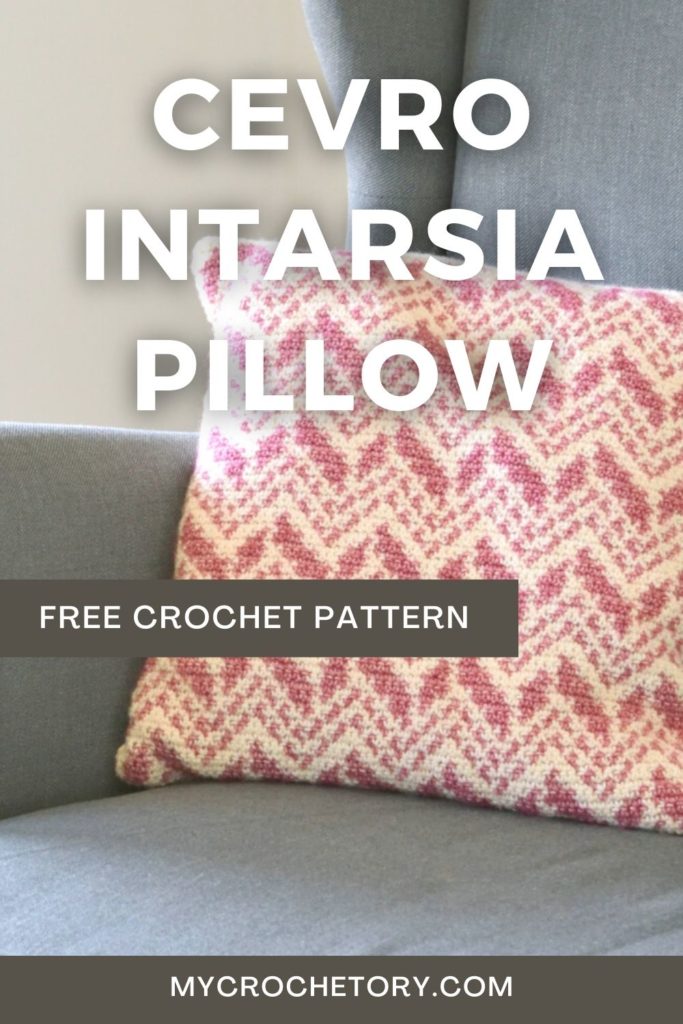
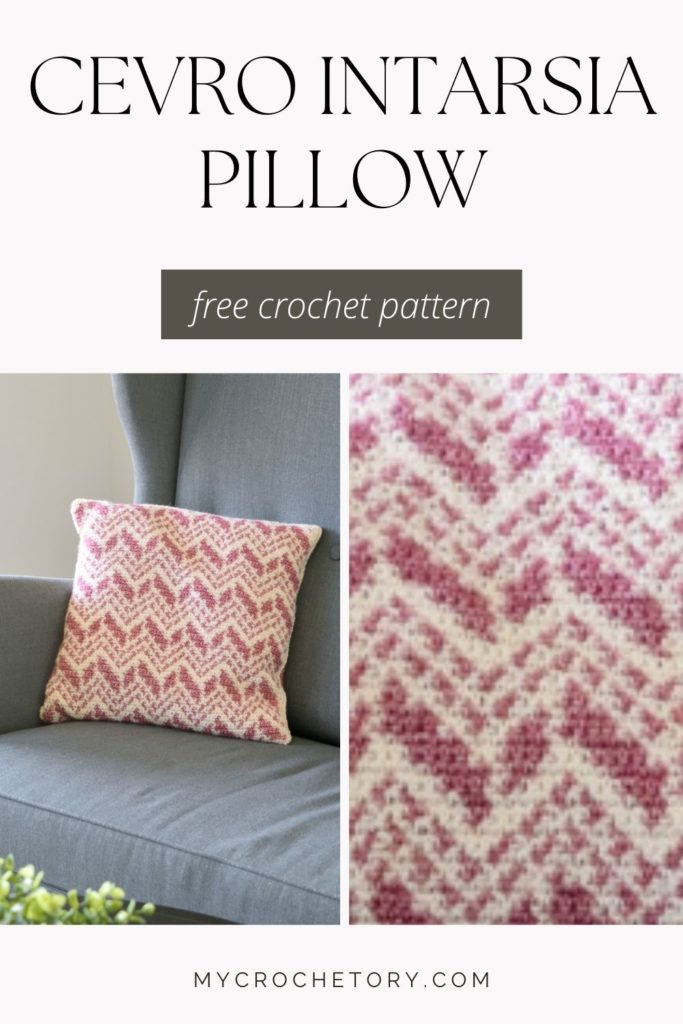
Is your living space missing a pop of color? Elevate your home decor with the Cevro Intarsia Crochet Pillow. Get the free crochet pillow pattern and create a stunning colorwork piece that adds a cozy touch to any couch or chair.
Scroll down to see the Cevro Intarsia Free Crochet Pillow Pattern or you may choose to purchase the complete ad-free, printable PDF crochet pattern HERE on ETSY or HERE on Ravelry.
Join my Facebook Group and Official Ravelry Group where you can find necessary support, you can ask questions or share your finished projects.
You can also follow my Instagram, Facebook page and Pinterest.

Introduction
Is there a certain room in your house that feels a bit lackluster and in need of a makeover? Look no further than the Cevro Intarsia Crochet Pillow.
Picture this: a cozy corner on your couch adorned with a beautiful handmade pillow, showcasing a mesmerizing colorwork design. It’s the perfect finishing touch that brings life and personality to any space.
Whether you’re curled up with a book or hosting friends, the Cevro Free Crochet Pillow pattern is sure to spark conversation and admiration.

The Beauty of Intarsia Crochet
Intarsia crochet is like painting with yarn, allowing you to create stunning geometric patterns that make a bold statement.
The Cevro Intarsia Free Crochet Pillow pattern breaks away from traditional motifs and embraces a modern aesthetic.
Imagine the satisfaction of seeing your crochet skills come to life as you work each intricate color change. The interplay of colors will captivate your eyes and add a touch of contemporary charm to your home.

Personalize Your Space with the Cevro Intarsia Free Crochet Pillow Pattern
Your home should tell a story, reflecting your personal style and taste. The Cevro Intarsia Crochet Pillow offers a canvas for your imagination to run wild.
Choose colors that resonate with your personality and match your existing decor.
Perhaps you’ll opt for soothing neutrals to create a calming atmosphere or vibrant hues to infuse energy into your space.
Let your creativity soar and create a pillow that truly represents you.
Master Intarsia Crochet with Ease
Intarsia crochet may seem intimidating, but fear not! Think of it as a delightful puzzle waiting to be solved.
Once you grasp the technique, you’ll find joy in each color change and see the pattern come together before your eyes.
The Cevro Intarsia Free Crochet Pillow pattern is designed with adventurous beginners in mind.
Start with this manageable project to build your confidence and unlock a world of colorwork possibilities.

Craft Your Own Cevro Intarsia Crochet Pillow
It’s time to dive into the creative process and craft your very own Cevro Intarsia Crochet Pillow.
As you work each stitch, imagine the warmth and coziness this pillow will bring to your home.
Personalize it by choosing your favorite yarn colors and watch as the pattern emerges, transforming a simple skein of yarn into a work of art.
Remember, this pillow is not just a home decor item; it’s a testament to your creativity and passion for crochet.
Frequently Asked Questions
Q: Can I customize the colors for the Cevro Pillow?
A: Absolutely! The beauty of intarsia crochet lies in its versatility. Feel free to choose colors that resonate with your style and make the pillow uniquely yours. Let your imagination soar and experiment with different color combinations.
Q: How can I ensure a perfect fit for my pillow?
A: The Cevro Intarsia Crochet Pillow pattern includes dimensions for a 40cm x 40cm (15.75″ x 15.75″) pillow cover.
Q: Can I wash the Cevro Intarsia Crochet Pillow?
A: Yes! The pillow cover features an envelope closure, making it easy to remove and clean. We recommend following the washing instructions for the yarn you choose to ensure your Cevro Pillow remains as vibrant and cozy as the day you finished it.
Transform your living space with the vibrant charm of the Cevro Intarsia Crochet Pillow.
This free crochet pillow pattern offers an exciting journey into the world of colorwork and intarsia crochet. Let your creativity shine as you personalize the design to match your unique style.
With clear instructions and a touch of crochet magic, you’ll create a captivating pillow that adds a cozy and artistic touch to your home.
Get your hooks ready and start the delightful adventure of crafting your own Cevro Intarsia Crochet Pillow.
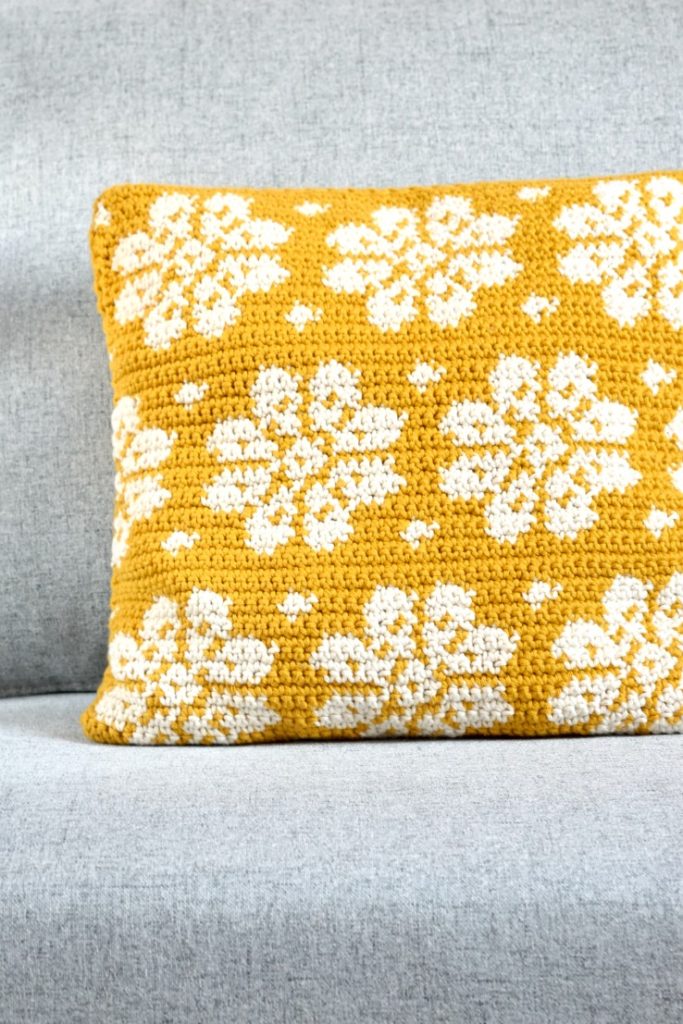
OTHER FREE CROCHET PILLOW PATTERNS YOU MIGHT LOVE

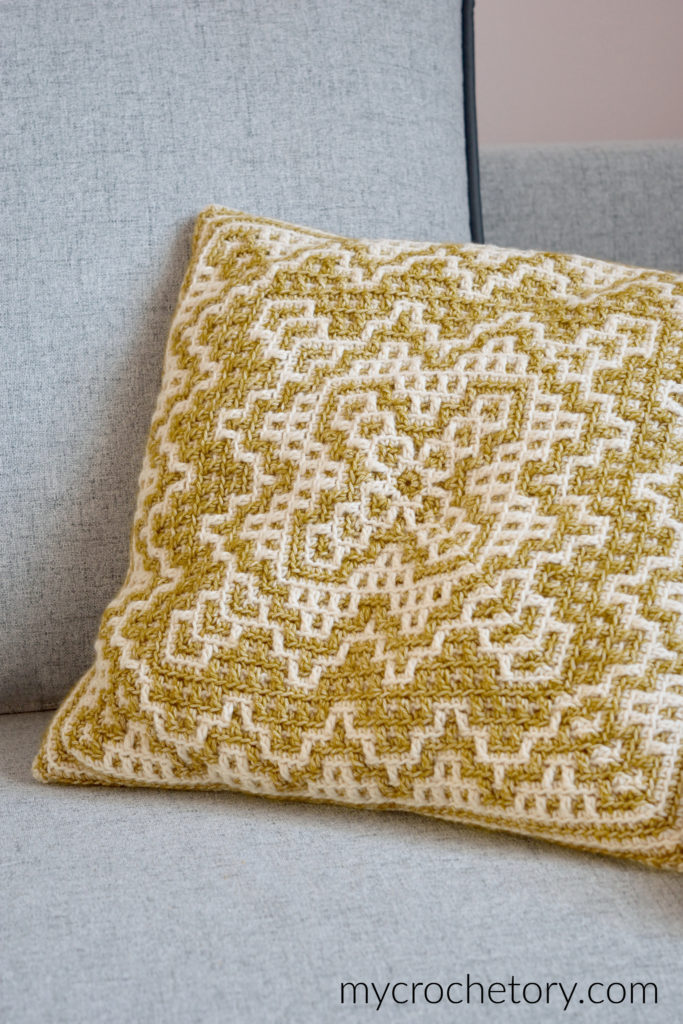
CEVRO INTARSIA FREE CROCHET PILLOW PATTERN
- Purchase the ad-free, printable PDF here on ETSY or here on Ravelry.
- Add this pattern to your Ravelry Queue HERE.
- Pin it for later.
Copyright 2021 – 2024 MyCrochetory. All right reserved. This pattern is property of Sylwia Kawczyńska @MyCrochetory. Please DO NOT sell the pattern and claim this pattern as your own. The pattern is for personal use only and may not be translated or reproduced in another language. Please respect my rights, DO NOT share or publish this pattern anywhere without my permission.
The intarsia crochet pillow you make following this pattern is yours you are free to sell it, as long as you credit MyCrochetory as original designer. For more information, please, read Terms Page.

Materials & Tools:
- Yarn Scheepjes Stone Washed 50g = 130m, 78% Cotton, 22% Acrylic, in 2 different colours:
Yarn A: Moon Stone (801) – 3 skeins.
Yarn B: Corundum Ruby (808) – 2 skeins.
NOTE: I used 1 skein of yarn B for FRONT and 1 skein of yarn B for BACK BOTTOM. If you want to make both BACK BOTTOM and BACK TOP in one, the same color of yarn A, you will need 4 skeins of yarn A in a total.
- Hook size 3.5mm. Adjust hook size if necessary to obtain correct gauge,
- Tapestry needle (to weave and hide yarn ends),
- Scissors,
- 4 buttons (Approx. 2,8 cm),
- Stitch markers.
Level:
Intermediate – maker should be comfortable with intarsia crochet basic. If you are unfamiliar with intarsia crochet method please check out my tutHow to do INTARSIA CROCHETorial.
Size:
40cm x 40cm (15.75”x15.75”)
Gauge after blocking:
19 sts and 18 rows to 10 x 10cm (4 x 4”) using 3.5mm hook with single crochet.
If necessary, adjust hook size to obtain the correct gauge.
Before you measure, please take the time to block your swatch in the same manner that you will block your pillow.
Notes:
- The pattern uses US crochet terminology.
- Pillow cover is worked in 3 separate pieces: FRONT, BACK TOP AND BACK BOTTOM. They are seamed together. The pillow cover does have a buttoned opening on the back to take the pillow pad in or out.
Stitches & Abbreviations (US terms):
st(s) – stitch(es)
yo – yarn over
sp – space
sk – skip
beg – beginning
prev – previous
RS – right ride
WS – wrong side
PATTERN
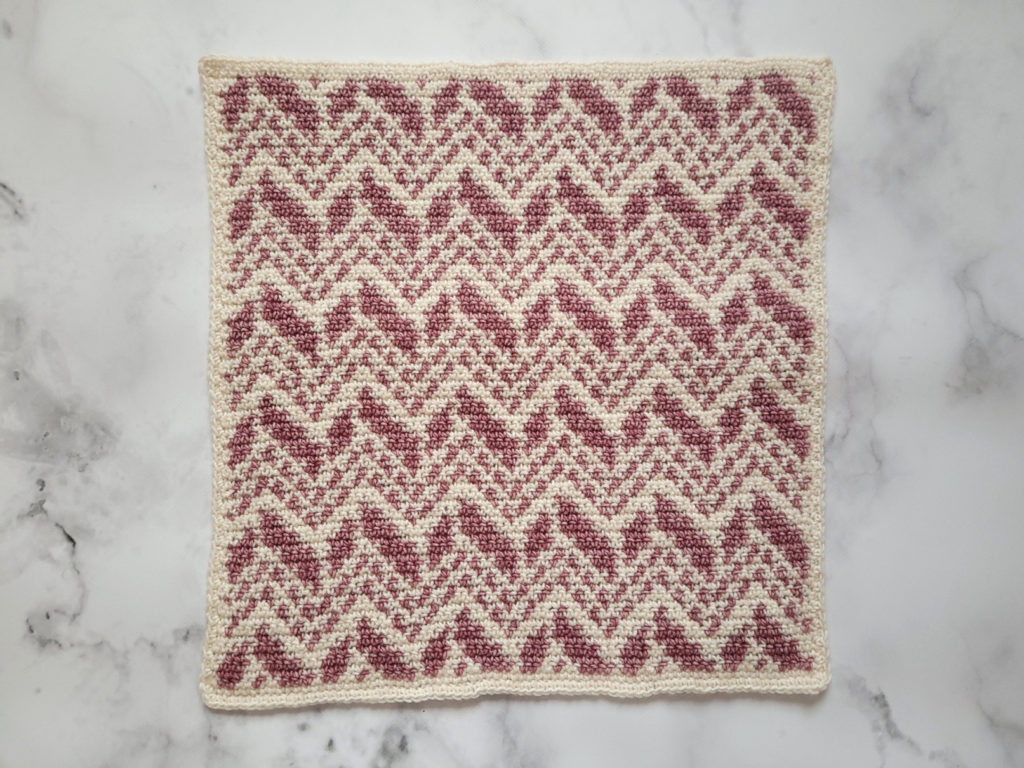
FRONT
Using yarn A make ch73 + 1 for turning.
Work sc in each st(s) across to work rows from 1 to 72 changing colors according to below chart.
Every row starts with a chain which does not count as a stitch.
The most important thing: 1 square is 1 sc!
Work one round of single crochet around entire FRONT piece making 3sc in each corner.
Fasten off yarn and weave in all ends.

BACK BOTTOM
Ch74
Row 1: sc in 2nd ch from hook and in each ch across. Turn. (73sc)
Row 2 – Row 60: ch1 (does not count as sc here and throughout), sc in each st across. Turn. (73sc)
Work one round of single crochet around entire BACK BOTTOM piece making 3sc in each corner.
Fasten off yarn and weave in ends.
BACK TOP
Ch74
Row 1: sc in 2nd ch from hook and in each ch across. Turn. (73sc)
Row 2 – Row 24: ch1 (does not count as sc here and throughout), sc in each st across. Turn. (73sc)
Row 25: ch1, sc8, ch4, sk 3st, sc15, ch4, sk 3st, sc15, ch4, sk 3st, sc15, ch4, sk 3st, sc8. Turn.
Row 26: ch1, sc in each st across working 3sc in each ch-4sp. Turn. (73sc)
Row 27-28: ch1, sc in each st across. Turn. (73sc)
Work one round of single crochet around entire BACK TOP piece making 3sc in each corner.
Fasten off yarn and weave in ends.

ASSEMBLY
- Block all the pieces.
- Sew all parts together. Place all three pieces (FRONT, BACK BOTTOM, BACK TOP) on top of each other right sides facing. The BACK TOP (with buttonholes) should be in the centre. Mark corners and using a running stitch sew all pieces around.

- Next, turn inside out and sew one button beneath each buttonhole on BACK BOTTOM piece.
- Insert pillow pad.
If you have any suggestions or have detected any mistakes, please feel free to email me at mycrochetory@gmail.com
Leave a Reply