
Updated: 8 October 2026 by Sylwia (MyCrochetory)
This center out crochet blanket pattern started with one simple question from a reader. She loved my Kalinda Shawl and asked me, “Could I make this as a square blanket?” And my first thought? What a brilliant idea!
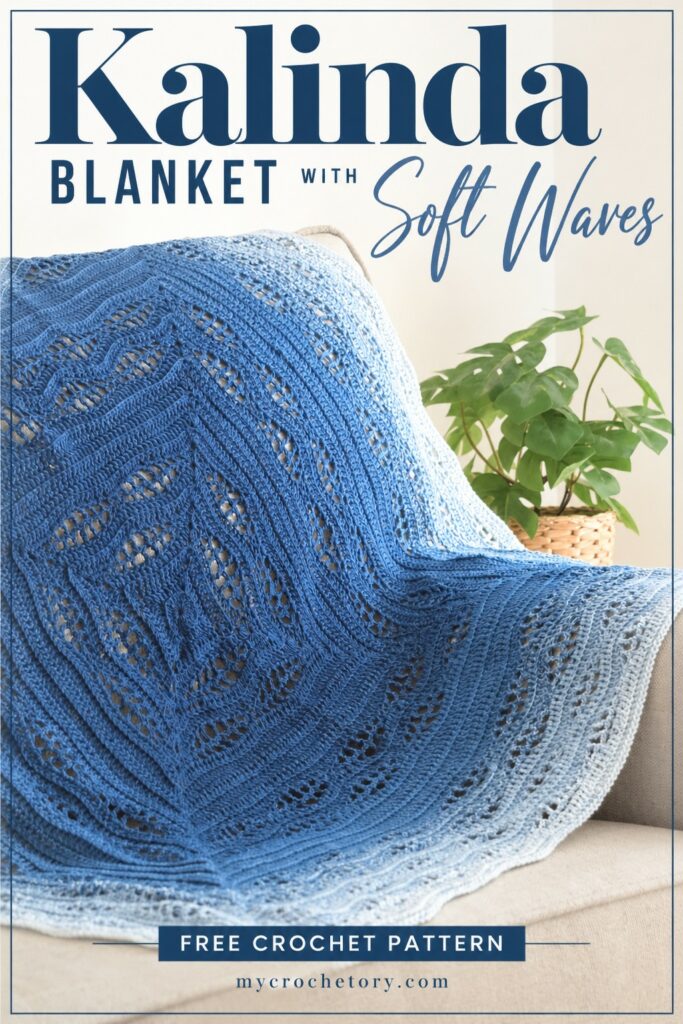
So I picked up my hook, and that’s how the Kalinda Blanket was made. It has the same wave pattern you might already know from the shawl, but this time you work it in the round, from the center out.
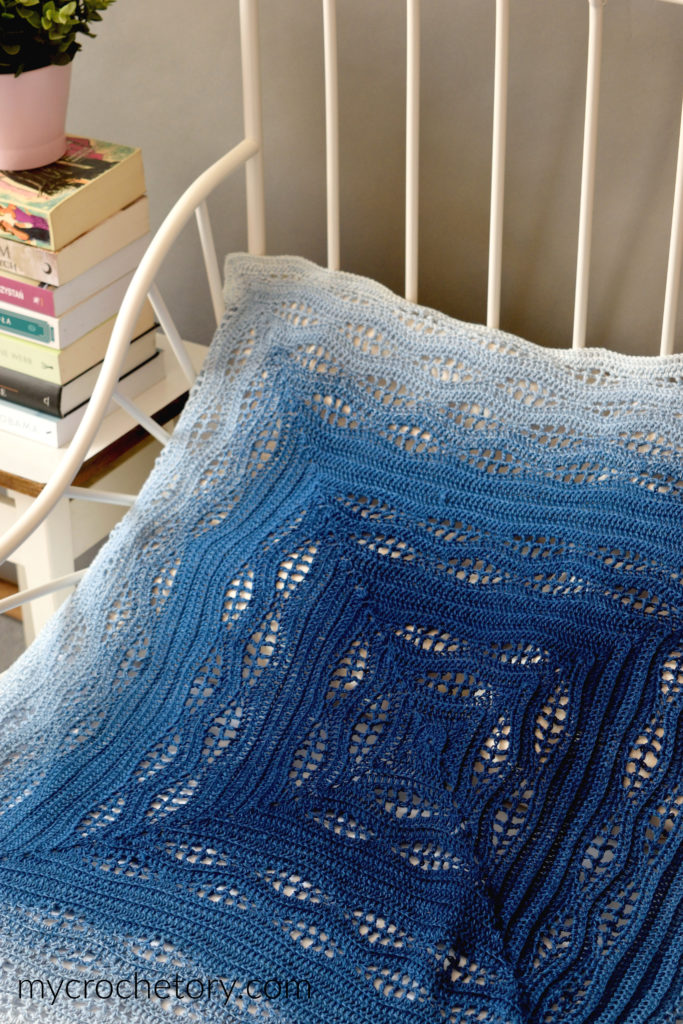
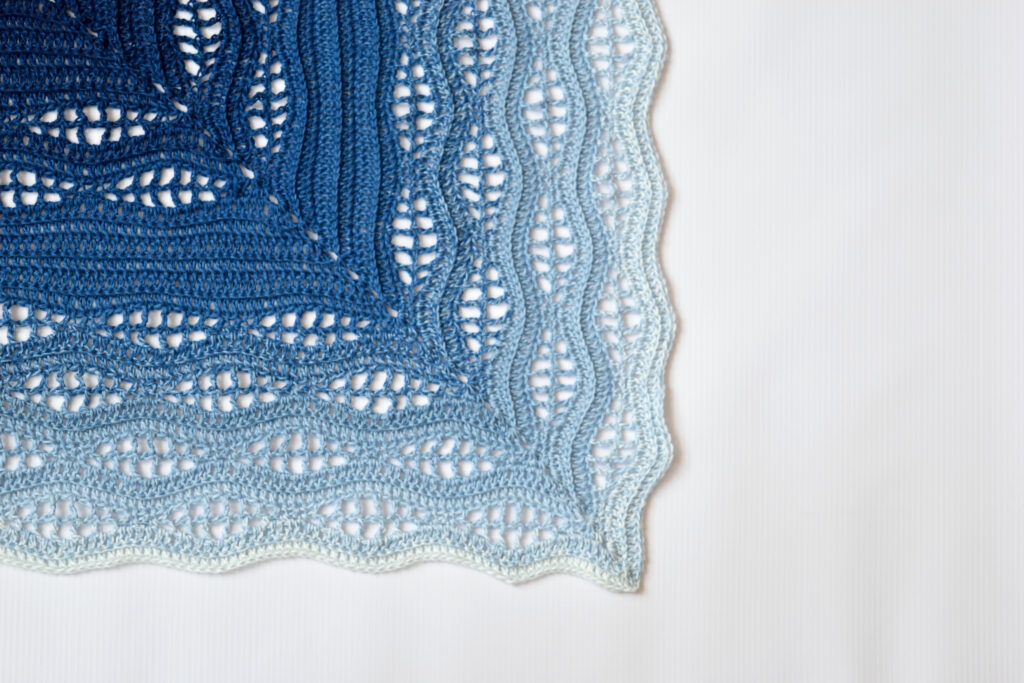
Round by round, you build a square full of waves. And with just one cake of ombre yarn, the color slowly fades from deep indigo in the middle to almost white at the edge. Watching that fade appear is the best part!
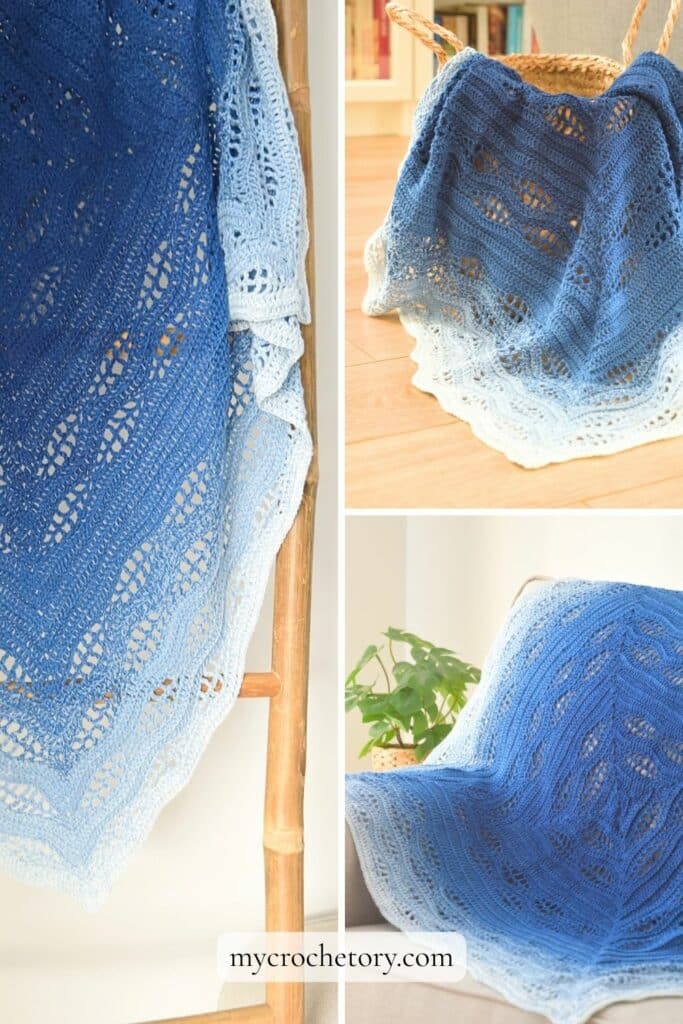
It’s a small blanket, so it’s lovely for a baby or for keeping your lap warm on the sofa. And if you want it bigger, you can easily keep going. Below, I show you how it’s made, how the wave pattern works and which yarn to pick.
The free pattern comes right after that, so scroll down and grab your hook!
Prefer an ad-free printable PDF with the stitch chart? You can get it on Etsy or Ravelry.
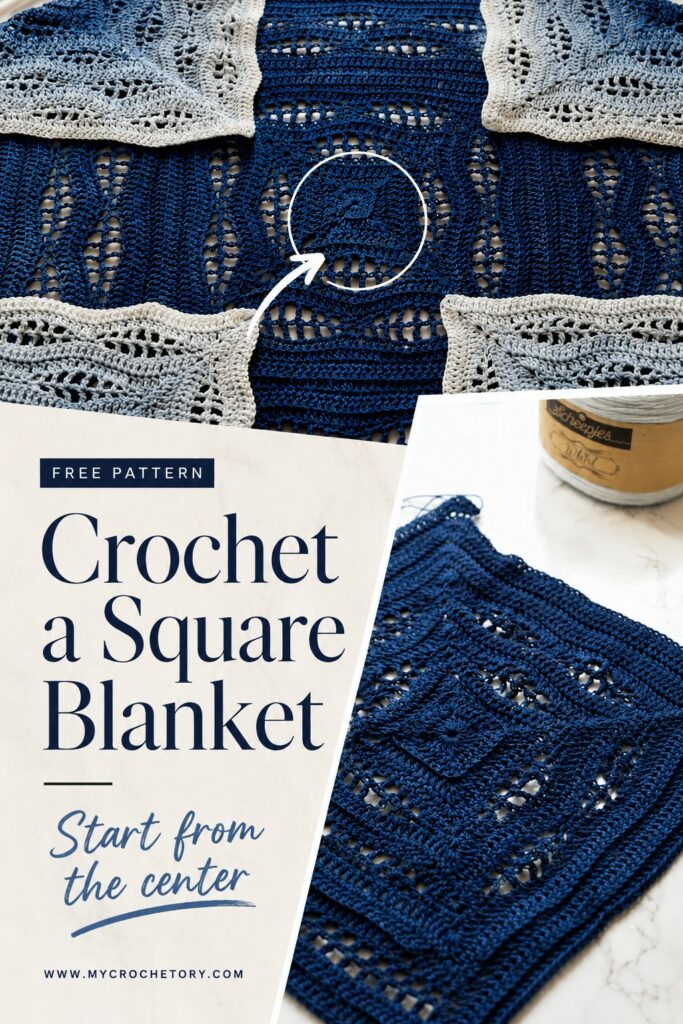
Not ready to start yet? No worries! Save this pin to your Pinterest board, so your Kalinda Blanket is just one click away when you are.
How this center out crochet blanket is made
This center out crochet blanket starts with a tiny ring right in the middle. In the very first round, you make four little groups of double crochet with a chain space between them. Those chain spaces become the four corners of your blanket!
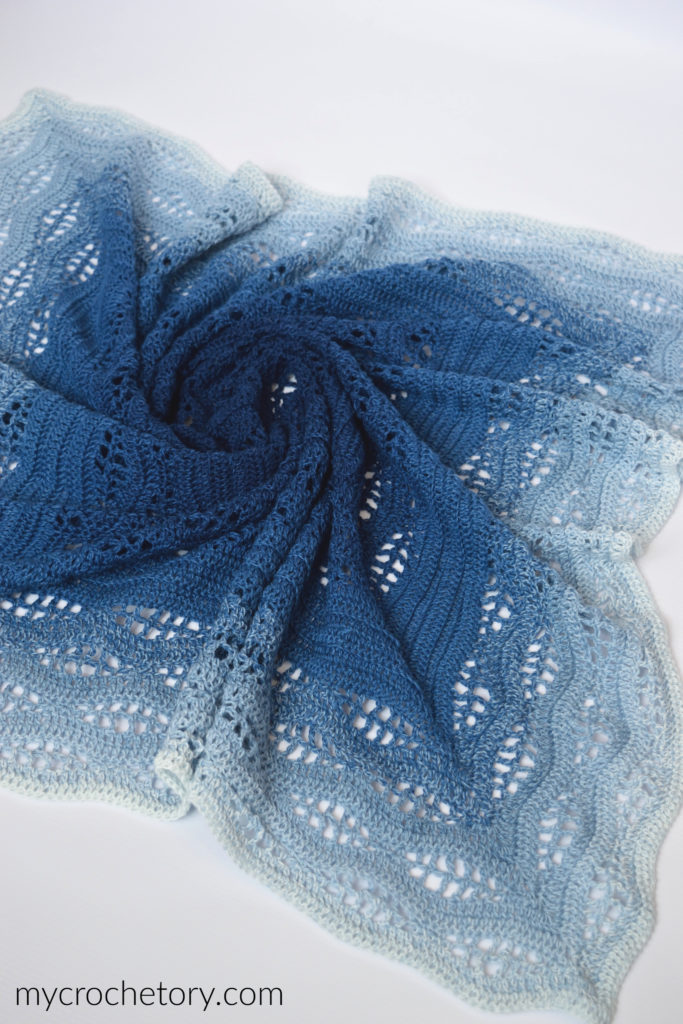
FFrom there, you add stitches in each corner in every round. So with each round you finish, your square gets a little bigger. It’s such a fun way to watch a blanket take shape.
Now here’s the part I love most. After each round, you turn your work and crochet the next round from the other side, and that’s why the blanket looks so neat on both sides. Plus, every round starts in a corner chain space, so the join stays nicely hidden in the corner.
To keep track of it all, put a stitch marker in each corner and move it up as you go. With four markers in place, you’ll always know exactly where the next corner is. No more counting and guessing!
How the wave pattern works in this crochet blanket
The waves in this crochet blanket come from two kinds of rounds that take turns. First come the ridged rounds, where you work double crochet into the back loops only. They give you neat lines of texture.n’t take them out, even when you feel like the corners are easy to spot. They make life much easier.
Then it’s time for the wave rounds, and this is the fun part. The stitches slowly get taller, from single crochet all the way up to treble crochet, and then shorter again, with a chain between each one. Those chains leave small open holes, and together with the changing heights, they create the waves you see in the photos.
And there’s one more detail I really love. As your blanket gets bigger, the groups of waves get wider too, first one band, then two, then four. So the closer you get to the edge, the bolder your waves look!
The pattern repeats a lot, which makes it really easy to follow once you’ve worked the first wave rounds. Just take it slow in Rounds 5 and 6, because they have brackets inside brackets. After that, it’s the same steps again and again, and that’s why I’d call this an intermediate pattern.
Which yarn to use for your Kalinda Blanket
Here’s the best news first. You only need one cake of gradient yarn for this whole blanket! I used Scheepjes Whirl in Indigo Plane, a soft cotton and acrylic blend with about 1,090 yards in one cake.
Why a cake like this? Because its colors change very slowly, so the fade comes out smooth and soft.
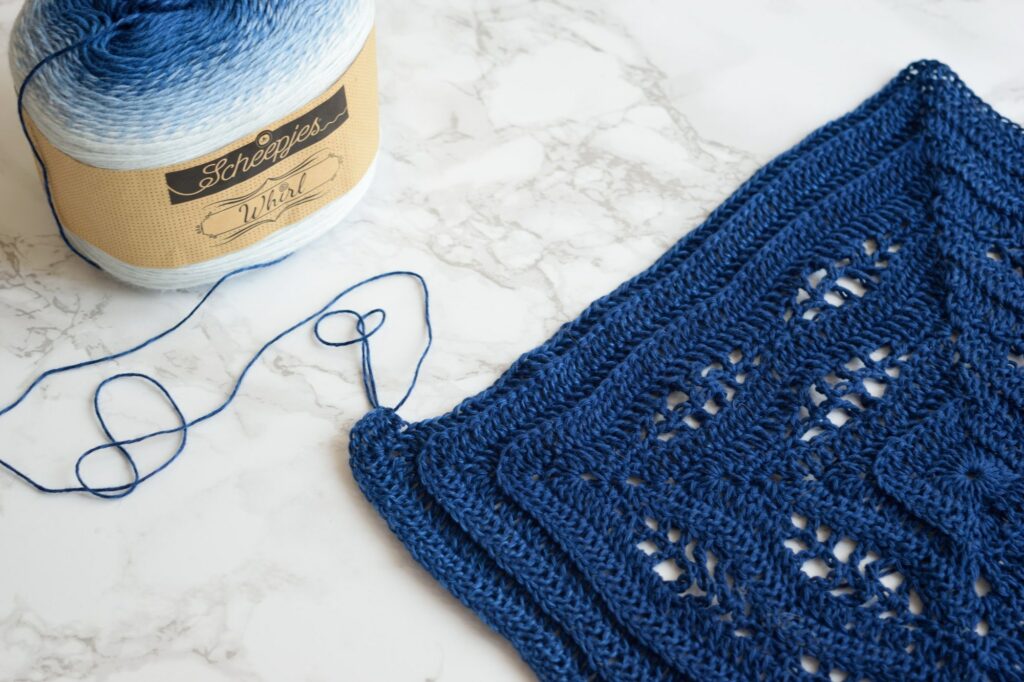
Since you start in the middle, the first color of the cake ends up in the center of your blanket. Then, round by round, you crochet each new color a little further out. That’s the whole trick behind the fade you see in my photos.
Dreaming of other colors? Go for it, because any gradient cake with long color changes will give you a similar fade. You can also use a heavier yarn, but then your blanket turns out bigger, so get a bit more of it.
How to make your Kalinda Blanket bigger
Want a bigger blanket? Easy, just keep adding rounds after the last one in the pattern! My blanket measures about 31.5 by 31.5 inches after blocking, which is a sweet size for a baby or for your lap.
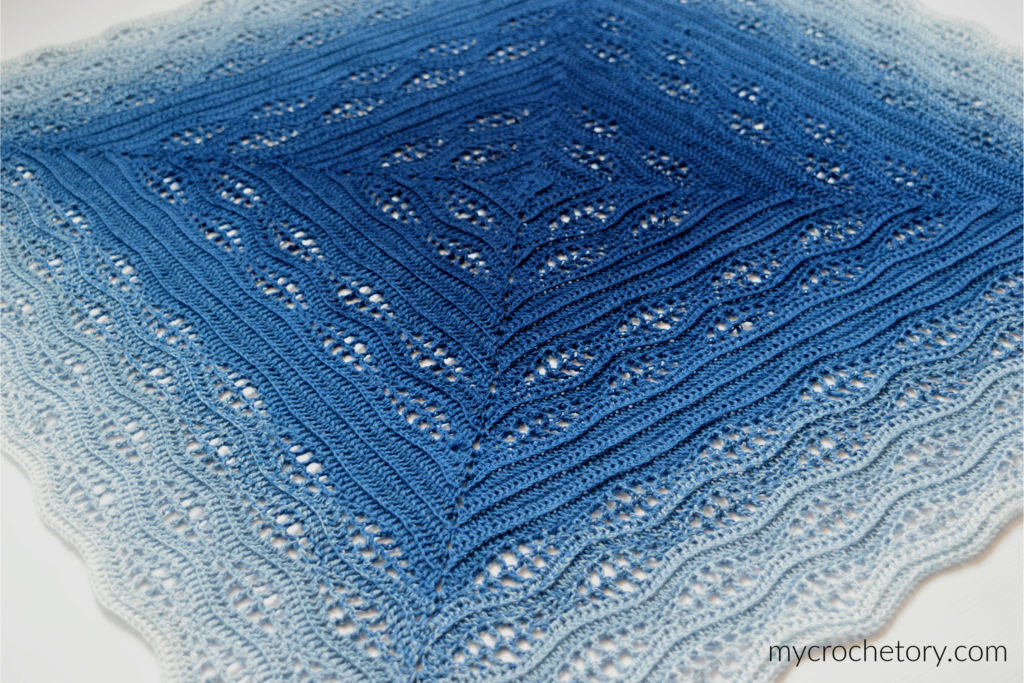
Since it’s worked from the center out, you can stop at any size you like. Simply keep repeating the ridged rounds and the wave rounds until you’re happy with it. And because every extra round adds to all four sides at once, your blanket stays perfectly square the whole time!
Just remember that a bigger blanket needs more yarn. If you add a second gradient cake, its colors start from the beginning again. So before you join it, take a moment to think about where you’d like those colors to go.
Kalinda Blanket FAQ
Is this the same pattern as the Kalinda Shawl? Not exactly, but they’re definitely family! Both use the same wave stitch, but the Kalinda Shawl is a triangle worked in rows. The blanket, on the other hand, is a square you crochet in the round, from the center out.
Can I use different colors instead of one gradient cake? Sure, go for it! You can switch to a new color at the end of any round, so you could even give each band of waves its own color. My guide with 4 easy ways to join yarn ends will help you make those color changes nice and neat.
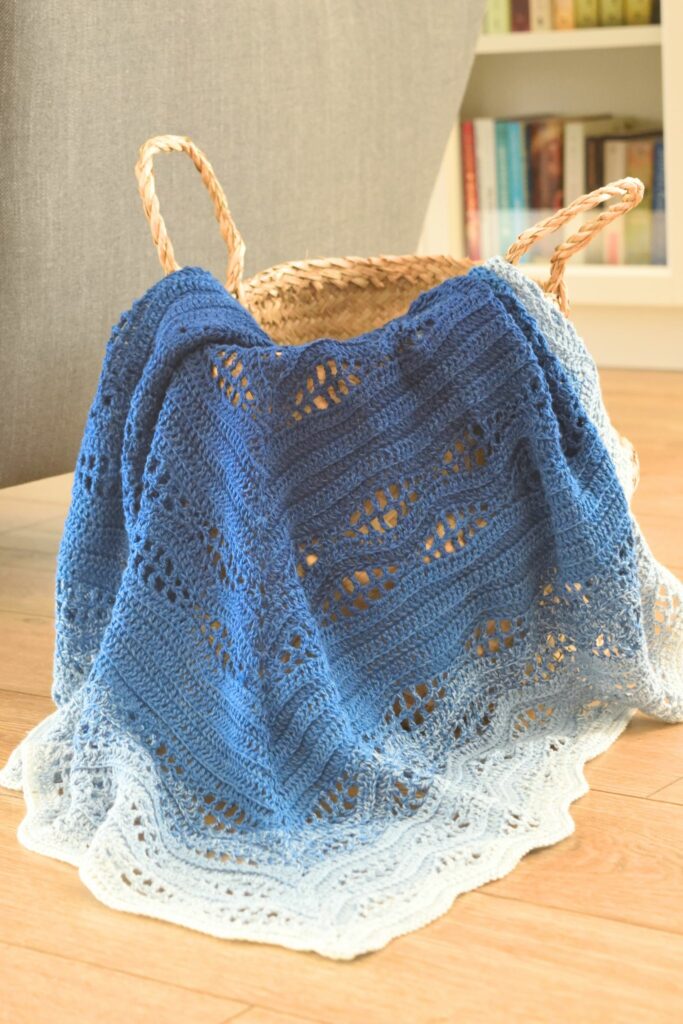
Do I need to block my blanket? Yes, and I promise it’s worth it! Blocking opens up the little holes in the waves and makes your square nice and even. Since my blanket is made with a cotton and acrylic yarn, I pin it to a blocking mat and steam it, holding my iron about half an inch above the yarn without ever touching it.
Is there a stitch chart? Yes, there is! You’ll find the stitch chart in the ad-free printable PDF on Etsy and Ravelry. And here on the blog, you get the full written pattern with stitch counts for the main rounds.
Can I sell the blankets I make from this pattern? Absolutely! The blanket you make is yours to sell, so just credit MyCrochetory as the designer. The only thing you can’t sell or share is the pattern itself.
I’d love to see your blanket, so please share it on social media with the hashtag #mycrochetory! Stuck on a round? Come ask me in my Facebook Group or my Ravelry Group, and I’ll happily help you out.
Kalinda Blanket free pattern
- Get the ad-free printable PDF with the stitch chart on Etsy or Ravelry.
- Add this pattern to your Ravelry queue here.
- Want the whole Kalinda family? Grab the Kalinda Pattern Bundle with the Shawl, Wrap and Blanket.
- Pin it for later
Copyright 2019–2026 MyCrochetory. All rights reserved. This pattern is property of Sylwia Kawczyńska @MyCrochetory. Please DO NOT sell the pattern and claim this pattern as your own. The pattern is for personal use only and may not be translated or reproduced in another language. Please respect my rights, DO NOT share or publish this pattern anywhere without my permission.
The blanket you make following this pattern is yours, you are free to sell it, as long as you credit MyCrochetory as original designer. For more information, please read the Terms Page.
As a bonus in the ad-free printable PDF, I’ve included a stitch chart. If you’re a visual learner, or if you just want to support my work, you can get it on Etsy or Ravelry. Thank you, and I hope you find it useful!
Materials & tools
- Yarn: Scheepjes Whirl 215g = 1000m, 60% Cotton, 40% Acrylic, 1 cake. For the blanket sample I used Indigo Plane (553) colorway.
- Hook size: 3.5mm. Adjust hook size if necessary to obtain correct gauge.
- Tapestry needle (to weave and hide yarn ends).
- Scissors.
- 4 stitch markers.
Level
Intermediate
Size after blocking
Approx. 80cm x 80cm (31.5″ x 31.5″)
Gauge after blocking
After Round 11, measures 20cm (8″).
Gauge isn’t very important for this project, but a different gauge will change the amount of yarn you need and the finished size.
Notes
- The pattern uses US crochet terminology.
- Kalinda Blanket is a one-piece blanket worked in the round from the center out, but after each round you will turn your blanket and work on the backside.
- Each round builds on the next, and each round starts in the corner chain space.
- Place the stitch marker in every ch-1 sp corner.
- Pay special attention to Rounds 5 and 6. There are nested brackets {…} which include a square bracket […] inside.
- Instructions in square brackets […] or in {…} are worked as many times as indicated.
- After the written instructions, you can find the stitch counts for some rounds.
- This pattern can easily be adapted to use heavier weight yarn and/or additional rounds to make the desired size.
- The stitch chart is included in the ad-free printable PDF on Etsy or Ravelry.
Stitches & abbreviations (US terms)
st(s) – stitch(es)
hdc – half double crochet
BLdc – back loop only double crochet
yo – yarn over
sp – space
sk – skip
m – marker
Pm – place marker
Rm – reposition marker
Pattern
Read all the pattern notes before starting.
Begin with a magic ring. You can also chain 5 and join with a slip stitch in the first chain to form a ring.
Round 1: ch3 (counts as a dc here and throughout), 4dcs in ring, ch1, Pm, [5dcs in ring, ch1, Pm] rep 3 times in total, slst at the top of ch3 to close the round. Turn.
Round 2, 3, 4: slst into ch-1 sp, ch3, dc in ch-1 sp, [BLdc in every st until ch-1 sp, (2dcs, ch1, Rm, 2dcs) in ch-1 sp] rep 3 times in total, BLdc in every st until last ch-1 sp, 2dcs in last ch-1 sp, ch1, Rm, slst at the top of ch3 to close the round. Turn.
Round 5: slst into ch-1 sp, ch1, sc in ch-1 sp, {ch1, sk next st, [sc, ch1, sk next st, hdc, ch1, sk next st, dc, ch1, sk next st, tr, ch1, sk next st, tr, ch1, sk next st, dc, ch1, sk next st, hdc, ch1, sk next st, sc, ch1, sk next st] rep until ch-1 sp, (2sc, ch1, Rm, 2sc) in ch-1 sp} rep 3 times in total, ch1, sk next st, [sc, ch1, sk next st, hdc, ch1, sk next st, dc, ch1, sk next st, tr, ch1, sk next st, tr, ch1, sk next st, dc, ch1, sk next st, hdc, ch1, sk next st, sc, ch1, sk next st] rep until last ch-1 sp, 2scs in last ch-1 sp, ch1, Rm, slst into ch1 to close the round. Turn.
Round 6: slst into ch-1 sp, ch1, {sc in next 2scs, ch1, sk next ch-1 sp, [sc in next sc, ch1, sk next ch-1 sp, hdc in next hdc, ch1, sk next ch-1 sp, dc in next dc, ch1, sk next ch-1 sp, tr in next tr, ch1, sk next ch-1 sp, tr in next tr, ch1, sk next ch-1 sp, dc in next dc, ch1, sk next ch-1 sp, hdc in next hdc, ch1, sk next ch-1 sp, sc in next sc, ch1, sk next ch-1 sp] rep until 2scs remain before ch-1 sp, sc in next 2scs, (sc, ch3, Rm, sc) in ch-1 sp} rep 3 times in total, sc in next 2scs, ch1, sk next ch-1 sp, [sc in next sc, ch1, sk next ch-1 sp, hdc in next hdc, ch1, sk next ch-1 sp, dc in next dc, ch1, sk next ch-1 sp, tr in next tr, ch1, sk next ch-1 sp, tr in next tr, ch1, sk next ch-1 sp, dc in next dc, ch1, sk next ch-1 sp, hdc in next hdc, ch1, sk next ch-1 sp, sc in next sc, ch1, sk next ch-1 sp] rep until 2scs remain before last ch-1 sp, sc in next 2scs, sc in last ch-1 sp, ch3, Rm, slst into ch1 to close the round. Turn.

Round 7: 2slst into ch-3 sp, ch3, 2dcs in ch-3 sp, [dc in every st and ch-1 sp until ch-3 sp, (3dcs, ch1, Rm, 3dcs) in ch-3 sp] rep 3 times in total, dc in every st and ch-1 sp until last ch-3 sp, 3dcs in last ch-3 sp, ch1, Rm, slst at the top of ch3 to close the round. Turn.
Round 8: Repeat Round 2
After Round 8 repeat :
Rounds 5-8 one time
Round 2 four times
Rounds 5-8 two times
Round 2 four times
Rounds 5-8 four times
Fasten off yarn, weave in all ends and block your blanket.
Stitch Count Checkpoints
Check the number of double crochet stitches on each side at these rounds:
- Round 7: 29 dc per side
- Round 11: 45 dc per side
- Round 19: 77 dc per side
- Round 23: 93 dc per side
- Round 31: 125 dc per side
- Round 39: 157 dc per side
- Round 43: 173 dc per side
Count one side at a time, moving from one marked corner to the next. All four sides should have the same number of stitches.
If one count is different, check the nearest corner first. Then look through the last wave section for a missed stitch or chain space.
If you have any suggestions or have detected any mistakes, please feel free to email me at mycrochetory@gmail.com
More Kalinda patterns
Fell for the Kalinda waves? Good news, the blanket isn’t the only one. The same wave pattern also lives in a shawl and a wrap, and you can get all of them together in one bundle.
Kalinda Shawl. This is where it all started! The Kalinda Shawl has the same wave pattern as the blanket, but it’s a triangle that you crochet in rows.
Kalinda Wrap. Love the waves but want something smaller than a blanket? The Kalinda Wrap uses the same wave pattern in a long rectangle, and it comes with a video tutorial.
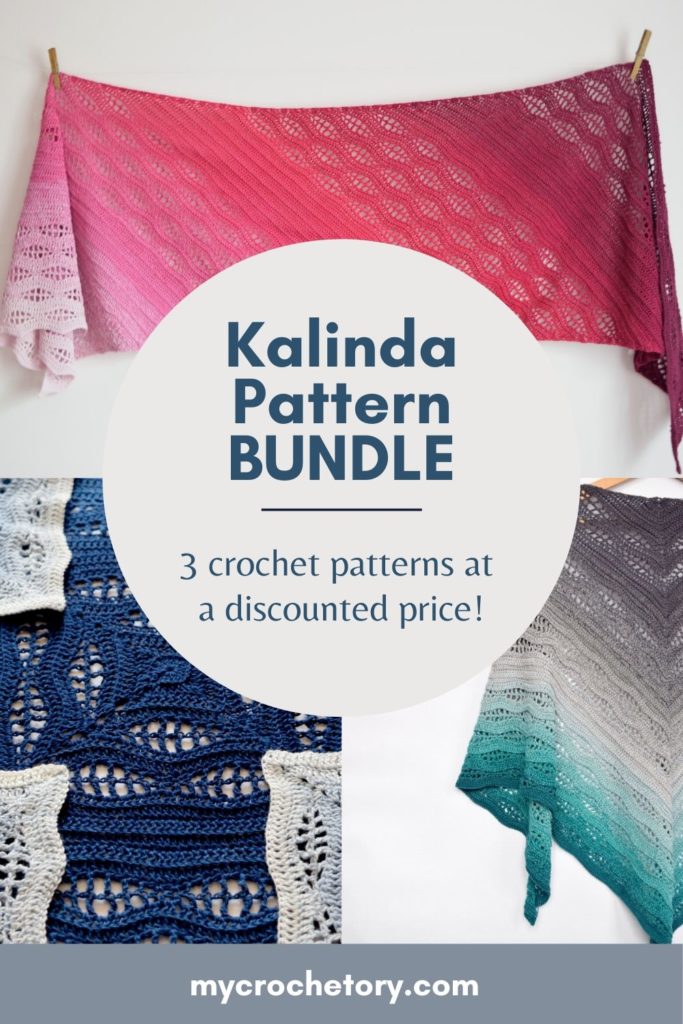
Kalinda Pattern Bundle. Want the whole family? Get the Kalinda Shawl, Wrap and Blanket as ad-free PDFs in one bundle at a lower price.
More center out crochet blanket patterns
Liked watching your blanket grow round by round from the middle? Here are two more blankets that start in the center too.
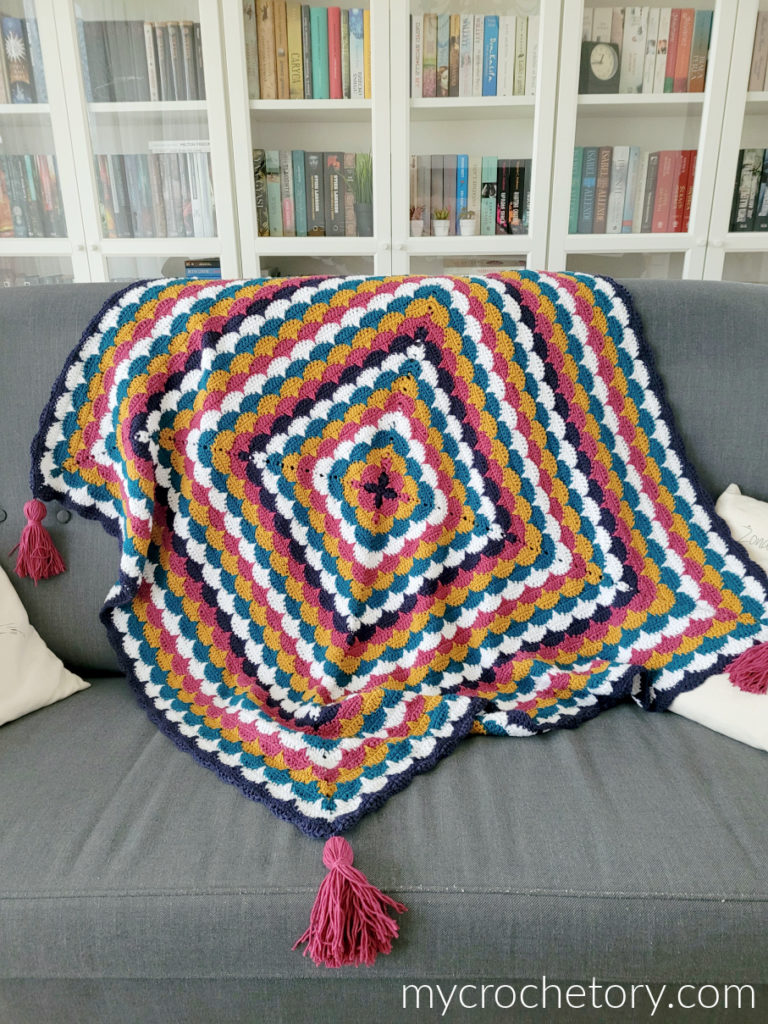
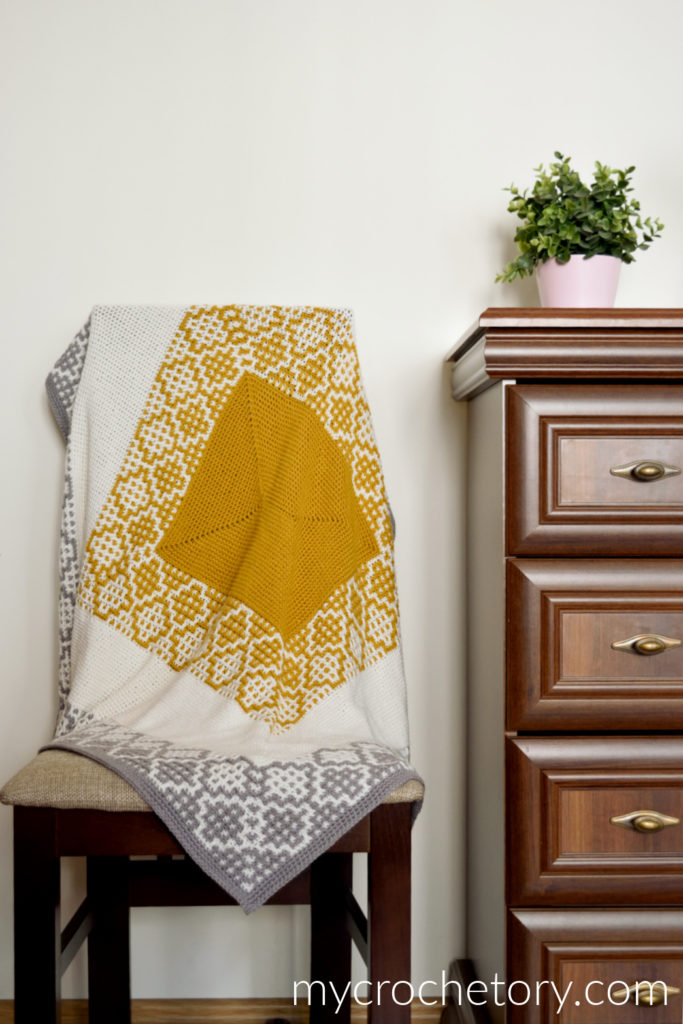
Clamshell Square Blanket. This square one is also worked in rounds, but with my clamshell stitch and five colors. There’s a color guide for every round, so you always know which yarn comes next.
Carina Rectangle Blanket. Who said center out has to mean square? Carina starts in the middle too, but it grows into a rectangle with a three-color mosaic design. It was inspired by my Carina Mosaic Shawl.
Looking for more? Browse all my free crochet blanket patterns.
Loved this pattern? Then join my newsletter, and I’ll send my new patterns straight to your inbox. (link to the signup box)
So, which colors are you picking for your Kalinda Blanket? Tell me in the comments, I can’t wait to see! And if a round gives you trouble, ask me there too, so the next person with the same question finds the answer.
This is stunning!! Thanks for sharing.
Thank you!
Is there maybe a video tutorial for this blanket? I have lost my heart on this one nd really want to make it but I am struggling. Please help me.
Hi,
Unfortunately there isn’t a video tutorial for this pattern but, if you think it would be helpful, PDF pattern contains the stitch chart.
I thank you for sharing now to find simarer thread in South Africa