Updated: 26 March 2026 by Sylwia (MyCrochetory)
If you’ve ever put your project down and wondered why is my crochet circle curling, the most common reason is that the circle doesn’t have enough increases in each round. Tight tension or a hook that’s slightly too small can also pull the stitches inward and make the fabric curl instead of lying flat.
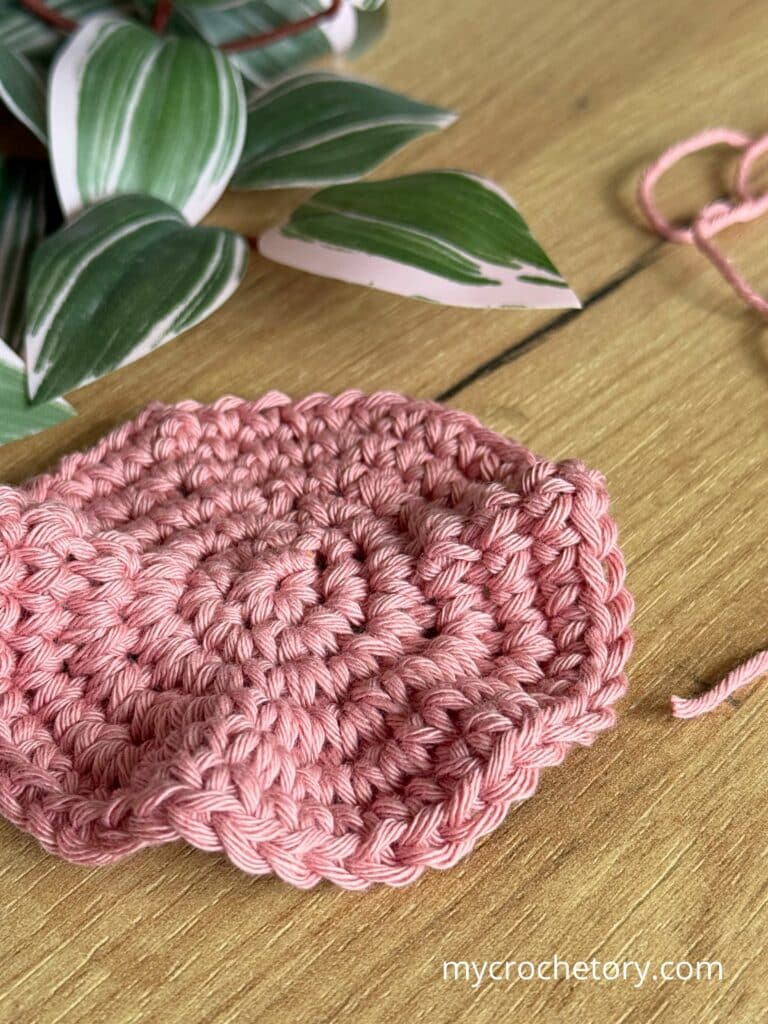
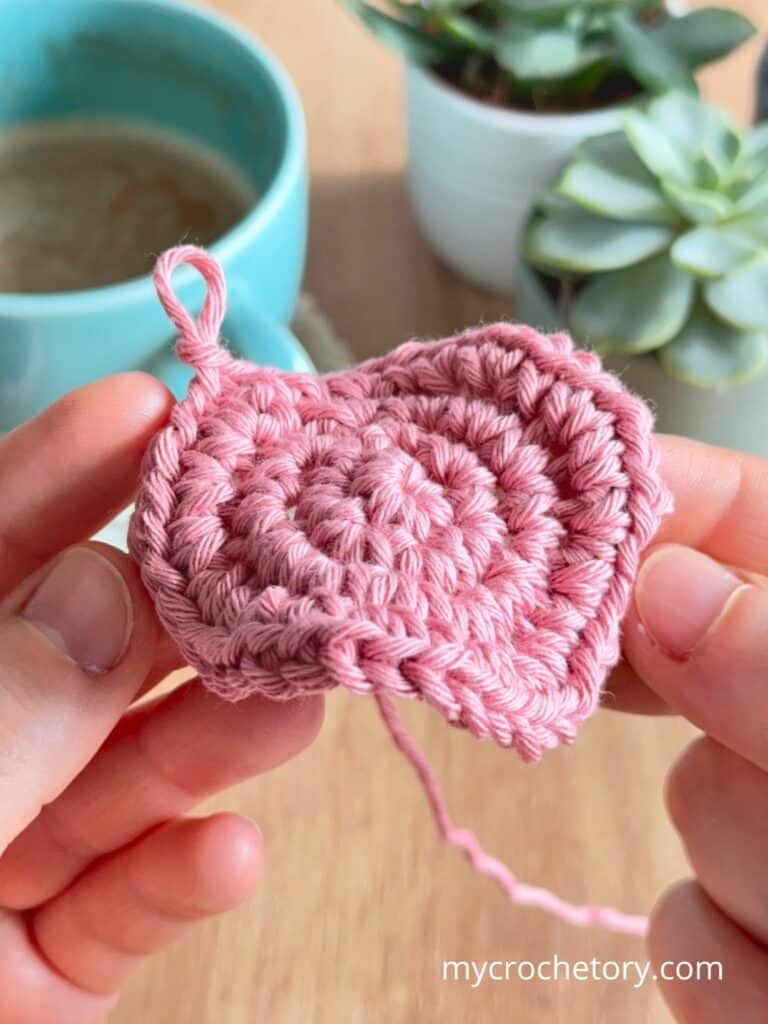
This is one of the most common issues people run into when crocheting in the round. The circle may look fine at first, but after a few rounds the edges begin lifting and the shape starts curving upward.
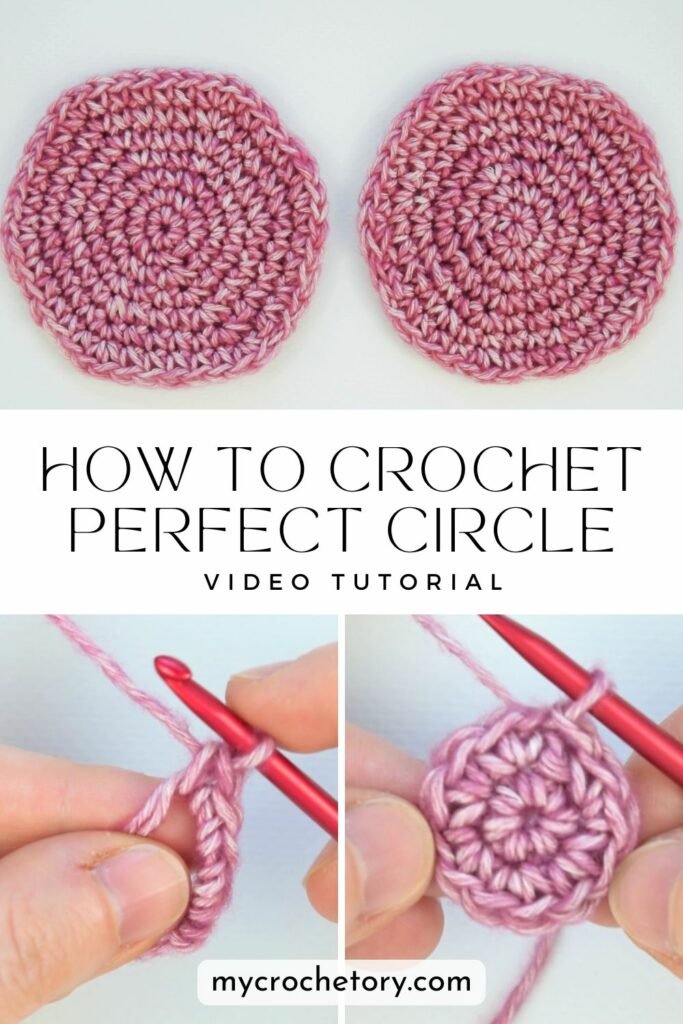
If you’re still getting familiar with how crochet circles are constructed, it may help to review the basics of how to crochet a circle or start with a magic ring tutorial, which is the most common way to begin round crochet projects.
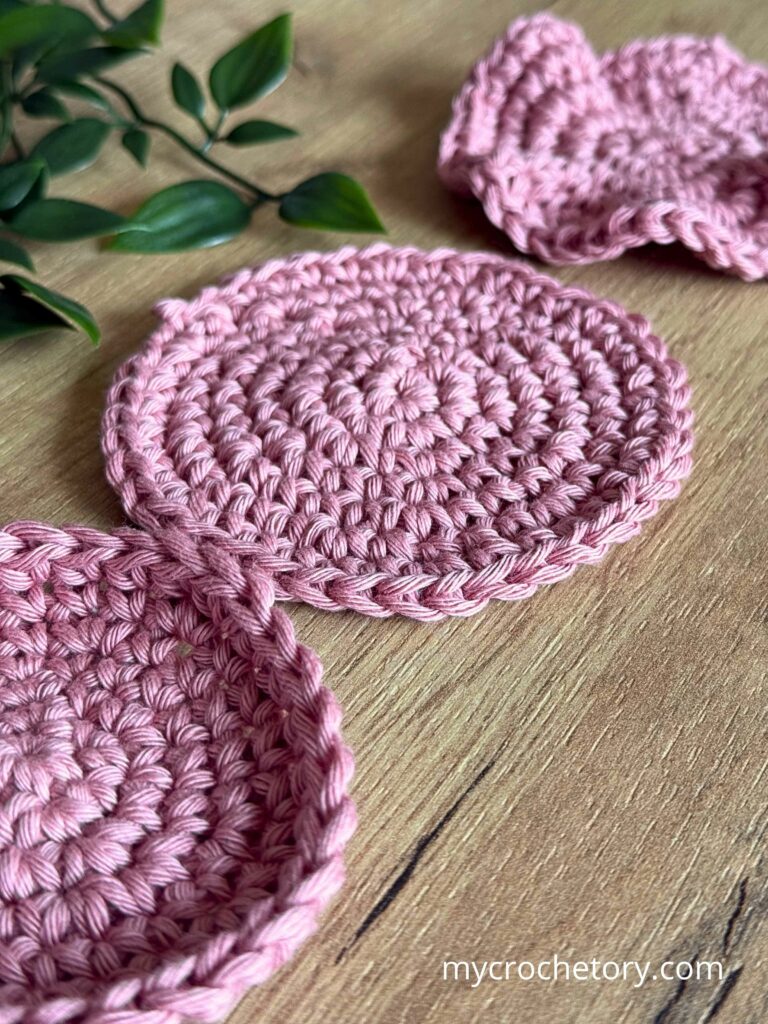
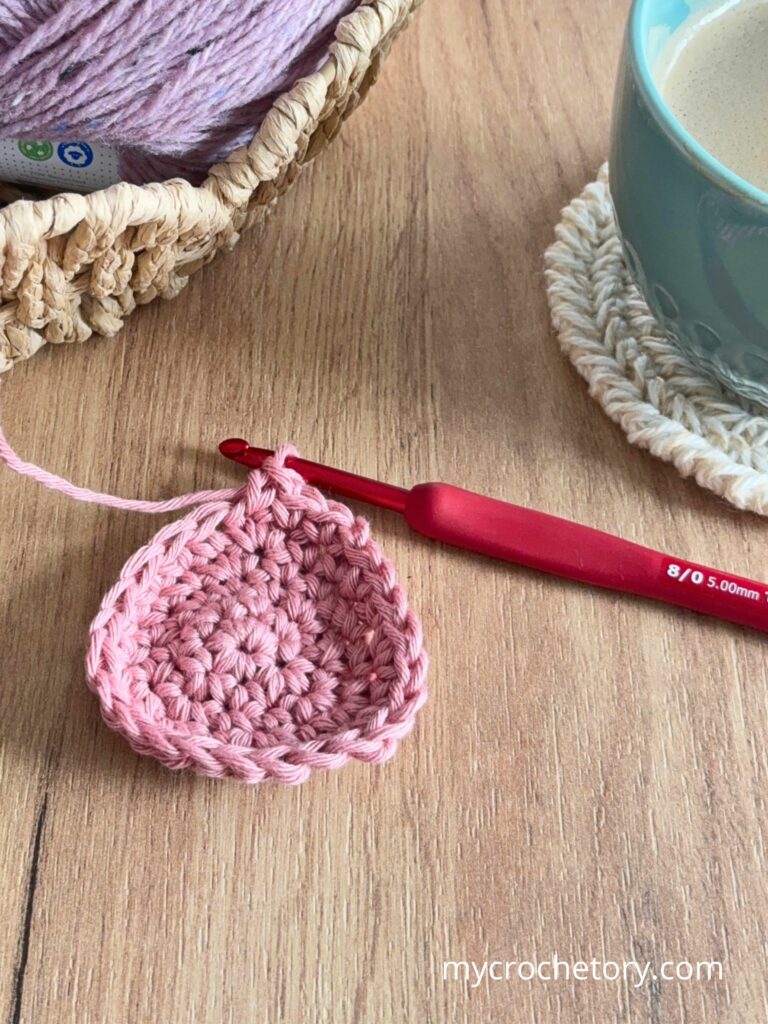
A small project like a simple crochet coaster is also a great way to practice and really see how a circle behaves as it grows.
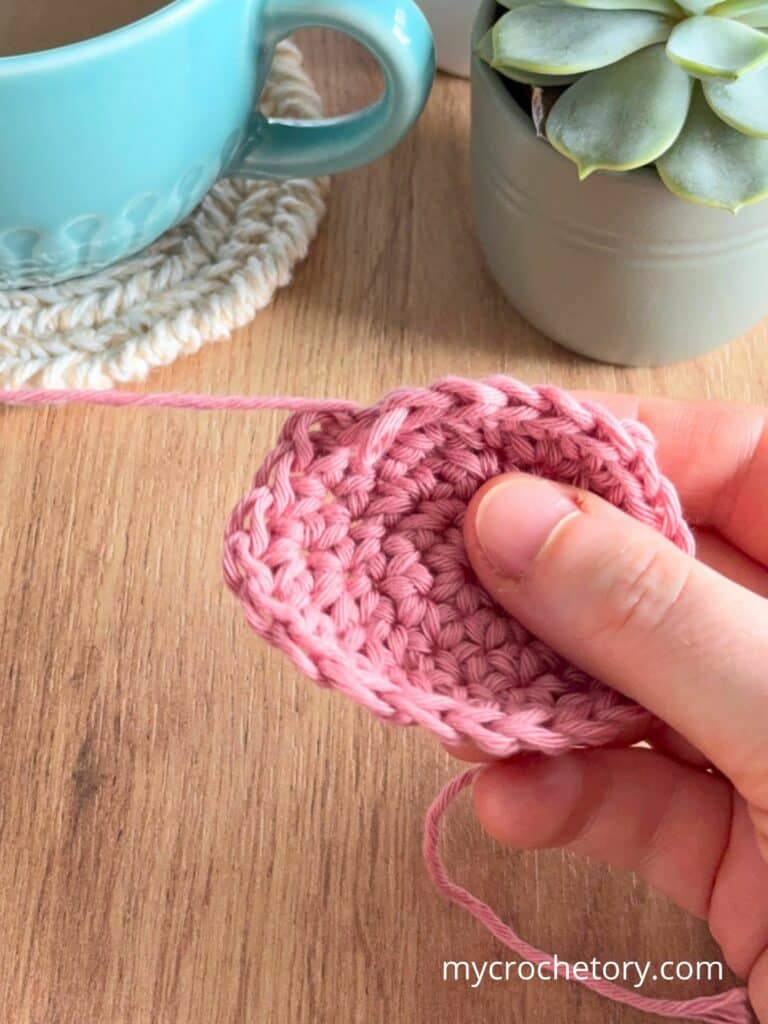
When I’m working a circle, I usually pause after a few rounds and place it on the table for a quick check. I smooth it lightly with my hand and see how it sits. If the circle spreads out evenly, I keep going. If the edges start lifting, I know something isn’t quite right yet and it’s better to figure it out before adding more rounds.
If you want to double-check your stitch technique, it can also help to review the basics of single crochet or double crochet, since stitch tension often affects how a crochet circle behaves.
Curling circles usually happen for just a few specific reasons. Once you know what to look for, it becomes much easier to catch the problem early and get your crochet circle lying flat again.
Below you’ll find the most common reasons a crochet circle starts curling and simple ways to keep your crochet circle flat as you work.
5 Easy Fixes for a Curling Crochet Circle
If your crochet circle is curling, these are the first things I always check before going any further:
- Make sure you have enough increases in each round
- Loosen your tension slightly
- Try using a larger hook
- Double-check your stitch count
- Redo the last round if something feels off
Most of the time, one of these fixes is enough to get your crochet circle to lie flat again.
Now let’s go through what’s causing the curl so you can fix it as you go.
Why Is My Crochet Circle Curling? Signs to Watch For
When I’m crocheting a circle, I’ve learned that it usually gives a few small hints before the curl becomes obvious.
One of the first things I notice is what happens when I set my work down for a quick check. Instead of laying flat, the edges start lifting just a bit. I might smooth it with my hand and it looks fine for a second, but then that slight curve comes right back.
I can also feel it while working the next round. The stitches start to feel a little crowded, and the fabric doesn’t relax the way it normally does. My hook still goes through the stitches, but it feels like everything is pulling inward instead of opening up.
At that point, the stitches can still look neat, so it’s really easy to keep going without thinking much of it.
That’s why I like to pause every few rounds and lay the circle flat on the table just to see how it’s behaving. It’s a small habit, but it helps me catch these things early before the shape starts changing more.
If you’re still getting comfortable with working in the round, it can really help to go back to the basics of how to crochet a circle and see how increases are spaced in each round.
The Most Common Reason Crochet Circles Curl
(Fix #1: Add Enough Increases)
From my experience, the most common reason a crochet circle starts curling is simply not having enough increases in the round.
A circle needs those extra stitches in every round so the fabric can actually spread outward. When there aren’t enough, the stitches start pulling everything inward, and that’s when the shape slowly begins to curl instead of laying flat.
I’ve had this happen even when everything looked fine at first. The stitches looked neat, the rounds seemed right, but after a while the circle just didn’t want to relax. That’s usually my first sign to go back and check if I missed an increase somewhere.
It can also happen when I’m working taller stitches.
Circles made with double crochet or treble crochet need more stitches in each round than circles made with shorter stitches like single crochet, so they run out of room faster if the increases aren’t right.
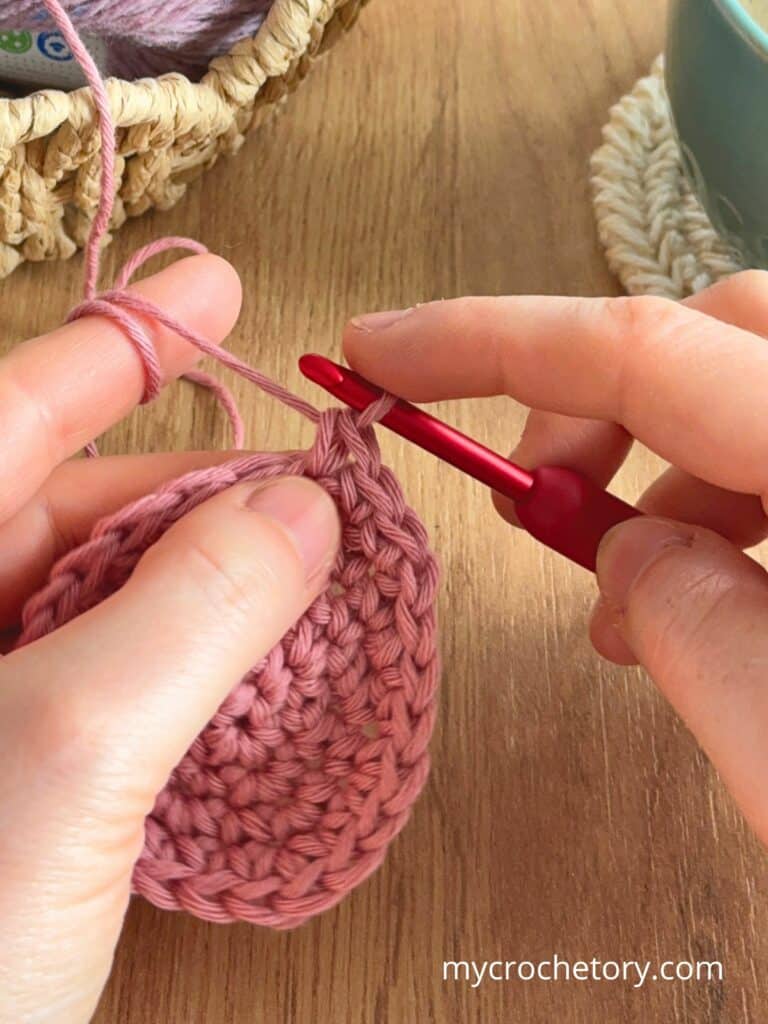
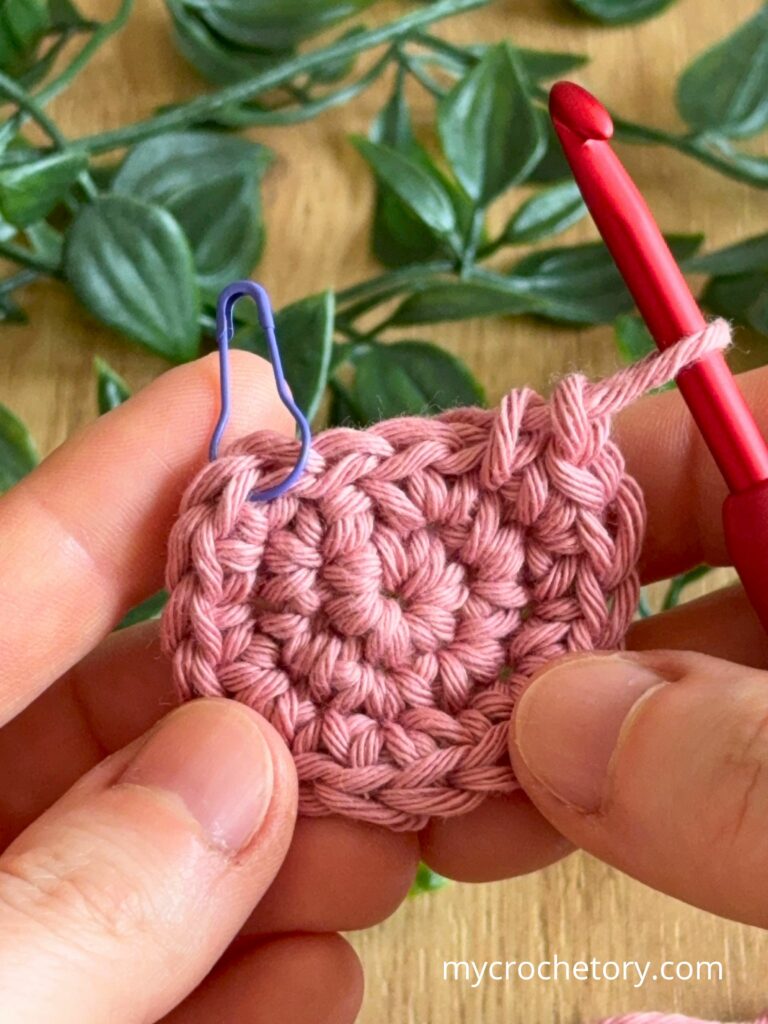
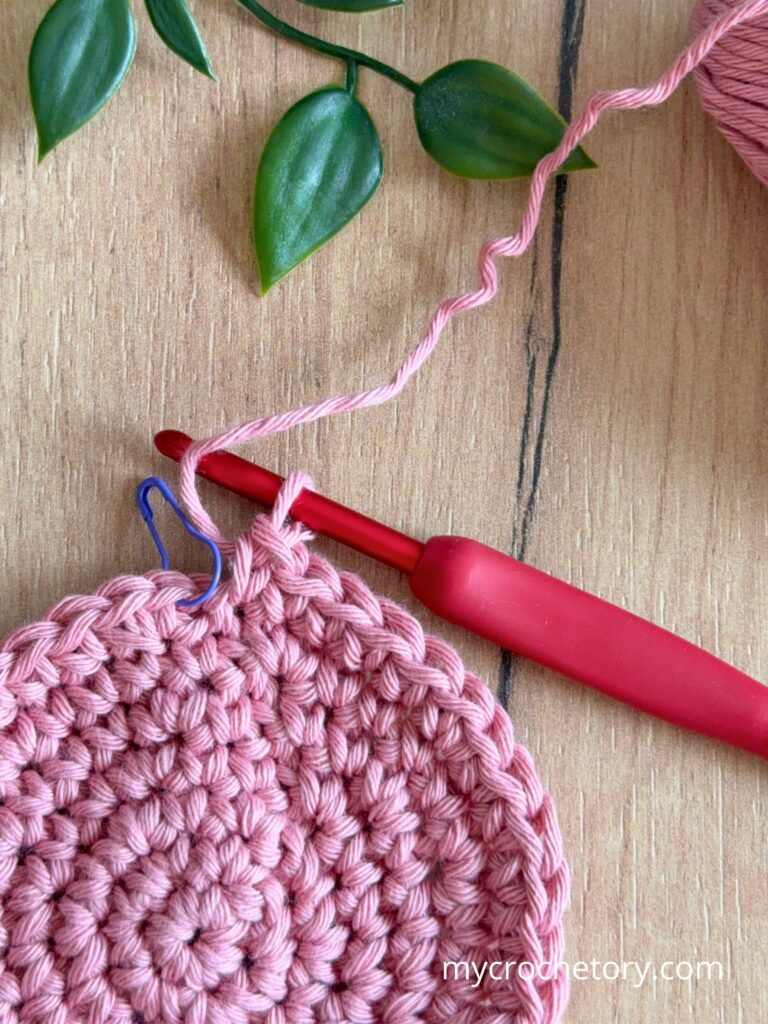
The easiest way I’ve found to avoid this is to keep a quick eye on my stitch count as I go. I also like to use a stitch marker to mark the start of each round, so it’s easier to see where the increases should land.
Tension That Is Too Tight
(Fix #2: Loosen Your Tension)
Another reason I see crochet circles start curling is tension that’s just a bit too tight.
When I’m working my stitches too firmly, the fabric becomes dense and doesn’t have much flexibility.
Instead of spreading outward, everything starts pulling inward, and that’s when the circle begins to curl.
I can usually feel this while I’m crocheting. The stitches feel tighter, and it takes a little more effort to get the hook through. The fabric also feels thicker and less relaxed when I run my fingers over it.
Sometimes I’ll set the circle down, smooth it out, and it looks flat for a second, but then it slowly curves again once I let go.
When that happens, I try to loosen my grip slightly on the next round and let the yarn move more freely. Even a small change in tension can make a big difference in how the circle sits.
Using a Hook That Is Too Small
(Fix #3: Use a Larger Hook)
Another thing I always check is my hook size, because it can change how the whole circle behaves.
When I use a hook that’s too small for the yarn, the stitches come out tighter and the fabric doesn’t have much give. Even if my stitch count is right, the circle can still start curling because it doesn’t have enough room to spread out.
I usually notice this when the stitches look compact and the fabric feels a bit stiff in my hands. It just doesn’t have that relaxed feel that a flat circle should have.
When that happens, I like to try the next round with a hook that’s one size larger. Most of the time, that small change is enough to let the stitches open up and the circle starts sitting much flatter.
It’s a simple adjustment, but it can make a big difference, especially with yarns that naturally create tighter stitches.

Common Crochet Circle Mistakes Beginners Make
(Fix #4: Check Your Stitch Count)
A lot of the time, curling comes down to something small that happened earlier in the rounds.
I’ve definitely had moments where I missed just one stitch or forgot an increase, and everything still looked fine at first. But after a few more rounds, the circle started tightening and didn’t want to stay flat anymore.
That’s the tricky part. One small mistake doesn’t seem like much, but it builds up as the circle grows.
I’ve also noticed that uneven increases can cause the same problem. Even if the stitch count is close, the circle doesn’t spread out the way it should and starts pulling inward instead.
At this point, I always stop and count my stitches again, even if I think they’re right. It’s a quick check, but it usually tells me right away where things went off.
How to Fix a Crochet Circle That Is Already Curling
(Fix #5: Redo the Last Round)
If my crochet circle starts curling, I don’t panic right away, because most of the time I can fix it without starting over.
The first thing I do is go back and check my stitch count. If something feels off, there’s a good chance I missed an increase or added one in the wrong place.
If the stitch count looks fine, I pay attention to how the fabric feels. When it feels tight or a bit stiff, I know I probably need to loosen my tension or give the stitches more space.
Sometimes I’ll try the next round with a slightly larger hook, just to see if the circle relaxes a bit more.
But if the curling started in the most recent round, the easiest fix is usually to just undo that round and crochet it again. I’ve learned it’s much quicker to redo one round than to keep going and end up frogging much more later.
How to Keep a Crochet Circle Flat From the Start
At this point, I’ve found that the easiest way to deal with curling is to catch it early, before it has a chance to build up.
When I’m working a circle, I try to pause every few rounds and lay it flat on the table just to see how it’s behaving. If it spreads out nicely, I keep going. If the edges start lifting even a little, that’s my sign to stop and take a closer look.
I also pay attention to my tension as I go. When my stitches stay consistent from one round to the next, the circle tends to behave much better and lays flat without much effort.
Hook size is another thing I like to double-check before I get too far into a project. If the stitches already feel tight early on, I know it’s worth switching to a slightly larger hook rather than trying to force it to work.
These small checks don’t take much time, but they make a big difference. It’s much easier to adjust things early than to fix the shape after several more rounds.
If you want to practice this in a low-pressure way, I like using small projects like a simple crochet coaster. It’s an easy way to see right away if your circle is staying flat.
Frequently Asked Questions About Crochet Circles
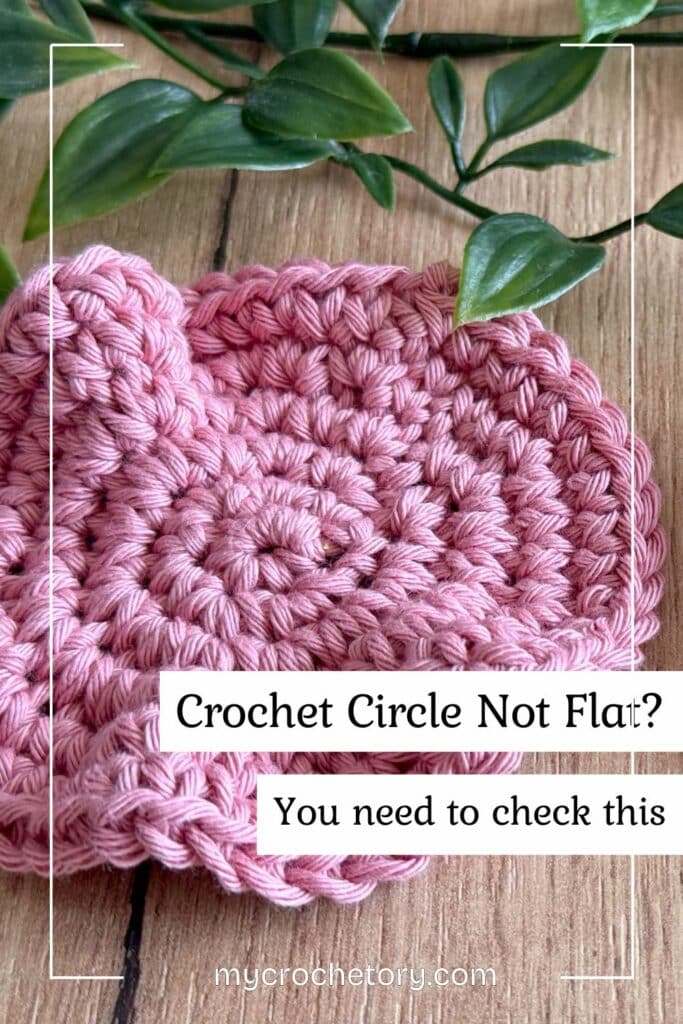
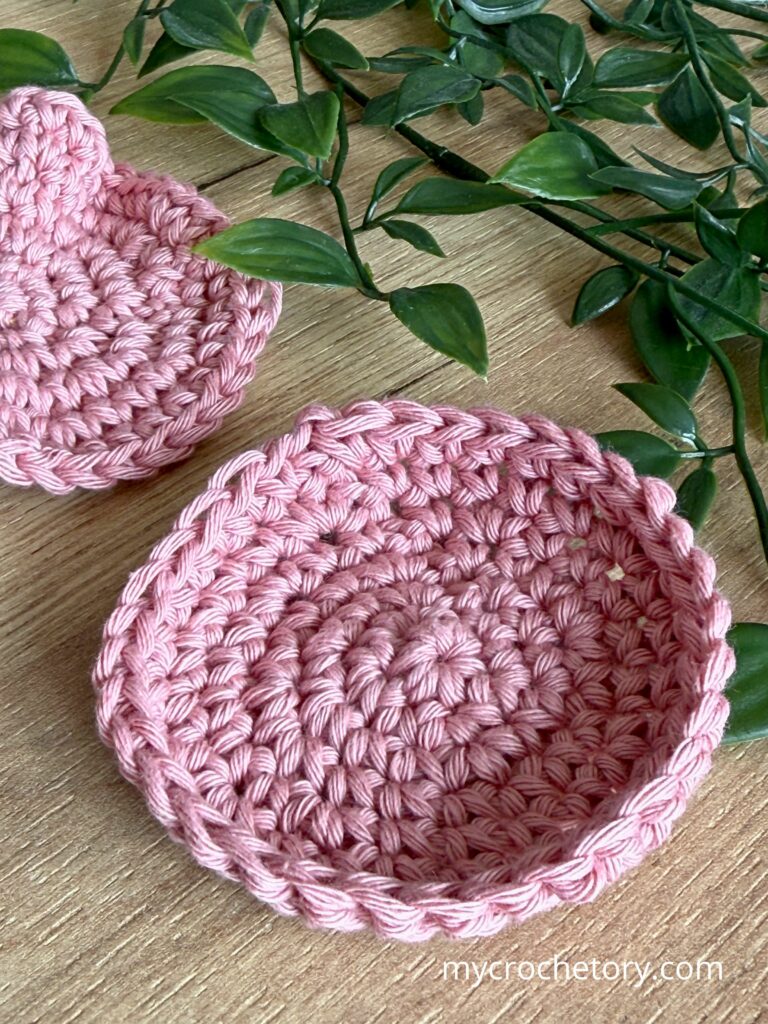
Why does my crochet circle look like a bowl?
When my crochet circle starts looking like a bowl, it usually means the fabric is pulling inward instead of spreading out. Most of the time, that comes down to not having enough increases or working the stitches too tightly.
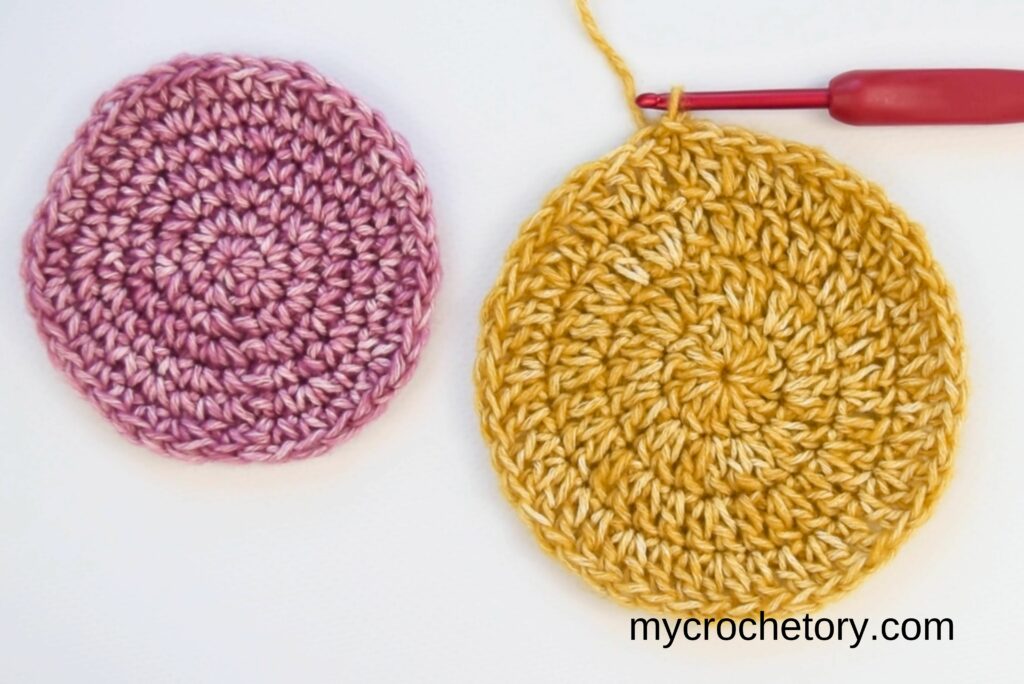
Why is my crochet circle wavy instead of flat?
If my circle starts getting wavy, I know it’s usually the opposite problem. That means there are too many increases in the round, so the fabric has more stitches than it needs and starts forming ripples.
Can blocking fix a curling crochet circle?
Blocking can help a little, but I don’t rely on it to fix curling. If the issue comes from stitch count or tension, it usually needs to be corrected while crocheting. Blocking might smooth it out slightly, but it won’t fully fix the shape.
How often should you increase in a crochet circle?
Most of the time, I follow a simple pattern where each round adds more stitches so the circle can grow evenly. The exact number depends on the stitch I’m using, but the goal is always the same, giving the fabric
Crochet Circle Troubleshooting Chart
When I’m not sure what’s going on with a crochet circle, I like to quickly match what I see with the most likely cause. It saves time and helps me fix the issue before adding more rounds.
Here’s a simple way to break it down:
| What My Circle Looks Like | What’s Causing It | What I Do |
|---|---|---|
| The edges are lifting | Not enough increases | I add increases |
| The fabric feels tight | Tension too tight | I loosen tension |
| The circle is wavy | Too many increases | I reduce increases |
| The center pulls inward | First round too tight | I start looser |
I use this kind of quick check all the time, especially when something feels off but I’m not sure why yet. It makes it much easier to fix the problem early instead of guessing.
When Curling Is Actually Normal
Over time, I’ve noticed that not every bit of curling means something is wrong.
Sometimes a crochet circle naturally curves in the very beginning, especially in the first couple of rounds. When the piece is still small, it doesn’t always lay perfectly flat right away. As I keep going and add more rounds, it often relaxes and starts spreading out on its own.
I also see this a lot when making things like amigurumi. In that case, the circle is actually supposed to curve, because it’s forming part of a 3D shape. The stitches are meant to pull inward a bit, so the fabric builds structure instead of laying flat.
That’s why I try not to judge the shape too early. If I’m only a few rounds in, I’ll usually keep going a little further before deciding something’s off.
But if the circle is still curling after several rounds and doesn’t want to settle, that’s when I know it’s time to go back and check what’s happening.
The Simple Rule Behind Flat Crochet Circles
At some point, I realized that crochet circles aren’t random at all. They follow a really simple idea once you see it.
Each round needs more stitches than the one before so the fabric can actually spread outward. When that doesn’t happen, the circle starts pulling inward instead of laying flat.
When I keep the stitch count growing at a steady pace, the circle naturally evens out. But if I fall behind even a little, that’s when I start seeing the edges lift and the shape change.
I like to think of each round as giving the circle just enough extra stitches to keep it balanced as it grows.
If you want to see how this works step by step, I always recommend going back to the basics of how to crochet a circle because it really helps to understand how increases are spaced.
The Flat Crochet Circle Formula (Simple Rule)
Once I understood this, crochet circles became much easier to troubleshoot.
The simplest way to look at it is this: each round adds the same number of stitches as the first round.
So if I start with 6 stitches, I add 6 stitches in every round.
If I start with 8 stitches, I add 8 stitches in every round.
It usually works out like this:
| Round | Total Stitches |
|---|---|
| Round 1 | 6 |
| Round 2 | 12 |
| Round 3 | 18 |
| Round 4 | 24 |
| Round 5 | 30 |
When I follow this rhythm, the circle spreads out evenly without me having to think too much about it.
If I don’t add enough stitches, the circle starts curling. If I add too many, it goes the other way and becomes wavy.
That balance is what keeps everything flat.
If you want to see how this works step by step, it really helps to go back to the basics with this crochet circle tutorial.
Why Does a Crochet Circle Need Increases?
If I keep the same number of stitches in every round, the fabric doesn’t have anywhere to go.
That’s when everything starts pulling inward and the edges begin to curl.
Adding stitches at regular points gives the circle space to grow outward, which is what keeps it flat as it gets bigger.
If you want to try this in practice, a simple crochet coaster is a great place to start and test how your circles turn out.
At this point, a curling crochet circle isn’t something I worry about too much anymore. It’s usually just a small sign that something needs adjusting.
Once you get used to noticing those little changes early, it becomes much easier to fix things as you go instead of trying to figure it out later.
Most of the time, I just pause, lay the circle flat, and check what’s going on before adding another round. That one small habit saves a lot of time (and a lot of frogging).
And once you get the feel for it, your circles start coming together much more smoothly.
You might also like:
If you found this tutorial helpful, you might enjoy these next:
- Ultimate crochet tutorials
- How to crochet straight edges every time
- How to make a slip knot (3 easy ways)
- How to crochet standing stitches
- How to crochet invisible decreases
- Mattress stitch join tutorial
📌 Don’t forget to save this for later
If this helped you, save it so you can come back to it when your next circle starts acting up.
Let’s keep in touch
I’d love to hear how your crochet circles are turning out. If you try any of these fixes, let me know what worked for you.
And if you have your own little tricks, share them too — I’m always curious what works for other crocheters.
If you want more crochet tips, tutorials, and patterns, you can always find me here:
And if you like having everything in one place, you can also join the community and share your projects or ask questions as you go.
✨ Happy crocheting — and may your circles stay nice and flat 🙂
Leave a Reply