Updated: 10 January 2024 by Sylwia (MyCrochetory)
Learn the basics of crocheting with this easy guide on how to crochet a chain. Follow simple steps for creating a foundation in crochet. Start your crochet projects with confidence. Get started now!

Introduction
If you’re new to crochet, let’s take a step-by-step look at a basic skill: how to make a crochet chain. Chains are super important in crochet – they’re like the groundwork for your whole project.
So, after you’ve made a slip knot, the next thing to do is make a bunch of chain stitches. Even if you’re just starting out, making a crochet chain is something you’ll pick up pretty quickly.
But here’s the cool part – chain stitches aren’t only for the beginning of your project.
They show up all over the place in your design. They team up with other stitches to make pretty patterns, mark spaces between shapes, and mold the fabric into something really nice.
Getting the tension right for chain stitches might need a bit of practice, but don’t stress – it’s a simple skill that everyone can get the hang of.
Ready to give it a go? Let’s dive into the basics of making a crochet chain.
Follow along, practice, and soon you’ll be adding chains to your projects like a pro.
What is a Crochet Chain?
A crochet chain is a basic stitch that forms the starting point for most crochet patterns. It serves as the foundation upon which you build the rest of your work.
In crochet patterns, the chain stitch is often abbreviated as “ch.” When reading a crochet chart, the chain stitch is represented by a simple loop symbol. This symbol indicates where you should create your chain stitches in the pattern.
How to Crochet A Chain – Video Tutorial
For those who prefer visual learning, check out my easy-to-follow video tutorial.
Follow along as I guide you through each step, ensuring you learn how to crochet a chain effortlessly. Watch, rewind, and master the slip stitch at your own pace.
TIP: To view this how to crochet a CHAIN video tutorial properly, please disable any ad-blocker you have running.
How to Crochet a Chain: A Step-by-Step Tutorial
Creating a crochet chain lays the foundation for many beautiful projects. Follow these simple steps to master the art of crocheting a chain:
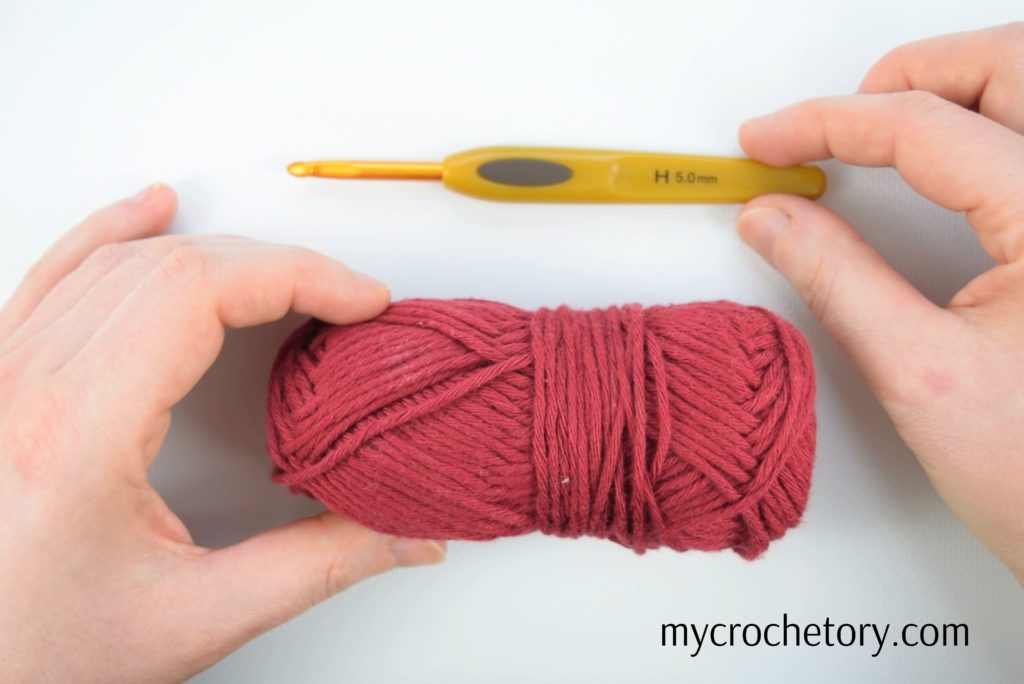
Step 1: Gather Your Materials
Before you begin, ensure you have your crochet hook and yarn of choice ready. Choose a yarn suitable for beginners, as it will be easier to work with.
Step 2: Make a Slip Knot
Start by making a slip knot. Form a loop with the yarn, pull the end through, and tighten to create a secure slip knot. Place it on your crochet hook.
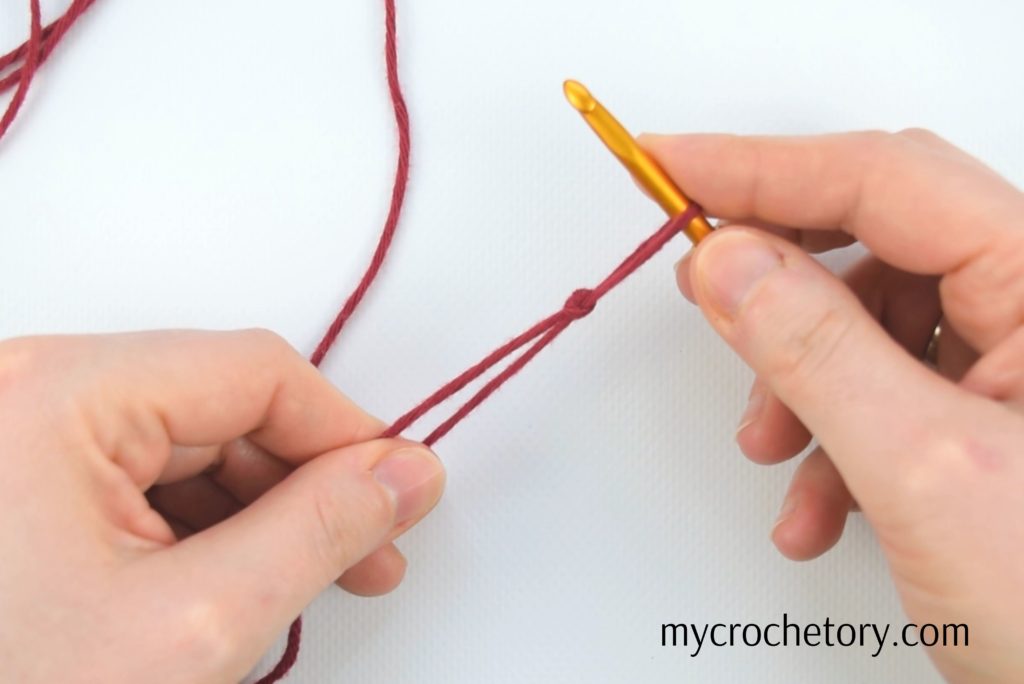
Step 3: Hold Your Yarn Correctly
Hold the slip knot between your thumb and forefinger, allowing the yarn to flow through your other fingers. Find a comfortable grip that suits you.
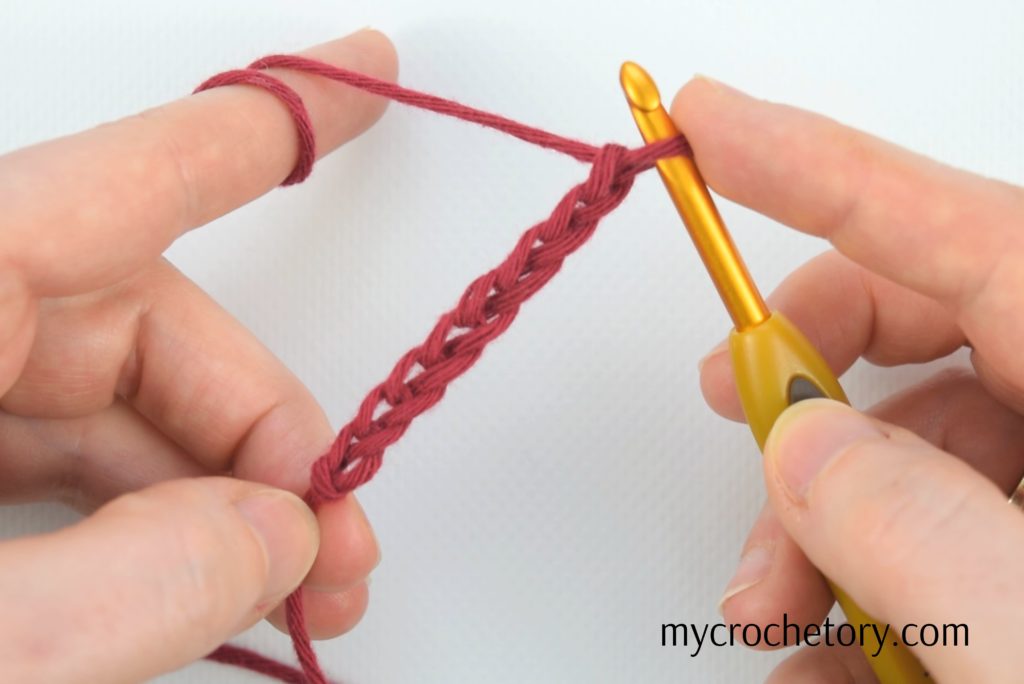
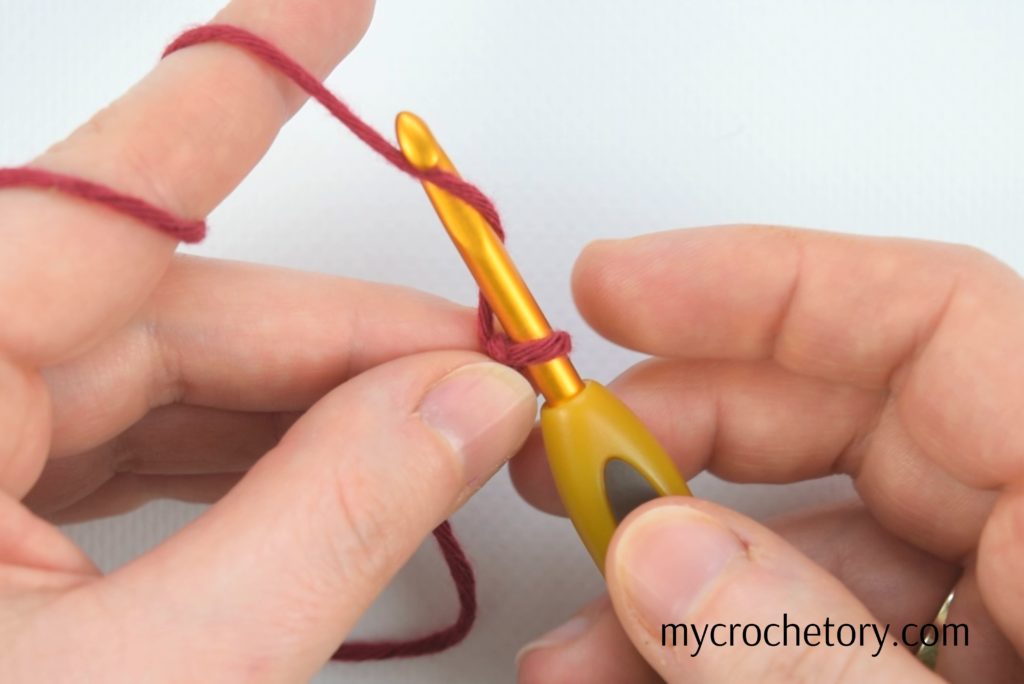
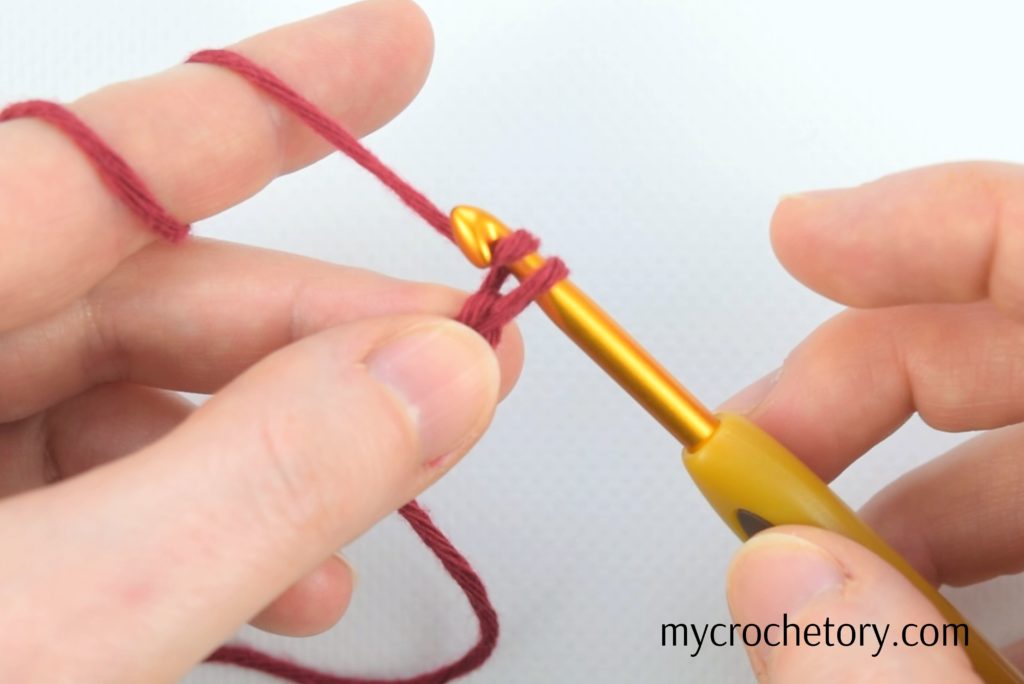
Step 4: Begin the Chain
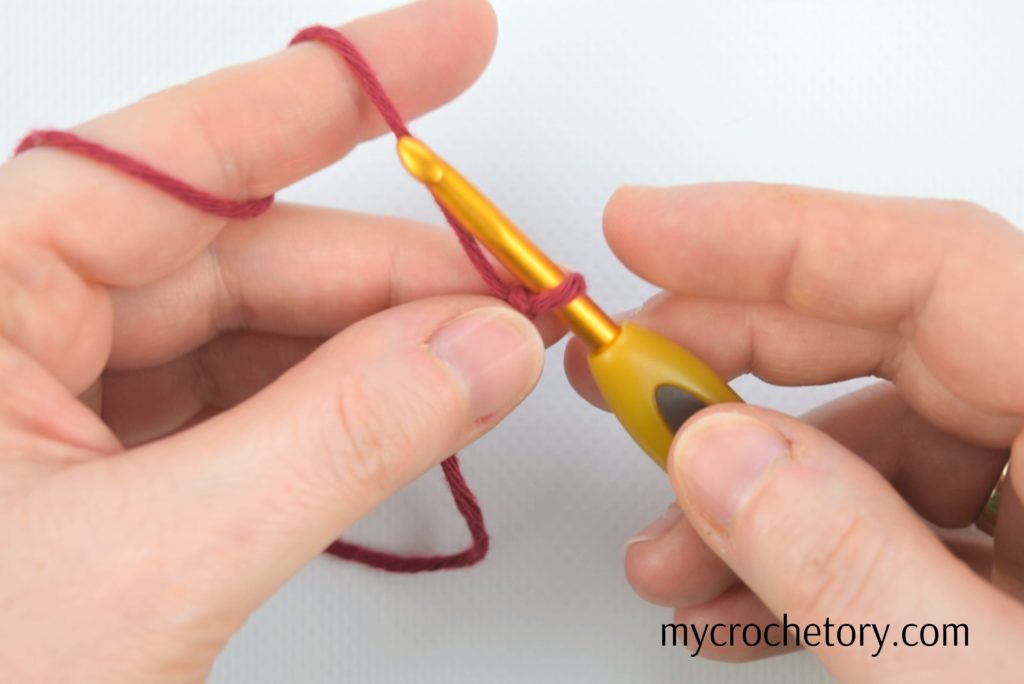
Yarn over, and pull the yarn through the slip knot.
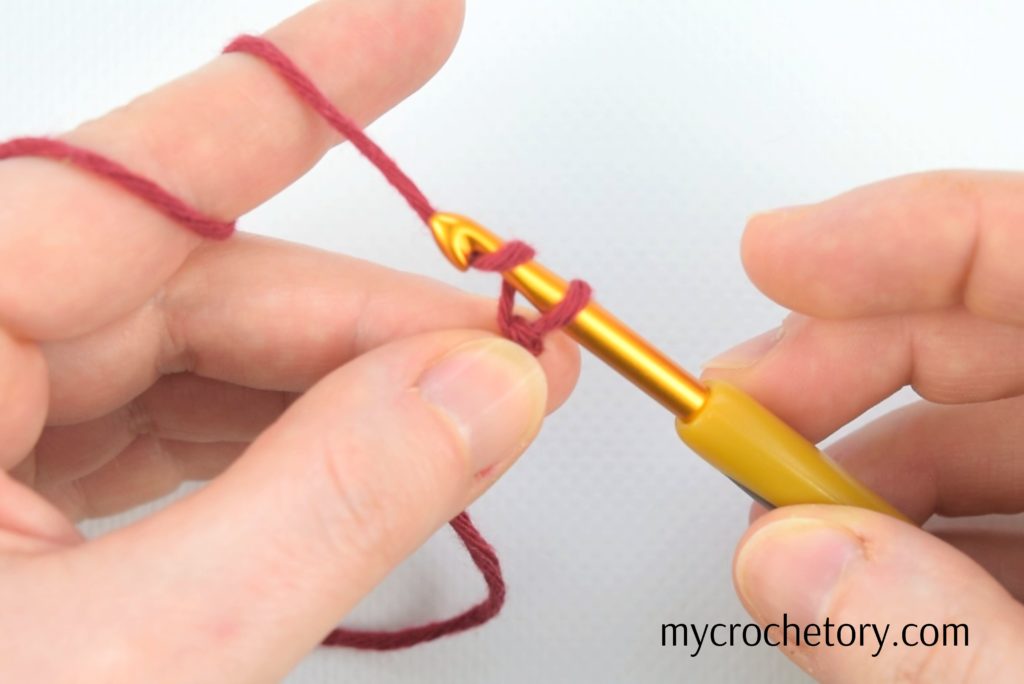
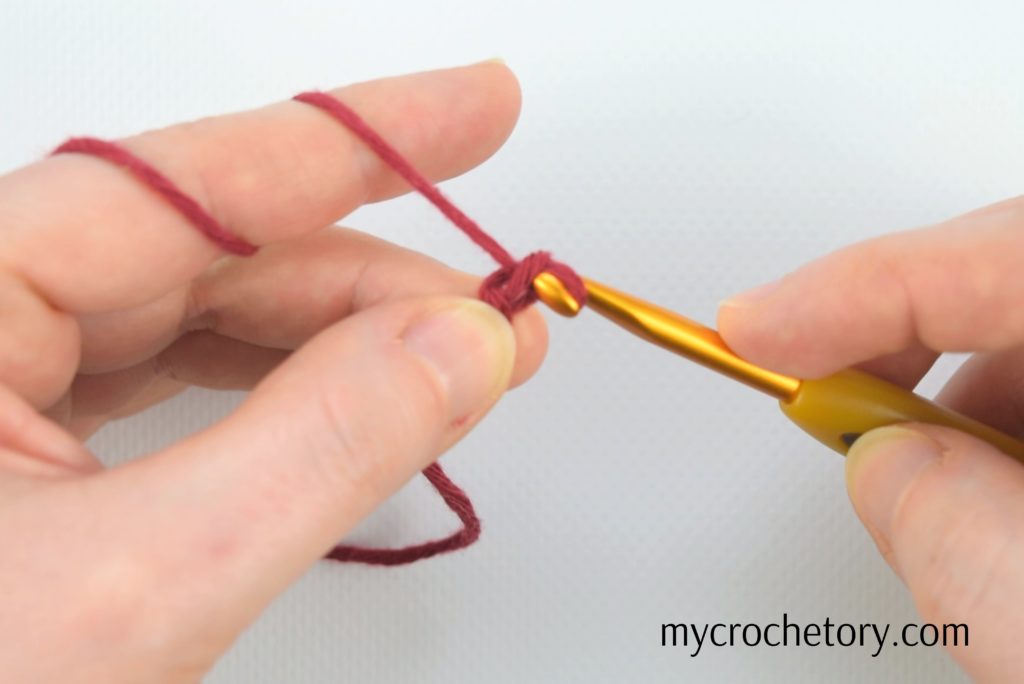
Congratulations! You’ve created your first chain stitch.
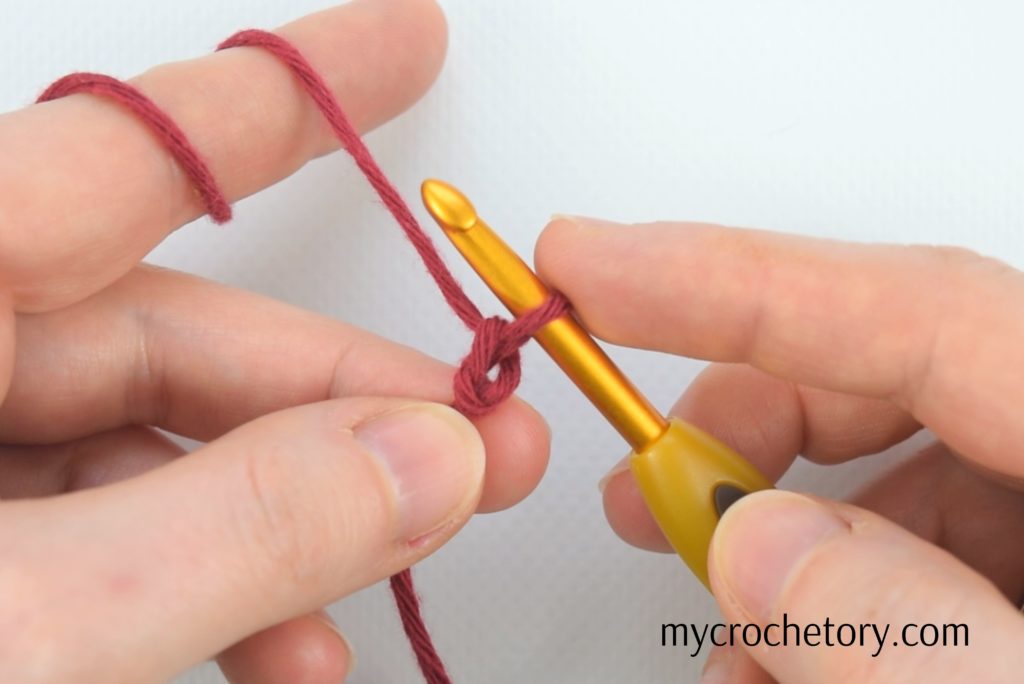
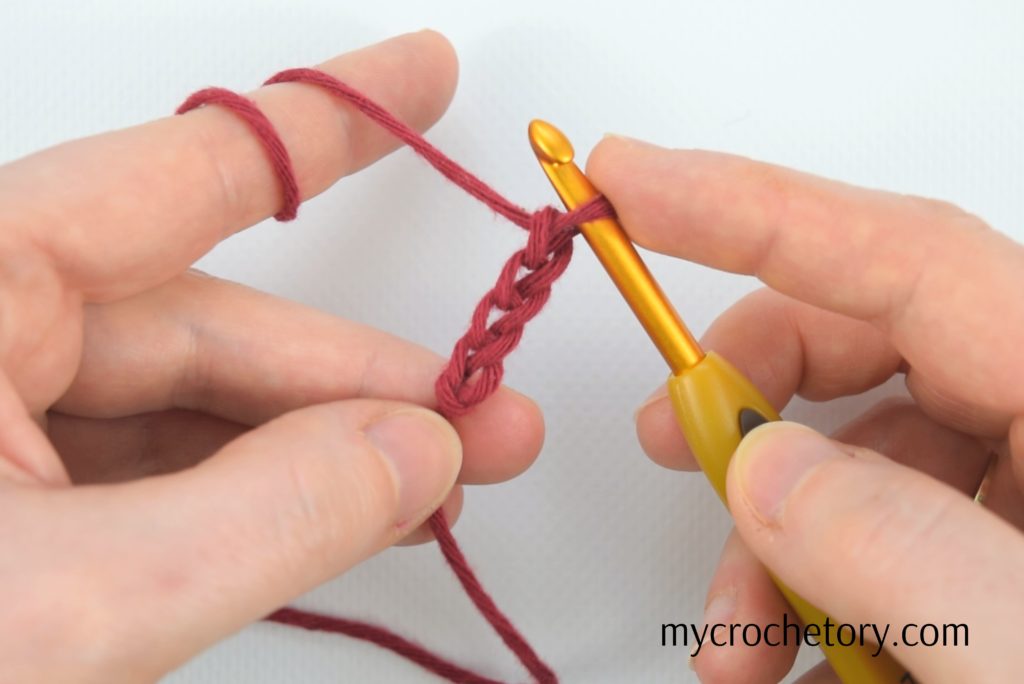
Step 5: Repeat and Lengthen
Continue this process – yarn over, and pull through – to create a chain of desired length. Practice this basic movement to develop a smooth rhythm.
Tips for Crocheting a Chain
Choose the Right Yarn and Hook
To start, select a yarn and hook that match the project you have in mind. A medium-weight yarn and a suitable hook for that yarn will make it easier to create a neat and balanced chain.
Hold the Yarn Correctly
Begin by making a slipknot and placing it on your hook. Hold the yarn in your dominant hand and the hook in the other. Maintain a comfortable grip, ensuring the yarn flows smoothly as you work.
Practice Tension Control
Consistent tension is key to a uniform chain. Avoid pulling the yarn too tightly or leaving it too loose. Practice finding the right balance to achieve a neat and even chain.
Start with a Slip Stitch
Make a slip stitch to secure the yarn to the hook. This serves as the foundation for your chain. Ensure the slip stitch is snug but not too tight, allowing for easy movement.
Create a Base Chain
Yarn over and pull through the slip stitch to create the first chain. Repeat this process, forming additional chains as needed for your project. Keep the chains close in size to maintain uniformity.
Count Your Chains
Regularly count your chains to ensure you have the correct number for your project. It helps prevent mistakes and ensures your work progresses smoothly.
Practice, Practice, Practice
Like any skill, practice makes perfect. Set aside time to practice crocheting chains, experimenting with different yarns and hooks. The more you practice, the more confident you’ll become.
Uses of Crochet Chains
Crochet chains may seem simple, but their uses are anything but! Once you’ve mastered the art of creating chains, you can incorporate them into various projects to add flair and functionality.
1. Foundation for Projects: The most common use of crochet chains is as a foundation for your projects. They serve as the starting point for many crochet patterns, providing a solid base for building your stitches and creating a stable fabric.
2. Stitch Height Adjustment: Crochet chains also play a crucial role in adjusting the height of your stitches. By varying the number of chains between stitches, you can achieve different stitch heights, giving your project a dynamic and textured appearance.
3. Creating Gaps and Spaces: Want to add an airy and lacy feel to your crochet projects? Crochet chains are your go-to. Integrate chains between stitches to create openwork patterns, allowing light to filter through and adding a delicate touch to your creations.
4. Connecting Elements: Learn how to crochet a chain, and you’ll find a simple yet effective way to connect different elements in your project. Chains work as bridges, linking sections seamlessly and creating a cohesive finished piece.
5. Designing Decorative Edges: Elevate the aesthetics of your crochet items by incorporating chains into decorative edges. Whether it’s a stylish border for a blanket or an elegant trim for a scarf, chains add a touch of sophistication to your finished projects.
Common Mistakes and Solutions:
Tight Chains
One common blunder is making chains too tight. This can lead to frustration as it becomes tricky to work into those snug stitches. Remember, crochet is meant to be relaxed, so don’t pull too hard on your yarn.
Solution: Loosen your grip on the yarn, allowing it to flow naturally through your fingers. Practice maintaining a consistent tension for a more comfortable and enjoyable crocheting experience.
Uneven Chains
Creating chains of uneven lengths can throw off the balance of your entire project. It happens, but fear not – there’s an easy fix.
Solution: Count your chains periodically to ensure consistency. If you find a rogue chain misbehaving, don’t hesitate to undo it and start fresh. Consistency is key to a polished finished product.
Twisted Chains
Sometimes, chains can twist as you work, resulting in a wonky foundation for your project. Recognizing this early on will save you headaches later.
Solution: Pause and straighten your chains after every few stitches. This simple habit prevents twists from sneaking in, ensuring a straight and even foundation for your crochet masterpiece.
More Crochet Tutorials
If you found this chain tutorial helpful, you might also like posts:
- How to foundation single crochet
- How to crochet a magic ring – 3 easy ways
- How to crochet ribbing
- Mattress stitch join tutorial
- How to do intarsia crochet
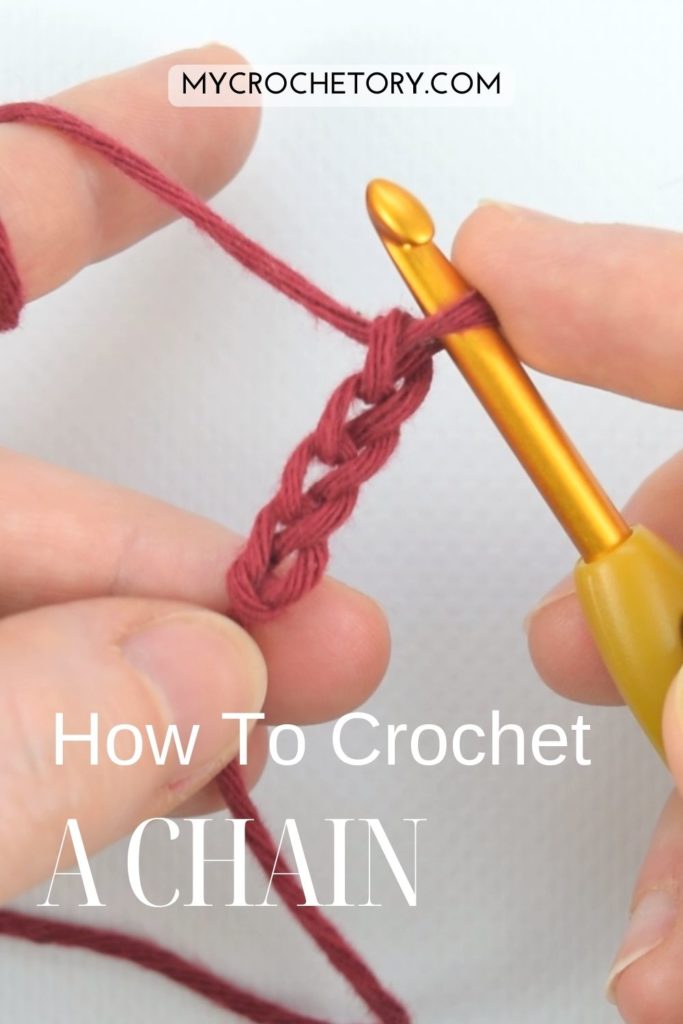
Don’t forget to save this Pin for easy reference: 📌
We’d love to hear about your crochet adventures and see your beautiful creations. Drop a comment below sharing your thoughts, questions, or even your favorite crochet tips! Your voice adds a vibrant thread to our crafting community.
Sharing is caring! If you found this guide helpful, consider spreading the love. Click the share button and inspire other crocheters.
Stay in the loop with our latest crochet guides, tips, and inspiration. Subscribe to our newsletter for exclusive content straight to your inbox. Never miss a stitch—subscribe today!
Happy crocheting, and may your yarn always be tangle-free!
Join my Facebook Group and Official Ravelry Group where you can find necessary support, you can ask questions or share your finished projects.
You can also follow my Instagram, Facebook page and Pinterest.
Leave a Reply