Updated: 20 February 2025 by Sylwia (MyCrochetory)
Obsessed with beanies? Me too! This fast crochet hat pattern is cozy, stylish, and super fun to make – plus, there’s a video tutorial to help you out!
Scroll down to see the FREE Fleur de Stripe Easy Crochet Hat Pattern with VIDEO TUTORIAL or you may choose to purchase the complete ad-free, printable PDF crochet pattern HERE on ETSY or HERE on Ravelry.

Okay, I’ll admit it – I’ve had moments where I preferred knitting over crochet. 😱 I know, I know… but hear me out! Sometimes, I just love the neater, lighter look of knitted projects. There’s something about that smooth, even fabric that’s just so satisfying.
But as much as I admire knitting, I’m a crocheter at heart – and I refuse to believe that crochet can’t achieve that same clean, modern aesthetic.
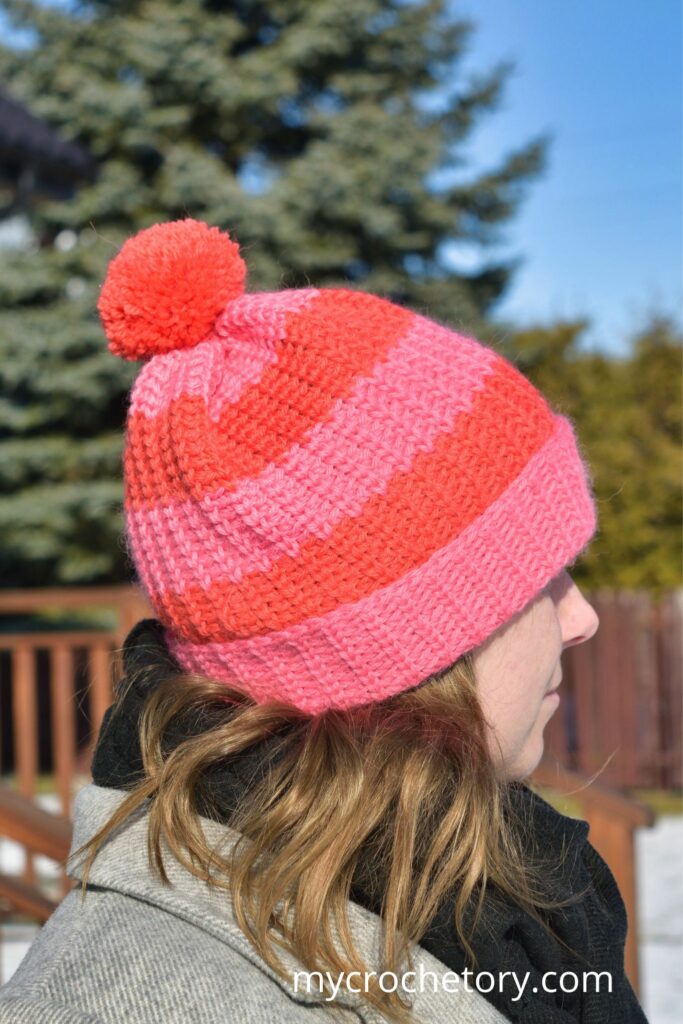
That’s exactly what led me to design the Fleur de Stripe Hat – a crochet beanie that looks like knitting, but works up with just a hook and yarn. No fussy needles required!
And guess what? This fast crochet hat pattern comes in multiple sizes (from baby to adult L!) and includes a step-by-step video tutorial to make it even easier.
No matter your skill level, this easy project is fun, quick, and absolutely worth making!
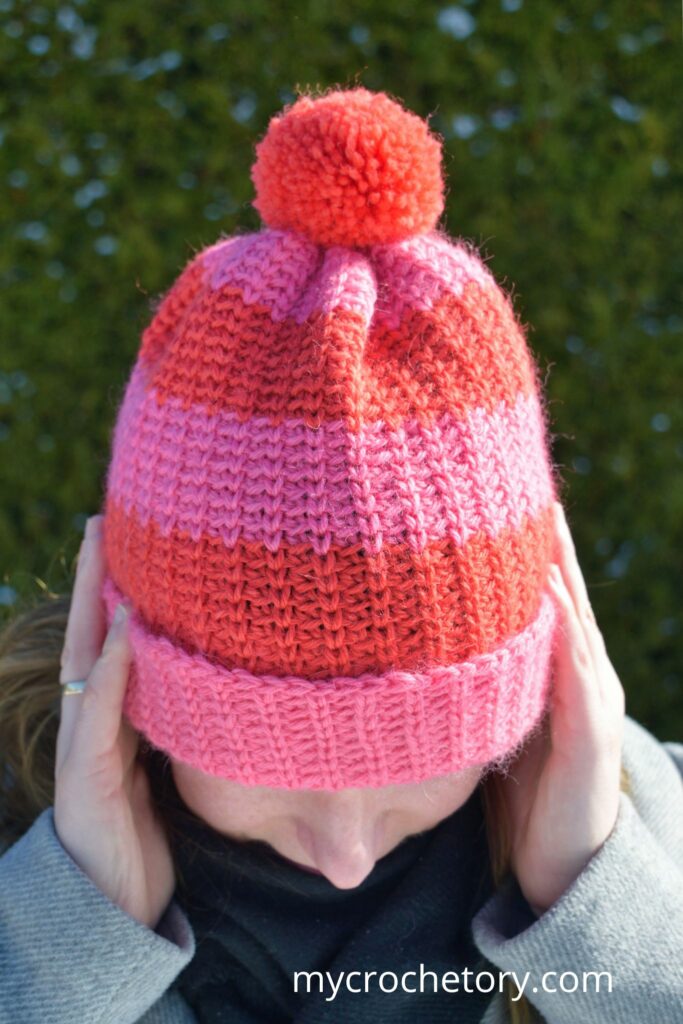
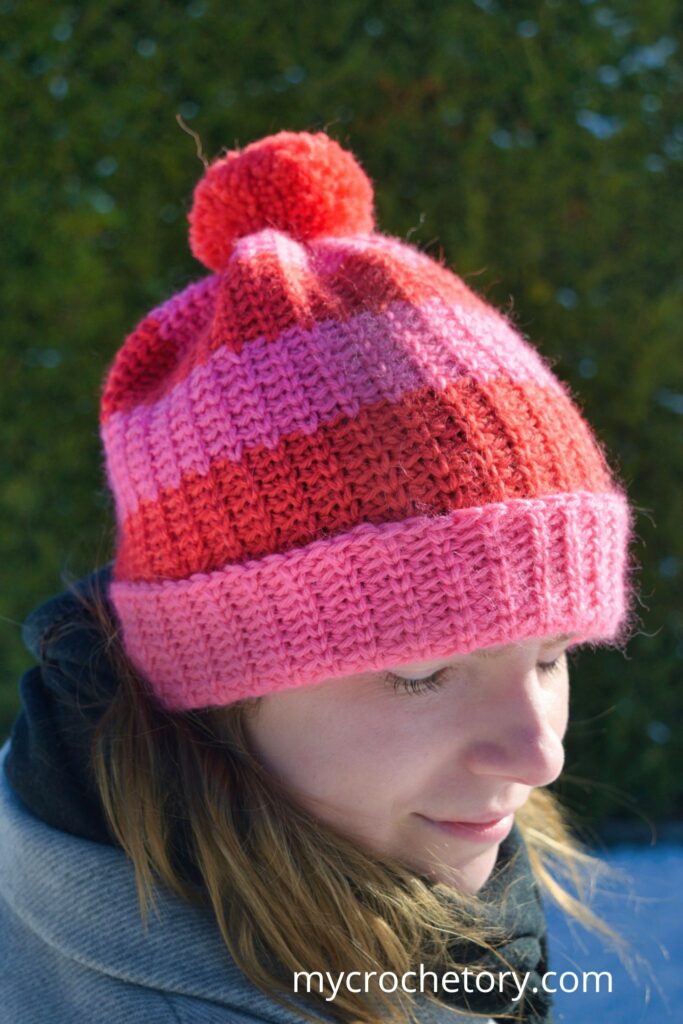
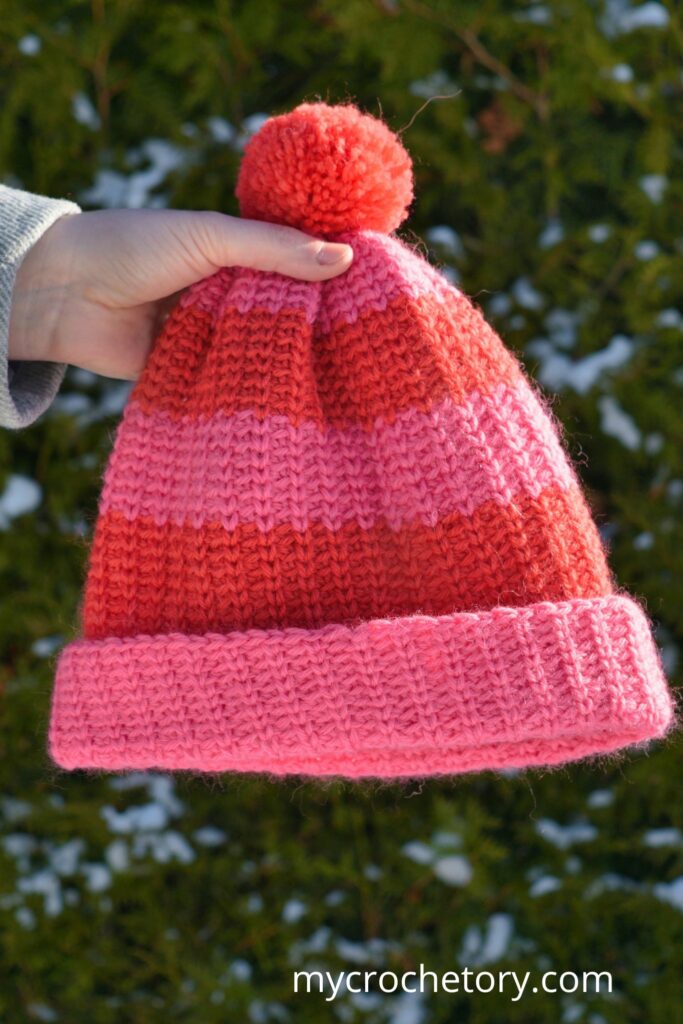
Red & Pink – A Bold New Favorite
Before we get into the details, let’s talk color. I’ve always admired bold, unexpected color combinations, and this time, I finally decided to go for something different – red and pink.
And honestly? I’m in love.

There’s something about the contrast between these two shades that just feels so fresh and exciting. It’s playful, a little retro, and full of personality – exactly the kind of vibe I wanted for this hat.
The stripes really bring the colors to life, making the texture stand out even more.
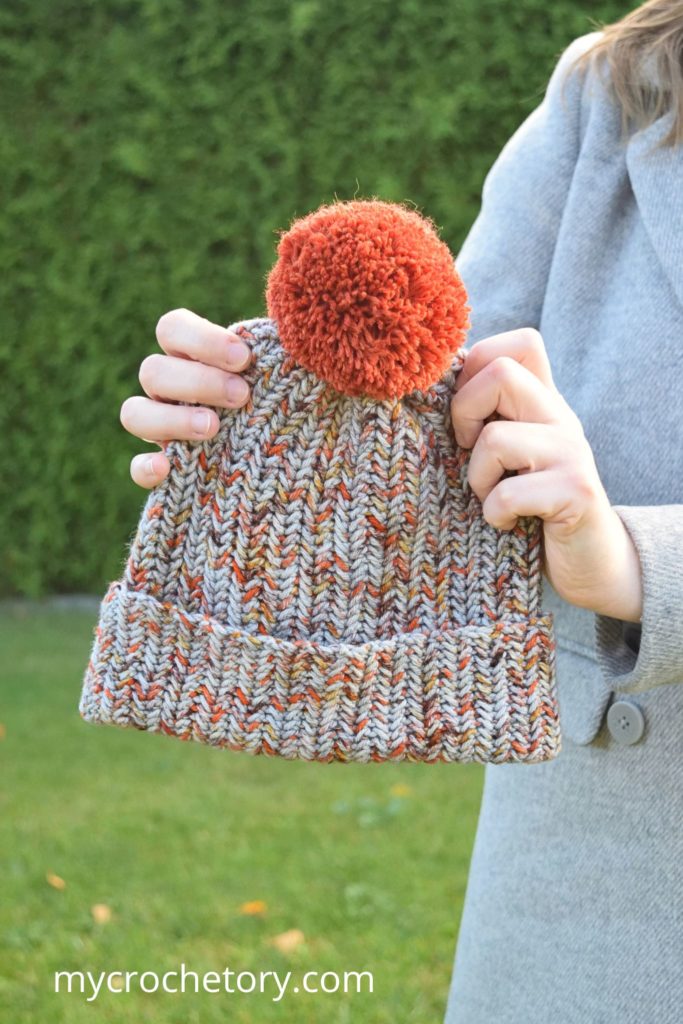
Love soft pastels, earthy neutrals, or deep jewel tones? Great choice! Prefer something totally wild and unexpected? Even better!
This fast crochet hat pattern is the ultimate playground for color lovers – go classic, go bold, or let your yarn stash surprise you.
No rules, just fun, and a gorgeous beanie that’s uniquely yours!
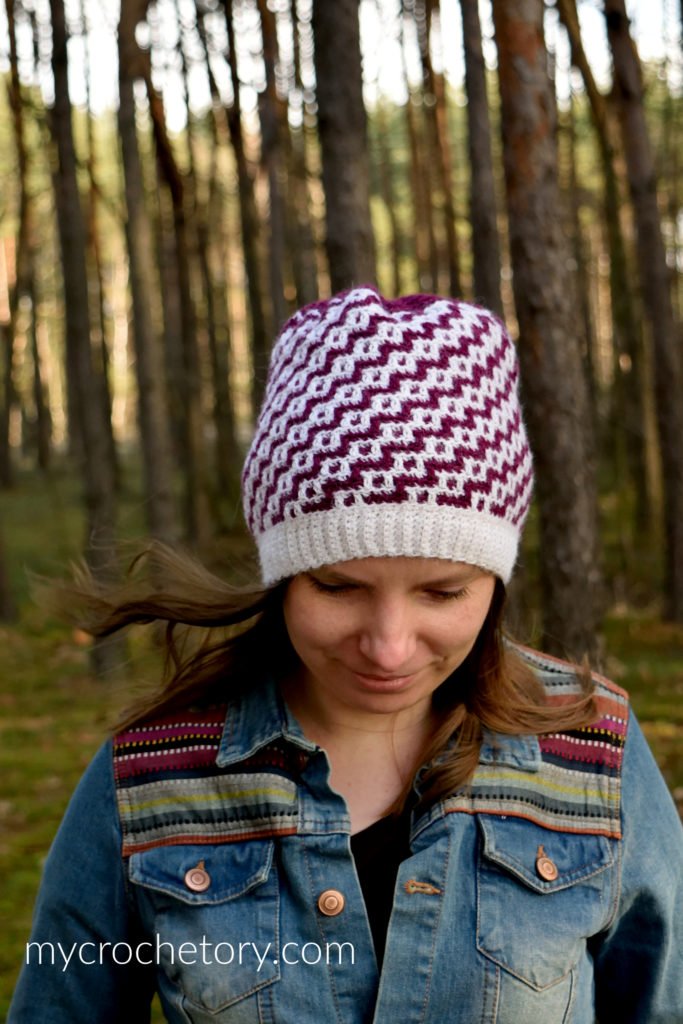
A Crochet Hat That Looks Knit? Yes, Please!
Let’s get one thing straight—this hat might look knitted, but it’s 100% crochet.
The secret? A combination of two magical basic crochet stitches:
- Crochet Knit Stitch (a.k.a. the Waistcoat Stitch): This stitch is the reason this hat looks like it came off a pair of knitting needles. It creates a smooth, dense fabric that mimics knitted stockinette stitch.
- Back Loop Single Crochet (BLO sc): This adds just the right amount of stretch and flexibility, making sure the hat has that snug, comfy fit.
If you’ve never tried the waistcoat stitch before, don’t worry – I’ve got you covered! Check out my step-by-step tutorial to learn exactly how to get that perfect knit-look texture.
And if you’re in the mood for another fast crochet hat pattern, but with chunky yarn or bulky yarn for extra warmth, check out my Winterberry Chunky Crochet Hat. It’s just as cozy, but with a totally different feel!
Find the Perfect Fit – Because One Size Never Fits All
Have you ever finished crocheting a hat, tried it on, and thought, “Hmm… this is either squeezing my brain or sliding down over my eyes like I’m a mysterious villain in a spy movie”? Yep, me too.
That’s why I made sure the Fleur de Stripe Hat comes in multiple sizes, so you can actually get the perfect fit.
Big heads, little heads, and everything in between – this quick crochet hat pattern makes sure your crochet hats actually fit the right size every time.
Need a tiny baby beanie? Gotcha.
A snug kid-sized hat? Easy.
A roomy adult version for that one family member who swears nothing ever fits? No problem.
And if you’re all about that matchy-matchy winter look, why not make one for everyone? Picture the whole crew in their handmade crochet hats, looking like the coziest bunch ever. Now that’s a winter win!
But What If You Want a Custom Fit?
Maybe your head doesn’t quite match the standard measurements – mine certainly doesn’t! If that’s the case, don’t worry: this free crochet beanie pattern is super easy to adjust.
Add a few extra stitches for a wider fit, repeat a few more rounds for extra slouch and hat height, or keep it short and fitted for a classic beanie look.
And let’s be honest… crocheting hats is a lot like drinking coffee – you always think one is enough, but before you know it, you’ve made three more.
So why not experiment with a few different sizes and styles? One for everyday wear, one for when you need a pop of color, and one just because you’re having too much fun to stop.
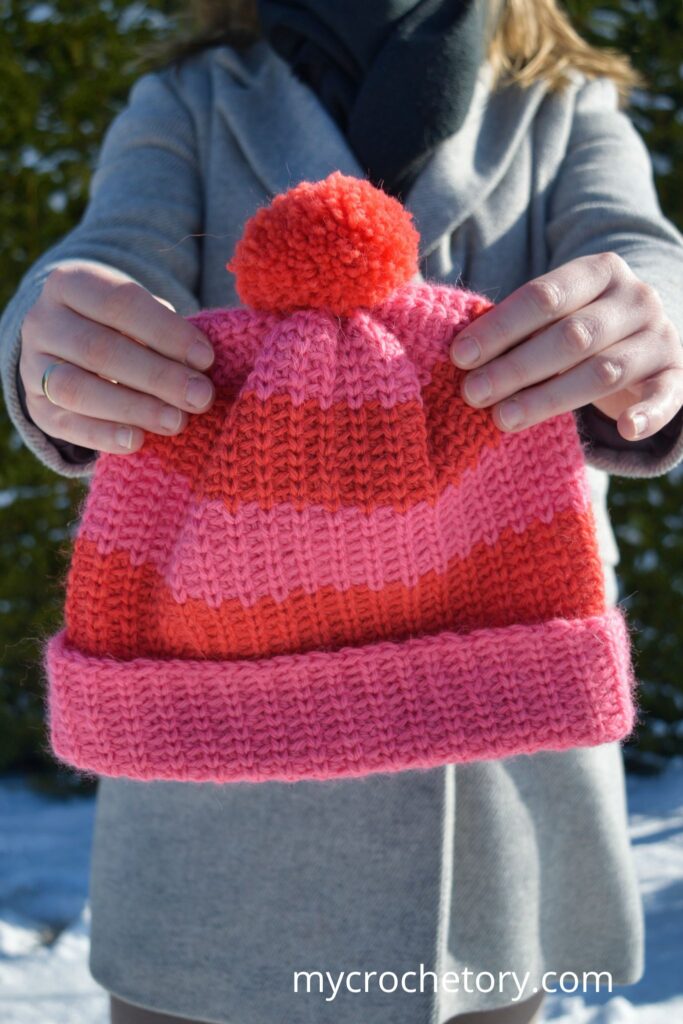
How This Hat Comes Together
The construction of this easy crochet beanie pattern is a little different from your usual beanie, but trust me – it’s the kind of different that makes you go, “Ohhh, that’s clever.”
Like most cozy, well-fitting hats, it starts with a folded brim. But here’s where things get interesting – the brim isn’t just a basic ribbed band tacked onto the edge of the hat. Nope!
It’s actually crocheted in the same stitch pattern as the main body, which means when it folds up, the texture matches perfectly. And that’s all thanks to one simple trick:
- You turn your work inside out and flip it upside down – yep, literally. Now, the foundation chain is at the top, and it’s time to start the main body of the hat.
- The first round is worked into the opposite side of the foundation chain, seamlessly connecting the brim and body without an awkward ridge.
I’ll be honest – when I first flipped my work like this, I had a moment. You know, the kind where you stare at your crochet and think, Did I just ruin this?
But trust me, once you see how effortlessly everything falls into place, it’s pure mind-blown crochet magic. The brim and body just blend together like they were meant to be, instead of looking like two awkwardly stitched-together pieces.
It’s one of those little tricks that makes you feel like a crochet genius!
And fun fact – this isn’t the first time I’ve used this trick! If you’ve made my Winterberry Chunky Crochet Hat, you’ll recognize this clever construction method.
I love how it creates a clean, professional finish, and it works just as beautifully in this fast crochet hat pattern as it does in a chunky, textured design.
From here, it’s just you, your hook, and a couple of sneaky single crochet variations—the waistcoat stitch and back loop single crochet – working round after round.
They’re basically single crochet in disguise, but together, they create that beautiful texture that’ll have you double-checking like, Did I just trick myself into thinking I knit this?!
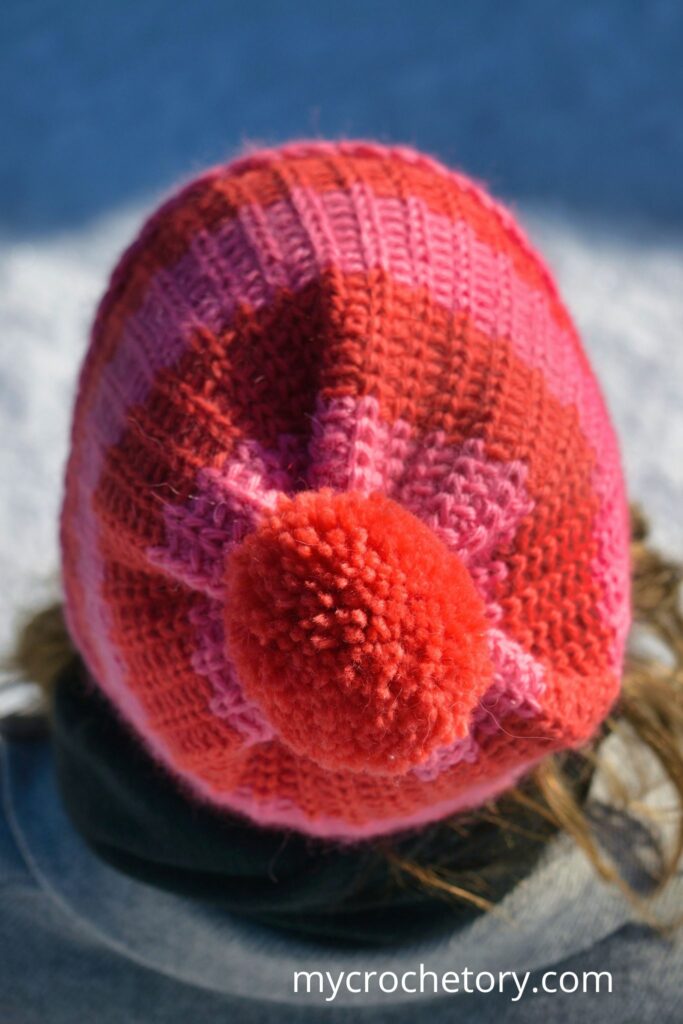
And then comes my favorite part – the crown shaping. Watching the stitches pull together at the top of the hat is ridiculously satisfying.
With gentle decreases, the fabric gathers into a neatly rounded finish, creating a beanie that actually looks store-bought (but is way more special because you made it yourself).
And finally – the ultimate question…
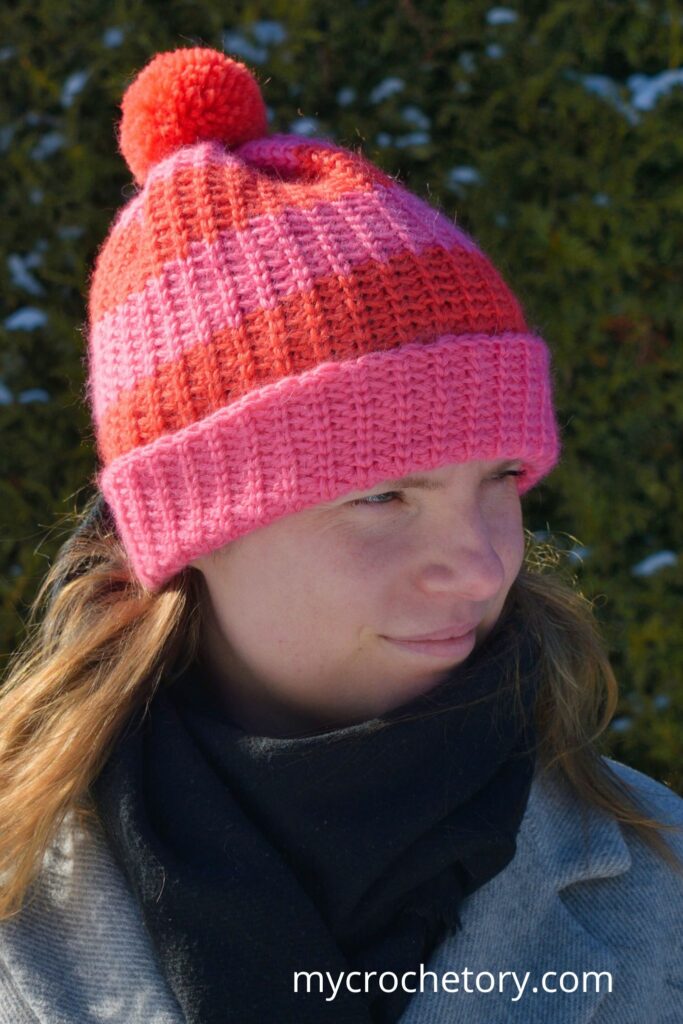
Pom Pom or No Pom Pom?
I am firmly on Team Yarn Pom Pom – the bigger and fluffier, the better!
But if you prefer a more minimalist, everyday and basic beanie, you can totally skip it. This hat looks amazing either way!
MORE FREE CROCHET HAT PATTERNS YOU MIGHT LIKE

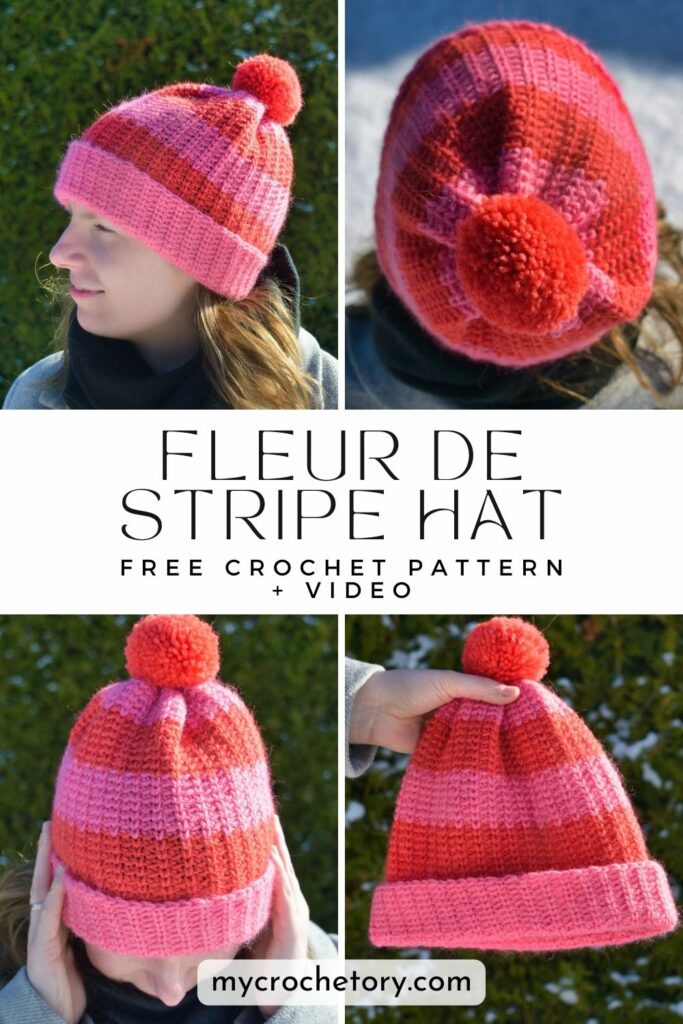
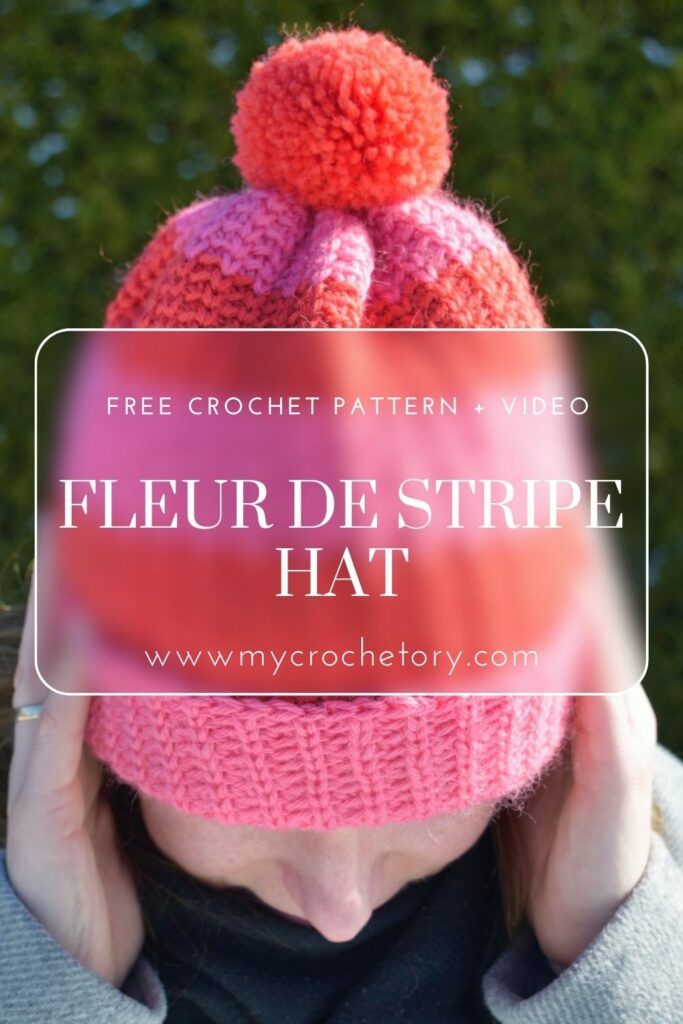
Fleur de Stripe Fast Crochet Hat Pattern
- Purchase the ad-free, printable PDF here on ETSY or here on Ravelry.
- Add this fast crochet hat pattern to your Ravelry Queue HERE.
- Pin it for later.
Copyright 2025 MyCrochetory. All right reserved. This pattern is property of Sylwia Kawczyńska @MyCrochetory. Please DO NOT sell the pattern and claim this pattern as your own. The pattern is for personal use only and may not be translated or reproduced in another language. Please respect my rights, DO NOT share or publish this pattern anywhere without my permission.
The fast crochet hat pattern free you make following this pattern is yours you are free to sell it, as long as you credit MyCrochetory as original designer. For more information, please, read Terms Page.
Materials & Tools:
- Yarn Requirements:
DK weight yarn in 2 colors, approx. 275 (305) 320 (335) 350 (365) 380 meters.
Suggested Yarn: Sandnes Garn Alpakka Ull 50g = 100m, 65% Alpaca, 35% Wool.
- Hook size: 4.5 mm hook. Adjust hook size if necessary to obtain correct gauge.
- Yarn needle (to weave and hide yarn ends).
- Scissors.
Skill Level:
Intermediate – working in the round, knit stitch, single crochet working in the back loop, decreasing.
Sizes after blocking:
baby (child) junior small (junior large) adult small (adult medium) adult large
Fits head circumference : 47-48 (49-50) 51-52 (53-54) 55-56 (57-59) 60-63 cm / 18.5-19 (19.25-19.75) 20-20.5 (20.75-21.25) 21.75-22 (22.5-23.25) 23.5-24.75 inches
If your head measurement is in between the sizes above, I would suggest making the larger size.
Height from edge of hat when brim folded in half: 16 (18) 20 (21) 22 (23) 24 (25) cm / 6.25 (7.00) 7.75 (8.25) 8.75 (9.00) 9.50 (9.75) inches
Gauge after blocking:
14sts x 16rows in 4”/10cm in stitch pattern using 4.5 mm crochet hook.
If your gauge is too tight, try a larger hook (e.g., 5.5 mm). If it’s too loose, go down a size (e.g., 4 mm)
Before you measure, block your swatch just like you’ll block your hat – it’s worth the effort for the perfect fit!
Notes:
- The pattern uses US Terms.
- This pattern is worked in the joinded rounds. At the end of each round, join with a slip stitch to the top of the first stitch. Then, chain 1. Work your first stitch into the same stitch as the chain.
- Ch1 does not count as a stitch throughout the pattern.
- Pattern is multiple of 2 stitches. To increase the width of the hat, increase the number of foundation chains. To decrease the width of the hat, decrease the number of the foundation chains.
- To increase the height of the hat, increase the number of rounds in the main body part. To decrease the height of the hat, decrease the number of rounds in the main body part.
- Don’t stress about getting it perfect! Your hat will still look great and keep you cozy.
- You can use different yarn weights to create a custom look, but keep in mind that this will affect the hat’s final measurements and yardage requirements. If using a lighter or bulkier yarn, adjust your hook size and check your gauge for the best fit!
- Instructions in square brackets […] are worked as many times as indicated.

Stitches & Abbreviations (US terms):
st – stitch
BLsc – back loop single crochet
Ksc – crochet knit stitch (waistcoat stitch)
yo – yarn over
rep – repeat
KscBLsctog – insert hook between two vertical bars of first st, yo, draw up a loop, insert hook in back loop of next indicated st, yo, draw up a loop, pull through 3 loops on hook. (see picture tutorial at the end)
Ksc2tog – insert hook between two vertical bars of first st, yo, draw up a loop, insert hook between two vertical bars of next indicated st, yo, draw up a loop, pull through 3 loops on hook.
Instructions in square brackets […] are worked as many times as indicated.
Step-by-Step Video Tutorial
Prefer to crochet along visually? No problem! The video tutorial makes it super easy to follow along, even if you’re new to the waistcoat stitch.
So, if you’ve ever looked at a pattern and thought, “Wait… what am I supposed to do now?” – this tutorial is for you!
TIP: To view this video tutorial properly, please disable any ad-blocker you have running.
FREE PATTERN
Read all Notes before you start.
Using 4.5mm crochet hook make ch62 (64) 66 (70) 72 (76) 80 and slst in the first stitch to close the round
Brim
Round 1: ch1 (doesn’t count as a stitch here and throughout), sc in first ch and each ch around until first sc of the round, sl st in first sc of the round to close the round.
Round 2: ch1, BLsc in first st, Ksc in next st, [BLsc in next st, KSsc in next st] rep […] around until first st of the round, sl st in first st of the round to close the round.
Repeat Round 2 until your brim reaches a height of 10cm / 4” (or your desired length).
Fasten off yarn.
Main Body
Turn your work inside out and flip it upside down so that the foundation chain is now at the top.
Next, attach your yarn to the first chain, in the exact spot where you made the first single crochet in the Round 1 of the Brim.
Round 1: ch1, sc in first ch and each ch on the opposite side of the foundation chain around until first sc of the round*, sl st in first sc of the round to close the round.
*there should be 62 (64) 66 (70) 72 (86) 80 singlecrochet stitches in this round
Round 2: ch1, BLsc in first st, Ksc in next st, [BLsc in next st, KSsc in next st] rep […] around until first st of the round, sl st in first st of the round to close the round.
Repeat Round 2 until your hat (brim + main body together) reaches a height of 16 (18) 20 (21) 22 (23) 24 (25) cm/
6.25 (7.00) 7.75 (8.25) 8.75 (9.00) 9.50 (9.75) inches (or your desired length).
Decrease Round: ch1, BLsc in first st, KscBLsctog, Ksc in next st, BLsc in next st [BLsc in next st, KscBLsctog, Ksc in next st] rep […] around until first st of the round, sl st in first st of the round to close the round.
Next round: ch1, BLsc in first st, Ksc2tog [BLsc in next st, Ksc2tog] rep […] around until first st of the round, sl st in first st of the round to close the round.
Fasten off and leave long tail for sewing.
Assembly
Take this long end and thread in through a tapestry needle and go up underneath the first stitch and pull it.
Then, go back in under the next stitch and pull through. Don’t tighten up yet and keep working around until you get back where you started.
Now, tighten up.
After that, turn your hat inside out and sew back and forth through the center area few times.
Fasten off yarn and ta-da, done!
Soak in cool water and wool wash and block to measurements.
Pom Pom:
Make a pompom, secure it to the hat, and tie off inside
If you have any suggestions or have detected any mistakes, please feel free to email me at mycrochetory@gmail.com
Don’t forget to save this Pin for easy reference: 📌
I’d love to hear about your crochet adventures and see your beautiful creations.
Drop a comment below sharing your thoughts, questions, or even your favorite crochet tips! Your voice adds a vibrant thread to our crafting community.
Sharing is caring! If you found this guide helpful, consider spreading the love. Click the share button and inspire other crocheters.
Stay in the loop with my latest crochet guides, tips, and inspiration. Subscribe to my newsletter for exclusive content straight to your inbox. Never miss a stitch—subscribe today!
Happy crocheting, and may your yarn always be tangle-free!
Join my Facebook Group and Official Ravelry Group where you can find necessary support, you can ask questions or share your finished crochet projects.
You can also follow my Instagram, Facebook page and Pinterest.
Leave a Reply