Updated: 24 May 2024 by Sylwia (MyCrochetory)
Learn crochet standing stitches: single crochet, half double crochet and double crochet. Perfect your projects with seamless stitches. Easy tutorials & tips for beginners!

Introduction
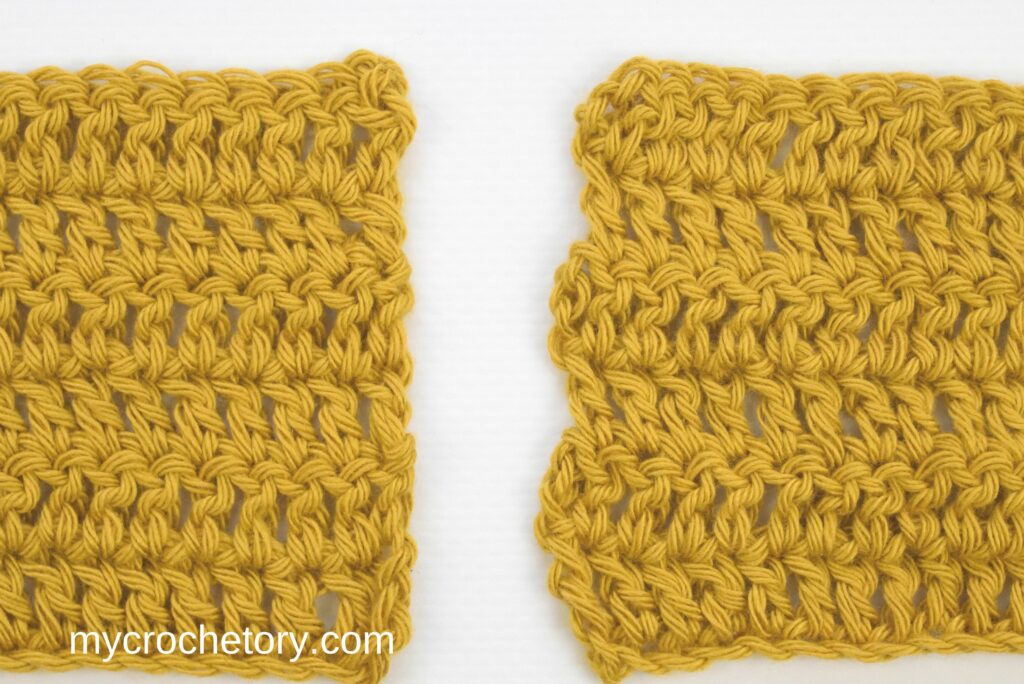
Today, we’re talking about crochet standing stitches – a fantastic technique to make your crochet projects look seamless and professional. If you want your crochet work to look neat and tidy, standing stitches are the way to go!
In this article, I’ll show you how to do three important crochet standing stitches: single crochet, half double crochet, and double crochet. Don’t worry if you’re new to crochet or if you’ve been doing it for a while – I’ve got easy-to-follow tutorials for everyone.
Plus, I’ve included a helpful video tutorial to guide you through each step visually, making it even easier to learn!
But that’s not all! I’ll also talk about why crochet standing stitches are so useful and how they can make your crochet projects better. Plus, I’ll give you some fun ideas for using standing stitches in your own creations.
And to help you get really good at standing stitches, I’ll share some tips and tricks to make sure your stitches look perfect every time. So, let’s get started and master those standing stitches together!
Understanding Crochet Standing Stitches
Crochet standing stitches are like superheroes in the crochet world! But what exactly are they?
Well, imagine starting a new row of stitches without having to slip stitch or chain up from the previous row – that’s the magic of standing stitches!
So, why use them instead of the traditional joining methods? Picture this: you’re working on a project with color changes or intricate patterns, and you want everything to look seamless and neat.
Standing stitches come to the rescue! They eliminate the need for joining chains or slip stitches, giving your work a clean and polished finish.
Plus, crochet standing stitches are great for projects where you want to maintain a consistent texture or pattern throughout. Instead of having that awkward chain space at the beginning of each row, standing stitches blend seamlessly with the rest of your work, making it look oh-so-professional!
In a nutshell, crochet standing stitches are your go-to solution for creating flawless crochet projects without the fuss of traditional joining methods.
So, next time you’re starting a new row, give standing stitches a try – you’ll be amazed at the difference they make!
HOW TO CROCHET STANDING STITCHES: VIDEO TUTORIAL
To learn how to crochet standing stitches, watch the step-by-step video tutorial below or scroll down for the written instructions.
This video teaches you step by step:
- How to make a standing single crochet stitch.
- How to make a standing half double crochet stitch.
- How to make a standing double crochet stitch when changing colors.
- How to make a standing double crochet stitch when starting a new row with the same yarn color.
TIP: To view this video tutorial properly, please disable any ad-blocker you have running.
Step-by-Step Tutorial: Crochet Standing Single Crochet (SSC)
Let’s learn how to crochet a standing single crochet stitch step by step! Follow these simple steps to master this technique:
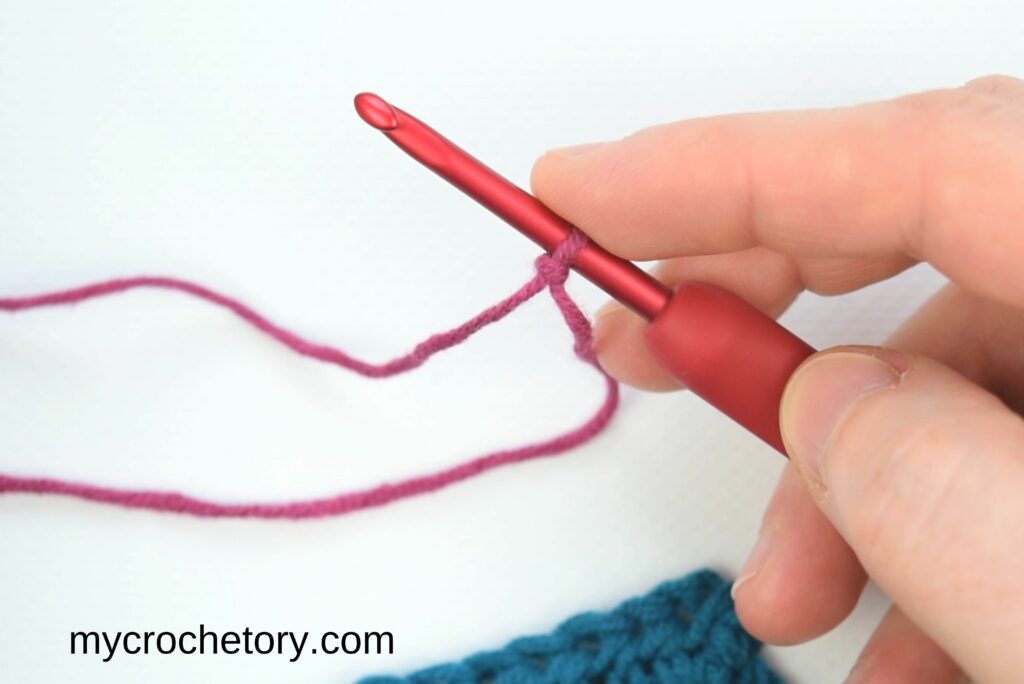
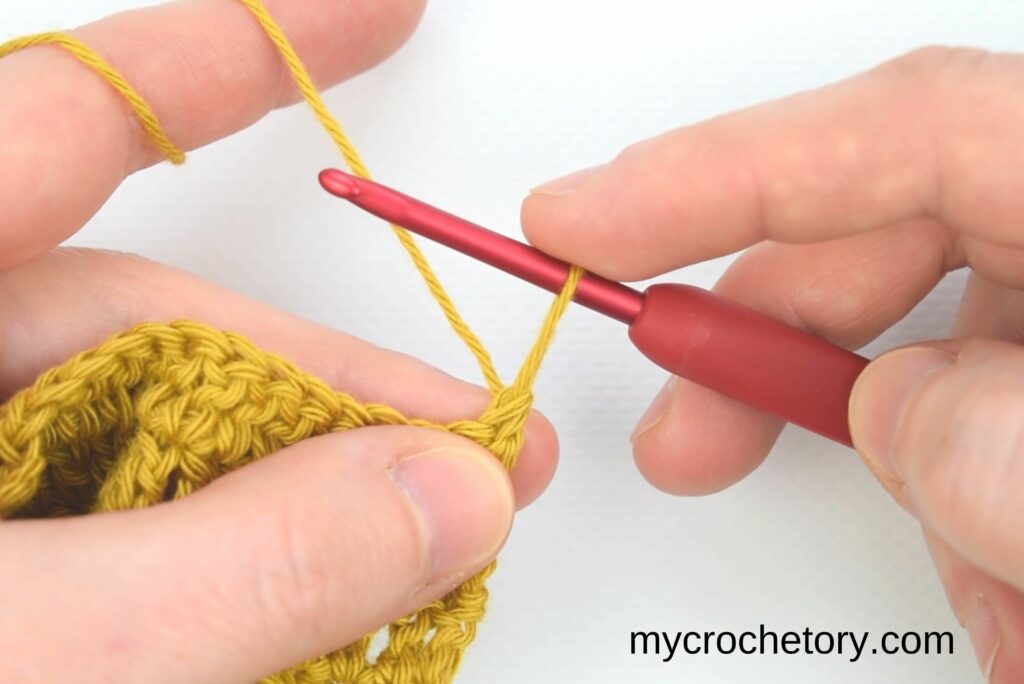
- Start with a slip knot on your hook using the new color yarn.
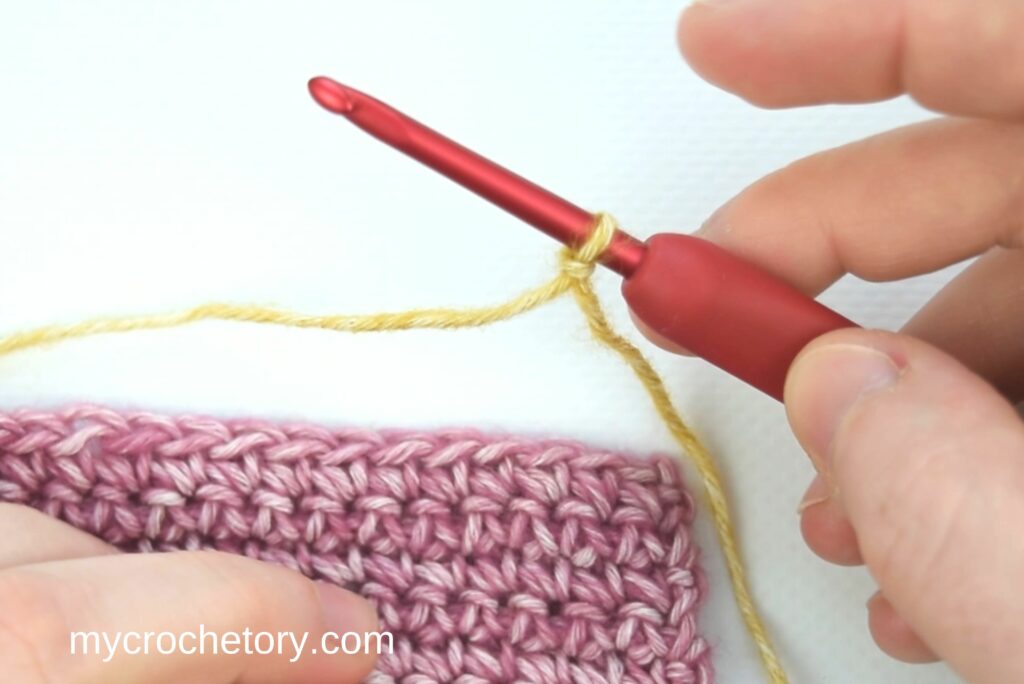
2. Then, with the new yarn still on the hook, insert the hook in the desired stitch.

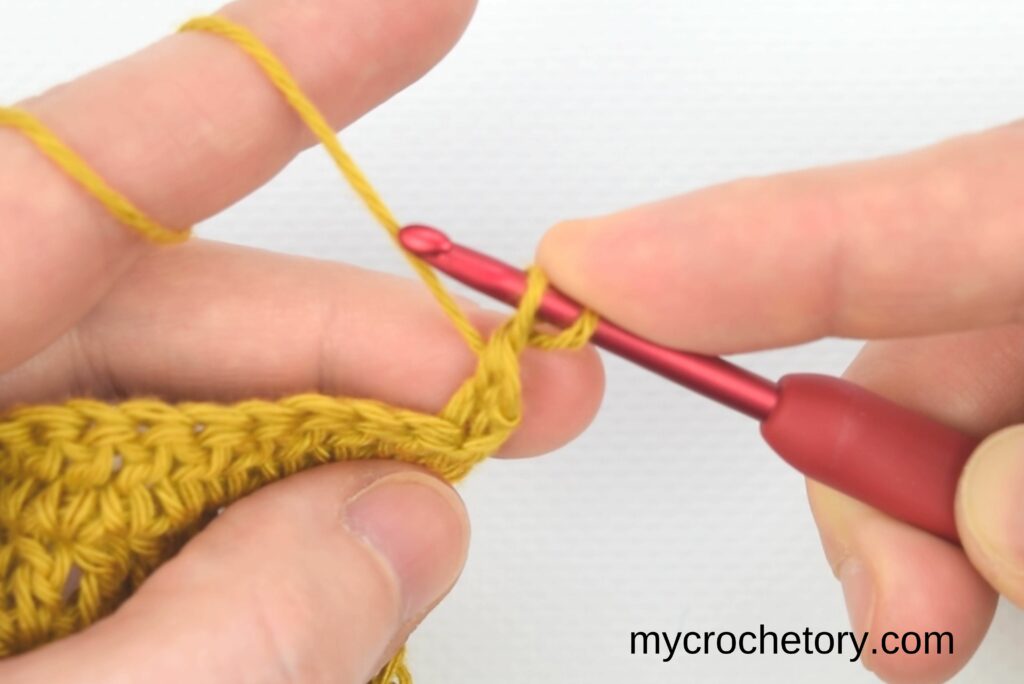
3. Next, yarn over and pull up a loop.

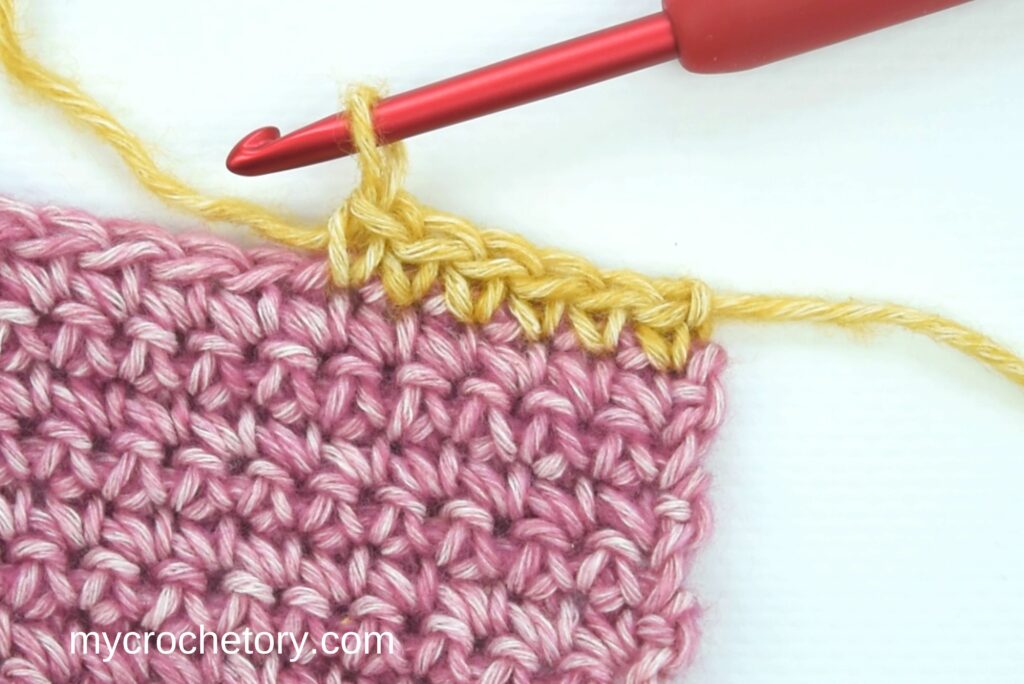
4. Yarn over again and pull through both loops on the hook to finish the single crochet stitch.

5. Keep crocheting with the new yarn as normal.

Step-by-Step Tutorial: Crochet Standing Half Double Crochet (SHDC)
Let’s learn how to crochet the standing half double crochet stitch (SHDC)! Follow these easy steps:
- Begin by making a slip knot on your hook using the new color yarn.
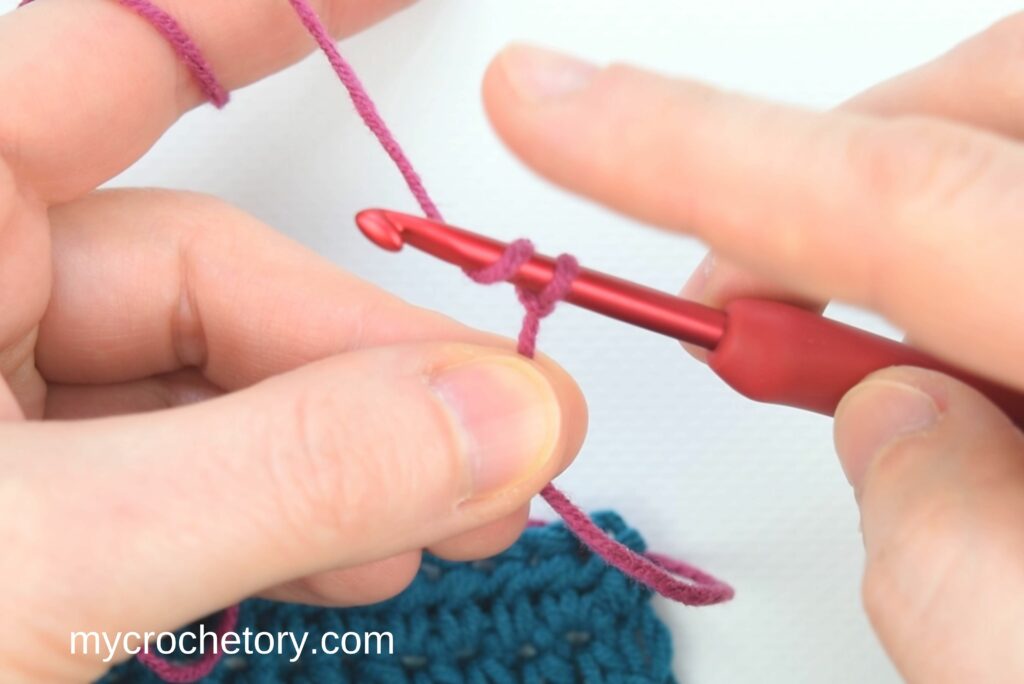
2. After that, keeping the new yarn on the hook, yarn over and insert the hook into the stitch you want to work on.
3. Then, yarn over and pull up a loop.

4. Yarn over once more and pull through all three loops on the hook to complete the half double crochet stitch.
5. Continue crocheting with the new yarn as you usually would.

Step-by-Step Tutorial: Crochet Standing Double Crochet (SDC)
Let’s learn how to crochet a standing double crochet stitch step by step!
It’s a simple method that makes your crochet work look neat and tidy, especially when you’re changing colors or starting a new row or round with the same color.
When Changing Colors
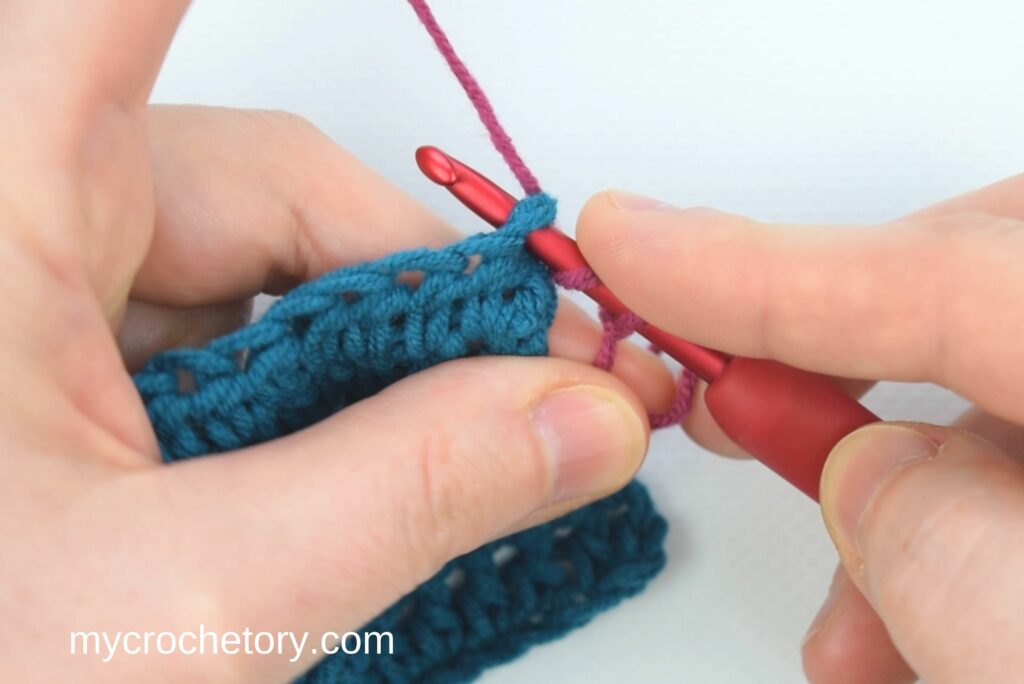
- Begin by creating a slip knot on your hook using the new color yarn.

2. After that, keeping the new yarn on the hook, YARN OVER and insert the hook into the stitch you want to work with.


3. Then, yarn over and pull up a loop through the stitch.
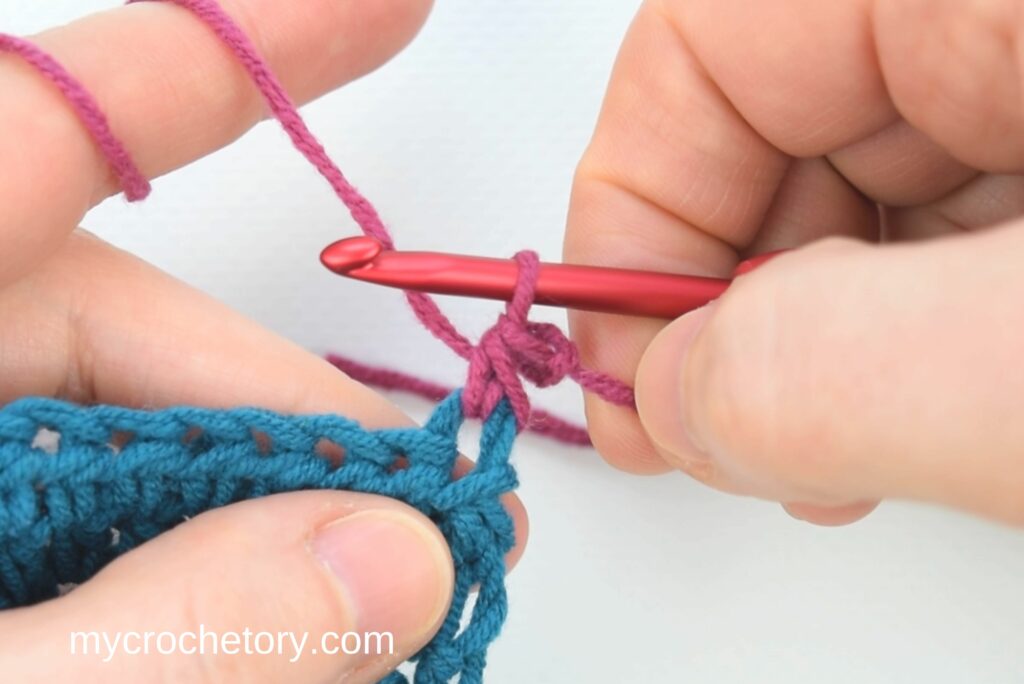
4. Yarn over once more and pull it through the first two loops on the hook.

5. Next, yarn over again and pull it through the remaining two loops to complete the double crochet stitch.

6. Continue crocheting with the new yarn as you would normally do.
When Starting a New Row or Round with the Same Color
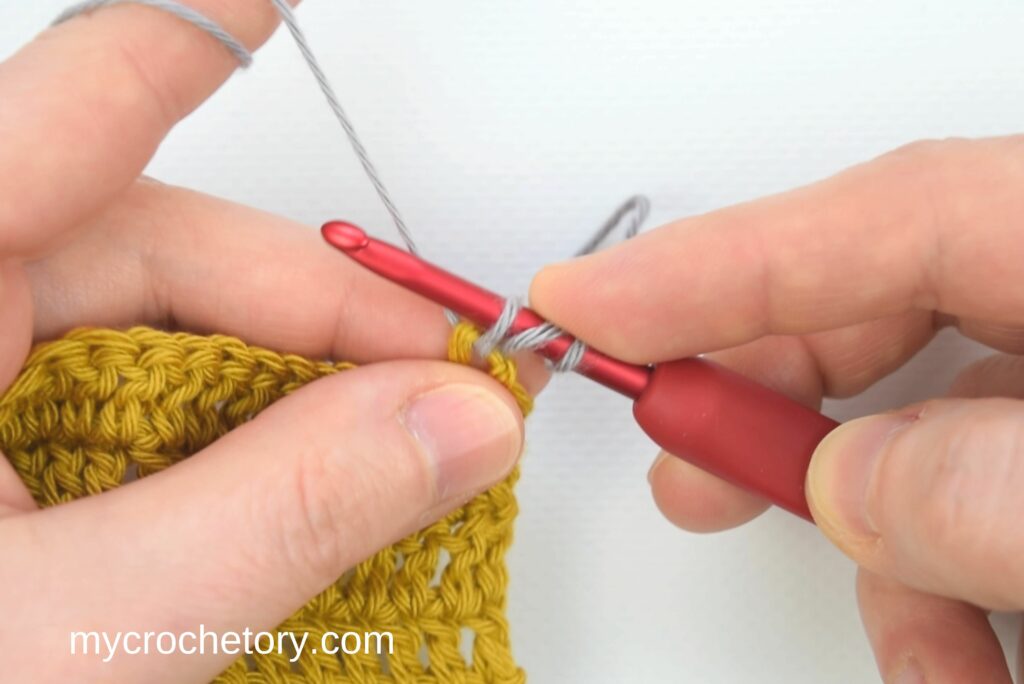
- Turn your work and gently stretch the loop on the hook to make it slightly shorter than a regular double crochet stitch.
2. Hold the yarn securely on the hook with your finger to prevent it from slipping.
3. Bring the hook forward and around behind the stitch.

4. Insert the hook into the first stitch, keeping a tight hold on the yarn.

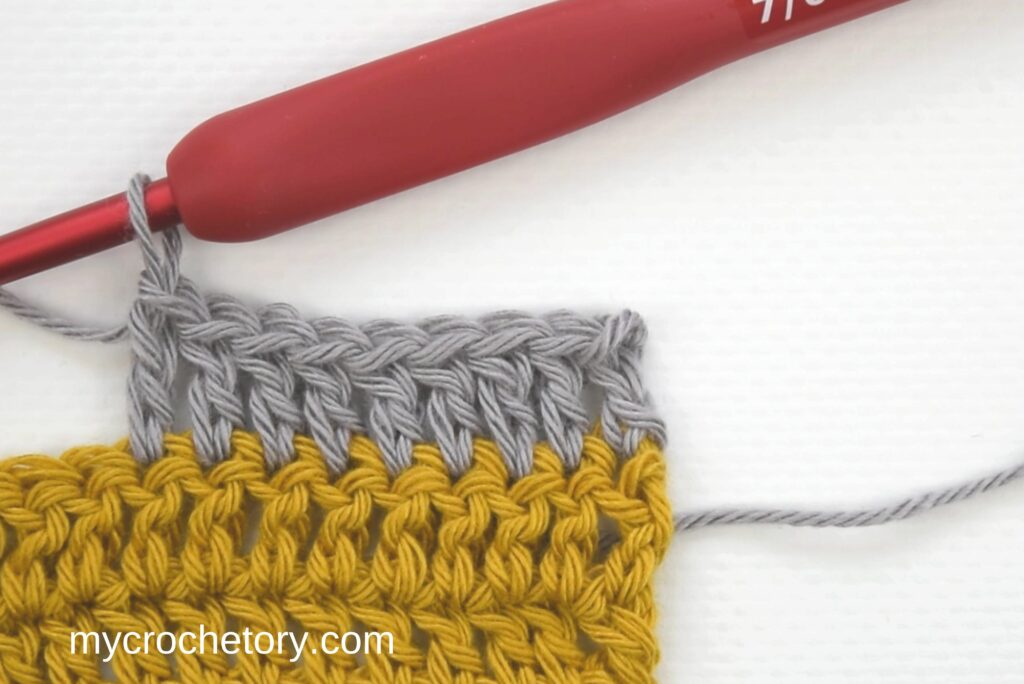
5. Yarn over and pull up a loop through the stitch.

6. Yarn over again and pull through the first two loops on the hook.
7. Complete the stitch as you would a regular double crochet by yarn over and pulling through the last two loops.

Advantages of Using Crochet Standing Stitches
Crochet standing stitches have some good points that can help you make better projects. Let’s see why they’re useful:
- Cleaner Starts: Crochet standing stitches let you start a new round without slip stitches or chains. This makes your work look neater and smoother, especially when changing colors.
- Less Bulky: Unlike regular joining methods, crochet standing stitches don’t add extra bulk at the beginning of rounds. This makes your work look tidier and more professional.
- Stronger Stitches: Crochet standing stitches give your work more strength and stability. This is really helpful for things like amigurumi or clothes, where you need your stitches to stay strong over time.
- More Design Choices: Because you don’t need joining chains, crochet standing stitches give you more freedom in your designs. You can use them for fancy stitch patterns or to make interesting textures without interruptions.
- Faster Crochet: Since you don’t need extra chains or slip stitches, crochet standing stitches can help you crochet faster. This means you can finish your projects more quickly while still making them look nice.
Examples of Projects Improved by Crochet Standing Stitches:
- Amigurumi Toys: Crochet standing stitches are great for making amigurumi toys. They help you start each round neatly, so your toys look more polished and professional.
- Clothes and Accessories: Using crochet standing stitches in clothes and accessories can make them look better and last longer. These stitches create smooth joins between rounds and reduce bulkiness, so your items look nicer and feel more comfortable to wear.
- Home Decor Items: From blankets to pillow covers, crochet standing stitches can add a touch of elegance to your home decor. They create seamless joins that enhance the overall look of your crochet items, making them more attractive and stylish.
- Lacework and Doilies: Crochet standing stitches are perfect for intricate lacework and doily patterns. They allow you to maintain the delicate design without interruptions from joining chains, resulting in beautiful and structurally sound projects.
Learning how to use crochet standing stitches can help you improve your crochet skills and create better projects.
Whether you’re a beginner or an experienced crocheter, mastering these stitches will make your work look more professional and polished.
To sum up, crochet standing stitches are really handy in your crochet work. They help you begin a new round smoothly, making your projects look neat and tidy. Whether you’re making hats, scarves, or blankets, crochet standing stitches can improve your crochet skills.
I suggest you give crochet standing stitches a try in your next project! Don’t worry about making mistakes; practice makes perfect.
You’ll soon get the hang of it and be able to use this technique in many of your crochet projects. Keep on crocheting!
MORE CROCHET TUTORIALS
If you found this chain tutorial helpful, you might also like posts:
- How to foundation single crochet
- How to make a slip knot – 3 Easy Ways
- How to Intarsia Crochet
- How to crochet a magic ring – 3 easy ways
- How to crochet ribbing
- Mattress stitch join tutorial
Don’t forget to save this Pin for easy reference: 📌

We’d love to hear about your crochet adventures and see your beautiful creations. Drop a comment below sharing your thoughts, questions, or even your favorite crochet tips! Your voice adds a vibrant thread to our crafting community.
Sharing is caring! If you found this guide helpful, consider spreading the love. Click the share button and inspire other crocheters.
Stay in the loop with our latest crochet guides, tips, and inspiration. Subscribe to our newsletter for exclusive content straight to your inbox. Never miss a stitch—subscribe today!
Happy crocheting, and may your yarn always be tangle-free!
Join my Facebook Group and Official Ravelry Group where you can find necessary support, you can ask questions or share your finished projects.
You can also follow my Instagram, Facebook page and Pinterest.
Leave a Reply