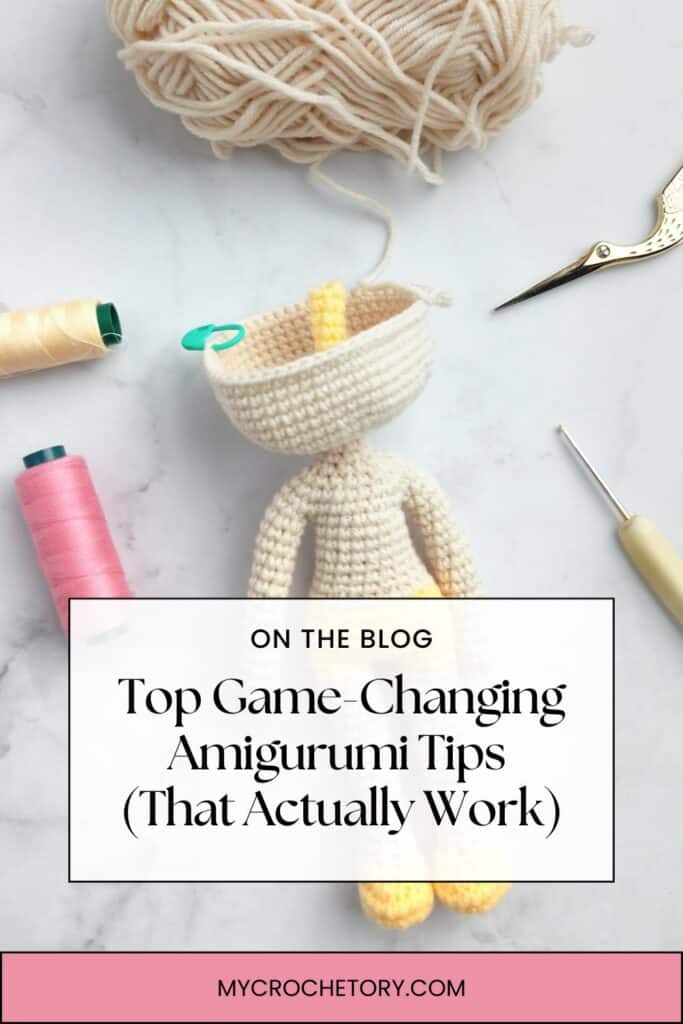
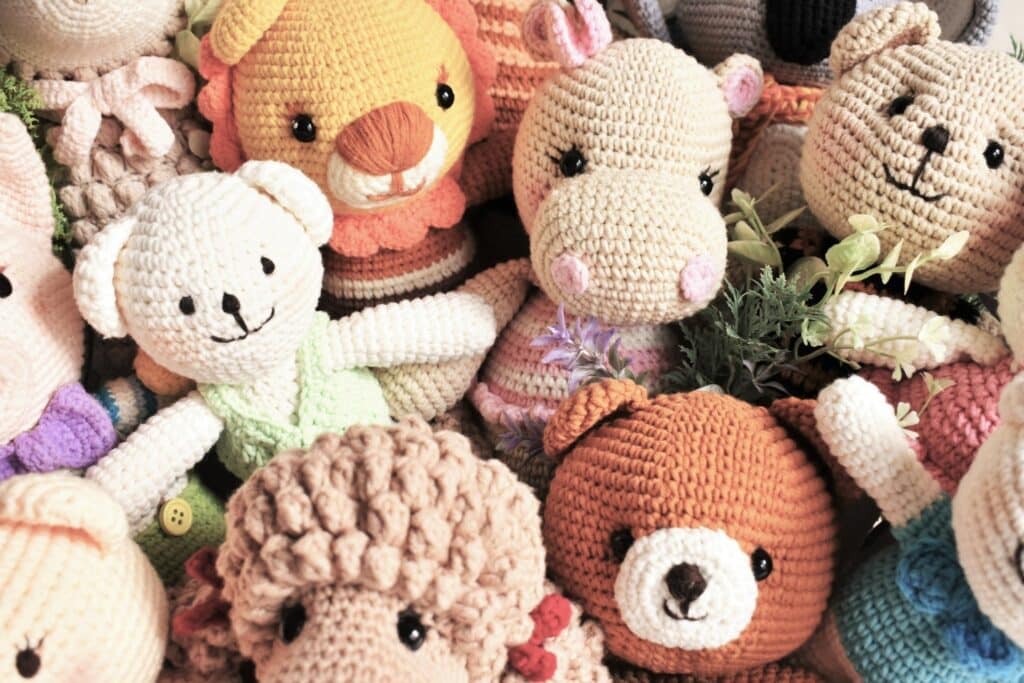
From marshmallow turtles to pro‑level plushies, these 17 easy crochet amigurumi hacks will save you hours of frogging and frustration.
So here’s the thing, my very first easy crochet amigurumi project – a sweet little turtle – ended up looking like a sad, overstuffed marshmallow.
I wrestled with a flimsy magic loop, fumbled every single crochet increase, and spent more time patching holes than actually learning basic stitches.
Honestly, I wasn’t going to share this dumpster fire, but after many late‑night stitches, countless frog‑backs, and way too much trial‑and‑error, I’ve boiled down 17 hacks that transform floppy blobs into cutetoys you’ll be proud to snuggle (and show off).
Quick pit stop – before you tackle these easy crochet amigurumi hacks, make sure your basics are solid. Swing by my free beginner crochet tutorials to nail your stitches, tension, and join techniques first.
Bold truth: most free crochet patterns skip tension advice, breeze past hook size, and shrug at yarn choice.
I’ve torture‑tested worsted weight yarn, acrylic yarn, cotton yarn, plush yarn – even chenille and blanket yarn – because there’s a good reason fibers behave differently.
Some hug tighter, others stretch like candy. Pair the right yarn with a smaller hook and tighter tension, and you’ll banish holes for good – no more stuffing peek‑a‑boos.
I know the pain of ripping back row after row. These tweaks saved my sanity – and they’ll save yours, too.
What Makes a Winning Pattern (The Part Everyone Skips)
Let’s be real: you’ve seen patterns that promise the moon but deliver lumpy lumps. The secret? A friendly pattern that:
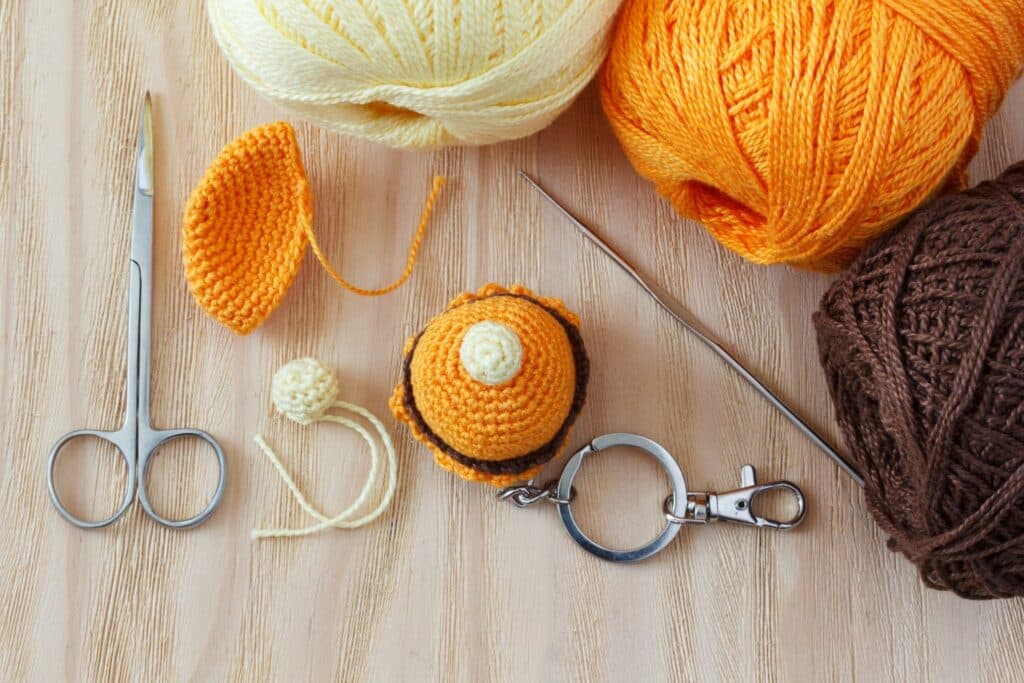
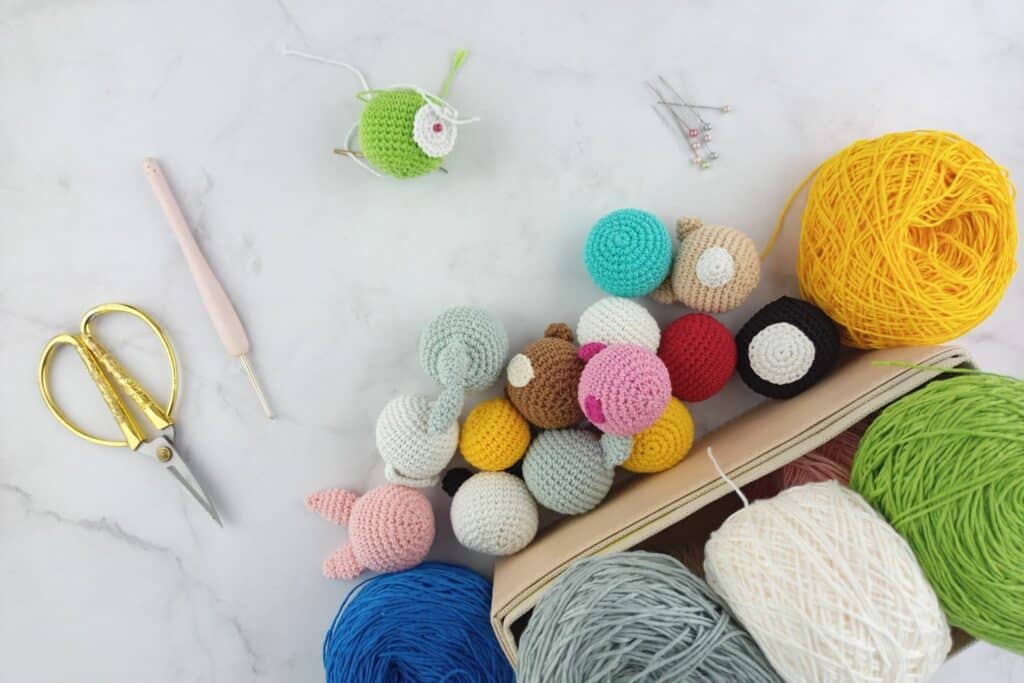
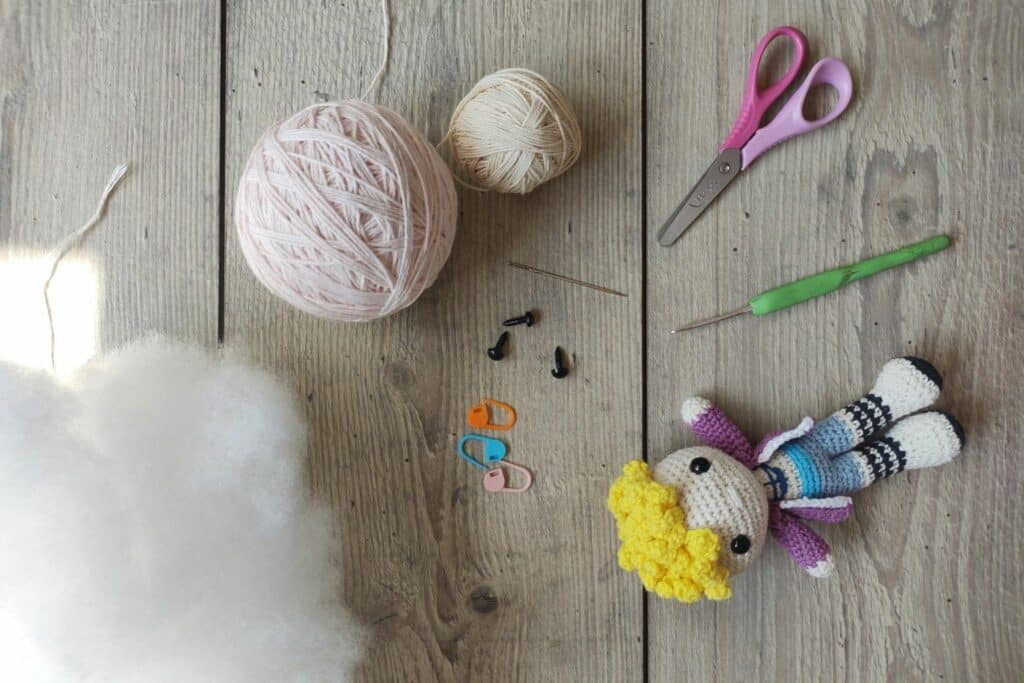
Lists every tool: crochet hook (choose your hook wisely), stitch markers, yarn needle, safety.
Includes clear photo tutorials and even a full video tutorial.
Calls out tricky bits: sc inc, magic ring hacks, tapestry needle tips.
Alright, buckle up – here come the 17 hacks that took my sad, floppy blobs and turned them into proud, precious pals.
These no-nonsense, sanity-saving tricks are exactly what you’ll actually use on your next easy crochet amigurumi pattern.
Perfect Magic Ring So here’s the thing: skimp on your wraps and you get a crater‑sized hole. Wrap 2–3 extra times before your first stitch for a rock‑solid center. It takes two extra seconds but saves you from weaving in gaps for an hour. (Need a refresher? Check out my 3‑way magic ring tutorial.)
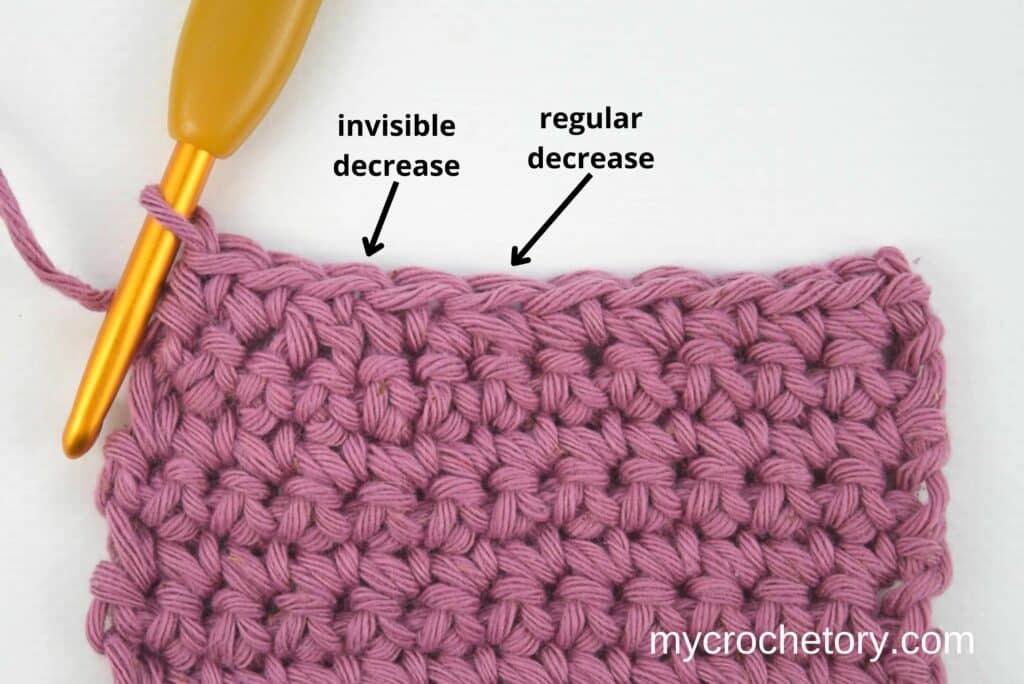
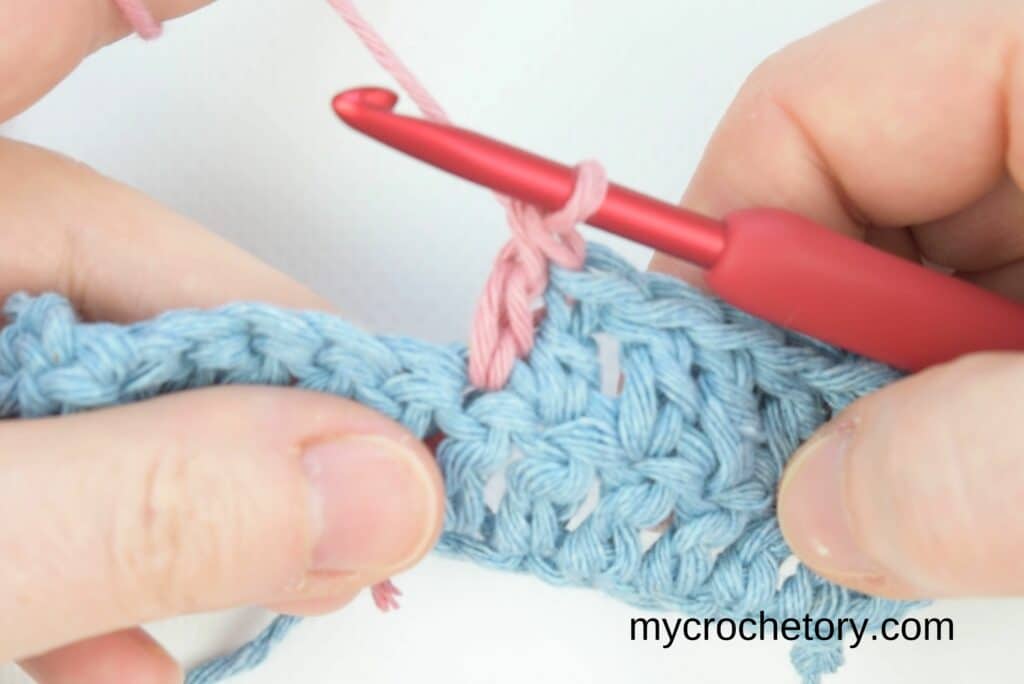
Invisible Decrease Standard decreases leave ugly gaps. Instead, slide your hook into the front loops of the next two stitches, yarn over, pull through two loops, then again – zero drama, zero holes. This hack is a lifesaver for smooth shaping on heads and limbs. Learn the step‑by‑step in my invisible decrease guide.
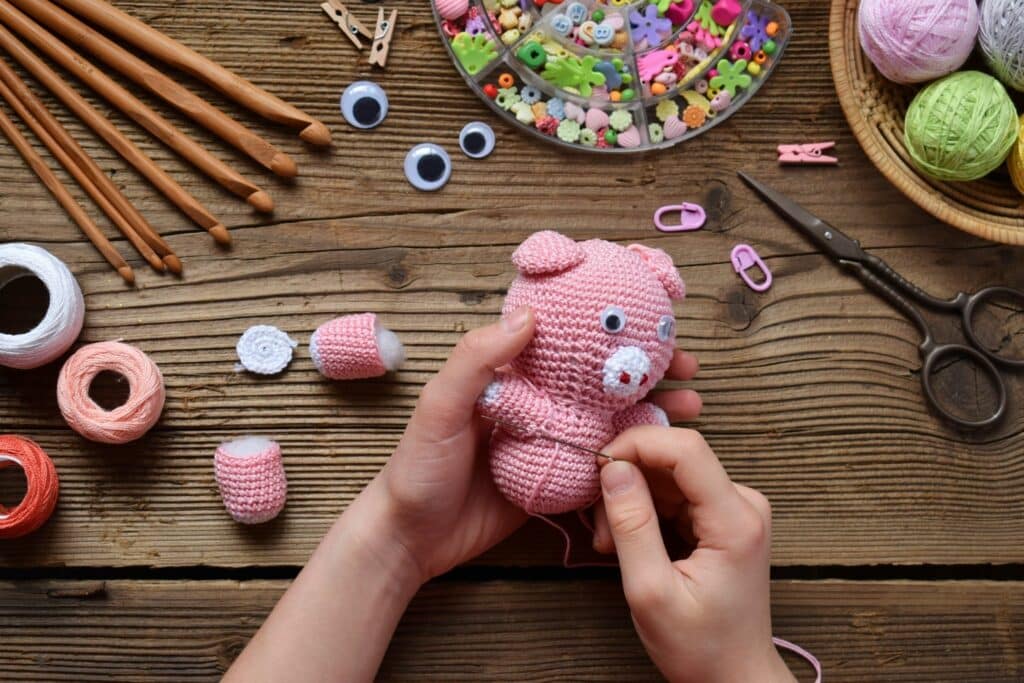
Stuff‑as‑You‑Go Let’s be honest: stuffing at the end is a lumpy nightmare. I switched to stuffing head → arms → legs → body → tail as I work, and my seams look like they belong in a great pattern. Plus, it’s a confidence boost to see each section come to life.
Small Stuffing Pieces Giant stuffing clumps = instant lumps. Tear your fiberfill into golf‑ball‑sized bits and tuck them in carefully. This little habit turns your yarn creatures from awkward blobs into smooth, sculpted cuties.
Roll Stuffing Balls Game‑changer alert: roll those small bits into mini balls before you stuff. They nestle into corners – cheeks, paws, tail tips – so you get perfect curves without bumpy bulges.
Use Stitch Markers I used to lose my place every few rounds, but once I color‑coded my stitch markers (red for increases, blue for decreases in continuous rounds), I breezed through patterns without missing a beat. If you hate counting, this is your new best friend.
Hide Yarn Tails Nothing kills a softie faster than knotted yarn tails popping out. Weaving in tails as you go feels tedious but trust me, it’s worth it. Use your yarn needle to weave each tail through 5–6 stitches and pull snug inside – no bumps, no snagging.
Yarn‑Under Single Crochet Swap your standard under‑hook for yarn‑under single crochet and watch your fabric tighten up. Tighter stitches mean no unwanted pokey holes, perfect for ‘little guys’ that get lots of love (or toddler hands).
Post Stitches for Texture Want ribs on a turtle shell or spines on a dragon? Front post/back post stitches are your secret weapon. I especially love pairing them with blanket yarn – it makes texture pop!
Invisible Color Change If you hate weaving in loose ends, here’s your hack: flip your last loop of the old color, grab the new yarn, and finish the stitch with the new hue. Bam – crisp stripes every time.
Check Tension Often I was too lazy on gauge checks and ended up with giants and minis. Now I swatch 10 sc × 10 rows every 10 rounds – if I’m off by a smidge, I swap my hook up or down, and I only have to frog a handful of stitches, not whole sections.
Surface Slip‑Stitch Embroidery Want to add dots, hearts, or whiskers without holes? Surface slip‑stitch lets you embroider right on top of your work for big impact, super quick. It’s my go‑to for adding details to any easy crochet amigurumi pattern.
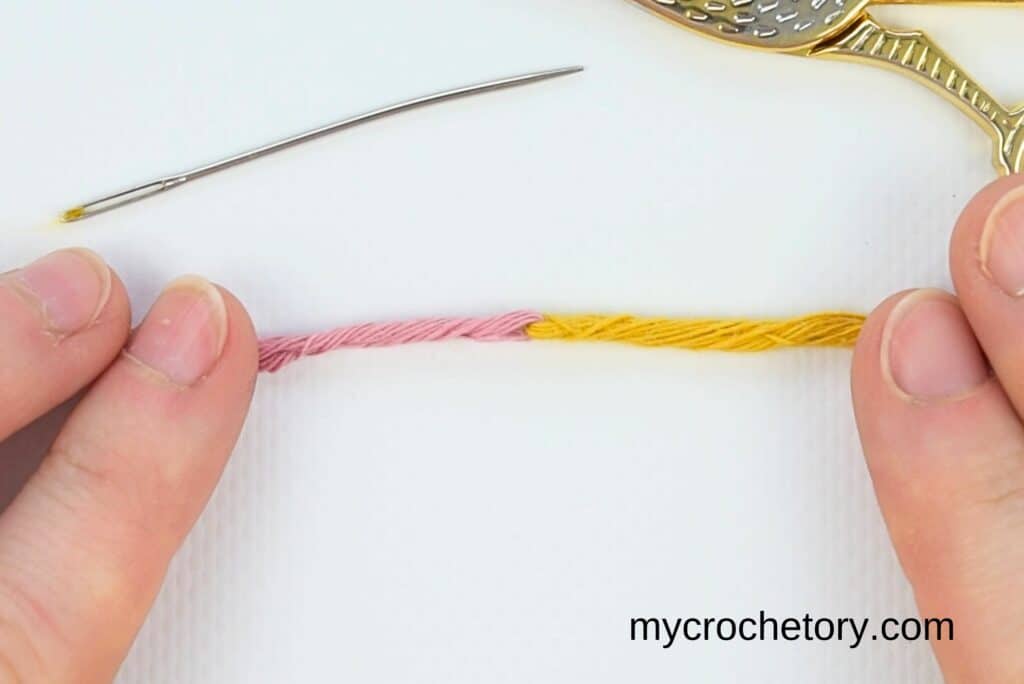
Russian Join Technique I used to knot every yarn change – hello, lumps! The Russian join weaves ends together in a tiny braid inside your work. Seamless, knotless transitions are my jam. Try it with my Russian join tutorial – you’ll never go back.
Steam Blocking This surprised me: a quick steam under a damp cloth smooths wonky stitches and sharpens edges. Think of it as a spa day for your sweet softies – they come out looking polished and professional.
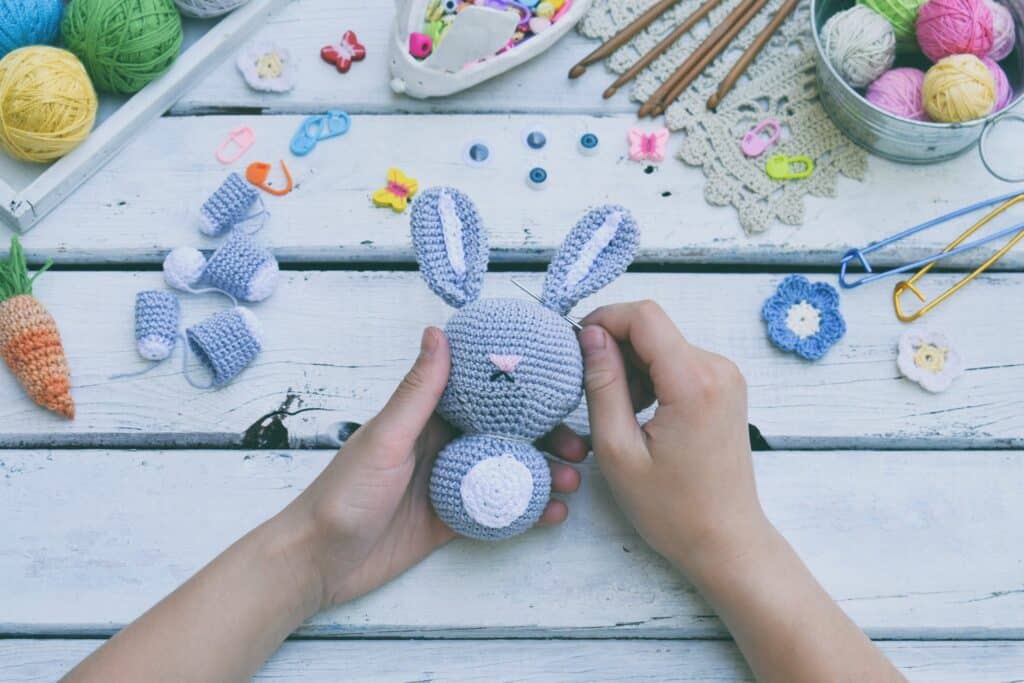
Photo‑Ready Assembly Before sewing pieces together, I always pin body parts with stitch markers, snap a quick phone pic, then tweak placement. It’s the cheat code for balanced ears, arms, and legs – no more wonky proportions.
Mix Yarn Weights DK yarn paired with worsted weight, or stripes of bulky yarn – texture contrasts make plain shapes pop. Don’t be afraid to experiment; these contrasts become your favorite special techniques.
Experiment with Textures From plush yarn to cotton yarn to chenille yarn to blanket yarn, each fiber brings its own magic. Combine strands – thicker yarn for a plush body, thin cotton for delicate details – to create simple shapes with next‑level dimension.
Tackle one hack at a time. Trust me, your next easy crochet amigurumi pattern will thank you.
No stitch markers? You’ll lose your spot in continuous rounds.
Ignoring instructions on hook size or right yarn? That “quick gift” could balloon into a month‑long saga.
I’ve frogged more rows than I’ll admit. Avoid my mistakes – lean on these hacks.
FAQ: Busting the Big Myths
Q: Do I need a million tools? A: Nope. A quality crochet hook, yarn (your choice of cotton yarn or acrylic yarn), stitch markers, a yarn needle, and safety eyes cover almost every project.
Q: Is amigurumi only for seasoned pros? A: I was an absolute beginner tackling my first amigurumi turtle. These hacks got me through – and they’ll guide you, too.
Q: Are free patterns any good? A: Totally. The roundup of free crochet animal patterns is stuffed with beginner‑friendly, foolproof designs. Bookmark it—you’ll return again and again.
Q: How do I pick the right hook size for my yarn? A: There’s no one-size-fits-all – check your yarn label for a starting mm hook (for worsted weight, that’s usually 4 mm; for DK, try 3.5 mm), then work a quick gauge swatch. If your stitches gape, drop down a hook size; if it’s too stiff, bump up.
Q: How do I wash and care for my finished amigurumi? A: Treat them like delicate treasures: hand-wash in lukewarm water with mild soap, gently squeeze (don’t wring), reshape on a towel, and air-dry flat. For spot-cleaning, a damp cloth and mild soap work wonders without dismantling your toy.
Your Next Project (I Dare You)
Hate frogging? Grab these hacks.
Once these tweaks click, any easy crochet amigurumi pattern – be it a friendly red fox, a bee amigurumi pattern, or your own DIY fluffies idea – will skip off your hook.
Don’t forget to save this Pin for easy reference: 📌
I’d love to hear about your crochet adventures and see your beautiful creations. Drop a comment below sharing your thoughts, questions, or even your favorite crochet tips! Your voice adds a vibrant thread to our forum community.
Sharing is caring! If you found this guide helpful, consider spreading the love. Click the share button and inspire other crocheters.
Stay in the loop with our latest crochet guides, tips, and inspiration. Subscribe to our newsletter for exclusive content straight to your inbox. Never miss a stitch—subscribe today!
Happy crocheting, and may your yarn always be tangle-free!
Ready to fall in love with yarn all over again? These free crochet tutorials for beginners are packed with simple step‑bys, insider hacks, and fun project ideas – perfect for turning your “maybe someday” into “look what I made” this weekend. Hello! If you’ve ever gazed at a ball of yarn and thought, “Where do…
You know that moment when the weather turns and you suddenly need something warm but still cute enough to wear to brunch? That’s when a crochet hooded scarf patterns becomes your new best friends. It’s cozy, it’s practical, and it’s way more fun to make than another plain scarf that ends up in the closet….
Swlwia: I just found your site and am enjoying the patterns and tips. I make a good share of amigurumi, and wondered if you had a favorite stuffing material. Thanks!

Swlwia: I just found your site and am enjoying the patterns and tips. I make a good share of amigurumi, and wondered if you had a favorite stuffing material. Thanks!